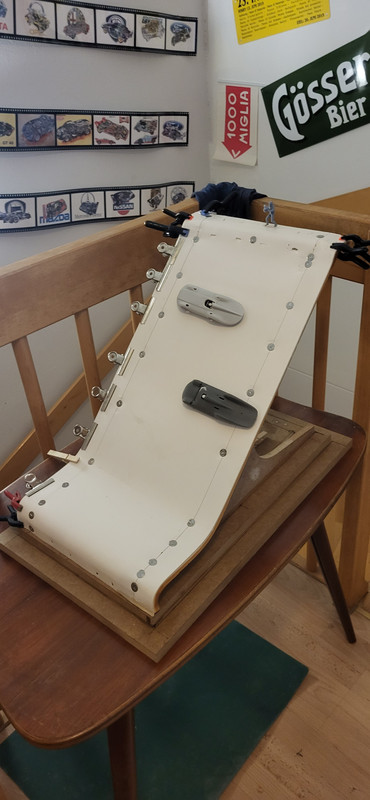
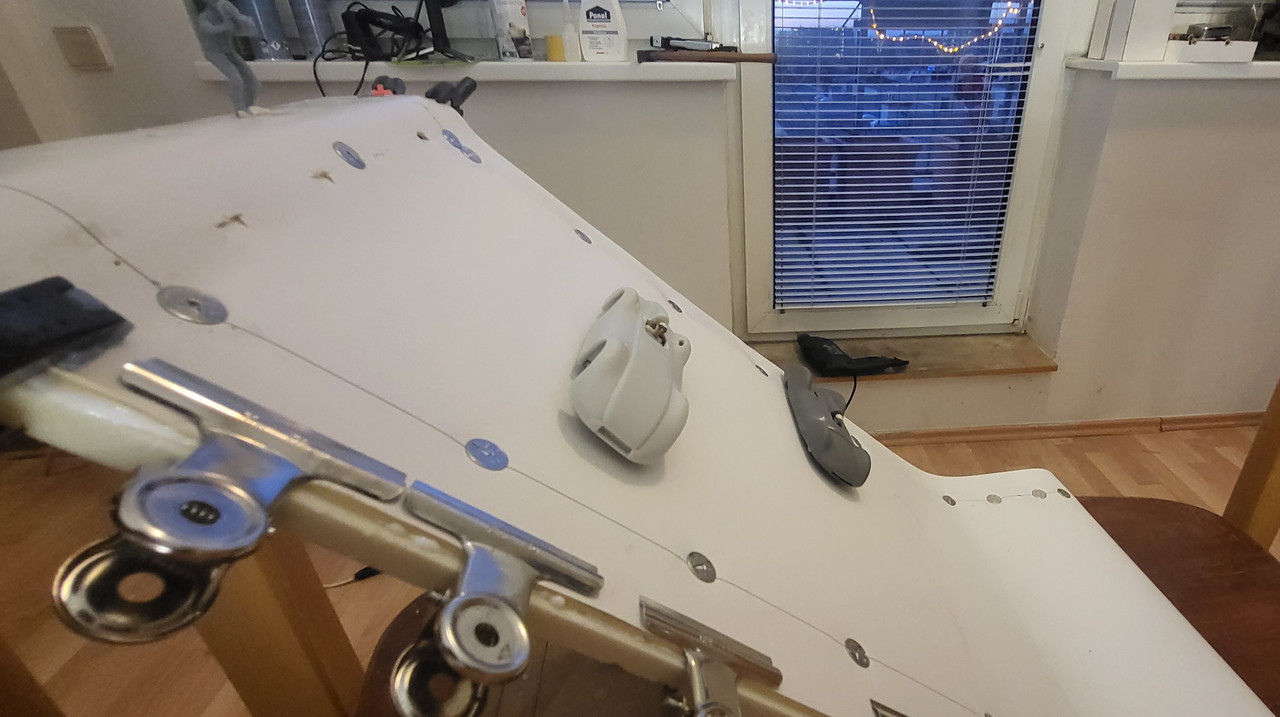
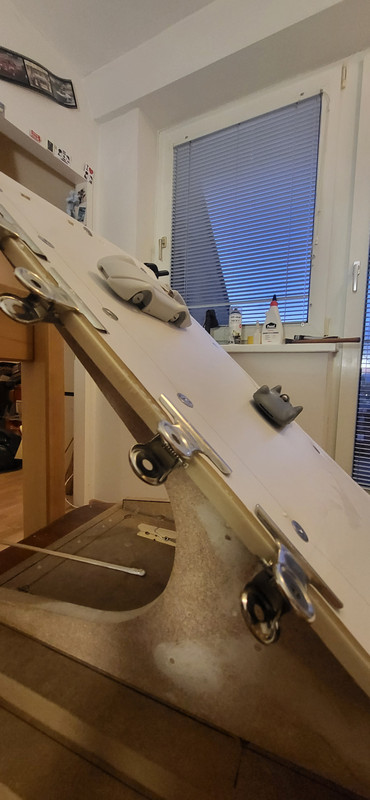
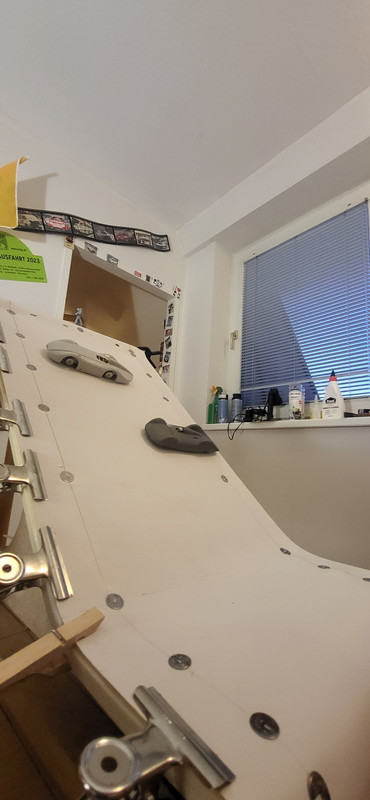
Work in Progress

1/43 AVUS International Race 1937

Posted by Challenger77 on 11 Aug 2023, 11:22

Hello Mates, to calm down from the Tiredesaster on my big challenge >> viewtopic.php?f=79&t=20789&view=unread#unread i start another Project. Not nearly as complex and time-consuming, the famous "Silverarrows" on the Wall of Death, the not more exists, banked North curve of the AVUS Berlin Racetrack. This inspird me to build it, from the Book "When Sex was safe and Motorsport bloody Dangerous" https://automobilist.com/pages/book

Image

So it looks in real

Image

Image

The kits lying here since last Year, at first i want to go with big Scale carrera Slotcars but the carreras have not much in common with the real ones, especially the Benz, i thikn the Designer smoke something other than Tobacco....see yourself......

Image

Image

Image

Image


So i go with the GB/Touchwood Models. This are resin, very well detailed and smooth. need only minorchanges to accept the Pilotfigures.

Image

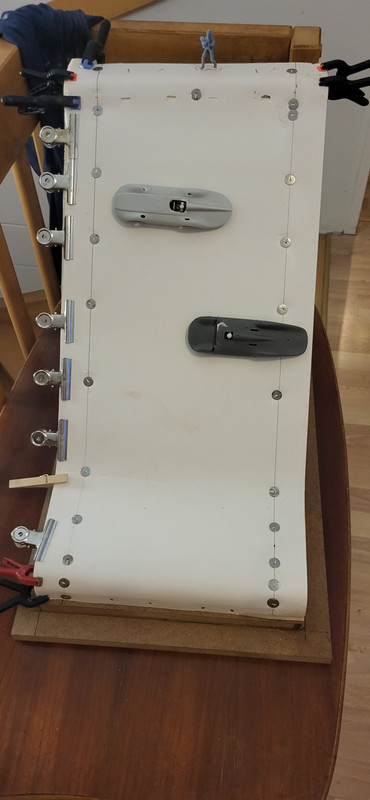
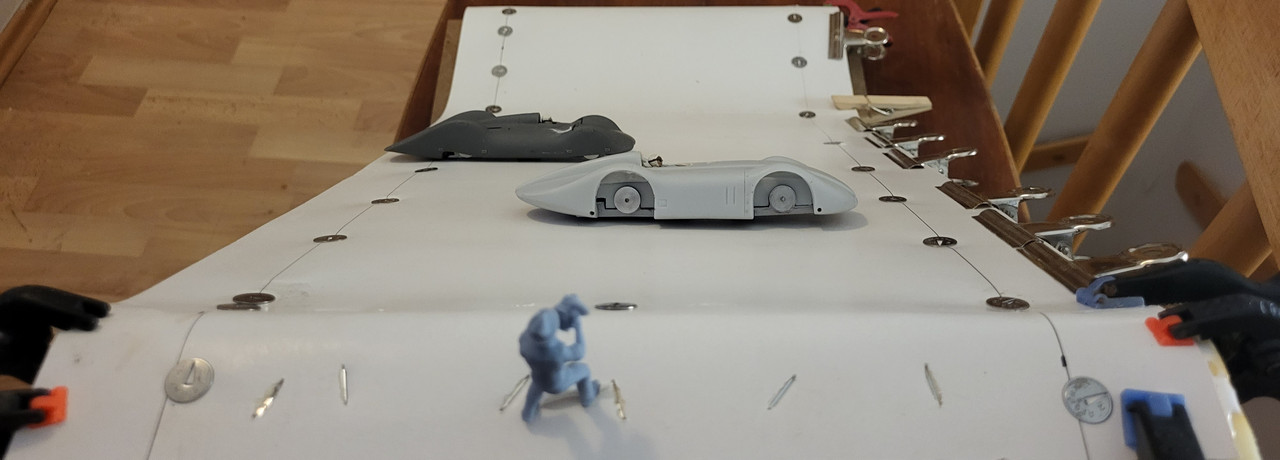
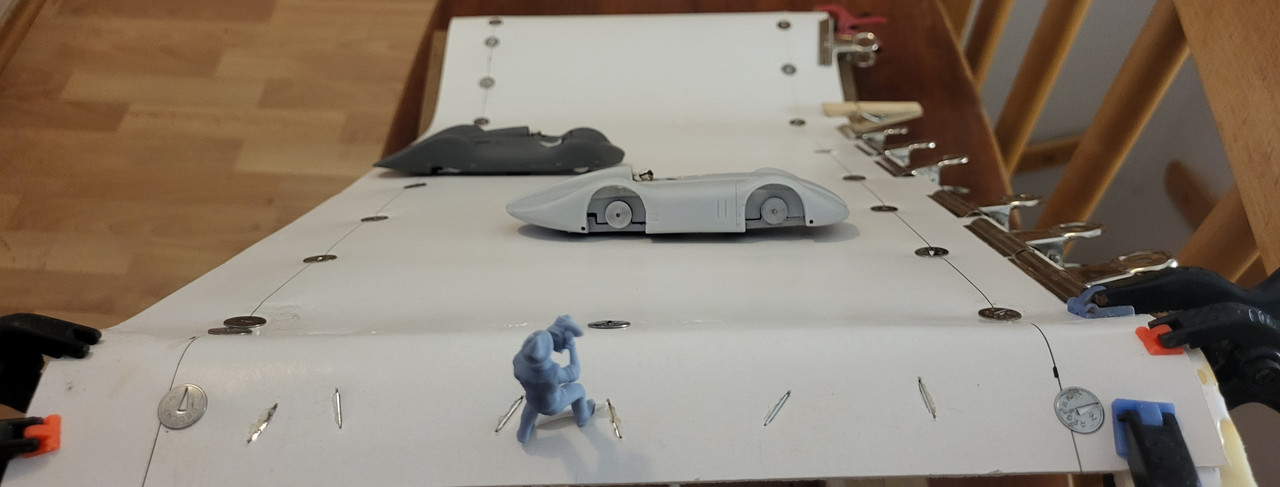
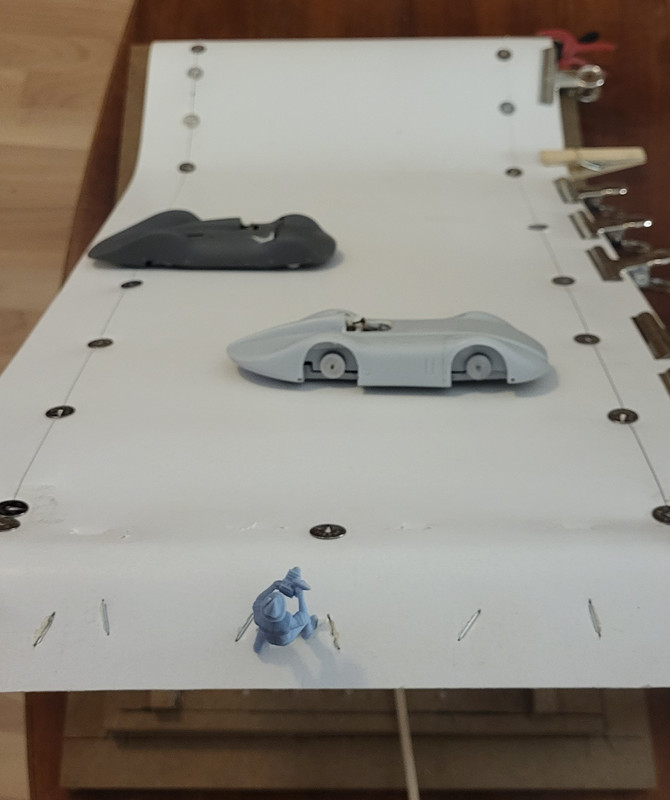
Here the Auto Union Type C " Stromlinie" aka Streamliner , the Cutouts in the fenders are a bit too big, lets see how i can change this. Also on the real car there was somthing like glass over them.

Image

Image

Image

and the Mercedes Benz W25 " Stromlinie" aka Streamliner

Image

Image

Image


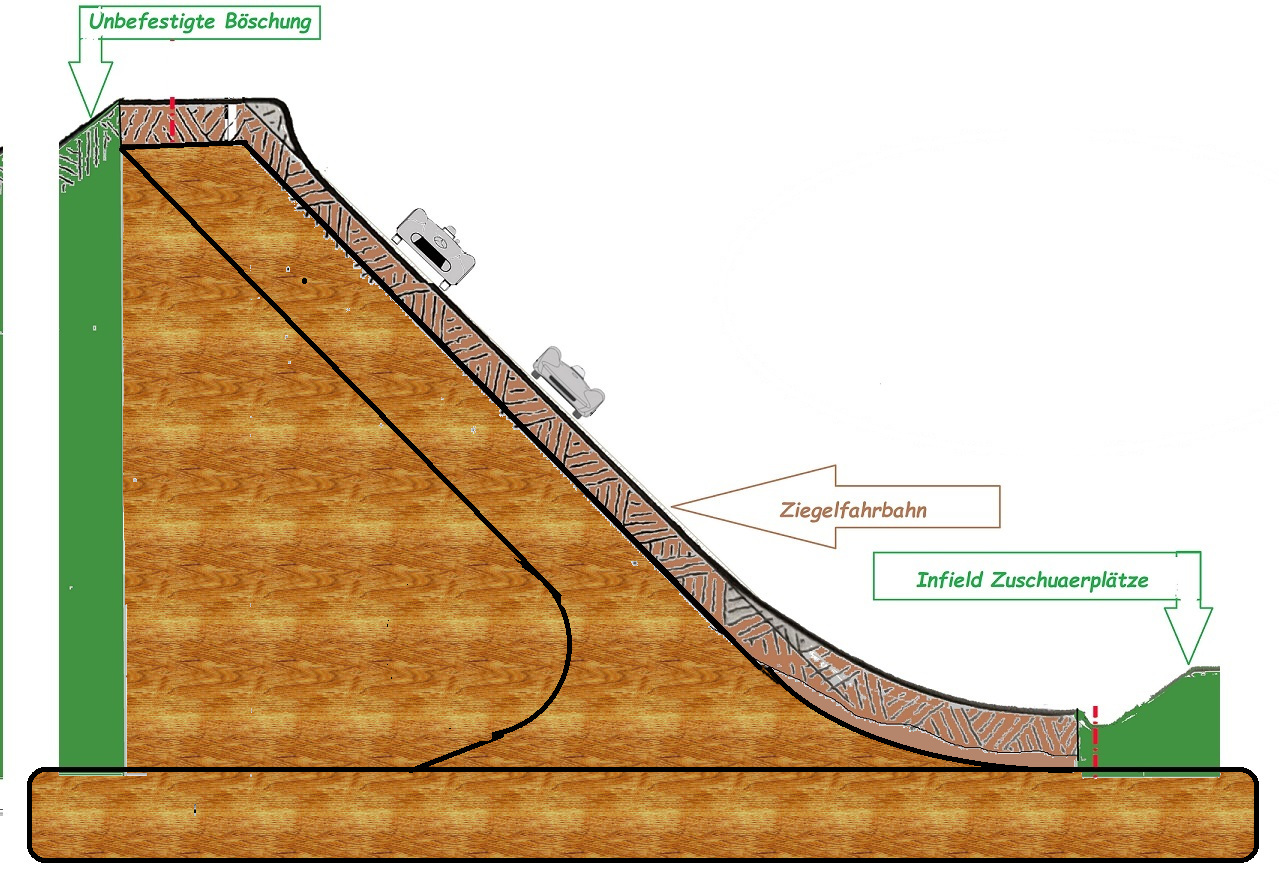
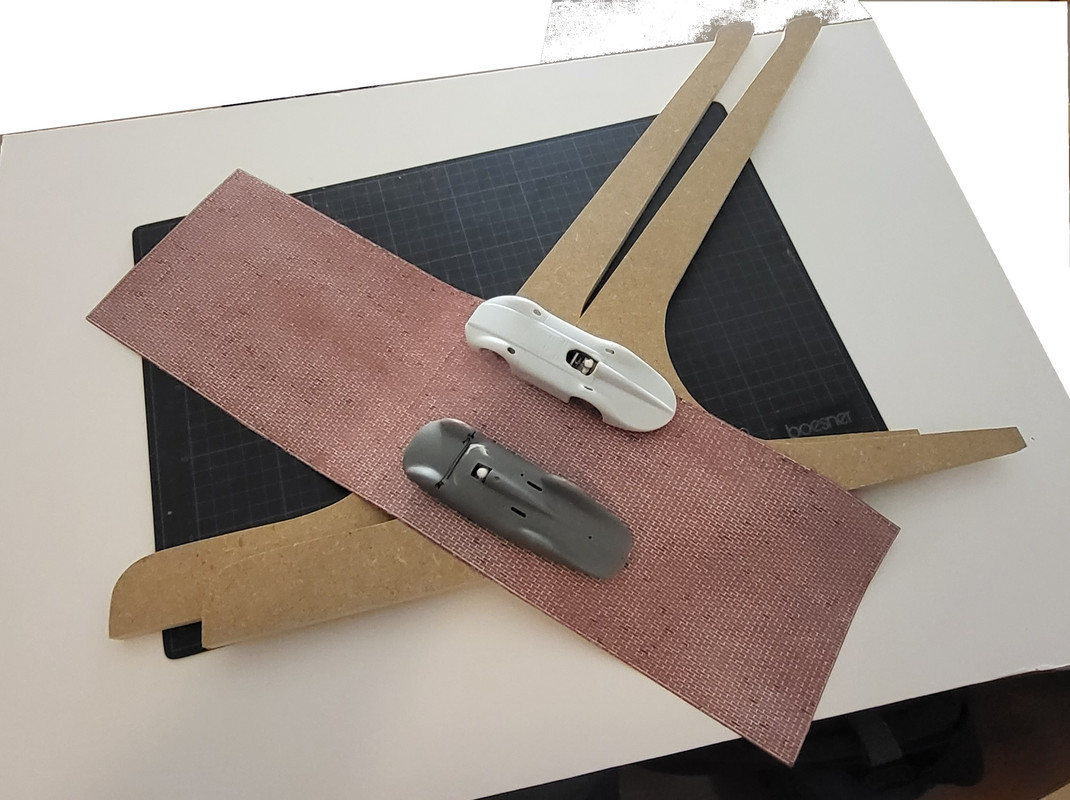
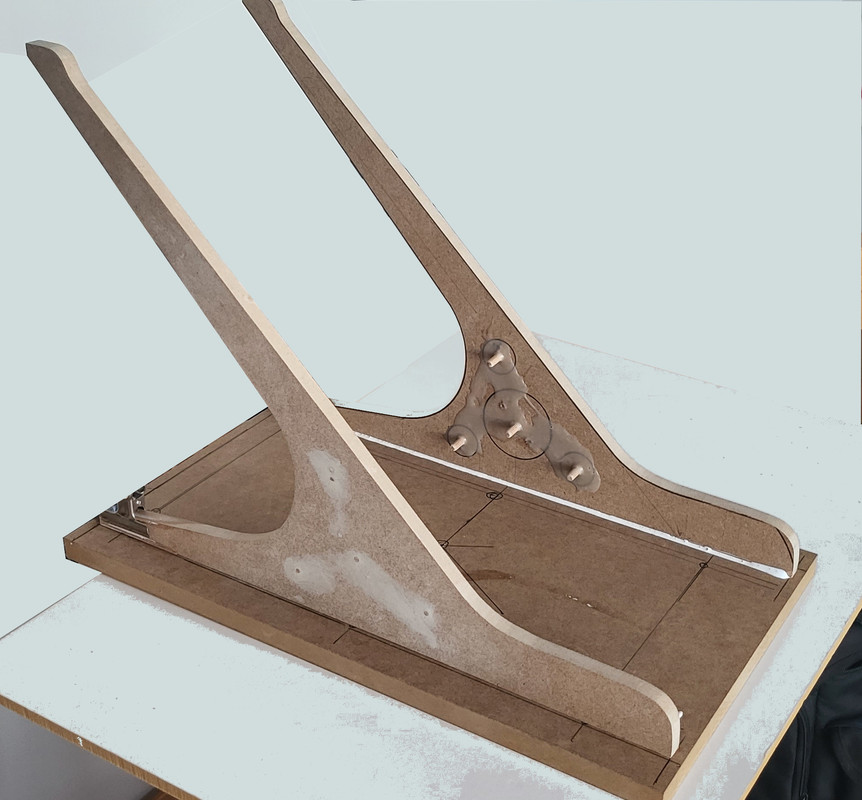
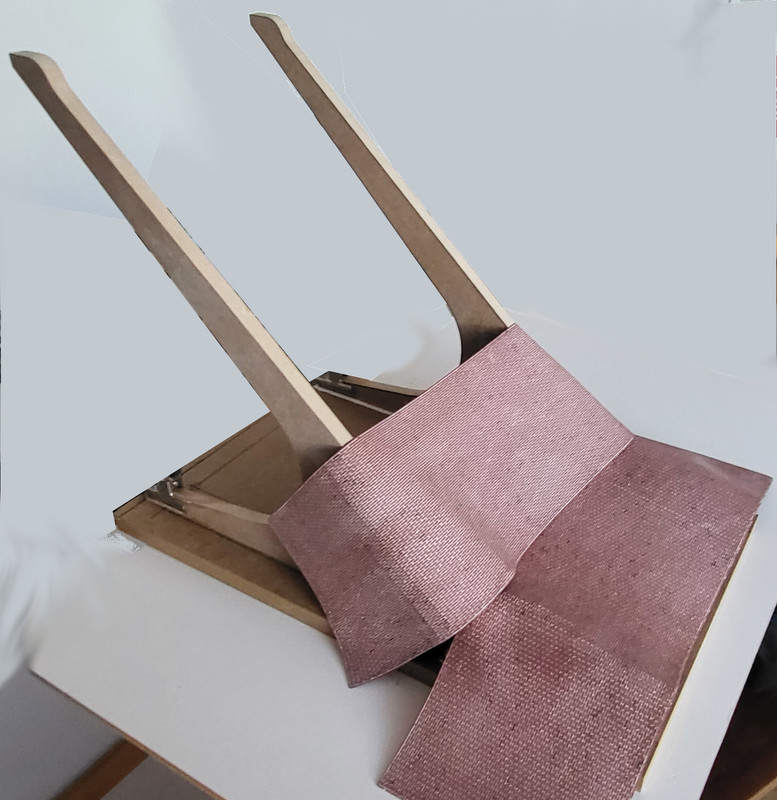
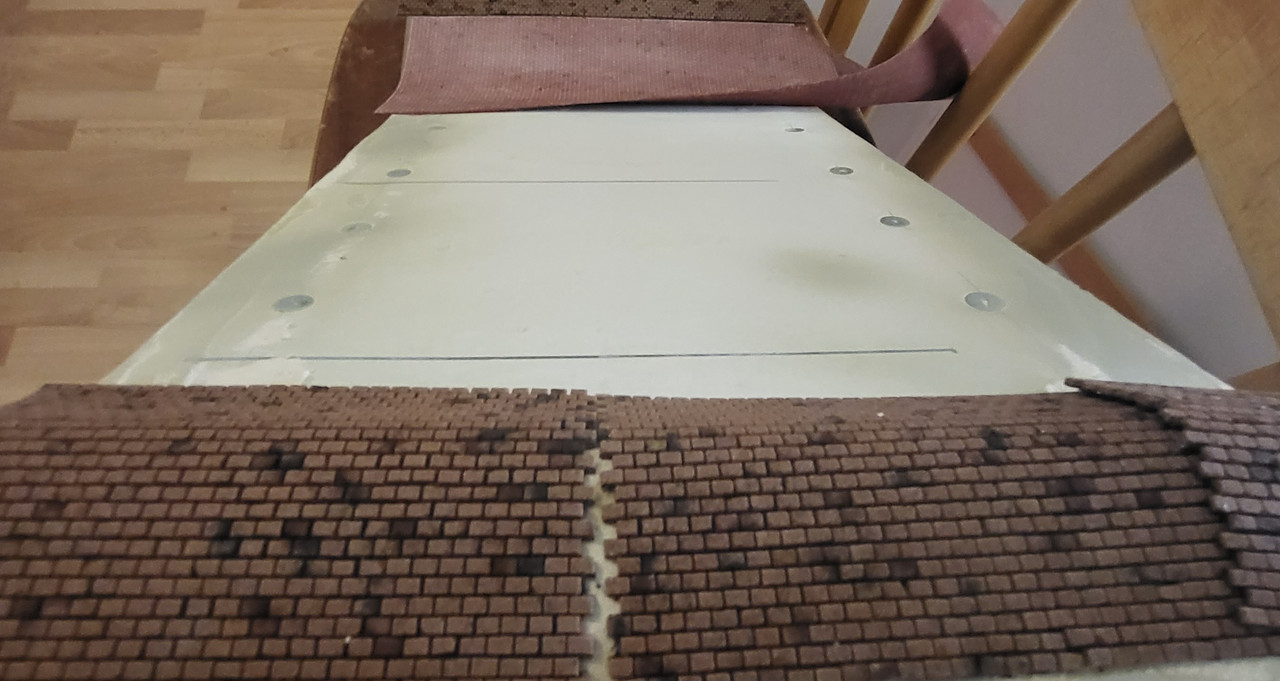
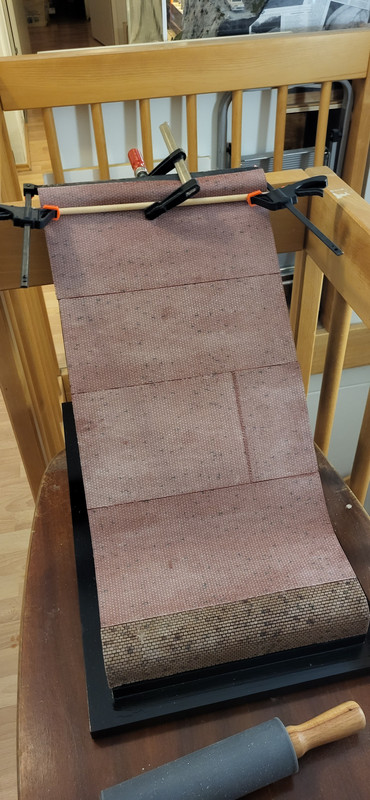
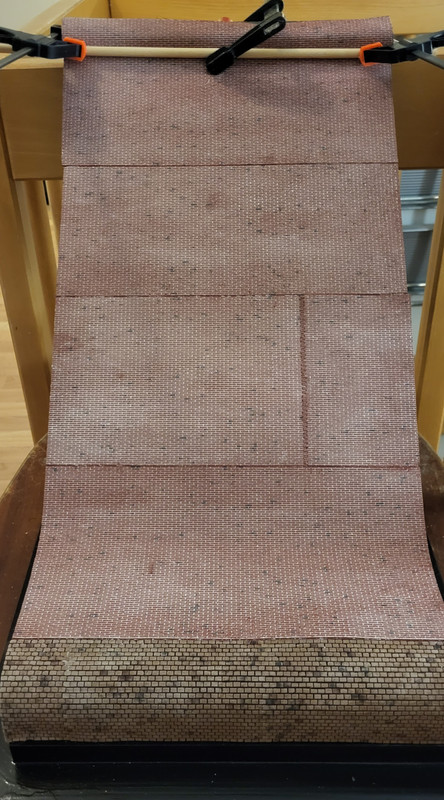
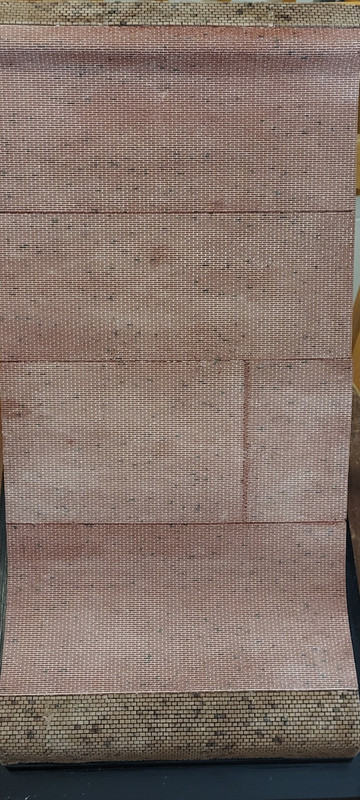
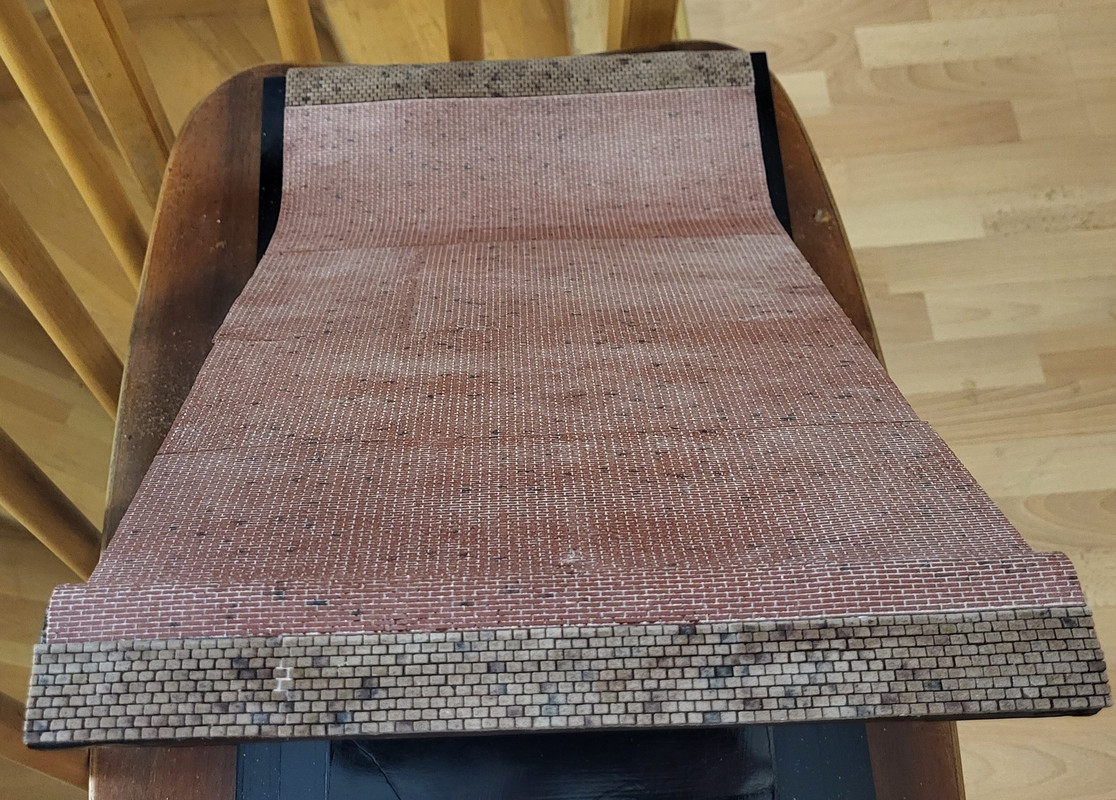
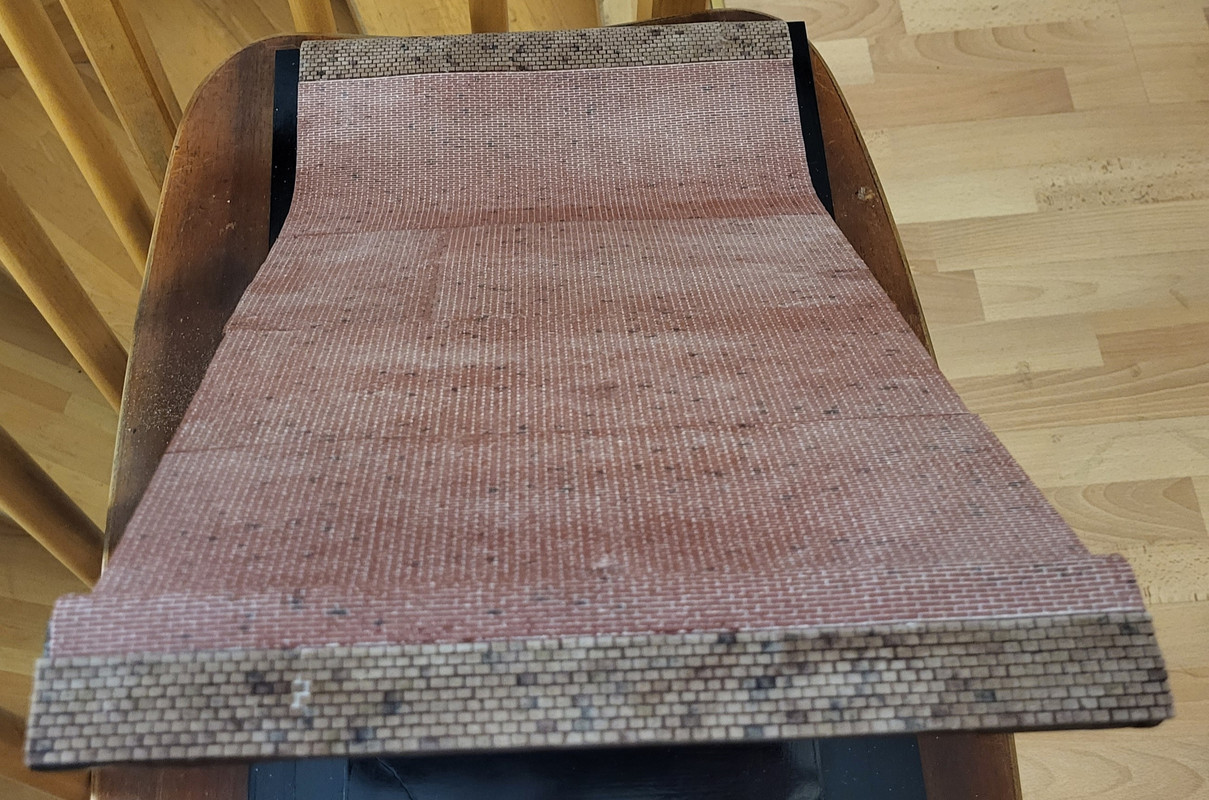
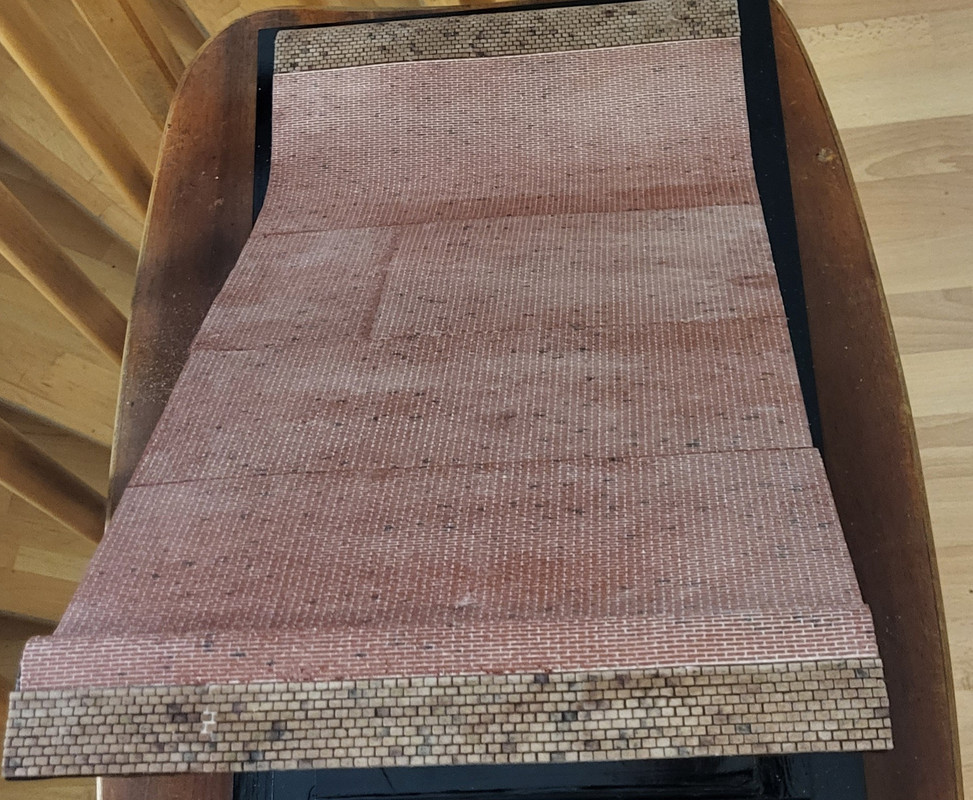
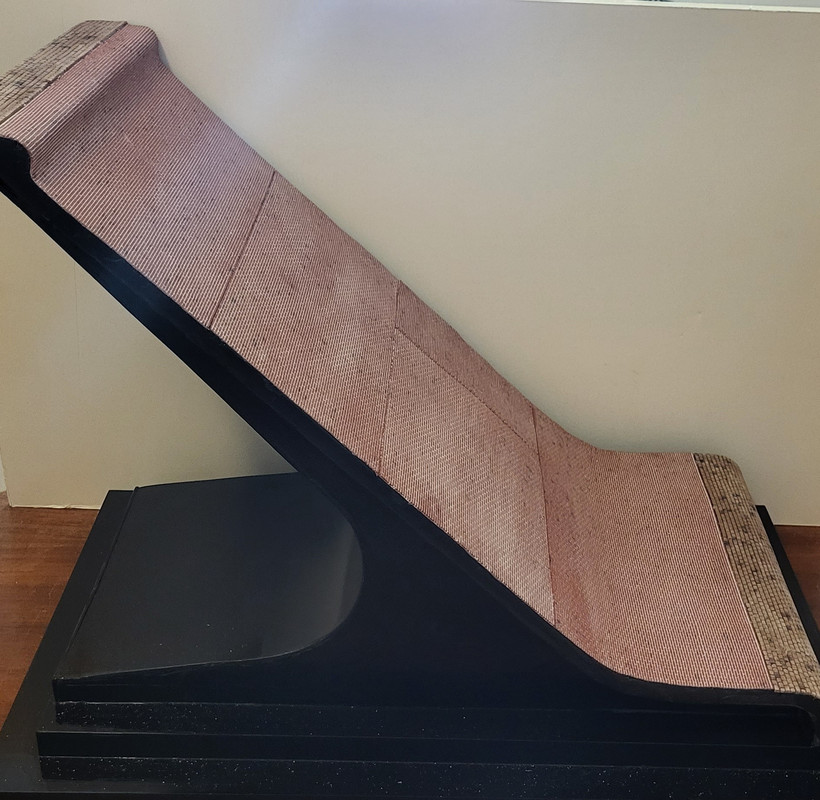
And thats the Plan, using CH reative real stonemats in 2 differentt Sizee/Shades

Image

Image
;-)
User avatar
Challenger77  Austria
 
Posts: 255
Member since:
18 May 2010, 12:50


Posted by Peter on 11 Aug 2023, 12:19

Looking forward to the progress this very nice new project! :thumbup:
User avatar
Peter  Belgium

Moderator Moderator
 
Posts: 22559
Member since:
25 Mar 2008, 18:51

Posted by Kekso on 11 Aug 2023, 14:49

I will follow this with pleasure.
User avatar
Kekso  Croatia

Moderator Moderator
Supporting Member (Bronze) Supporting Member (Bronze)
 
Posts: 6843
Member since:
19 Oct 2011, 18:32

Posted by PatrickJ71 on 12 Aug 2023, 07:29

Interesting project.
Looking forward to your progress.
Thanks for sharing
Patrick
PatrickJ71  Belgium
 
Posts: 165
Member since:
22 Aug 2022, 19:06

Posted by Challenger77 on 12 Aug 2023, 12:53

The first Cuts and modifications done to place a Figure in the Cockpits. On the Auto Union i was a simple Trick, move the Dashboard ca. 1,5 mm forward, and then the Arms of the Figure must be more bend. Yes this is right, in those Days the Drivers sit very near to the Steeringwheels.

Image

Image

Image

On the mercedes it was a bit more Work. The Headrest is a bit too wide on the Body so i sand it down , about 1mm. Then i cut off the Pad from the Seat and flue it directly on the Headrest. The Seat it self was molded too far forward and too high. So i cut it from the Floorpan, sand it down to reduce the High and go a bit Backward to sit flusch with the Headrest.

Image

Image

Image

Image

And i sanded the edges of the Wheelcover to a more rounded Shape.They were molded with a hefty Edge. The Rear Covers i will scratchbuild. Well i know what someone say "thats not correct for Langs Car...." in the Trainingssessions they drive with all, without, with Covers only at Front or Back , so i go with all covered.I like the look much better, with these Covers the Car looks real brutal and monstrous, even in Comparsion to the UFOlike Autounion.

Image

Image

Image

Regards
Harry

PS i think i found Help for the Mille Miglia Desaster, 3D Print will help.....
User avatar
Challenger77  Austria
 
Posts: 255
Member since:
18 May 2010, 12:50

Posted by Peter on 12 Aug 2023, 19:34

Looking good so far! :thumbup:

And that is good news for your other project! :yeah:
User avatar
Peter  Belgium

Moderator Moderator
 
Posts: 22559
Member since:
25 Mar 2008, 18:51

Help keep the forum online!
or become a supporting member

Posted by Rich W on 14 Aug 2023, 23:55

Very interesting!
Rich W  United Kingdom
 
Posts: 1248
Member since:
05 Feb 2018, 23:40

Posted by Santi Pérez on 17 Aug 2023, 22:12

Challenger77 wrote:Hello Mates, to calm down from the Tiredesaster on my big challenge >> viewtopic.php?f=79&t=20789&view=unread#unread i start another Project...

You're a bit like me, Harry, always busy with more than one project at a time (although I can't manage to finish any of them in a reasonable time, hahaha).

This is a very promising start, I'll be following it with great interest too. :-D

Santi.
User avatar
Santi Pérez  Spain
 
Posts: 1904
Member since:
28 Aug 2016, 19:42

Posted by Challenger77 on 18 Aug 2023, 11:45

Well Santi, it was'nt the masterplan.... :eh: but you've seen the Tiredesaster on the big Dio. As i wrote , to prevent the yearslong work from destroying, i began this little Sideproject. But it degenerates again with various conversions and self-constructions ...... :-D
User avatar
Challenger77  Austria
 
Posts: 255
Member since:
18 May 2010, 12:50

Posted by Challenger77 on 30 Aug 2023, 16:42

Hello mates, the unbelievabel Heatis over here in Vienna, so i made a small Update on this project. First the kit design requires the dashboard to be glued into the body. This makes fitting a figure almost impossible. So I made something like a subframe for it, glued Seat and the Dashboard on the Floorpan, like the one on the Auto Union.

Image

Image

Image

Then i scratched the Rearwheelcovers from Plasticard and "Pimp up" the front Ones with Plasticard and a "Bit" of mr. White Putty ;-) Sand and polish 'em , glued in Place and putty the not perfect fit again. Also sand down the way too Big "Nuts" on the Wings and the Headrest.

Image

Image

And Putty in the Way to big Tire-Watch-Holes in the Auto union,

Image

Image

Image

Image

now i have to wait until all is dried and hard to sand. So i think about the Base.
User avatar
Challenger77  Austria
 
Posts: 255
Member since:
18 May 2010, 12:50

Posted by Challenger77 on 30 Aug 2023, 19:44

Came up with this 2 Ideas. First ist the Curve itself, Sides closed and a bit of the Back wall or Sides and Back open, the Track only resting on 2 Supports.What do you think ?

Image

Image
User avatar
Challenger77  Austria
 
Posts: 255
Member since:
18 May 2010, 12:50

Posted by Kekso on 02 Sep 2023, 09:07

Not sure... I think that first one would look better from 360 view.
User avatar
Kekso  Croatia

Moderator Moderator
Supporting Member (Bronze) Supporting Member (Bronze)
 
Posts: 6843
Member since:
19 Oct 2011, 18:32

Posted by Challenger77 on 10 Sep 2023, 18:50

Hello, get Plan for the Base finished. After a Week of Filling an Sanding , i use somr Plasticard . And after drilling and filing the Holes out, sand it again flush with the Auto Union Body :P . Then the first Paint, Alclad Aluminium Dark, for the Insides and Cockpits.
#avus1937
Image

Image

Image

Image

Image

Image

Image

Image

Image

Image

A bit of fine Sanding on the Outsidr an then i try Gravity Colors "Alcoa" Paint.
Regards Harry
User avatar
Challenger77  Austria
 
Posts: 255
Member since:
18 May 2010, 12:50

Posted by Challenger77 on 13 Sep 2023, 16:47

And again to much work for Things that nobody ever see.....Figures and some Decals for the Dashboards, also the Alumium turned Brakedrums from the kits are nearly invisible.........

Bernd Rosemeyer on the Wheel of the Auto Union

Image

Image

and Herrmann Lang in his W25 ;-)

Image

Image

Image

Image

Image

Image

Image

Image

Bodies on thr Chassis and noby see the Details of the Cockpits.....

Image

Image

This is the Kitpart for the Auto Union Exhaustclusters , no Chance to drill 'em out

Image

so i build 'em new with Brasstube....

Image
User avatar
Challenger77  Austria
 
Posts: 255
Member since:
18 May 2010, 12:50

Posted by Peter on 15 Sep 2023, 18:18

Go on Harry! Looks good so far. :thumbup:

I think this one is best:

Image
User avatar
Peter  Belgium

Moderator Moderator
 
Posts: 22559
Member since:
25 Mar 2008, 18:51

Posted by Challenger77 on 29 Nov 2023, 13:50

Hello mates,
after a long vacation from Bergamao, Model Exhibition, to Mulhouse and Eindhoven Scale Model Challenge, iam back on it.....and made a mess of the Carbodies....Paint 'em, see every Scratch, every small imperfection. i tried , as so often, to remove the Paint with Alcohol.....and the Resin reacted, get very soft and weak. So i get 2 new ones :shock:

Image

Image

Image

Image

Image

Image

Image

Image

and the new Bodies, on the MB the Cockpit is a bit out of Shape, i would build it new out of Alufoil or such

Image
User avatar
Challenger77  Austria
 
Posts: 255
Member since:
18 May 2010, 12:50

Help keep the forum online!
or become a supporting member

Posted by Peter on 12 Dec 2023, 20:34

Good luck Harry! :yeah:
User avatar
Peter  Belgium

Moderator Moderator
 
Posts: 22559
Member since:
25 Mar 2008, 18:51

Posted by Challenger77 on 01 Jan 2024, 16:50

The new Year begin with the Parts for the Base glued and screwed togheter, now waiting 'till the Glue is dried.

Image

Image

Image
User avatar
Challenger77  Austria
 
Posts: 255
Member since:
18 May 2010, 12:50

Posted by Challenger77 on 08 Jan 2024, 16:27

First Testshot, while the Glue dries.......

Image

Image

Image

Image

Image

Image

Image

Image

Image

Image

Image

Image

Image

Image

Image
User avatar
Challenger77  Austria
 
Posts: 255
Member since:
18 May 2010, 12:50

Posted by Challenger77 on 18 Jan 2024, 19:36

Yesterday it was plain white Kapaline, today all Bricks are glued on........now i understand what what the workers did in 1936/37, and they didn't have the brick mats from CH Creative ( https://shop1.ch-kreativ.eu/de/ ), a little bit of joint compound and it's good.

Image

Image

Image

Image

Image

Image

Image

Image

Image
User avatar
Challenger77  Austria
 
Posts: 255
Member since:
18 May 2010, 12:50

Next page

Return to Work in Progress