Tutorials

1/72 Digital Camo (ACU example)

Posted by arkhunter2002 on 19 Jun 2010, 22:32

First I clean up the figure, as usual. I like to sometimes switch out the weapons with PE weapons, add tape/foil slings and cut out the parts of the figures that aren't supposed to be molded there. For this figure, I did a little of that, however, I wanted to focus mainly on the painting. I cleaned up the figure a little, and then blue tacked it to a bottle cap, my modus operandi for figure painting.

Image


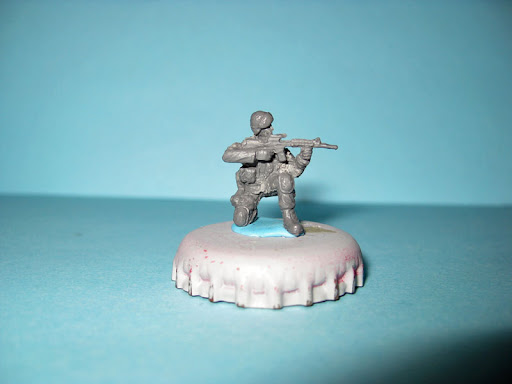
Then I'll prime the figure. I sometimes don't, but I like how the ACU turns out after it's primed in light grey (it seems a little lighter when finished). I am used to priming stuff, because of my background with mainly model building.

Image


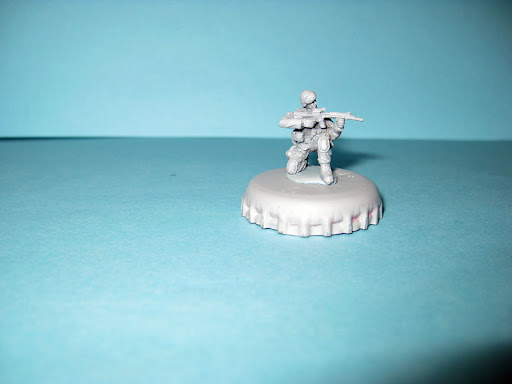
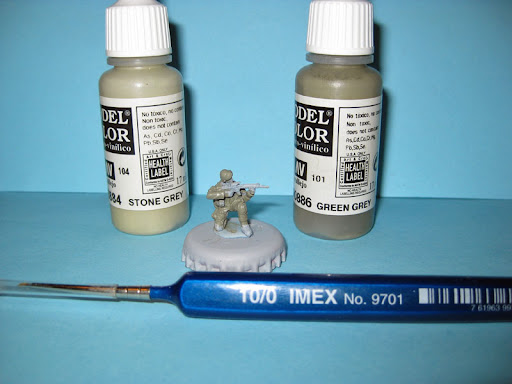
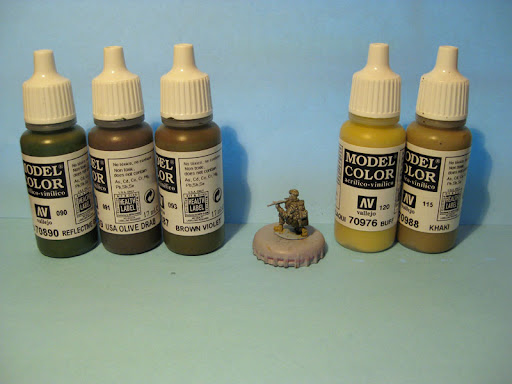
Then I added the green grey layer as the base layer. This is the darkest layer. I always thin vallejo with water in a little tray that I put a drop or so of paint in at a time. Usually you can get the green grey layer done fairly quickly. I use a thick brush for this, just so it doesn't take too much time, and my detail brushes don't get unnecessary uses.

Image


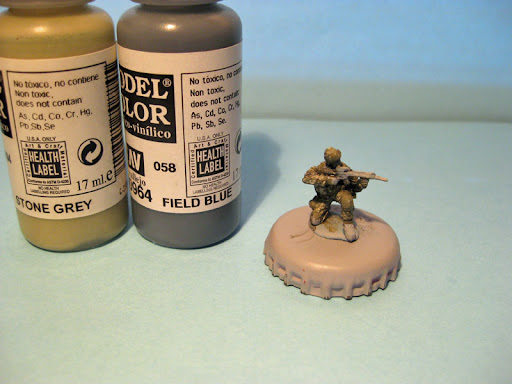
Next, I add the Stone Grey color. I use a smaller brush for this. The 10/0. I make small dots, vertical, and horizontal lines. Sometimes it ends up looking like I just blobbed it on, and that's fine, it's fixable, and we'll go back and fix it. I made a few XL blotches on this figure. It's crucial not to rush this part or the deck tan, because then it'll turn out sloppy. After finishing a major part of the body (one of the limbs, the torso, or helmet) I will usually clean my brush so paint doesn't dry in there, although it's bound to happen eventually.

Image


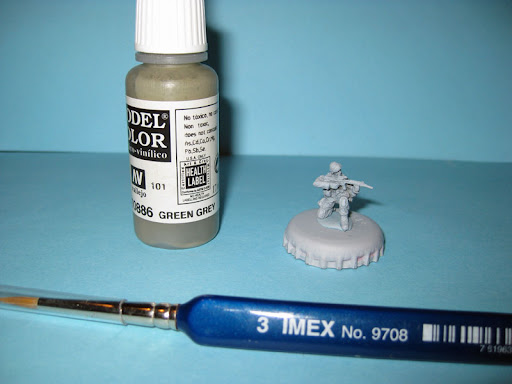
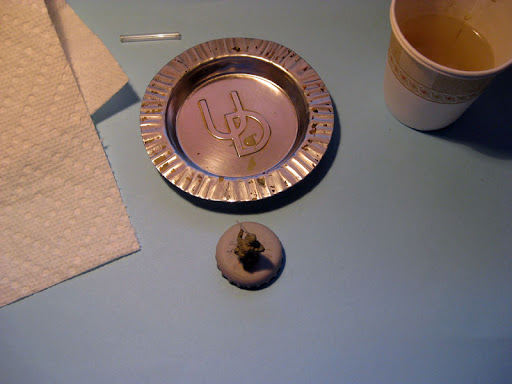
Here's the picture of my "set up" (on top of a blue piece of paper for a more attractive background)

Image


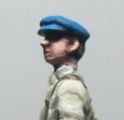
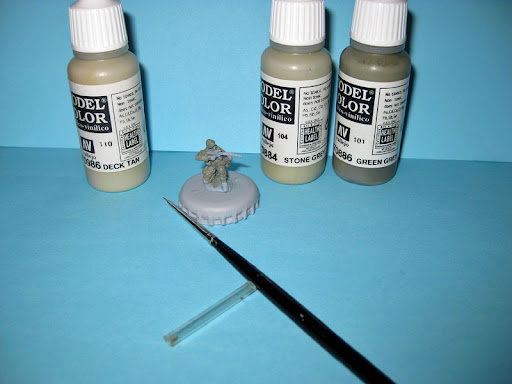
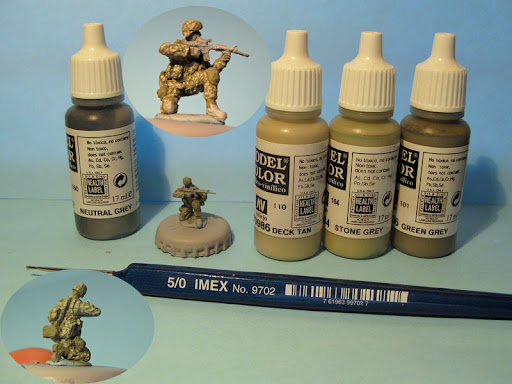
Then after that, I use the smallest brush I have (not sure where I got it, and I have NO IDEA what the brush size is. It's a model master brush, and it's killing me to know. It's smaller than a 10/0, but who knows, I'll stumble into more of them sooner or later). I use this brush for facial details (eyes, mouth and such) and also for the Deck Tan on the camo pattern. I'll also use this brush or the 10/0 for Desert-3 camo as well.

Image


In a little bit (probably Sunday or Monday) I'll go through the equipment, then wash and dry brushing processes, but it's fairly simple.

HTH,
Austin
User avatar
arkhunter2002  United States of America
 
Posts: 393
Member since:
23 May 2009, 12:43


Posted by arkhunter2002 on 22 Jun 2010, 18:49

Day late, whoops...

Okay, so after you have the base three colors down, I like to give it a wash right away, that way, it starts to blend the colors and darken the shadows. The colors will be blended more with the drybrush, but that will be covered later, because it depends on the environment the wearer is operating in. I'm using Neutral grey for this figure, but I'll also use Dark Sea Grey.

Image

I mix field blue with either stone grey or green grey (I choose stone grey for the example) to get the color for the velco & stuff like knee pads. Knee pads could also be black, medium green, khaki, or even camo (Woodland, Desert-3, or ACU).

Image

Next up is the OD equipment and the boots. I just did this in one segment because I felt like it...lol The equipment I painted in reflective green, washed with USA Olive Drab, and drybrushed in Brown Violet. The boots are Buff with a Khaki wash, and will be drybrushed according to the environment.

Image

And a fairly close up shot...
Image

Take care,
Austin
User avatar
arkhunter2002  United States of America
 
Posts: 393
Member since:
23 May 2009, 12:43

Posted by west1871 on 22 Jun 2010, 20:27

Cheers Austin :thumbup: Great tutorial on a very difficult subject :thumbup:
User avatar
west1871  United Kingdom
 
Posts: 2225
Member since:
06 May 2009, 17:08

Posted by poky on 22 Jun 2010, 23:06

thanks for the tutorial would be very useful :thumbup: :thumbup:
User avatar
poky  Netherlands
 
Posts: 477
Member since:
22 Oct 2009, 16:00

Posted by Alois Nebel on 23 Jun 2010, 05:05

Very usefull tips. Thanks for sharing it :beer:

V.
User avatar
Alois Nebel  Czech Republic
 
Posts: 795
Member since:
01 May 2009, 18:40

Posted by Mai Strac on 23 Jun 2010, 18:13

Thank's for the tutorial, I'll try your tecnique this week end!!!
User avatar
Mai Strac  Italy
 
Posts: 2538
Member since:
11 Jan 2009, 19:08

Help keep the forum online!
or become a supporting member

Posted by Martin on 23 Jun 2010, 22:10

great technique!!
User avatar
Martin  Netherlands
 
Posts: 2259
Member since:
08 Oct 2007, 19:23

Posted by voukerous on 24 Jun 2010, 09:47

thanks....very usefull !!! :-D
User avatar
voukerous  Greece
 
Posts: 109
Member since:
01 Sep 2009, 08:58


Return to Tutorials