Work in Progress

Airfix 1/76 88mm Flak en Sd.Kfz.7 tractor

Posted by huib on 21 Apr 2024, 13:45

Thank you, guys!
This build stalled one-and-a-half year ago, because me organising a French aviation group build on another modelling forum. But it is resureccted now.

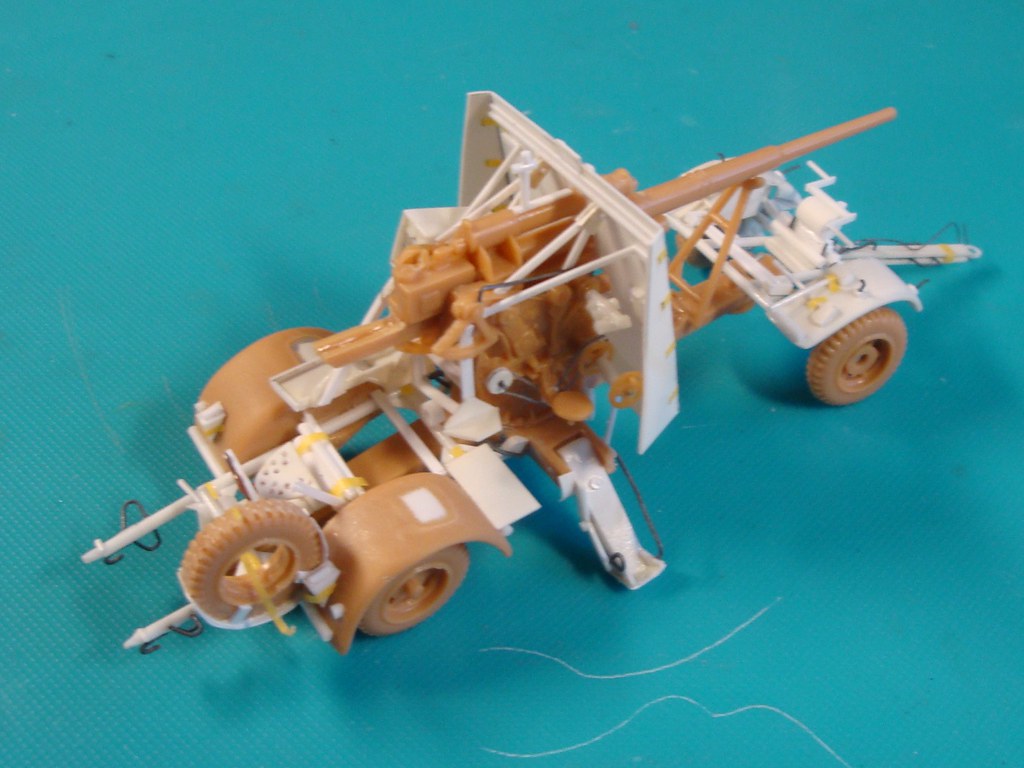
Where have I been? Ah, this far:

Image

Only the gun itsself has yet to be constructed. And after that time for paint.
User avatar
huib  Netherlands
 
Posts: 1014
Member since:
12 Dec 2015, 15:57


Posted by JurgenH on 21 Apr 2024, 16:33

I like your build here too. I am excited which way it will continue.
greetings
Jürgen
JurgenH  Germany
 
Posts: 194
Member since:
01 Aug 2022, 20:28

Posted by Wiking on 21 Apr 2024, 20:44

Most impressive ! :yeah:

And a good use of Arfix parts. :joker:
User avatar
Wiking  Germany
 
Posts: 2834
Member since:
14 Sep 2015, 10:03

Posted by C M Dodson on 22 Apr 2024, 16:25

You have worked your magic with this Airfix classic.

The finished product will be excellent.

Best wishes,

Chris
C M Dodson  United Kingdom
 
Posts: 2692
Member since:
01 May 2015, 18:48

Posted by Peter on 24 Apr 2024, 11:52

Just confess it Huib, you took a very long holliday! :mrgreen:

Looking forward to the progress of this tractor and gun! :thumbup:
User avatar
Peter  Belgium

Moderator Moderator
 
Posts: 22780
Member since:
25 Mar 2008, 18:51

Posted by Santi Pérez on 24 Apr 2024, 18:57

As always, I'm really impressed by the amount of handcrafted detail you add to all the military vehicle conversions you do, huib. :drool: :drool: :drool:

Go for it, the result will be a superb piece without a doubt. :thumbup:

Santi.
User avatar
Santi Pérez  Spain
 
Posts: 2120
Member since:
28 Aug 2016, 19:42

Help keep the forum online!
or become a supporting member

Posted by huib on 30 Apr 2024, 11:23

Thank you very much, guys!

Gun and cradle
Well, it took a while. Because of the technical issues with the site it lasted days before I could even visit it, let alone post something. In the meantime a lot has been done.

Image
These are the main parts of the Airfix kit. Not bad at all, and apart from the shield I will use them as a starting point for further elaboration.

Image
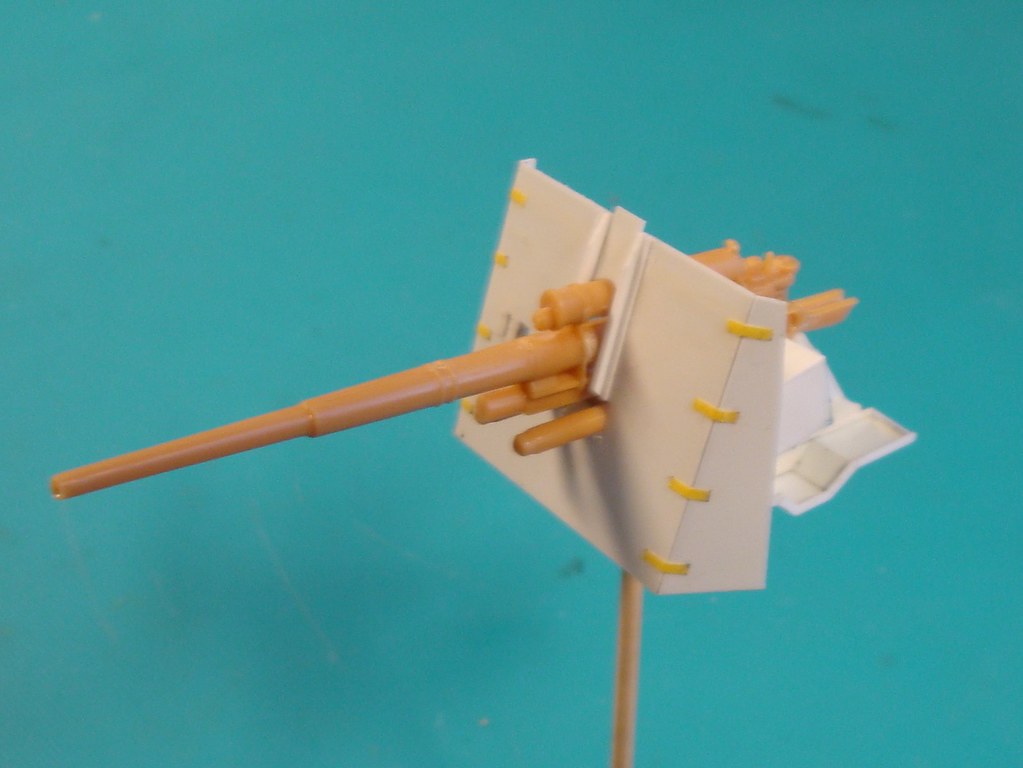
The Bunkerknacker has adapted rotation and elevation mechanisms from the anti-aircraft gun, optimised for direct horizontal fire. This demanded some changes to my model. The gunner is facing forwards instead of sidewards. The elevation mechanism is served by a chain which I imitated using sewing thread. And a gunsight for direct fire was added.

Image
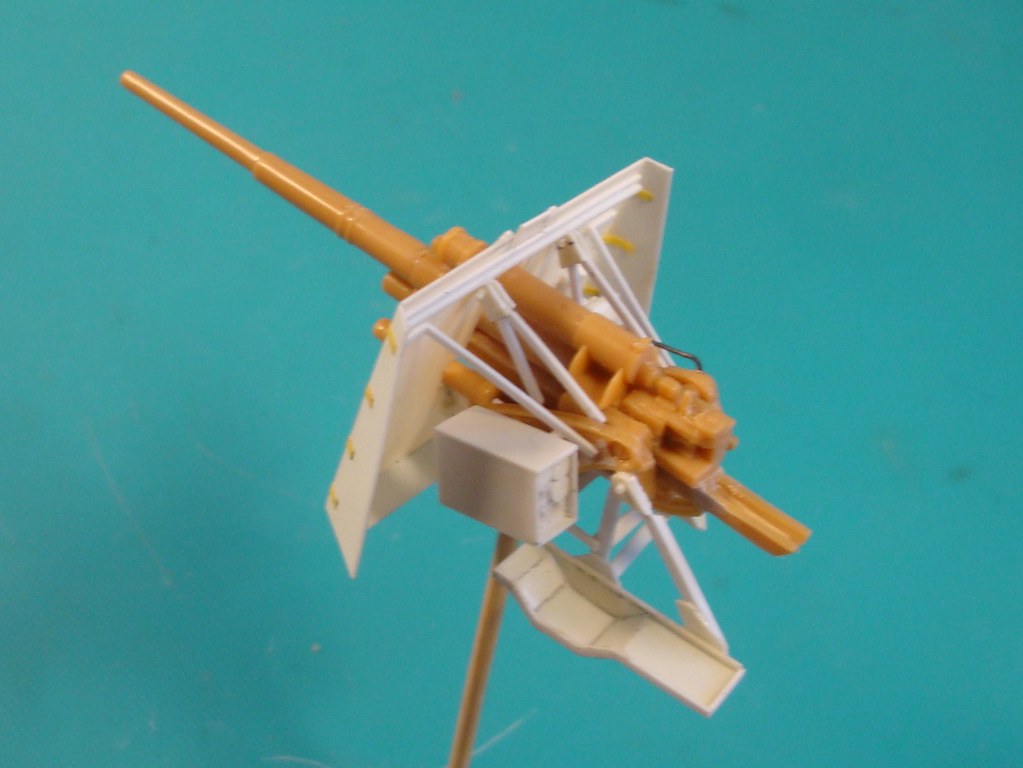
On the left side of the cradle the fusesetter of the AA gun is omitted. Instead four pieces of plastic rod are added as struts for the six shot magazine.

Image
The barrel demanded two ugly extrator pin marks too be removed from difficult places. The barrel was drilled open and the slide rails was filed open. Two valve rods are added to the barrel.

Image
The protective shield of the Bunkerknacker was a bit bigger than that of the AA gun and had a different layout. So I had to make a new one.

Image
The steel profile above the barrel even makes its use as an AA gun impossible.

Image
Scratchbuilt six-shot magazine.

Image
The most challenging part to scratch was the loaders platform.
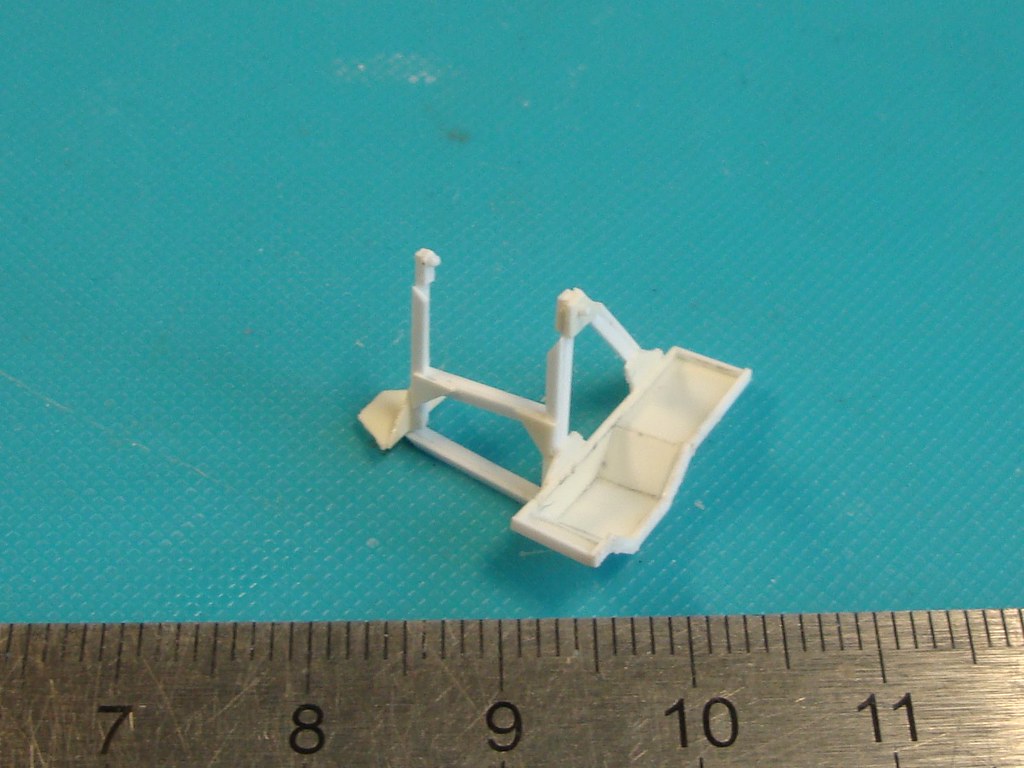
Image
Which moreover was attached to the cradle with a quite complex construction.
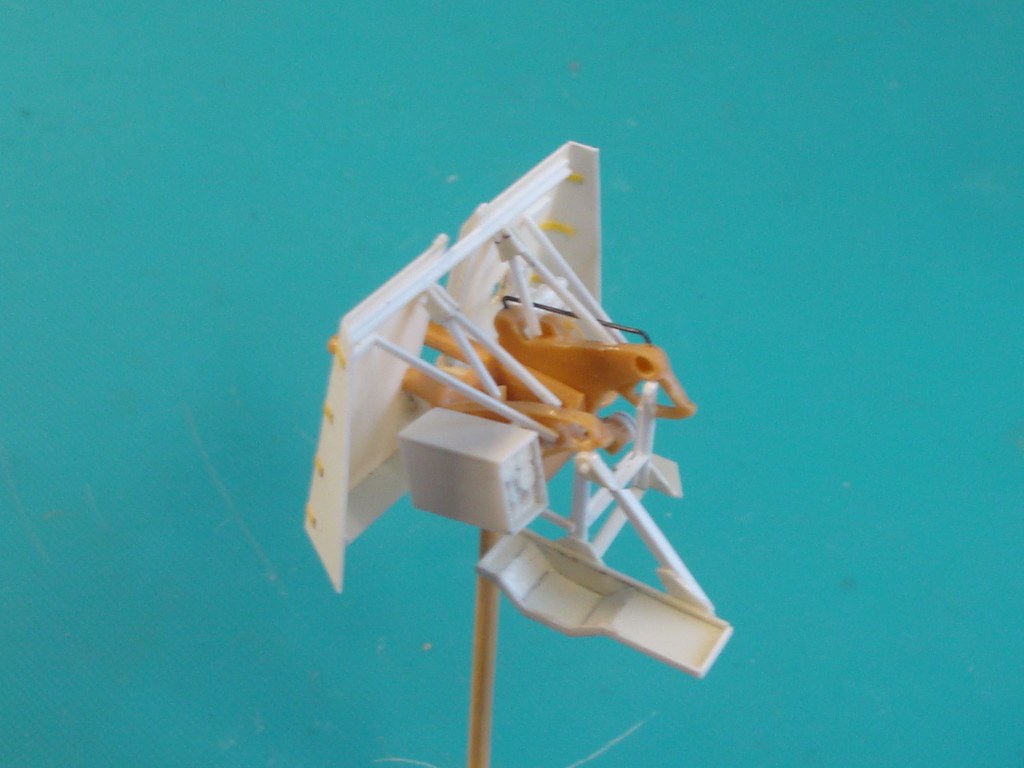
Image
All subassemblies attached to the cradle.

Image
From the other side.

Image
Barrel inserted.

Image
From behind.

Image
Gun ready!!
Now for a lot of wheels to clean up and prepare for painting.
User avatar
huib  Netherlands
 
Posts: 1014
Member since:
12 Dec 2015, 15:57

Posted by MABO on 01 May 2024, 06:49

I am so happy, that you are back here. Maybe you can offer a look on the airplane project? It would be interesting as well. The gun is mind-blowing for me again. I can not imagine how you constructed this model with all the additional details. My hands and fingers would not be able to do anything like that. I hope you can post the following steps, even the forum has a lot of problems.
User avatar
MABO  Europe
Supporting Member (Gold) Supporting Member (Gold)
 
Posts: 9170
Member since:
12 May 2008, 18:01

Posted by huib on 01 May 2024, 15:32

Thanks MABO! As the forum is running reasonably well this afternoon, I immediately post my next update:

Paintjob

But first I have to pay some attention to the wheels:

Image
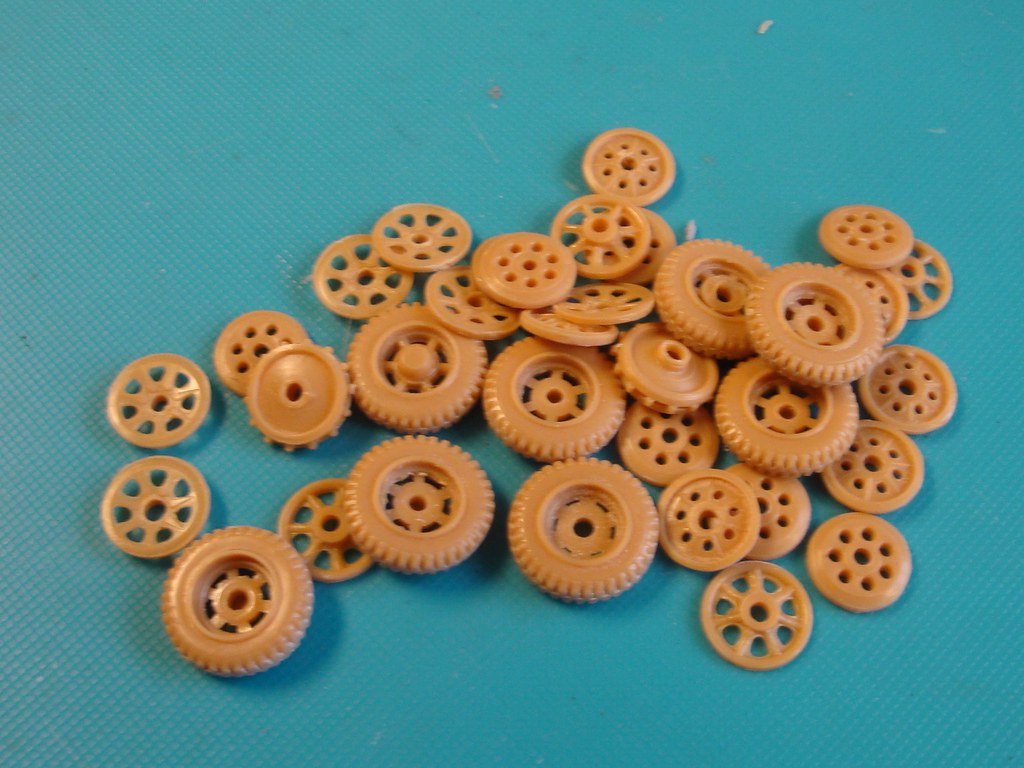
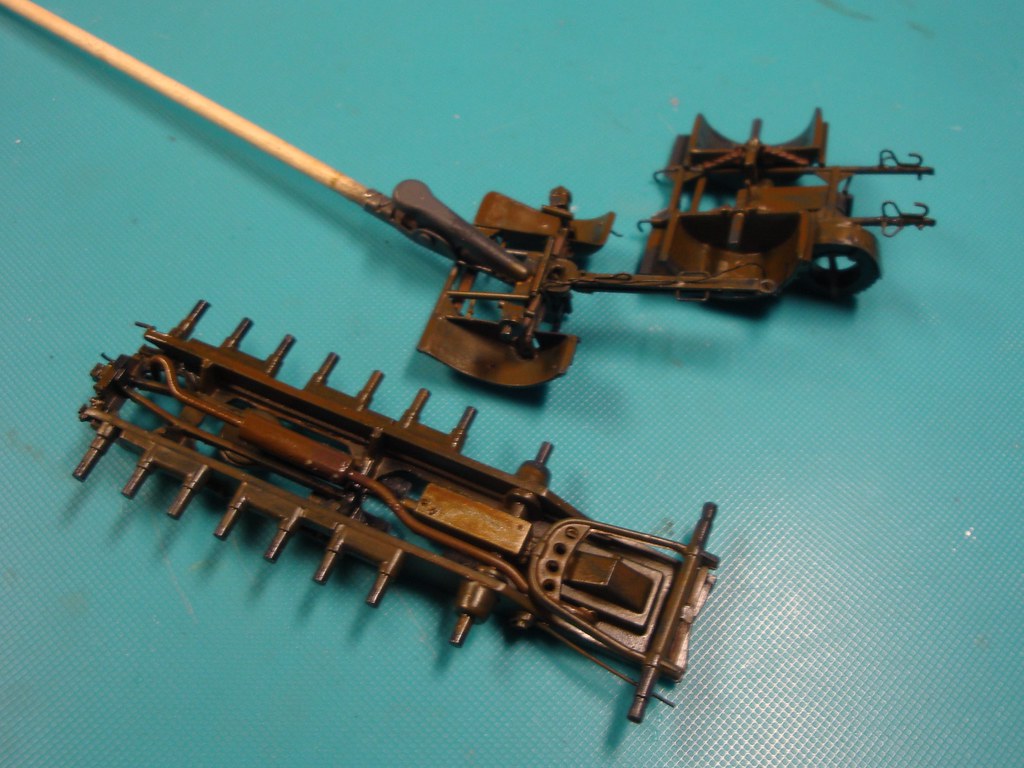
All wheels removed from the sprues and cleaned up where necessary.

Image
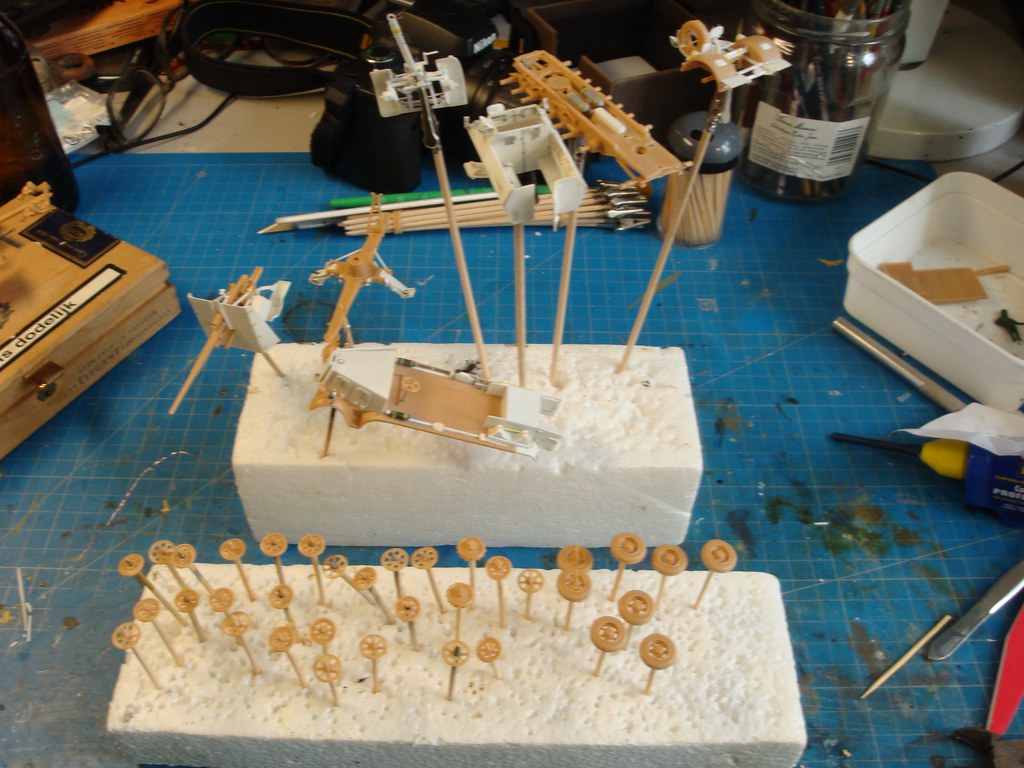
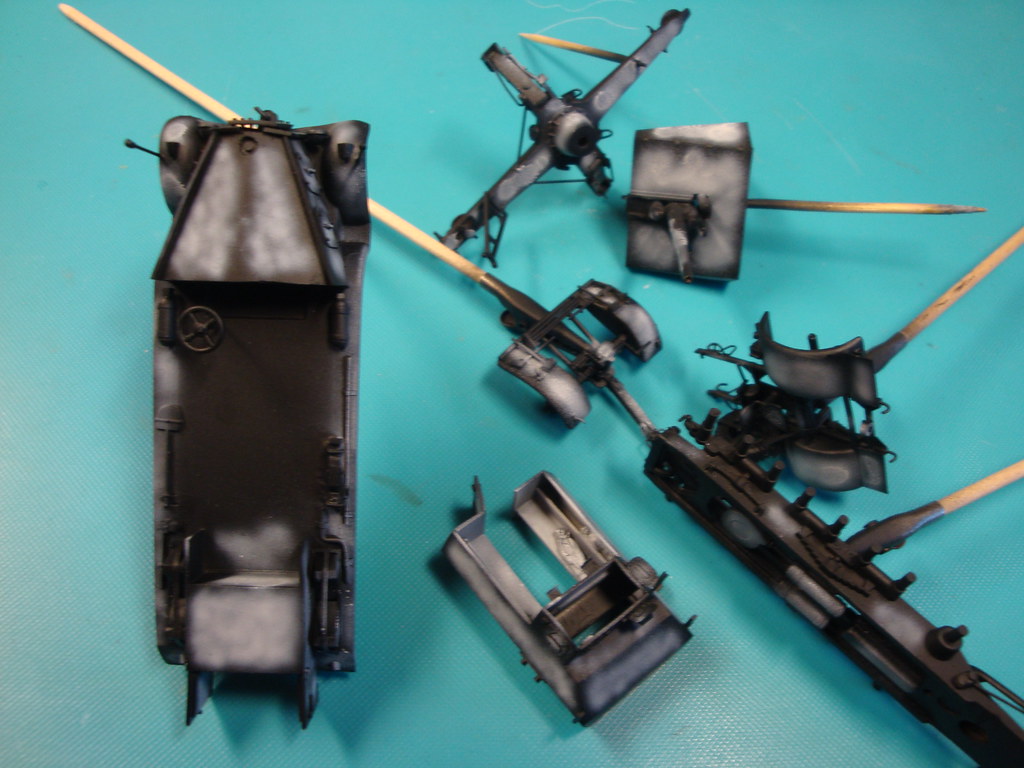
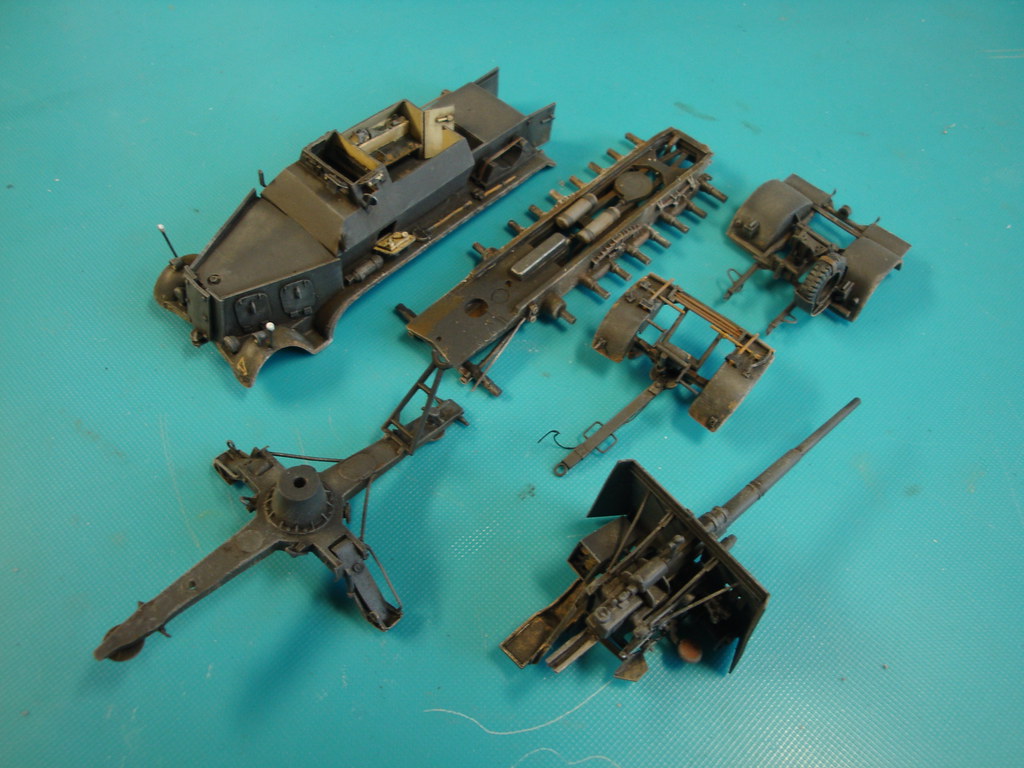
All subassemblies prepared for the spraying booth.

Image
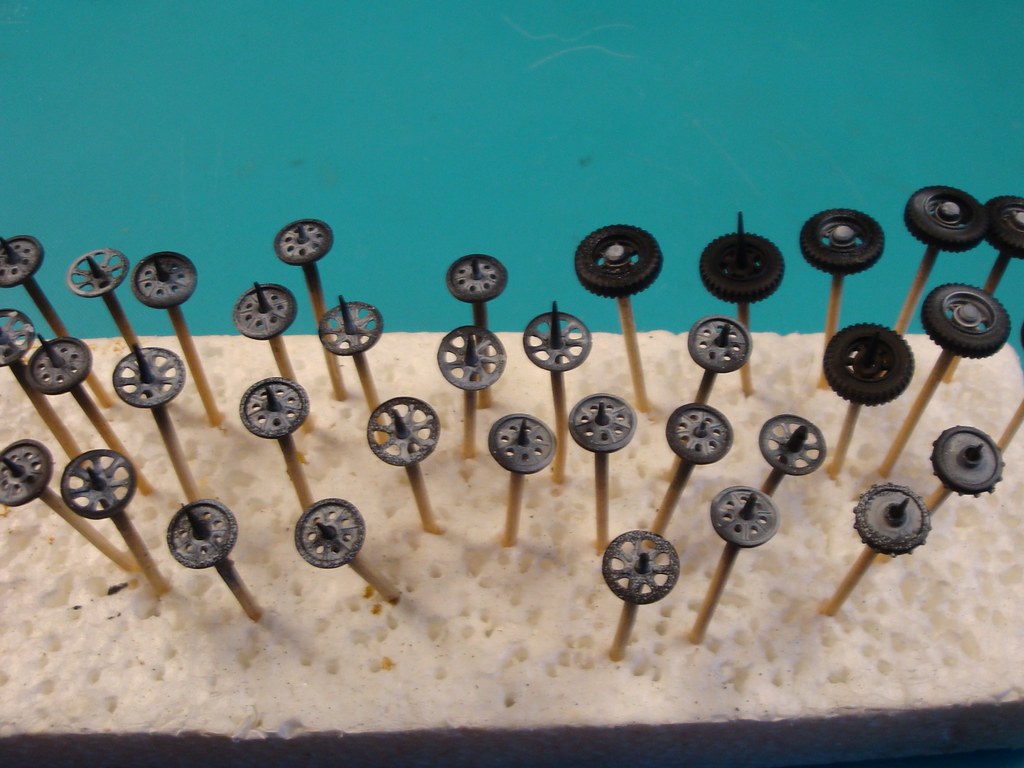
The wheels primed.

Image
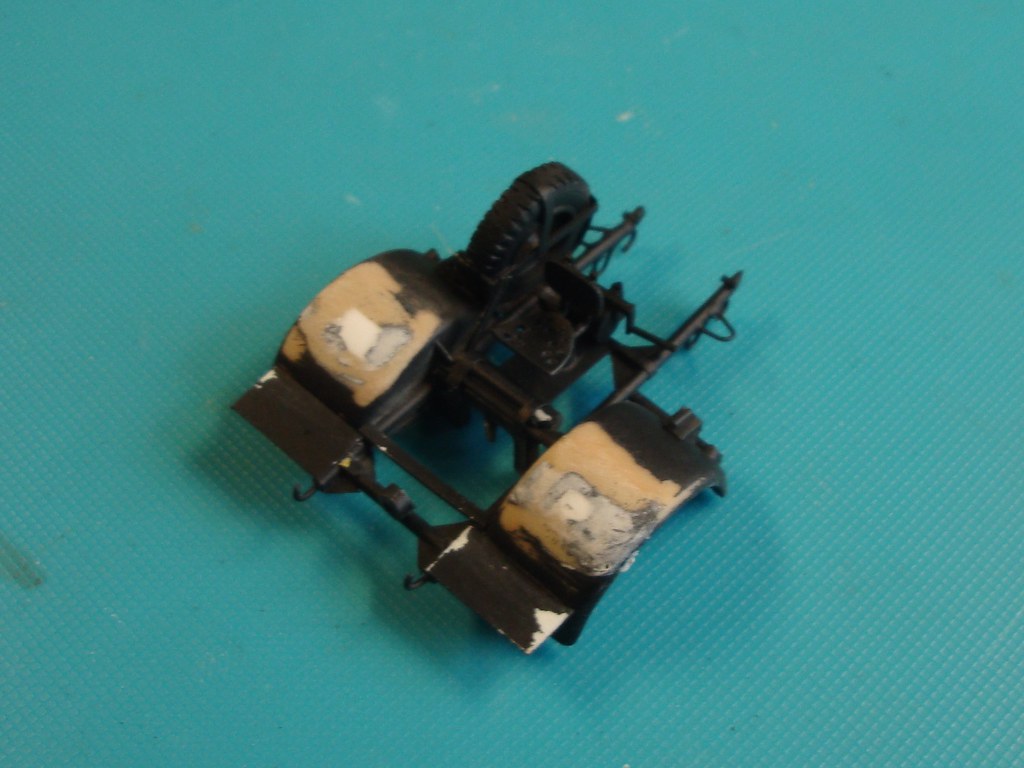
After the first layer of primer the mudguards of the back limber showed they needed some extra attention from filler and sanding paper.

Image
Preshade on the wheels,....

Image
....and on the rest of the model.

Image
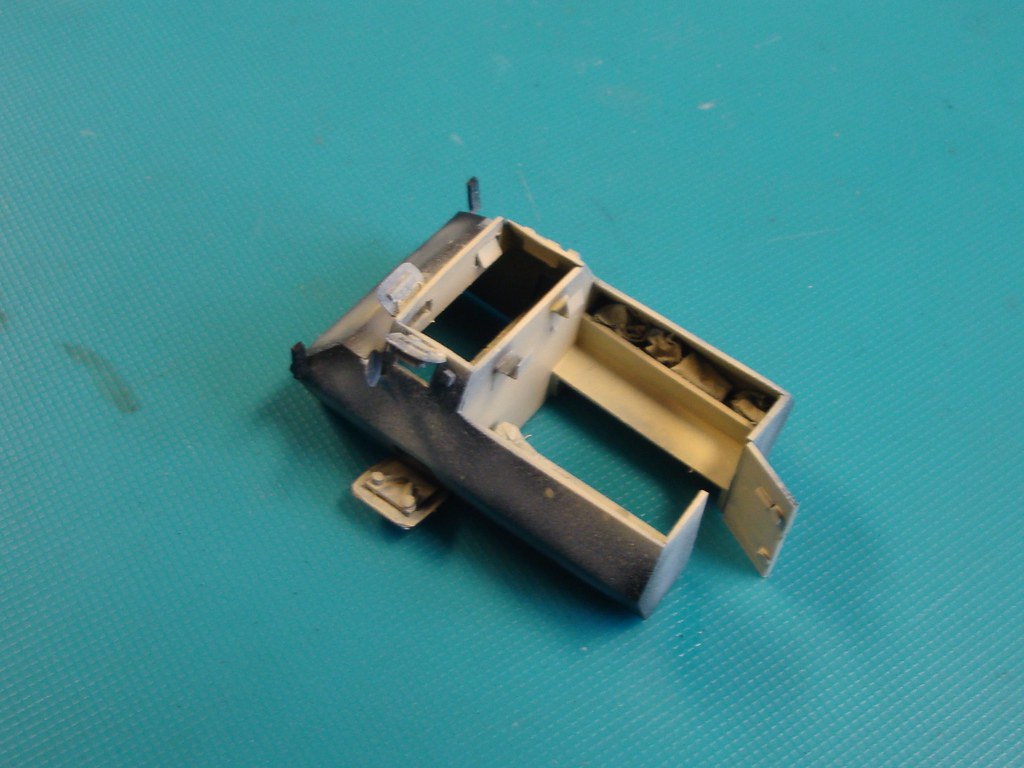
The tractors interior was sprayed in cream.

Image
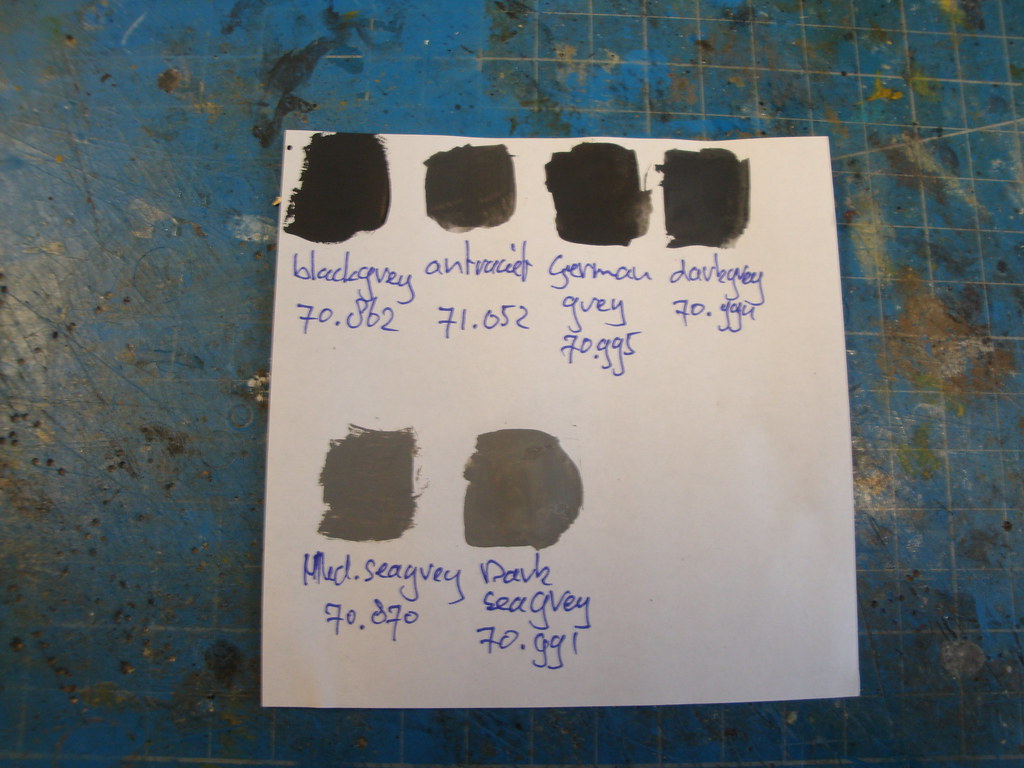
I made a coloursheet to decide which colour to use for German Panzer Grey. In reality this is a very dark colour of grey, showing almost black. I have lot of these colours as you can see, but my perfect colour was not there. In the end I choose for Vallejo antracite.

Image
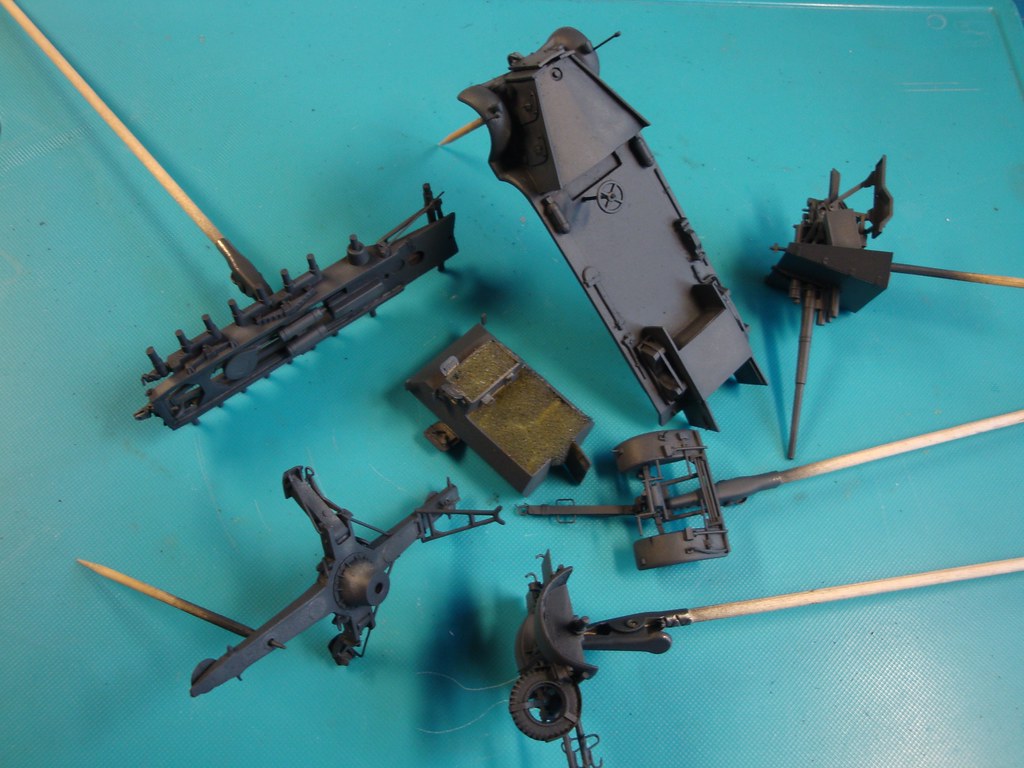
Antracite sprayed. The preshade is still a bit visible, as it should be.

Image
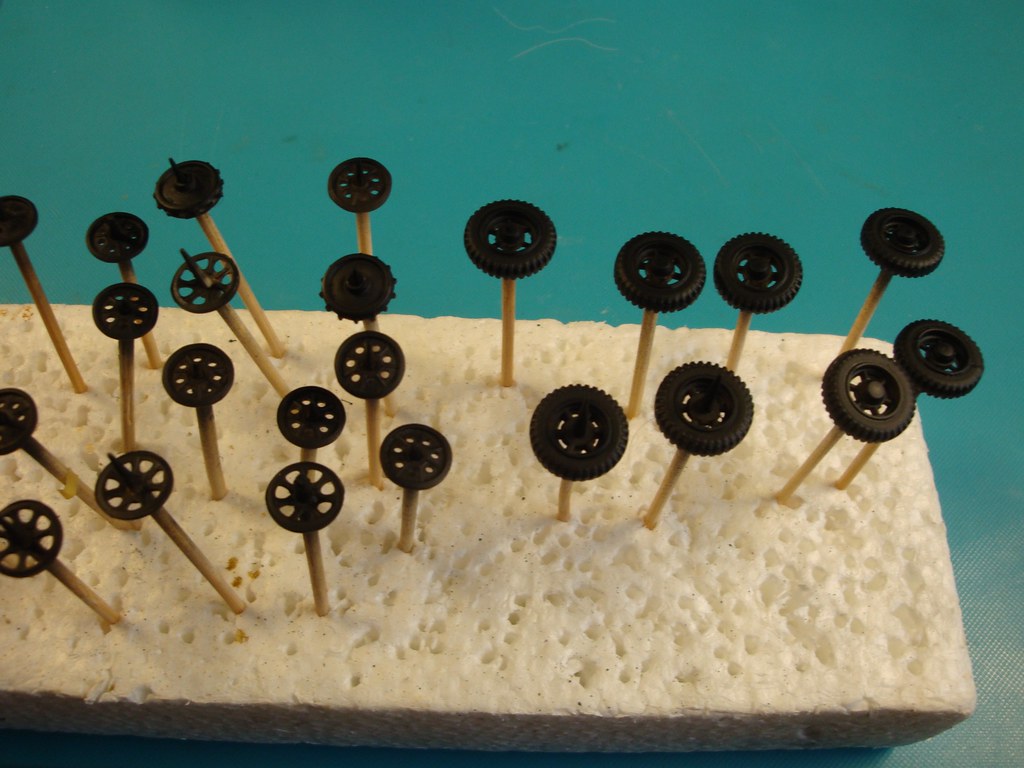
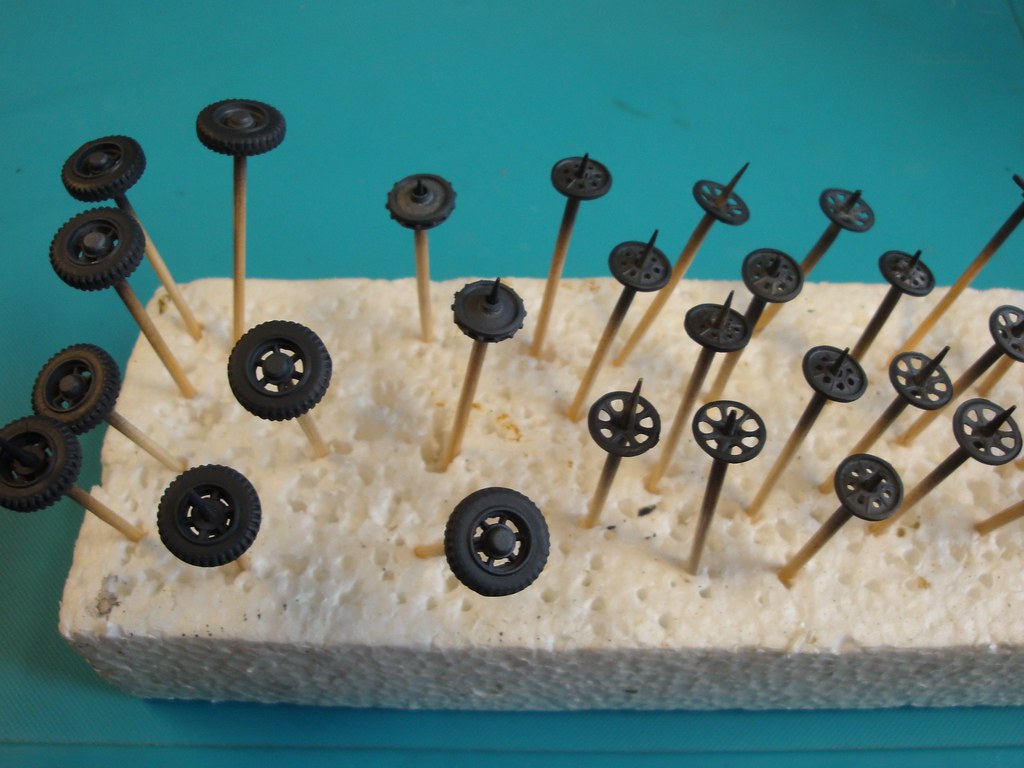
The wheels sprayed and all rubber tyres and rims brushpainted using black-gray. The contrast is low, so it is difficult to see.

Image
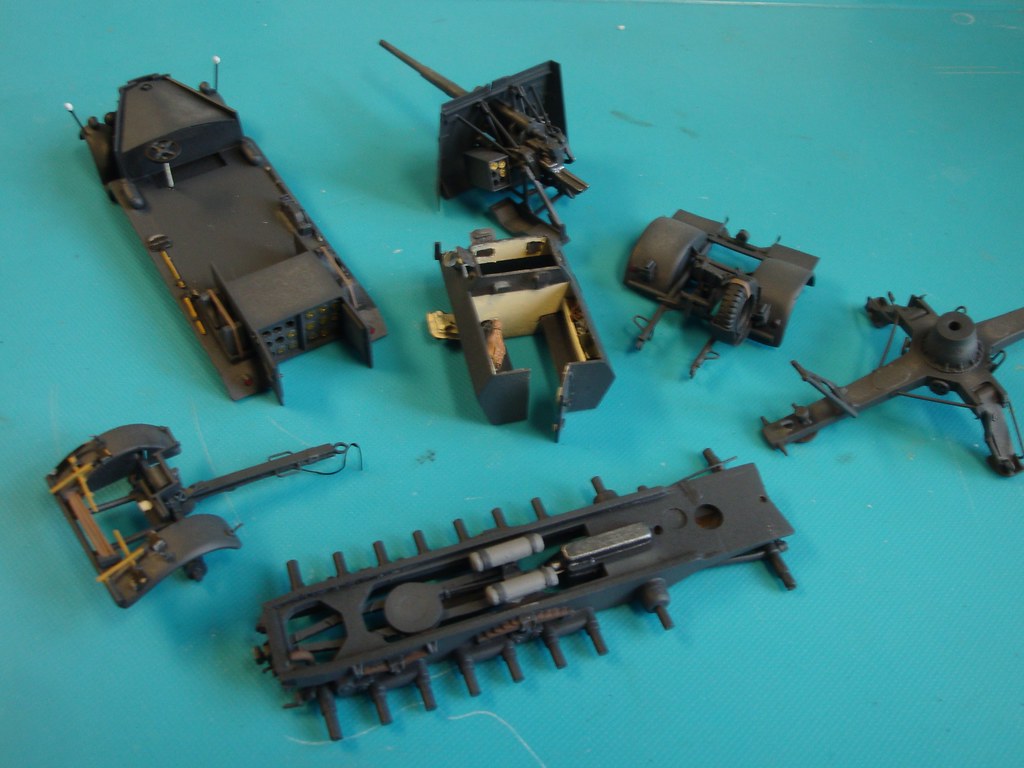
All details brushpainted, and few touch-ups to remove overspray.

Now for a few tiny decals.
User avatar
huib  Netherlands
 
Posts: 1014
Member since:
12 Dec 2015, 15:57

Posted by Peter on 03 May 2024, 16:28

You're making something very nice again Huib! :thumbup:
User avatar
Peter  Belgium

Moderator Moderator
 
Posts: 22780
Member since:
25 Mar 2008, 18:51

Posted by huib on 05 May 2024, 16:40

Decals

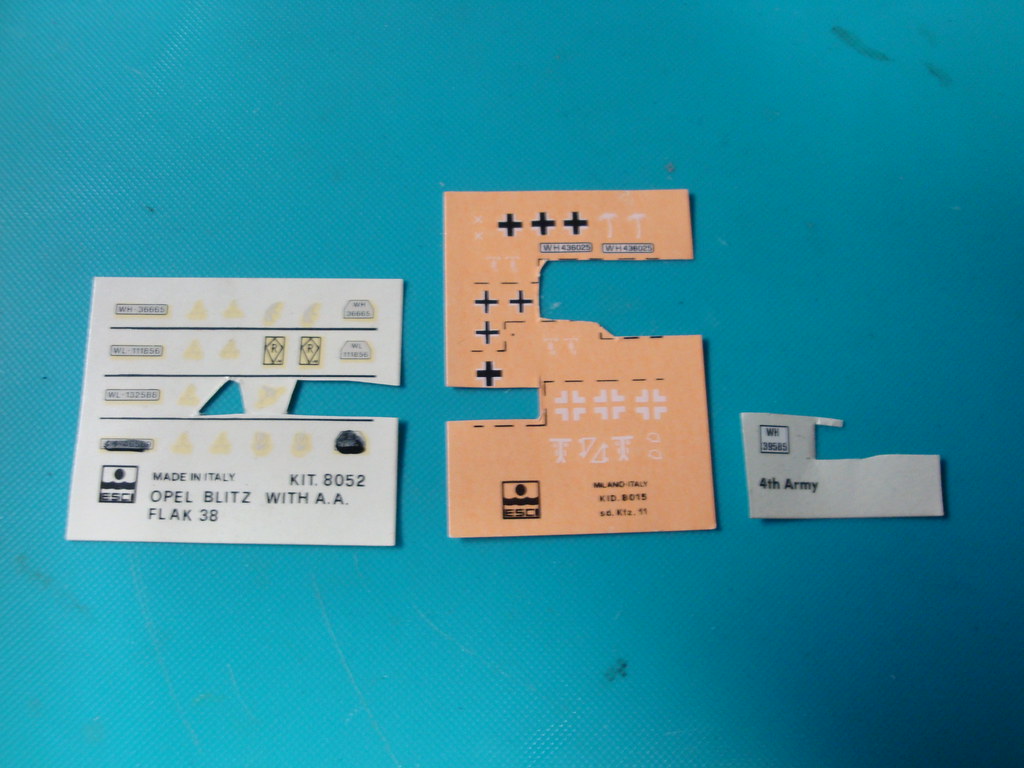
I raided the sparebox in search of some suitabele decals for this model, and succeeded!

Image
An old pinkish Esci sheet for an Sd.Kfz.11 sported some suitable tactical signs from a tank hunter unit. And no lack of license plates. That's all I need.

Image
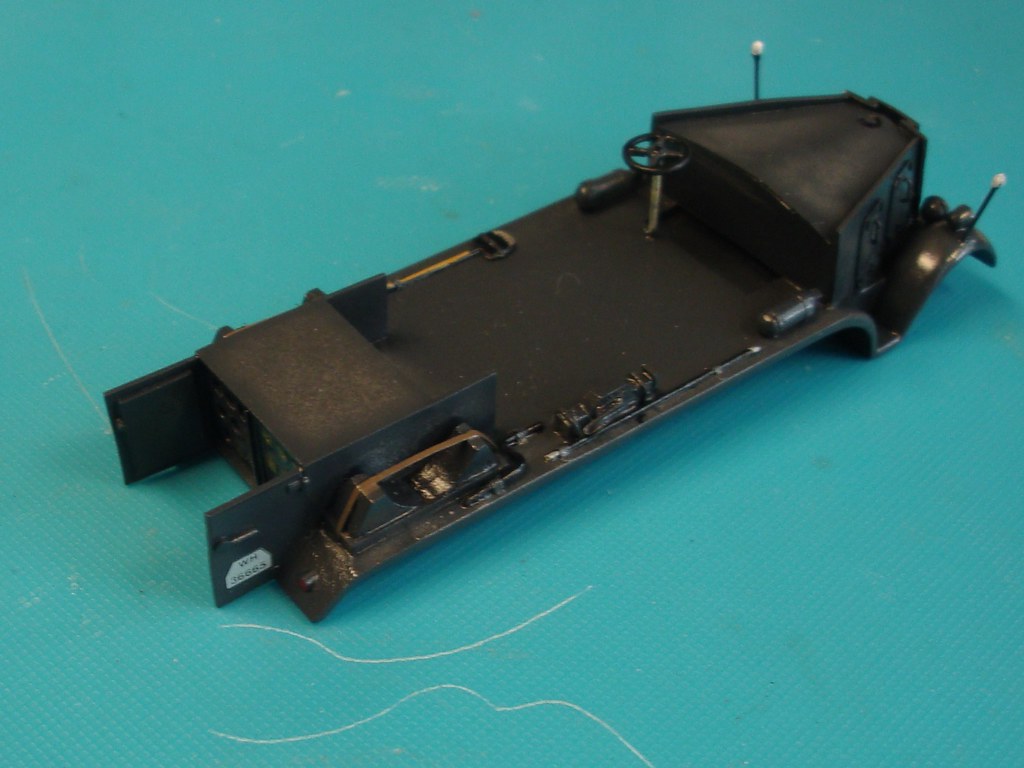
The fun was shortlived however, as the ancient decals disintegrated after contacting water. I managed to more or less salvage one Panzerjäger emblem for the front fender. The other was lost. As was one of the license plates for the front bumper.

Image
On the back a license plate from another sheet.

And now on with weathering.
User avatar
huib  Netherlands
 
Posts: 1014
Member since:
12 Dec 2015, 15:57

Posted by huib on 06 May 2024, 14:08

Weathering
For dirt and grime I took out the oil paints.

Image
A sloshwash of mudbrown oilpaint was applied on the undersides of the model to create a base of dirt.

Image
Then a darkbrown pointwash to suggest more depth to the model.

Image
Followed up by drybrushing using light gray and light brown colours to create highlights. The whole was finished using a matte varnish.

Image
And as the finishing touch lots of half dried mud on the underside.

Now for the final assembly.
User avatar
huib  Netherlands
 
Posts: 1014
Member since:
12 Dec 2015, 15:57

Posted by Peter on 07 May 2024, 15:28

Always great to see these step by step post of you Huib. :thumbup:

Was it that bad with the decals? I have some old ones in the spare box to.
User avatar
Peter  Belgium

Moderator Moderator
 
Posts: 22780
Member since:
25 Mar 2008, 18:51

Posted by huib on 09 May 2024, 12:59

Yes it was. But only those with the pinkish backing paper. The others were alright.
User avatar
huib  Netherlands
 
Posts: 1014
Member since:
12 Dec 2015, 15:57

Posted by huib on 09 May 2024, 13:13

Wheels and tracks.
First step in the final assembly.

Image
All wheels finished with dust and mud.

Image
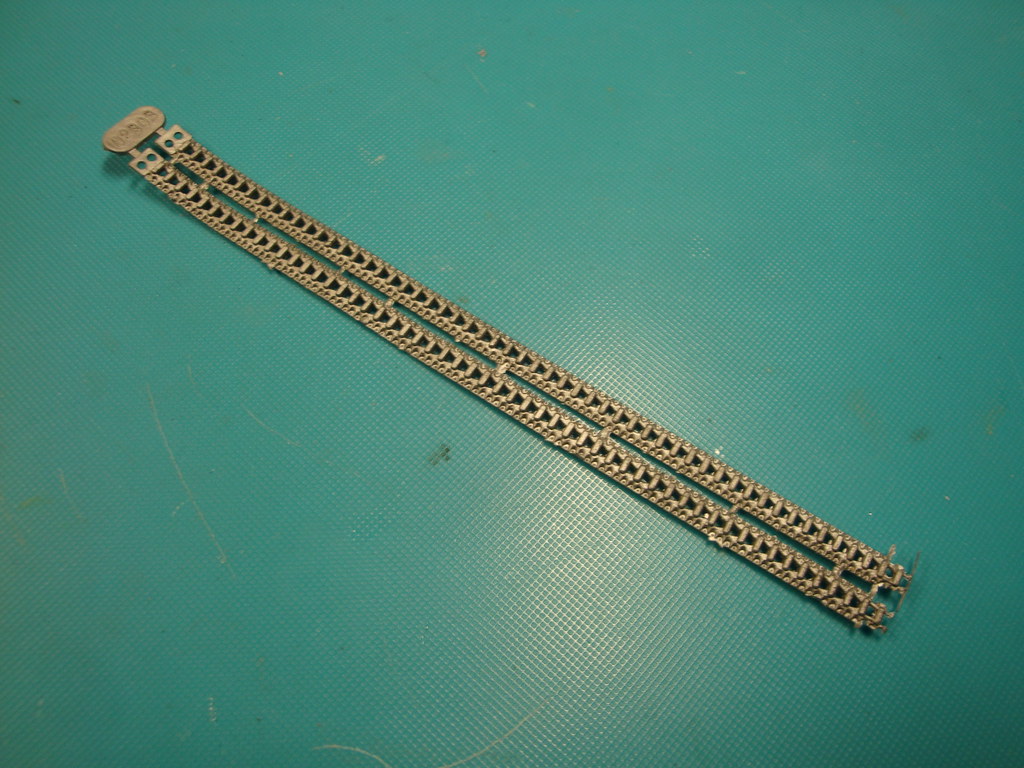
The tracks of silver plastic.

Image
painted and weathered.

Image
The overlapping roadwheels glued in place and carefully aligned.

Image
The trackend should be melted together, but as this connection tends to break under tension I add an extra safety measure using sewing thread.

Image
Tracks in position. As these plastic tracks are quite insensitive to gravity I forced some gravity upon them using iron wire pressing them on the road wheels.

Image
All wheels installed.

On to the last parts.
User avatar
huib  Netherlands
 
Posts: 1014
Member since:
12 Dec 2015, 15:57

Posted by Peter on 09 May 2024, 20:15

Thanks for the information about the decals! :thumbup:

Great work on those wheels and tracks. :thumbup:
User avatar
Peter  Belgium

Moderator Moderator
 
Posts: 22780
Member since:
25 Mar 2008, 18:51

Help keep the forum online!
or become a supporting member

Posted by huib on 14 May 2024, 19:34

Final assembly
The last steps in constructing gun and tractor.

Image
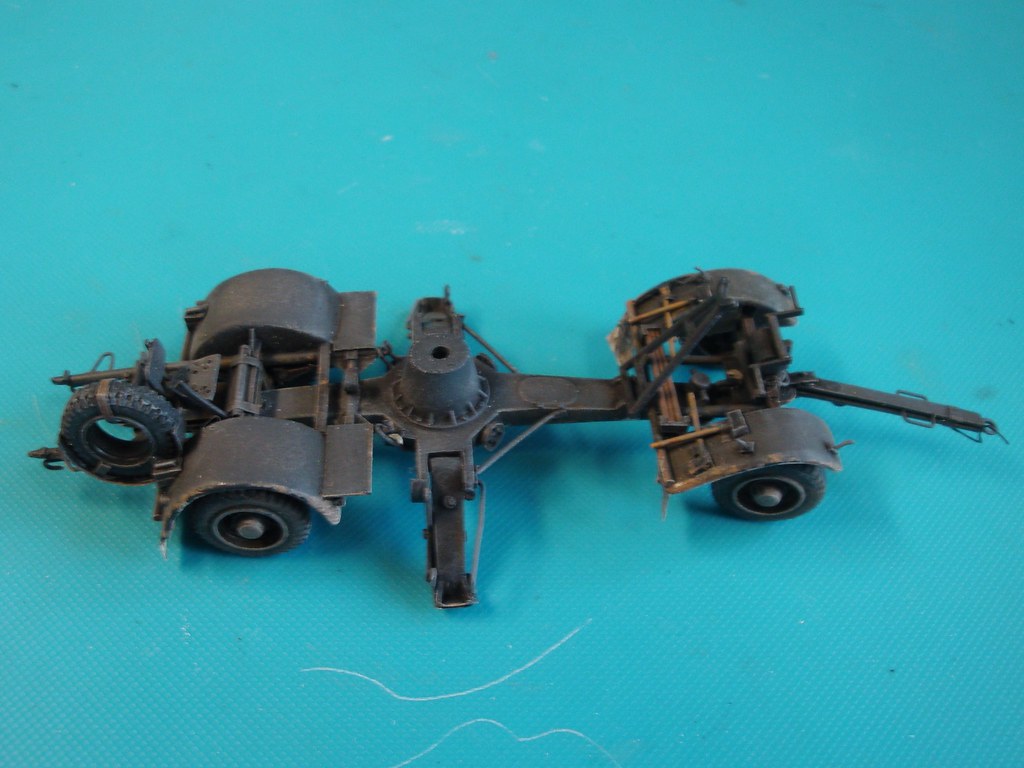
The transport limbers are glued to the crucifix platform. It took some filing and drilling to make everything fit an to get six wheels and two support legs all touch the ground.

Image
Mudflaps were made from tinfoil and glued to the mudguards. A rope was added to the front right mudguard as a nice extra detail.

Image
The upper body of the tractor glued to the lower body. And also mudflaps added behind the tracks.

Image
And here as a finishing touch a towing cable behind the drivers cab.

Image
A detail that I didn't invent myself!

Image
Gun attached.

Image
Now for a small base!
User avatar
huib  Netherlands
 
Posts: 1014
Member since:
12 Dec 2015, 15:57

Posted by Peter on 17 May 2024, 23:08

Impressive! Can't wait to see it on a nice base! :thumbup:
User avatar
Peter  Belgium

Moderator Moderator
 
Posts: 22780
Member since:
25 Mar 2008, 18:51

Posted by huib on 18 May 2024, 14:47

Thanks Peter!

Base
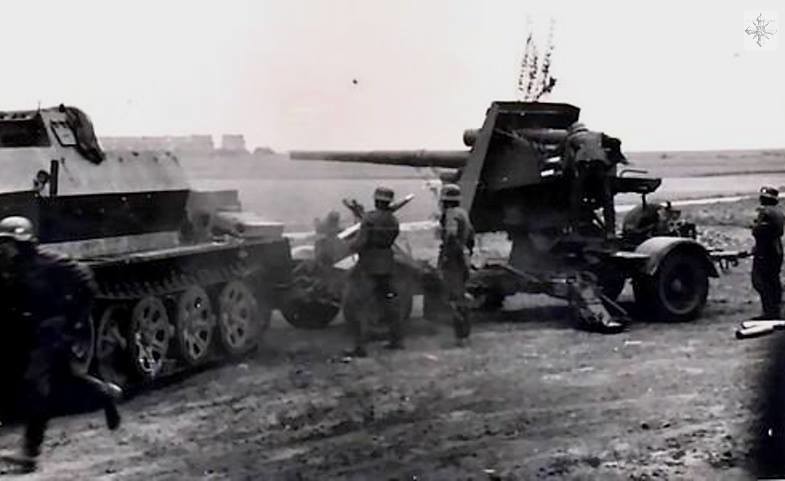
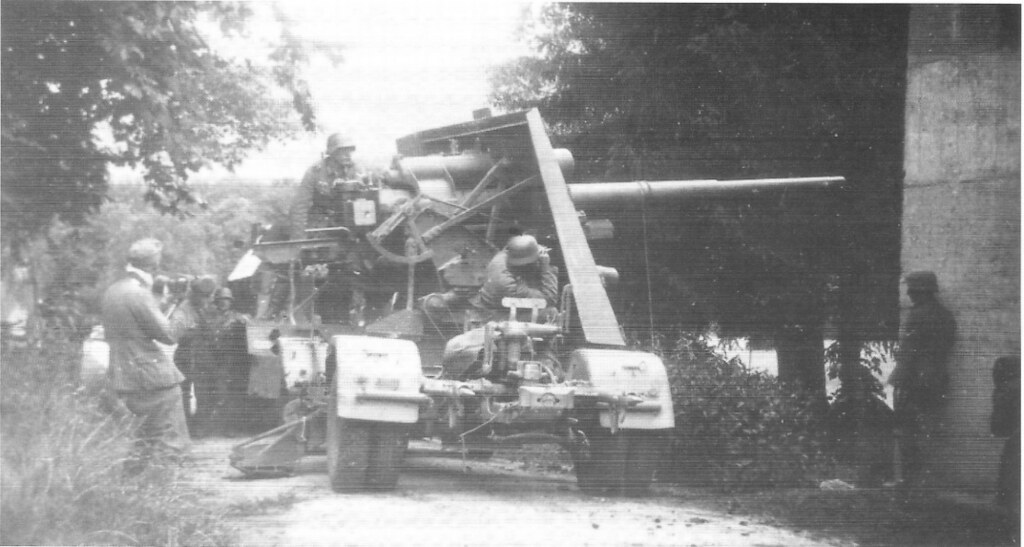
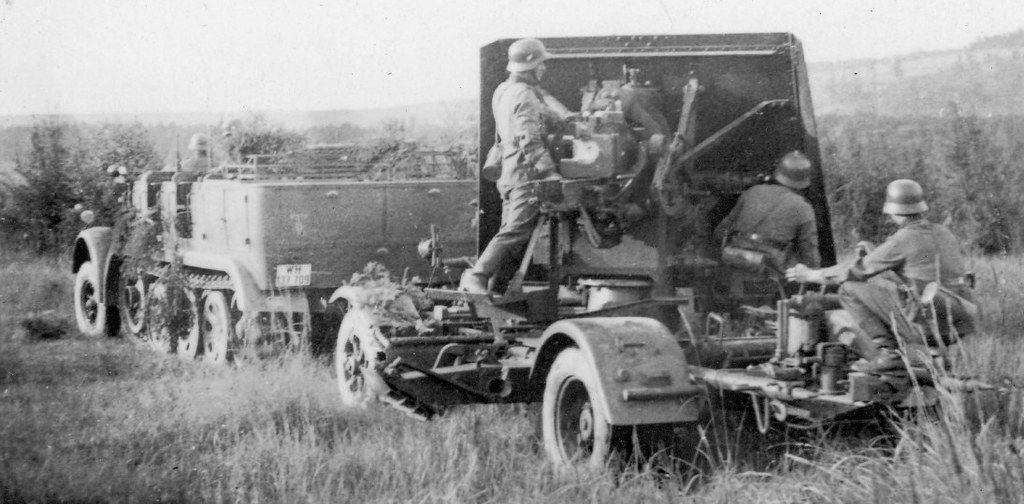
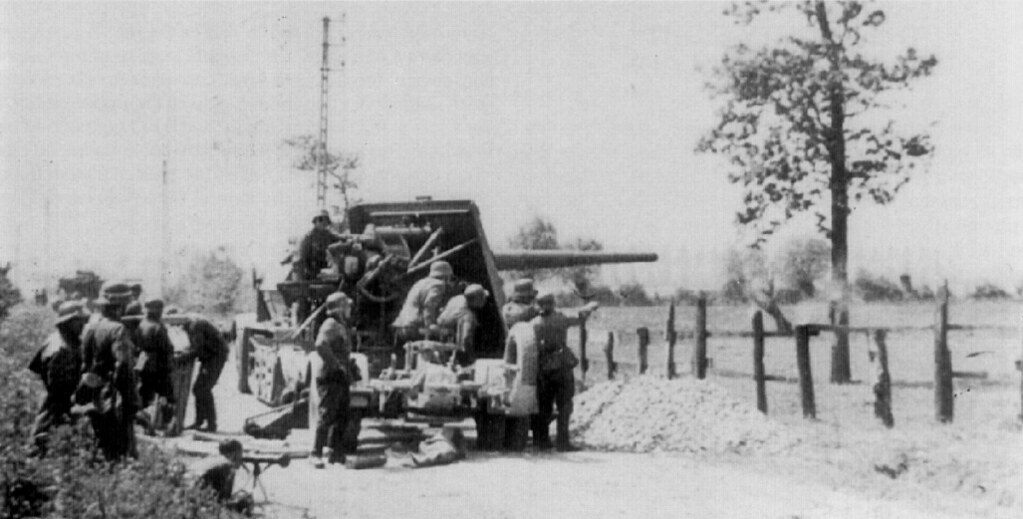
This model can use a small base. I keep it simple not to distract too much attention from the model. For the 'mis-en-scene' I was inspired by the photographs below.

Image

Image

Image

Image

Image

Image
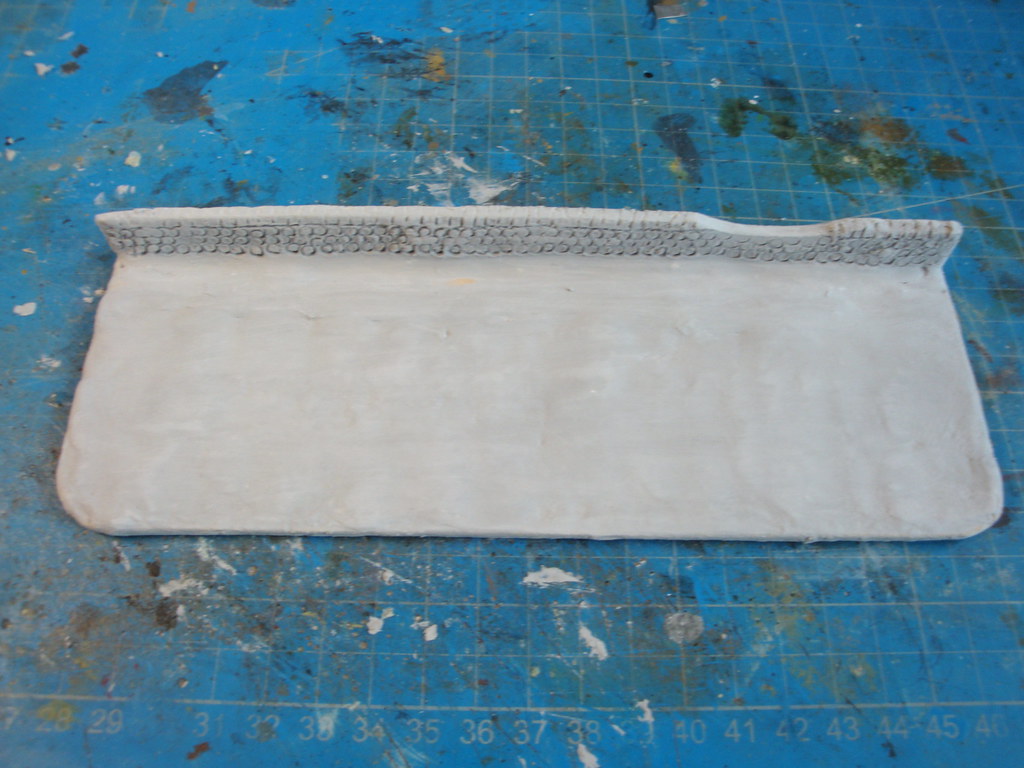
The starting point is a scrap piece of plywood.

Image
I used clay to sculpt a sand road, shallow ditch and a stone wall.

Image
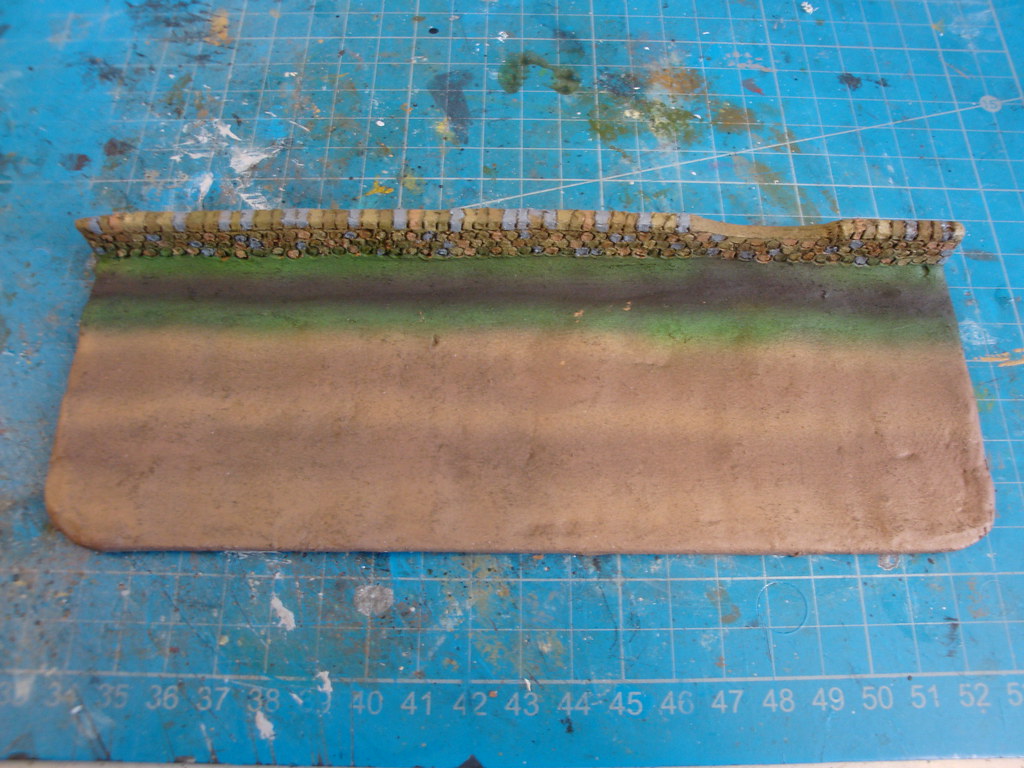
Painted.

Image
Grassed.

Image
Some dried twigs from the garden, made into a tree using CA glue.

Image
I nicked the 'Herbes Provencales' from the kitchen, glued some to the twigs using thinned PVA glue, and quickly put it back before someone noticed.

Image
The Herbes Provencales were sprayed green using the airbrush. Now you will think, weren't they green already? Yes, but from experience I know they will turn yellow quite quickly if not painted.

Image
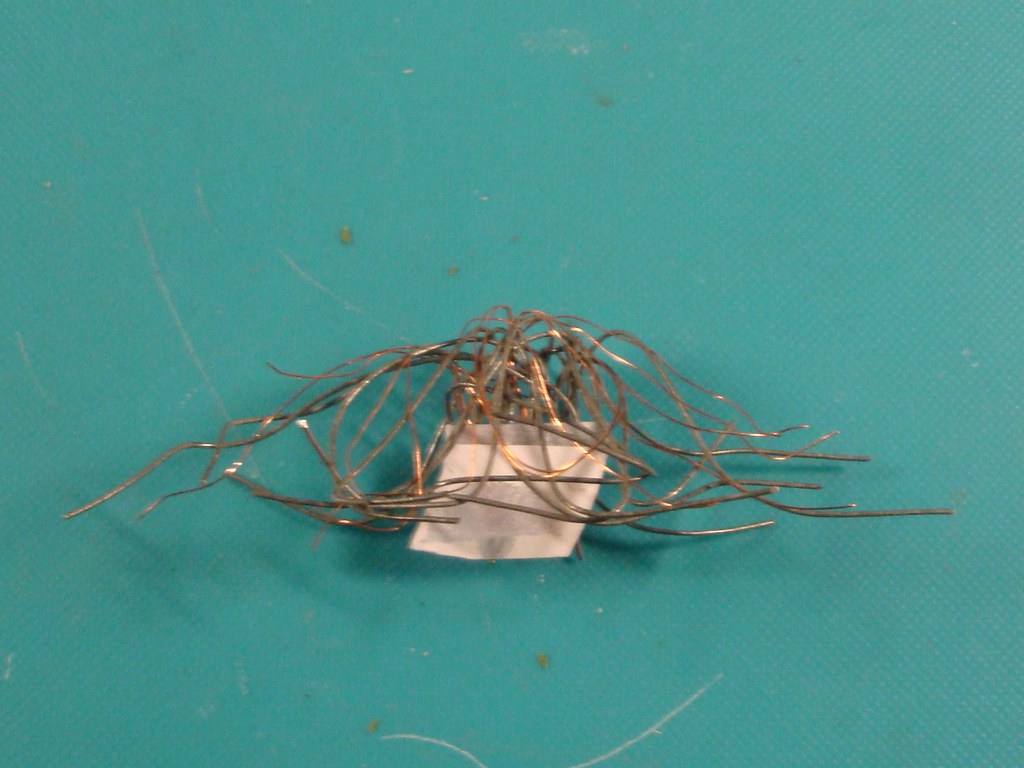
And what's this? Ah, off course, a bramblebush under development. Some iron and copper wired glued on a piece of paper using CA glue.

Image
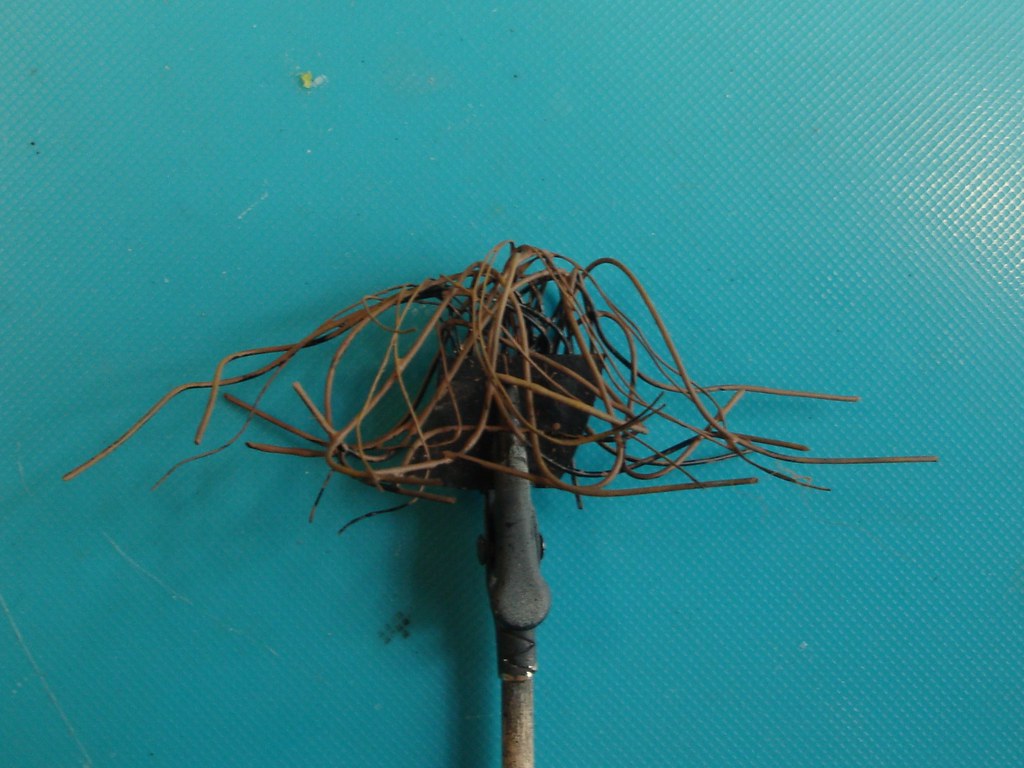
Bent into a bramble.

Image
Painted brown.

Image
Now the dill was nicked from the kitchen, glued to the branches, and quickly returned. A narrow escape this time. :sweatdrop:
Hm, it looks more like a conifer...... Well, whatever.

Image
Finished! Now for a few figures.
User avatar
huib  Netherlands
 
Posts: 1014
Member since:
12 Dec 2015, 15:57

Posted by steve_pickstock on 18 May 2024, 14:59

I wondered what had happened with this and I so pleased to see it pulling up to the finishing line. I really am a big fan of your work - the detail and just the effort you put into a piece.

I always liked the Revell early war German both the infantry and the crew figures for the horse-drawn 105. However I am sure that whatever you choose to do will be perfect.
User avatar
steve_pickstock  England
 
Posts: 1353
Member since:
20 Jun 2010, 19:56

Previous pageNext page

Return to Work in Progress