Thank you very much, guys!
Gun and cradleWell, it took a while. Because of the technical issues with the site it lasted days before I could even visit it, let alone post something. In the meantime a lot has been done.

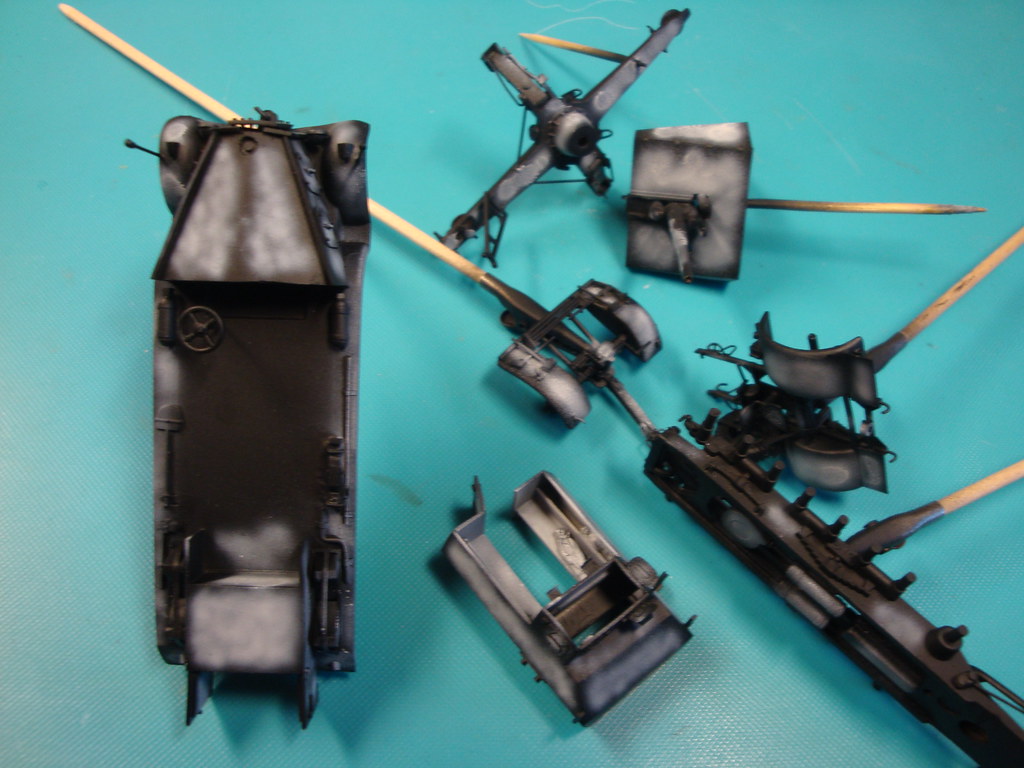
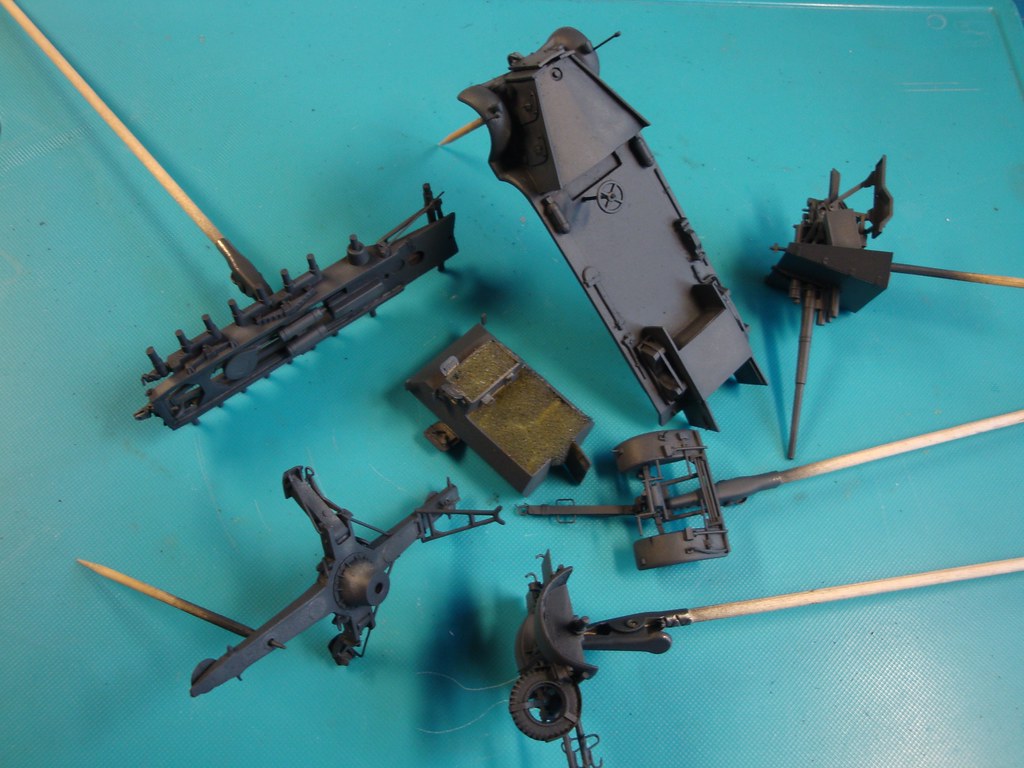
These are the main parts of the Airfix kit. Not bad at all, and apart from the shield I will use them as a starting point for further elaboration.

The Bunkerknacker has adapted rotation and elevation mechanisms from the anti-aircraft gun, optimised for direct horizontal fire. This demanded some changes to my model. The gunner is facing forwards instead of sidewards. The elevation mechanism is served by a chain which I imitated using sewing thread. And a gunsight for direct fire was added.

On the left side of the cradle the fusesetter of the AA gun is omitted. Instead four pieces of plastic rod are added as struts for the six shot magazine.

The barrel demanded two ugly extrator pin marks too be removed from difficult places. The barrel was drilled open and the slide rails was filed open. Two valve rods are added to the barrel.

The protective shield of the Bunkerknacker was a bit bigger than that of the AA gun and had a different layout. So I had to make a new one.

The steel profile above the barrel even makes its use as an AA gun impossible.

Scratchbuilt six-shot magazine.

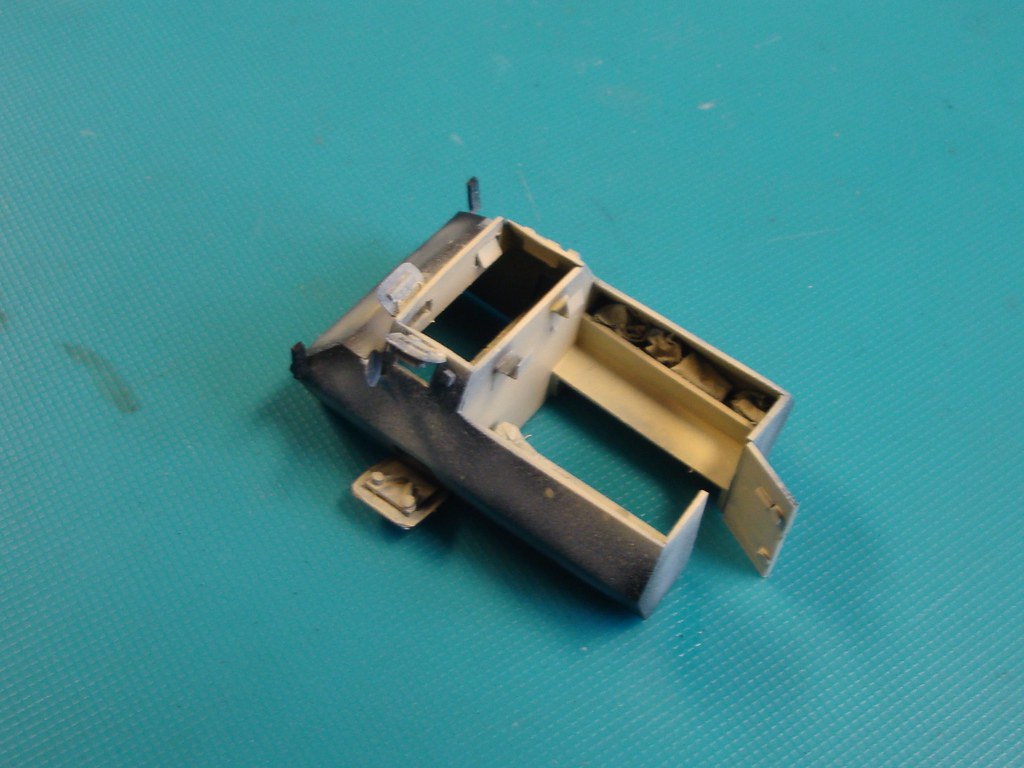
The most challenging part to scratch was the loaders platform.
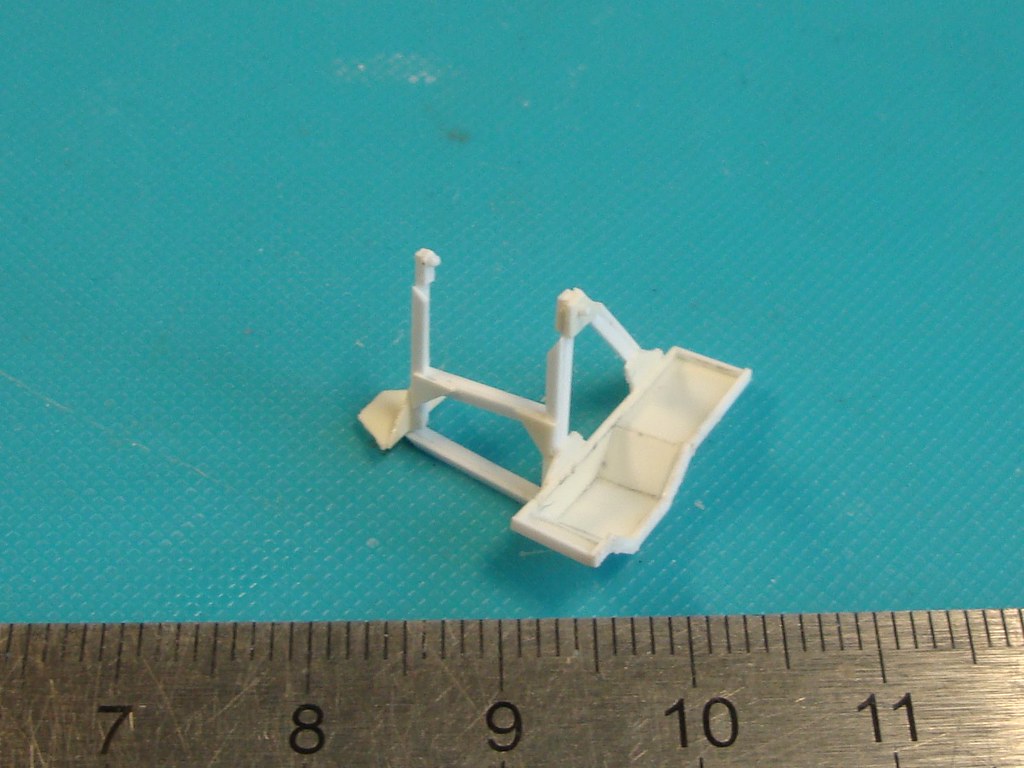
Which moreover was attached to the cradle with a quite complex construction.
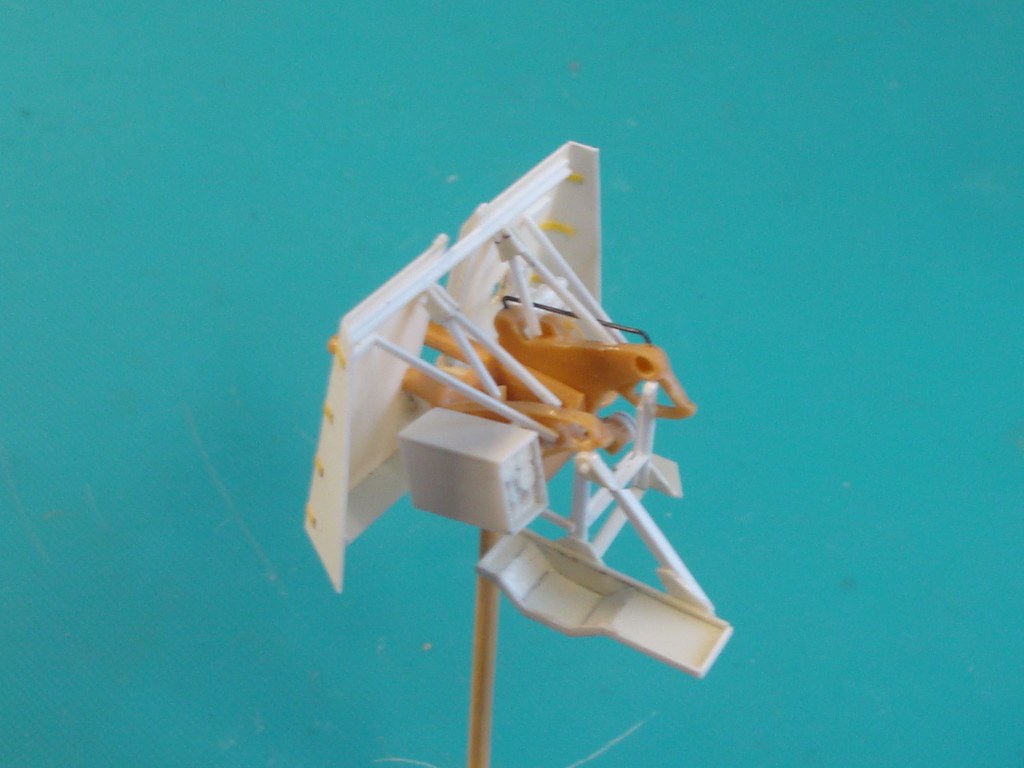
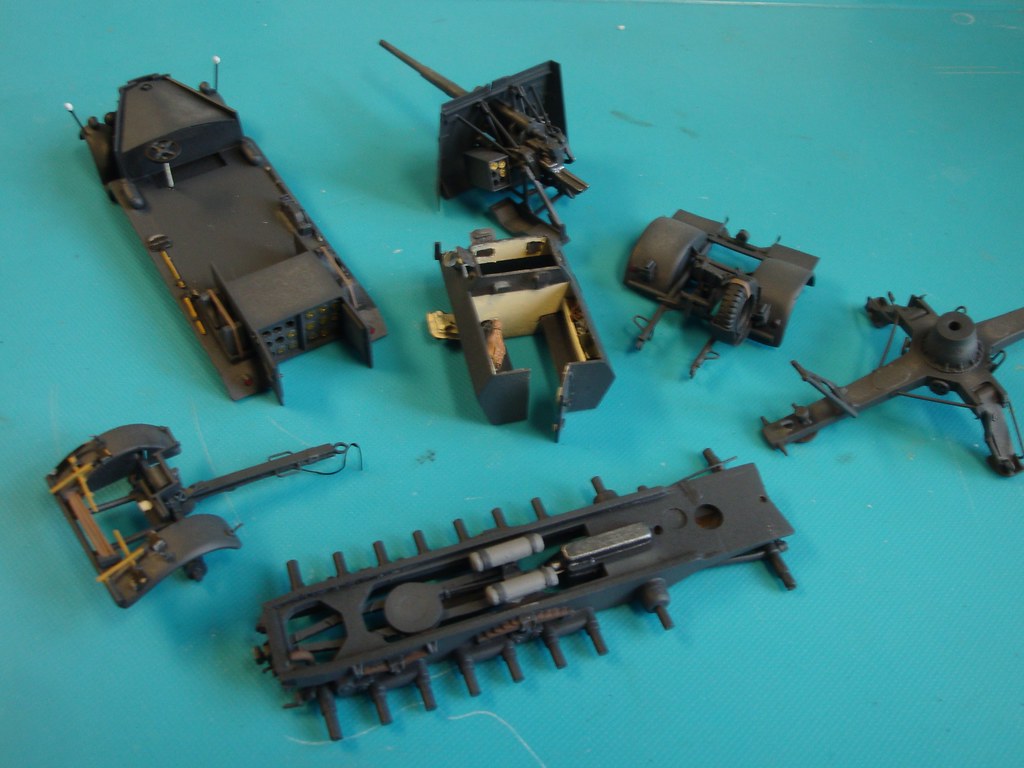
All subassemblies attached to the cradle.

From the other side.
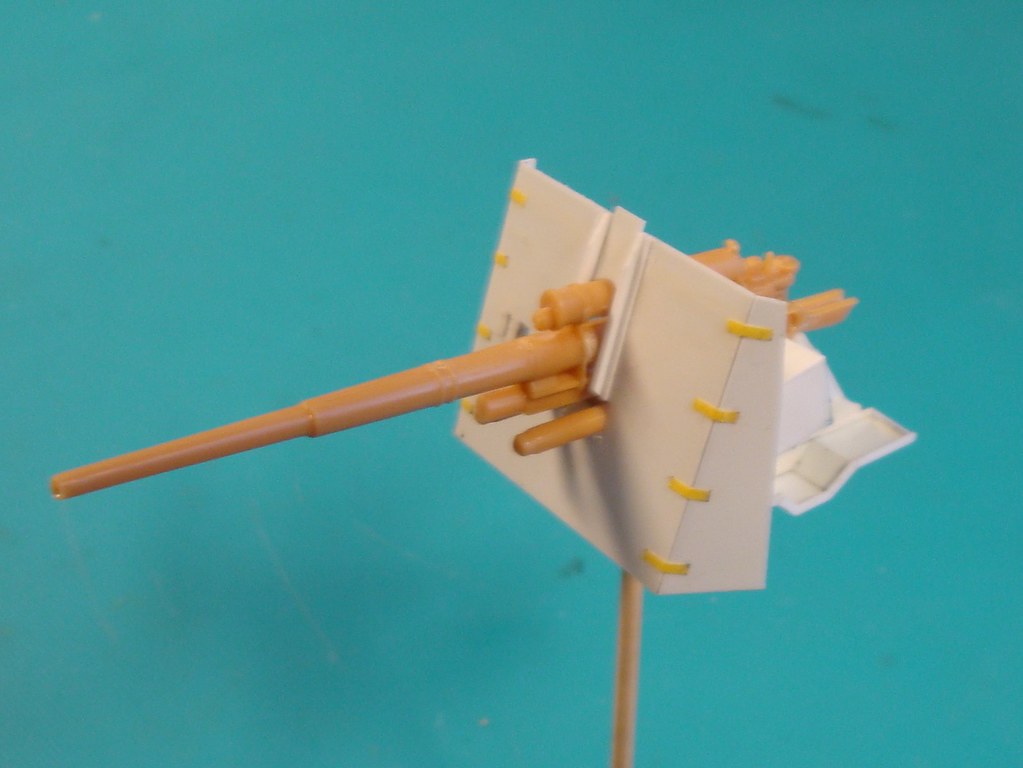
Barrel inserted.
From behind.
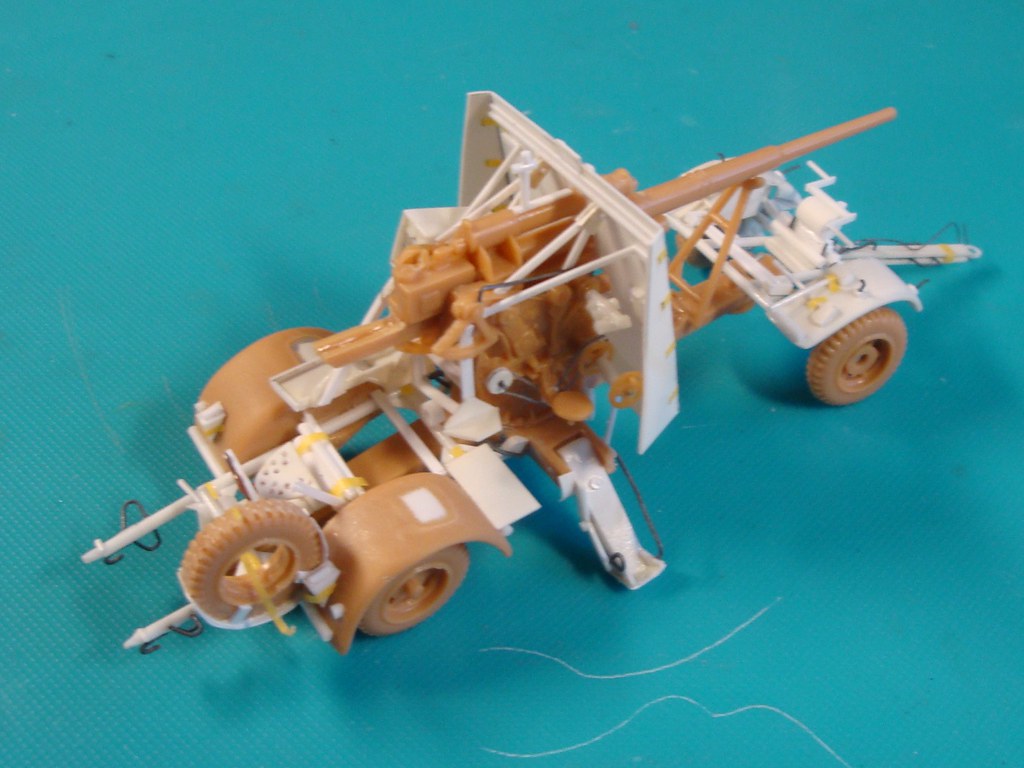
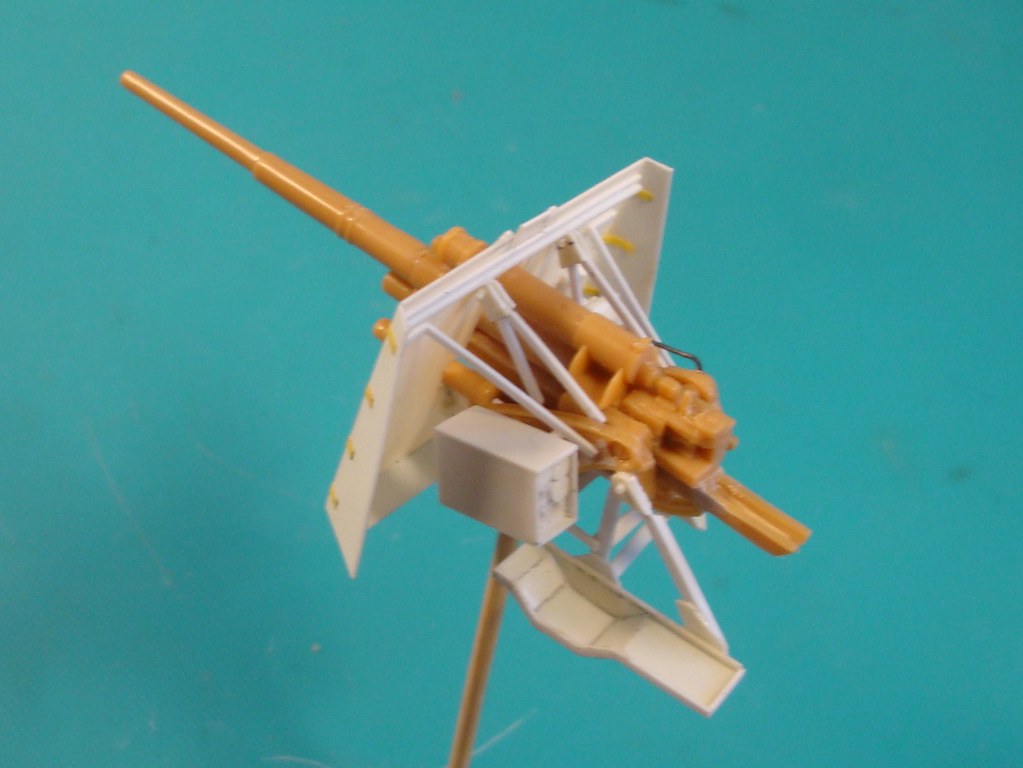
Gun ready!!
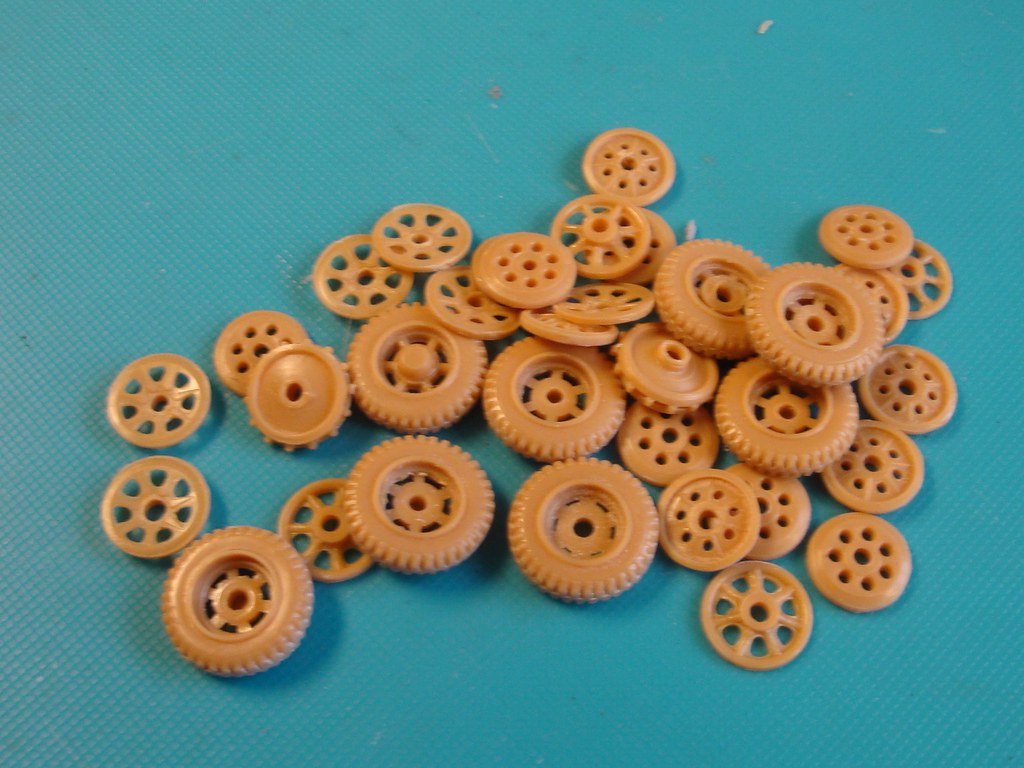
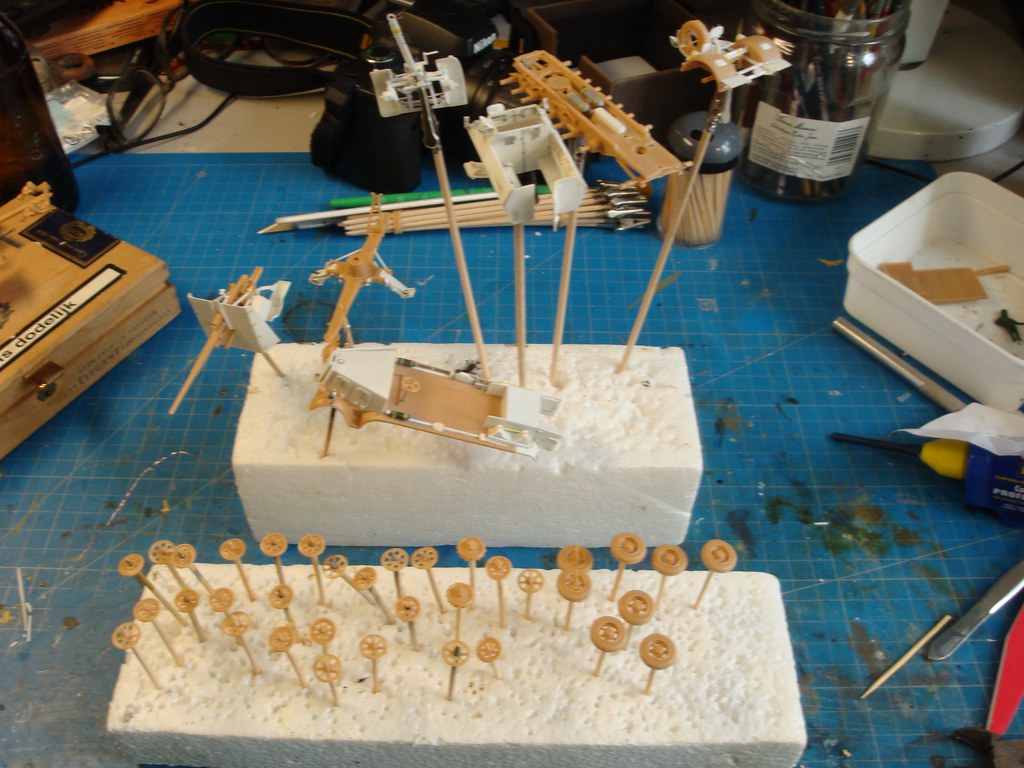
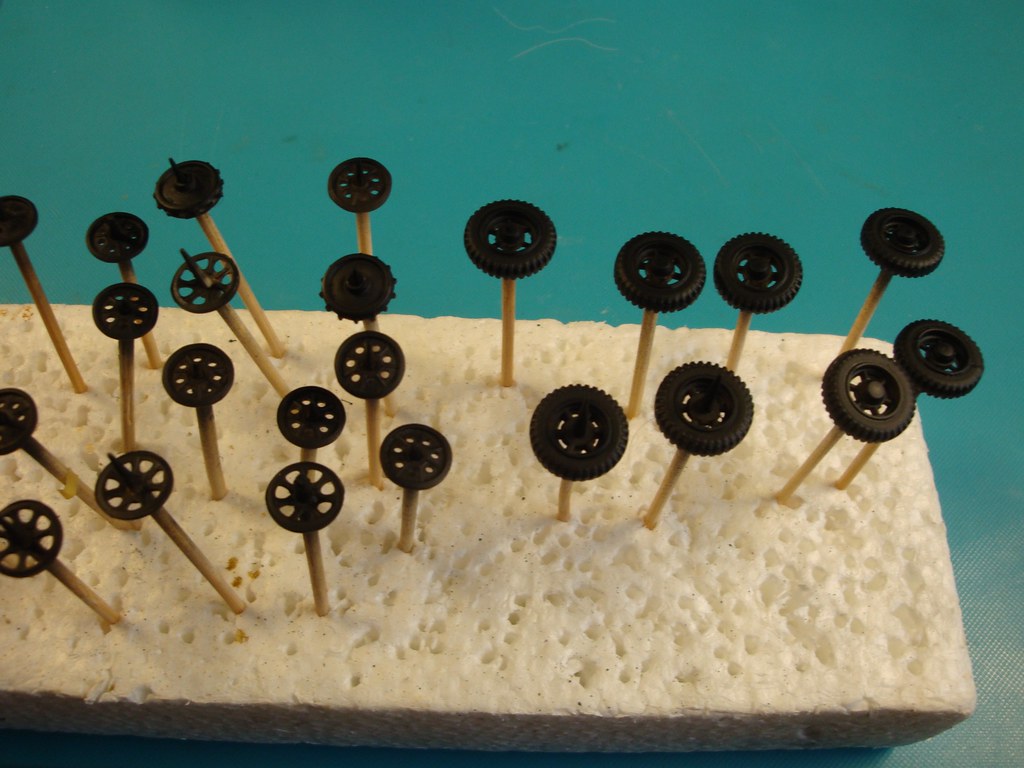
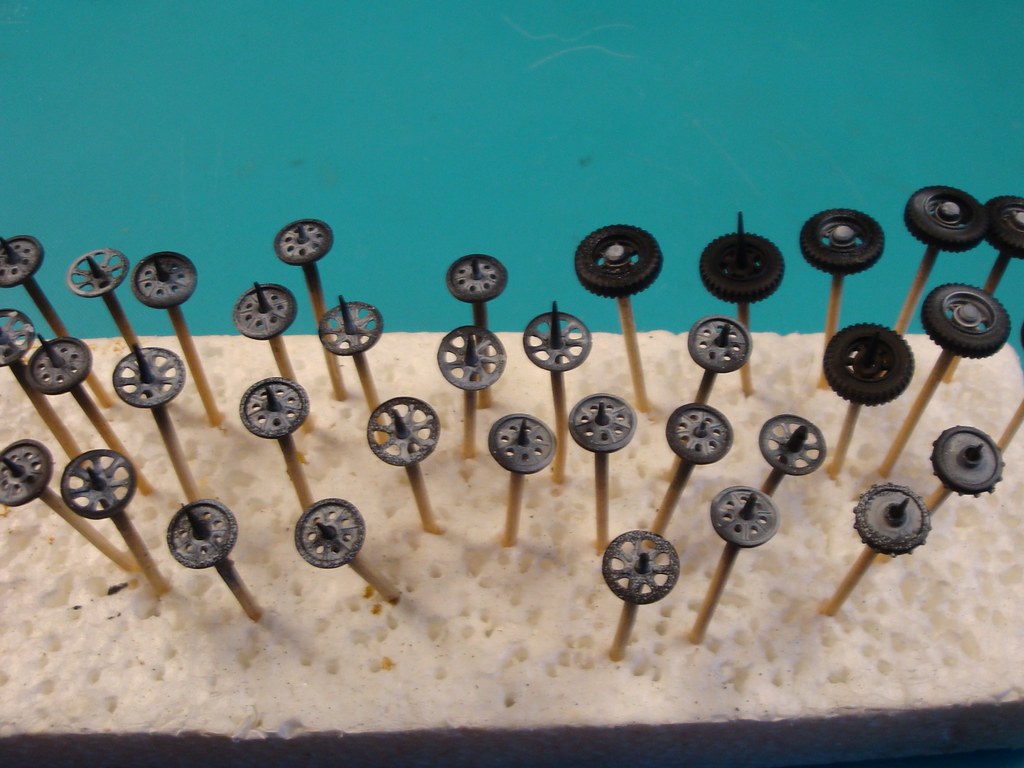
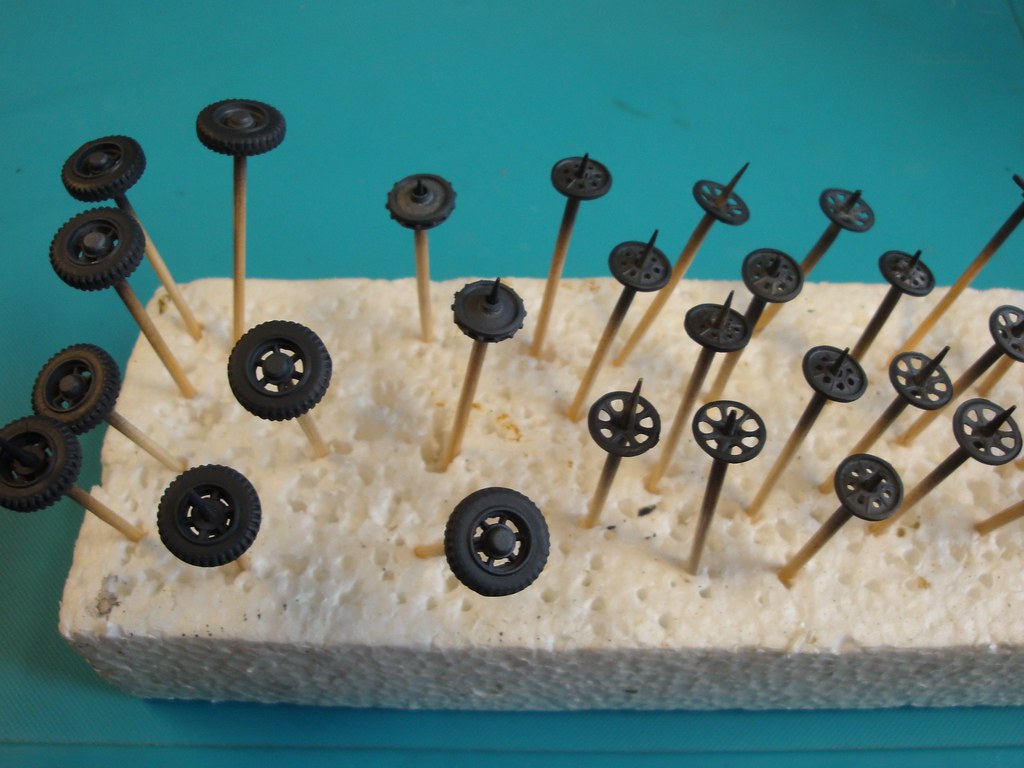
Now for a lot of wheels to clean up and prepare for painting.


 Moderator


")