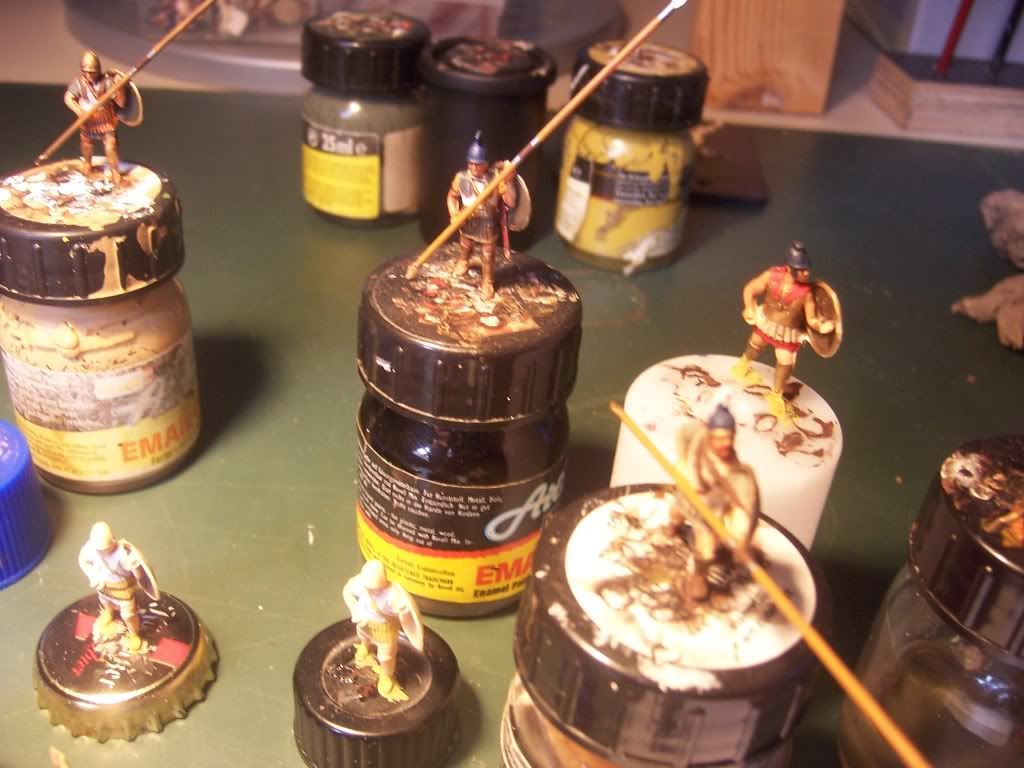
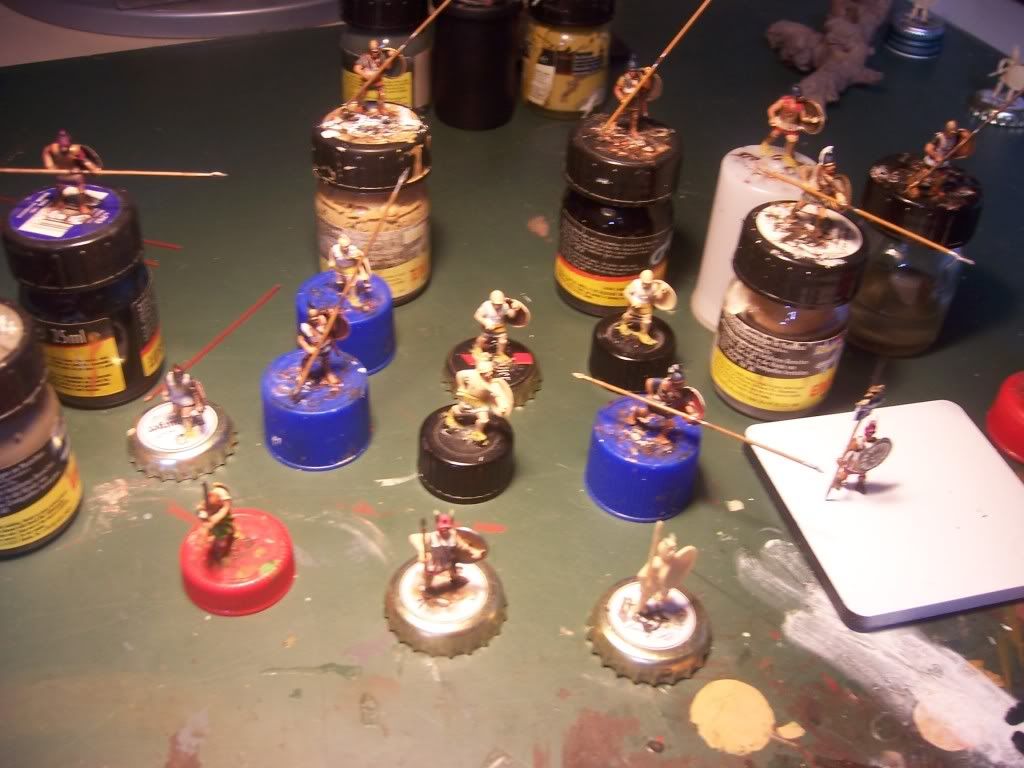
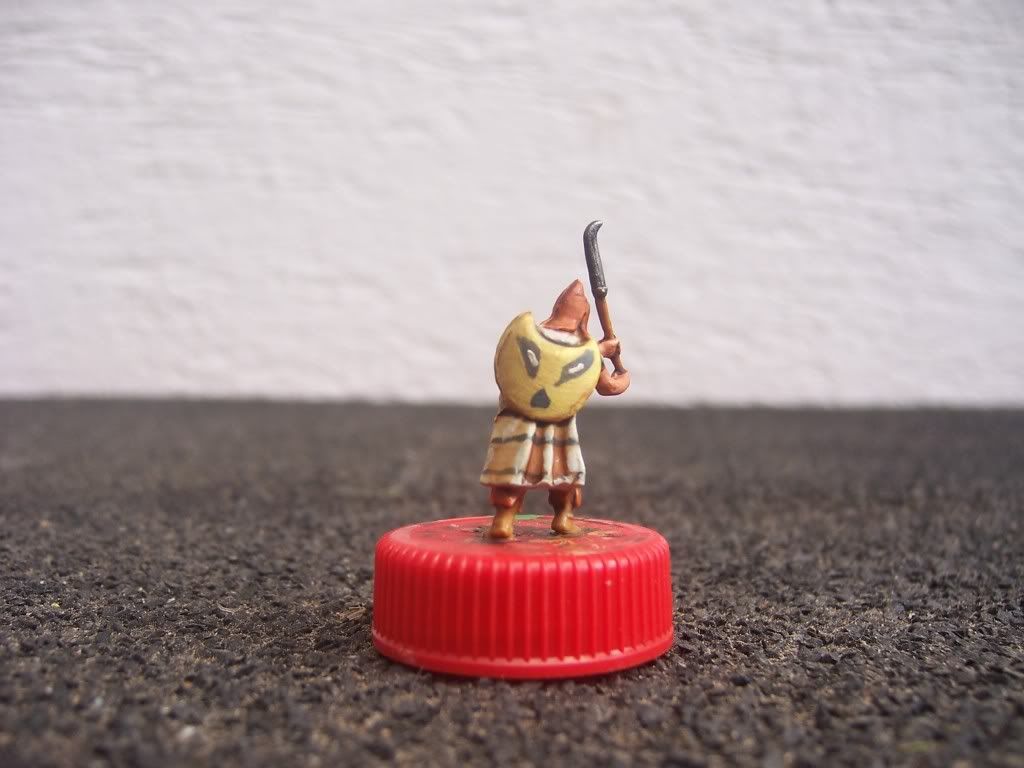
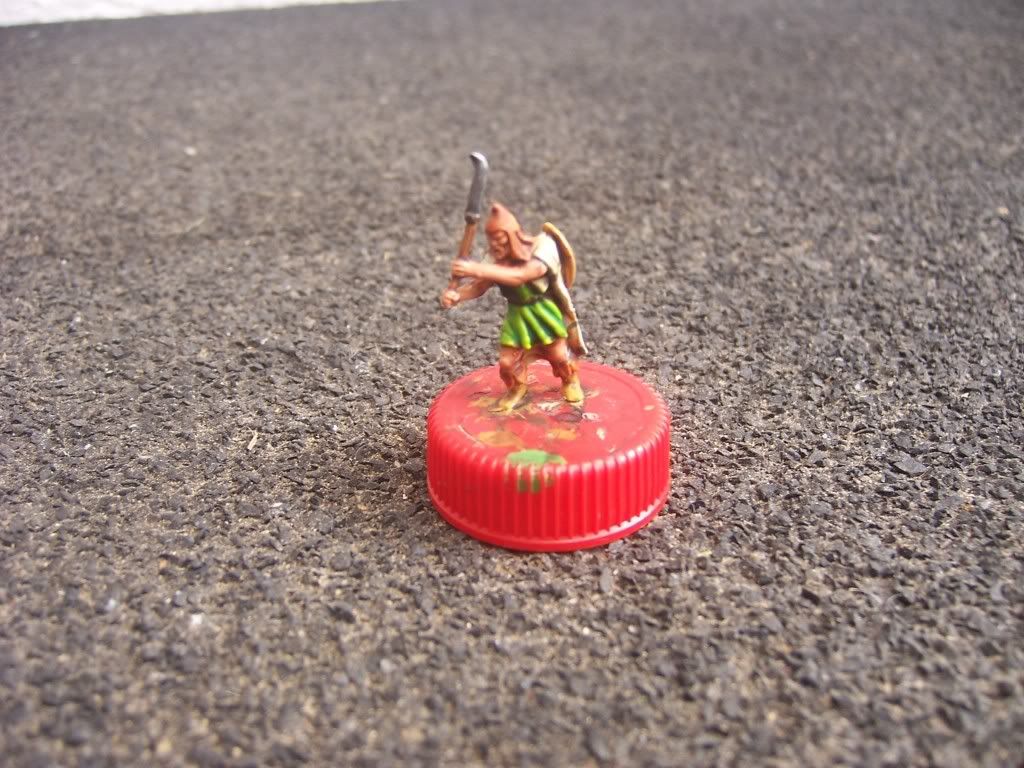
here are the first pics of my WIP.
hope you`ll enjoy.
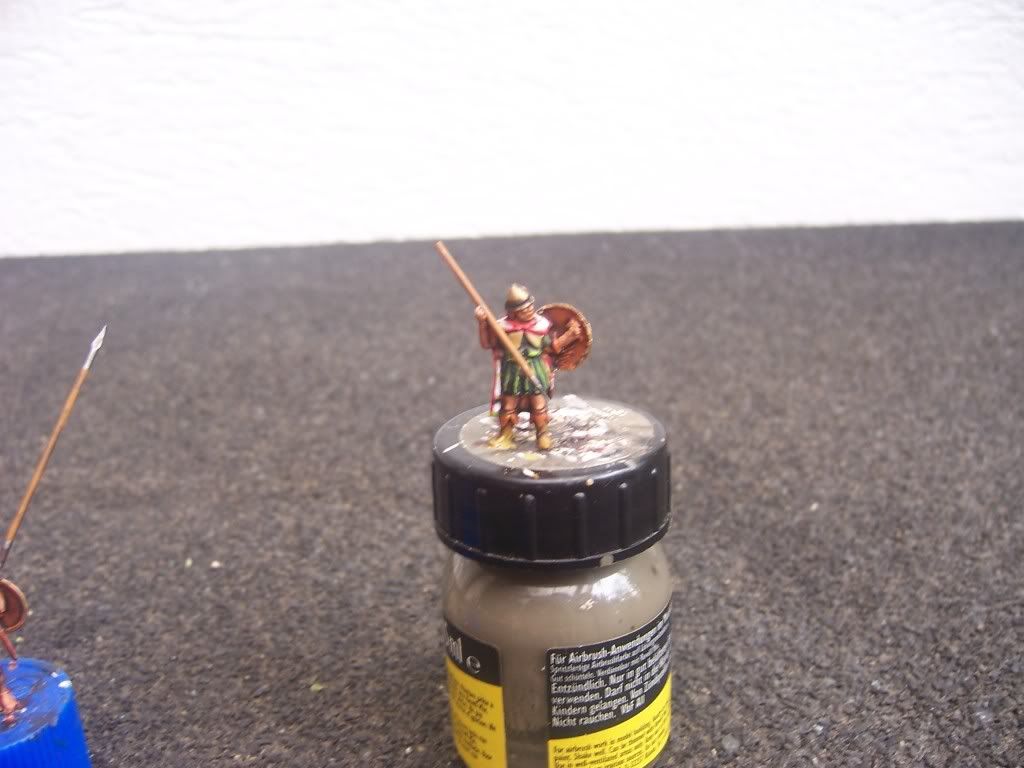
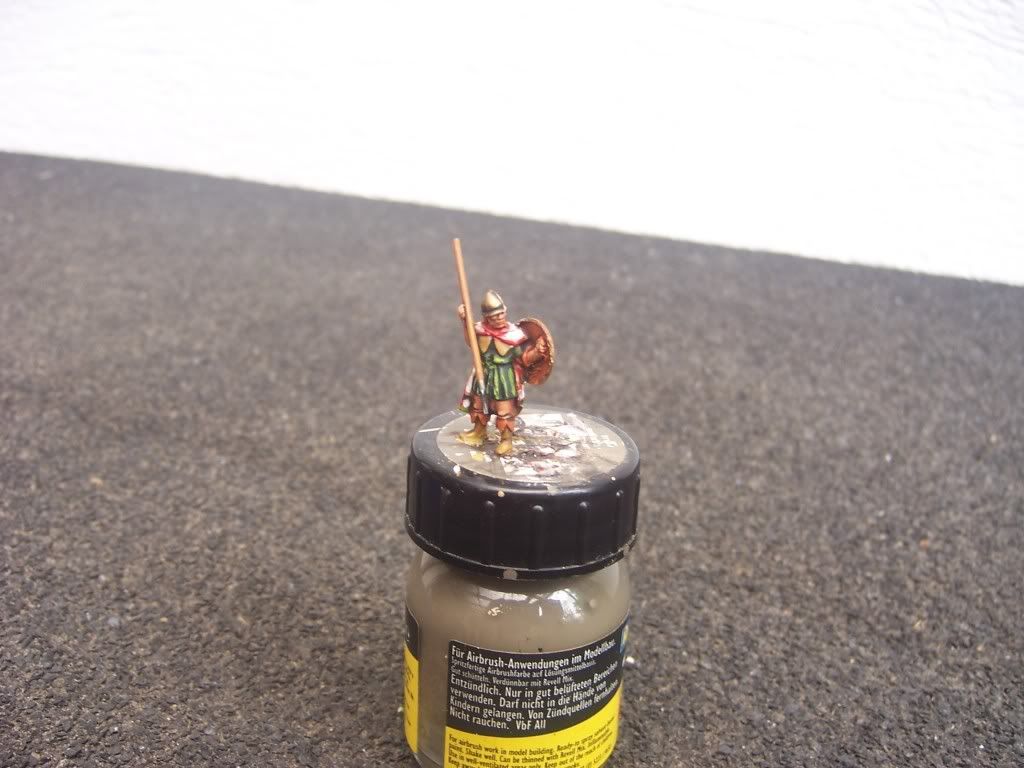
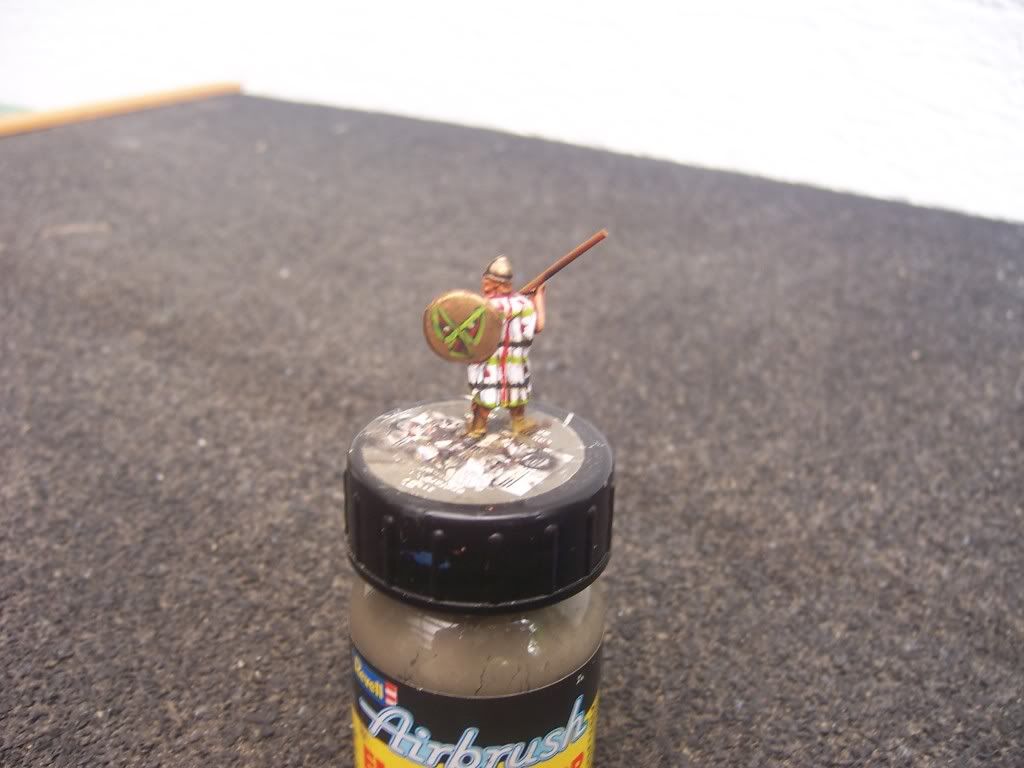
an thracian warrior
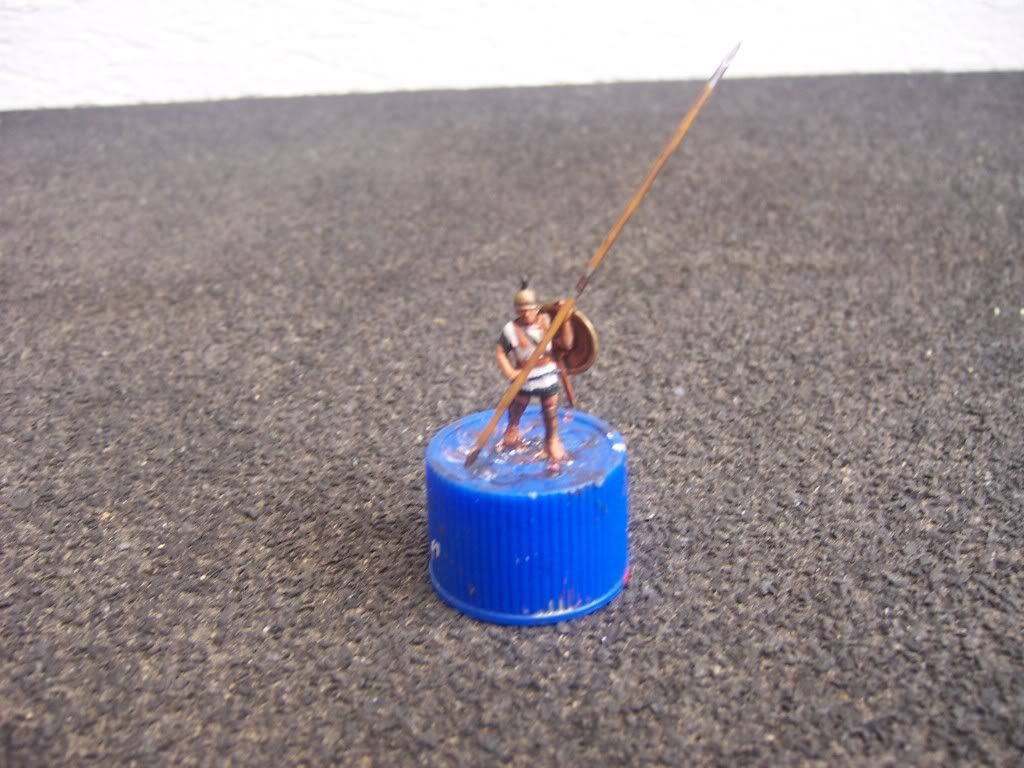
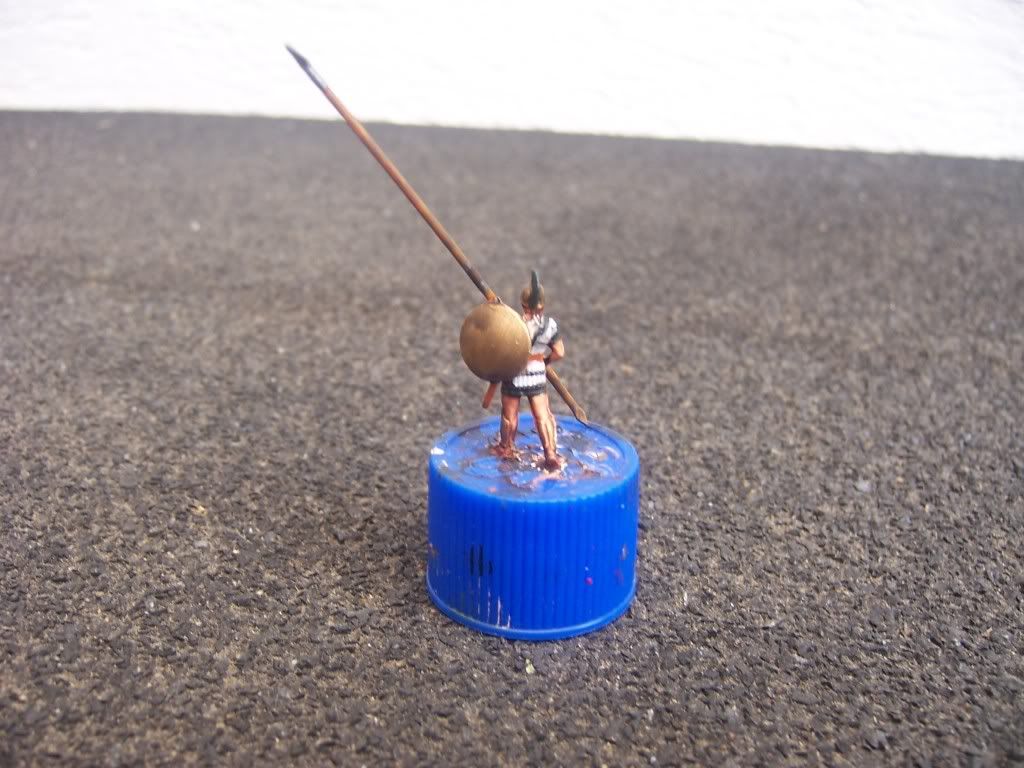
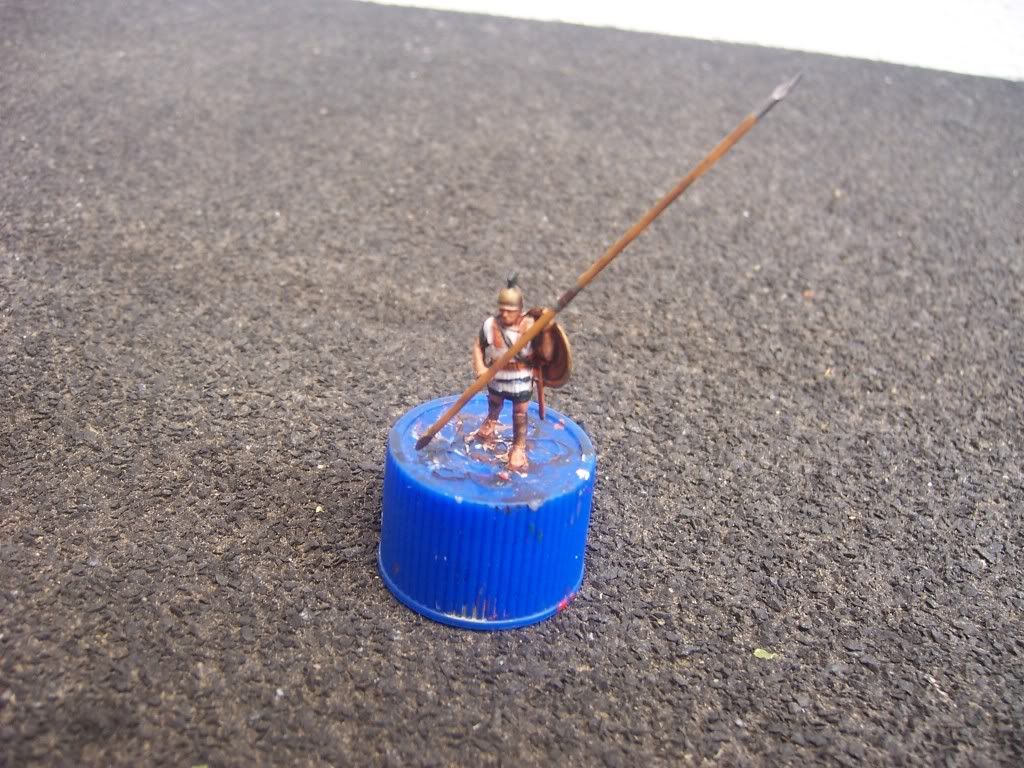
and an phalangite
cheers


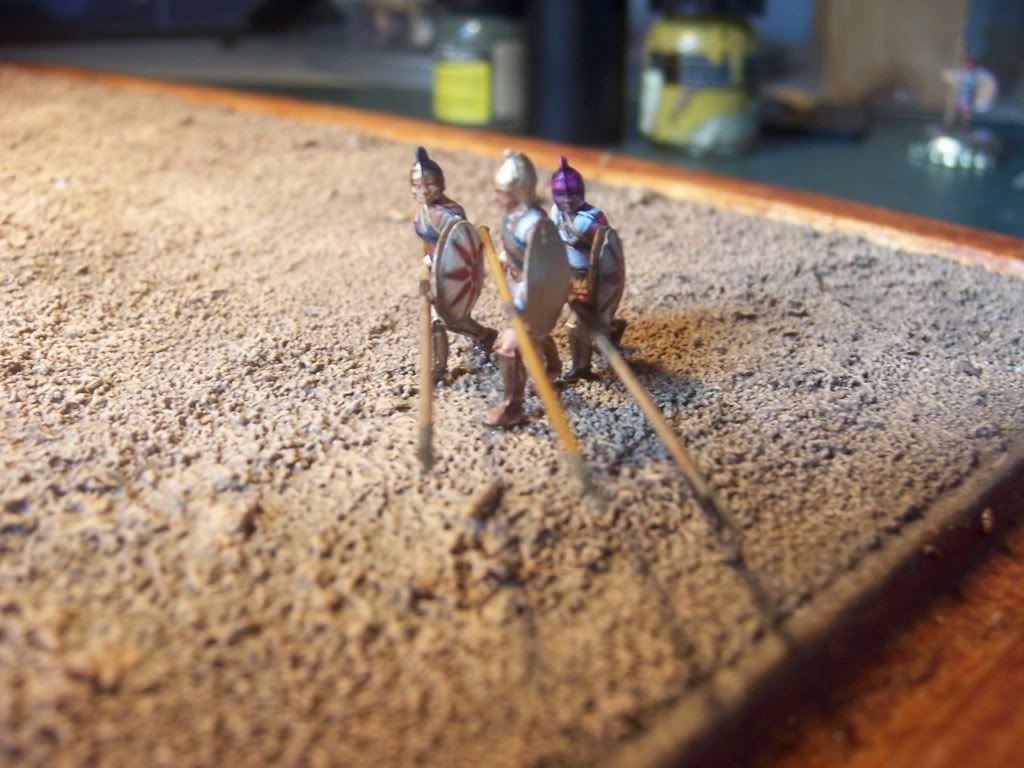
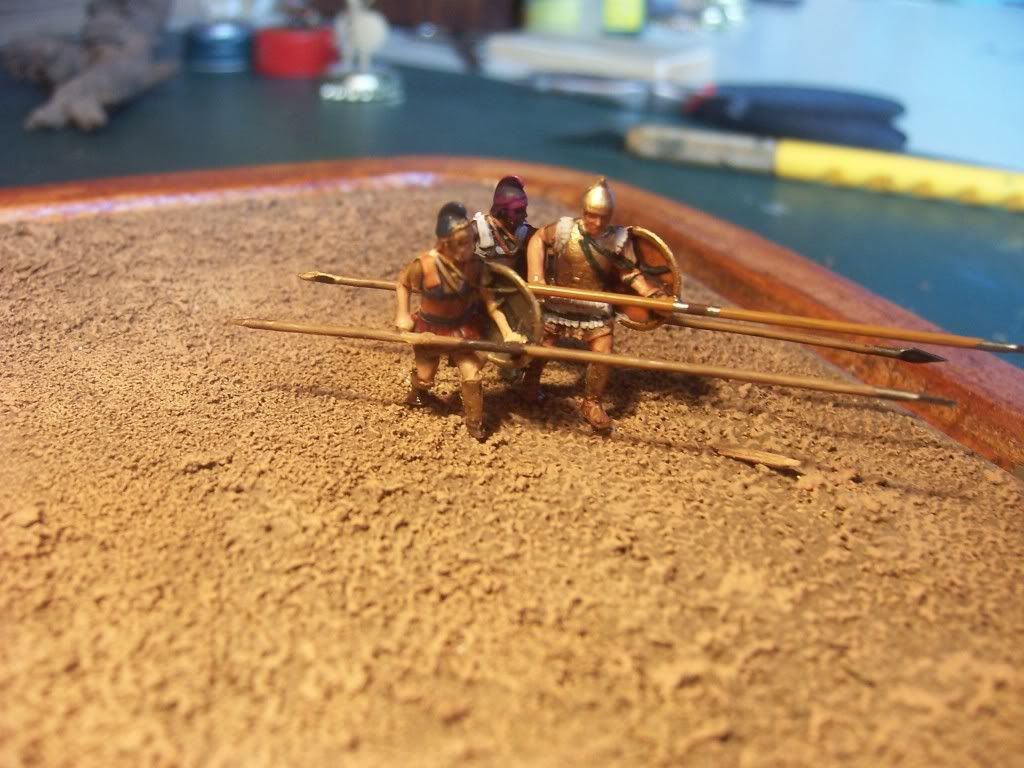
 I also use wire but to attach it to the bod I warm it up over a candle and then hold it against the fig, melting the hands slightly, then by turning the sarrissa the now soft plastic of the figures hands forms around the shaft. mind you the idea from bilsonious would allow moulding of the fingers and save fingers from getting burnt


 Moderator