Work in Progress

Modern - Leopard 2A5 (build and paint) - DE

Posted by Hellboy on 16 Apr 2016, 23:35

Leopard 2A5

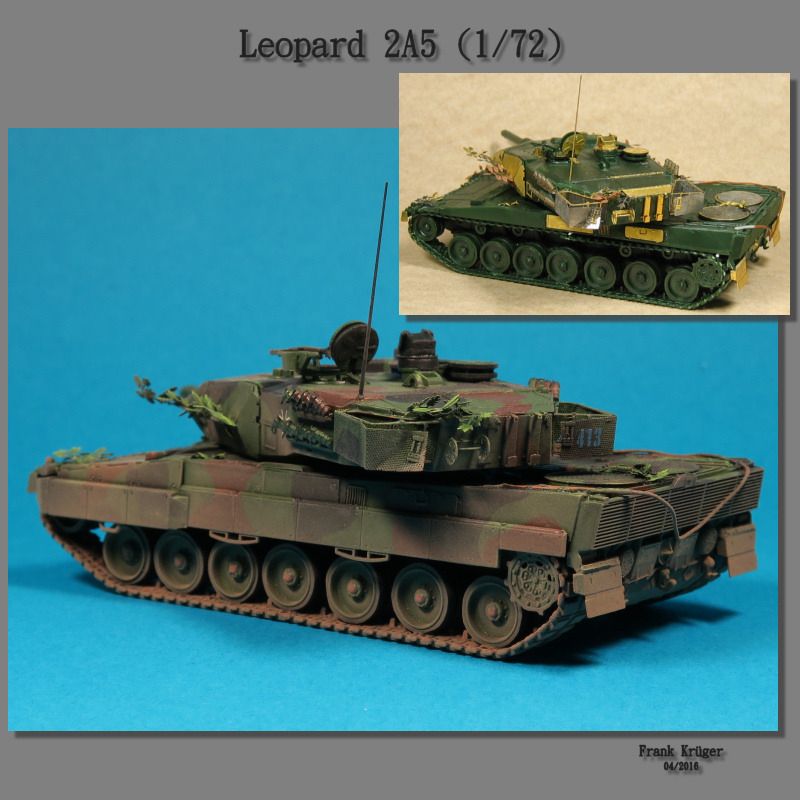
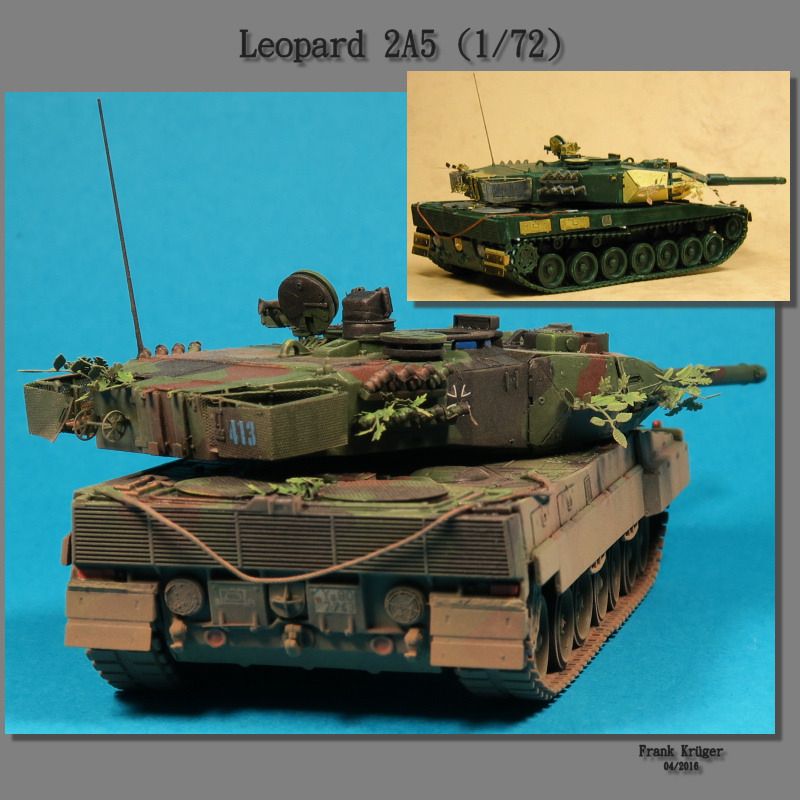
Some pictures of a recent project - construction of a 'Leopard 2A5' from the manufacturer Revell (item number 03187).

To build the model, Photo Etched Parts of E. T. Model were used with the item number E72-002.

Diorama and figures follow - as in a good TV show - in the next season! ;-)

Please click on the picture to view it in full size. Enjoy the photos!

Your Hellboy


Link-Note :
http://www.enemyforces.net/tanks/leopard2a5.htm

Keywords: 1/72, Deutschland, Modern, Leopard 2A5, Bundeswehr, Modellbau, Modelling, Revell 03187, Frank Krueger, 04/2016, Canon PowerShot G7 X, Corel Paint Shop Pro X, Photobucket.com
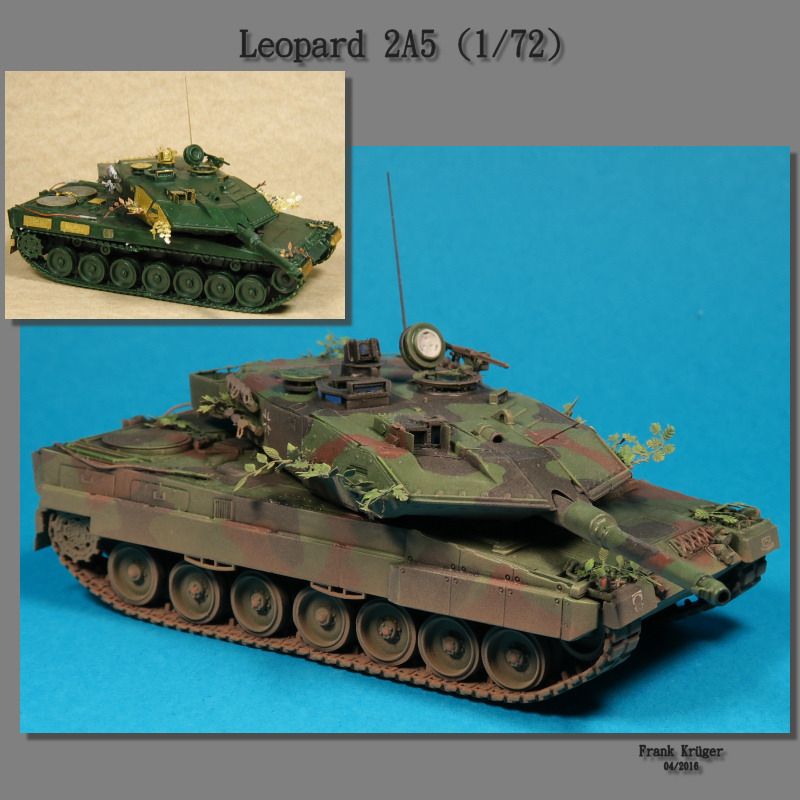
Image

Image

Image

More pictures of the current project:

http://s1045.photobucket.com/user/FKrue ... ard_2A5_DE

More other libraries:

http://s1045.photobucket.com/user/FKrueger/library/
User avatar
Hellboy  Germany
 
Posts: 611
Member since:
10 Feb 2016, 19:34


Posted by Bramble15 on 17 Apr 2016, 00:33

Wow! What a fantastic representation of this great tank. I love the dirt/dust look all thru the tracks and side flanks. Superb work.
Bramble15  United States of America
 
Posts: 1697
Member since:
18 Aug 2010, 22:25

Posted by Kekso on 17 Apr 2016, 07:55

Bramble15 wrote:I love the dirt/dust look all thru the tracks and side flanks.


Me too... I really like that weathering
User avatar
Kekso  Croatia

Moderator Moderator
Supporting Member (Bronze) Supporting Member (Bronze)
 
Posts: 6843
Member since:
19 Oct 2011, 18:32

Posted by Peter on 17 Apr 2016, 16:30

Great presentation! I love the before and after pictures! And to see the modifications you did on that tank! :thumbup:
User avatar
Peter  Belgium

Moderator Moderator
 
Posts: 22559
Member since:
25 Mar 2008, 18:51

Posted by Hellboy on 17 Apr 2016, 18:25

Thanks for the great comments! Am happy that you liked the pictures. :-D
Work on the planned diorama have been a lot of fun. However, the tank is only part of it. Yesterday I still get the socket / base so far advanced that I can now apply the primer and then can start with the air brush. Figures are already on my desk. What could I want more??? ;-) I look forward very much to the still following works!
Thanks again for your kind words!
User avatar
Hellboy  Germany
 
Posts: 611
Member since:
10 Feb 2016, 19:34

Posted by Wiking on 17 Apr 2016, 20:10

Nice work Hellboy! :thumbup:

I like that the track at the front (track/ roadwheel to the returnwheel) and the rear end (track/ roadwheel to the crownwheel) at each side are a bit bend. Look to me more livelike, used.
There is a lot of work and upgrade in this "cat".
What impress me is that the mesh (back of the turret) get no closed spot by painting.
If I airbrush a mesh (Sdkfz 222, Thomaschürzen) there is sometimes a dot of paint there instead a hole should be there.
The camo of the cat and dust is well done.
A nice touch is always a bit of "Grünzeug" here and there.
I do the same for my Royal Australian Junks anchor. Ok I do not use leaves. ;-)
User avatar
Wiking  Germany
 
Posts: 2829
Member since:
14 Sep 2015, 10:03

Help keep the forum online!
or become a supporting member

Posted by Hellboy on 19 Apr 2016, 16:02

Hello Wiking!

Thank you for your great comment. I am always happy to read something from you! :-D

The nets on the baskets and on the engine cover (air inlet) are masked with masking tape before I muster the primer. Thereafter, the masking is removed. In the subsequent coating with the Air Brush a very dilute base color is applied. In this way I can fully receive the fine holes in the grids.

To the green stuff. Usually more green stuff is used for camouflaging, as shown in the model. But the more I wanted to spare in the model. Firstly, the crew did not feel like it. Secondly, I can equal paint a tree ;-) ;-) ;-)

Many greetings Hellboy
User avatar
Hellboy  Germany
 
Posts: 611
Member since:
10 Feb 2016, 19:34

Posted by KenzoSato on 08 May 2016, 20:44

Hood job
KenzoSato  Italy
 
Posts: 3921
Member since:
06 Jun 2009, 07:45

Posted by Hellboy on 26 Aug 2016, 20:08

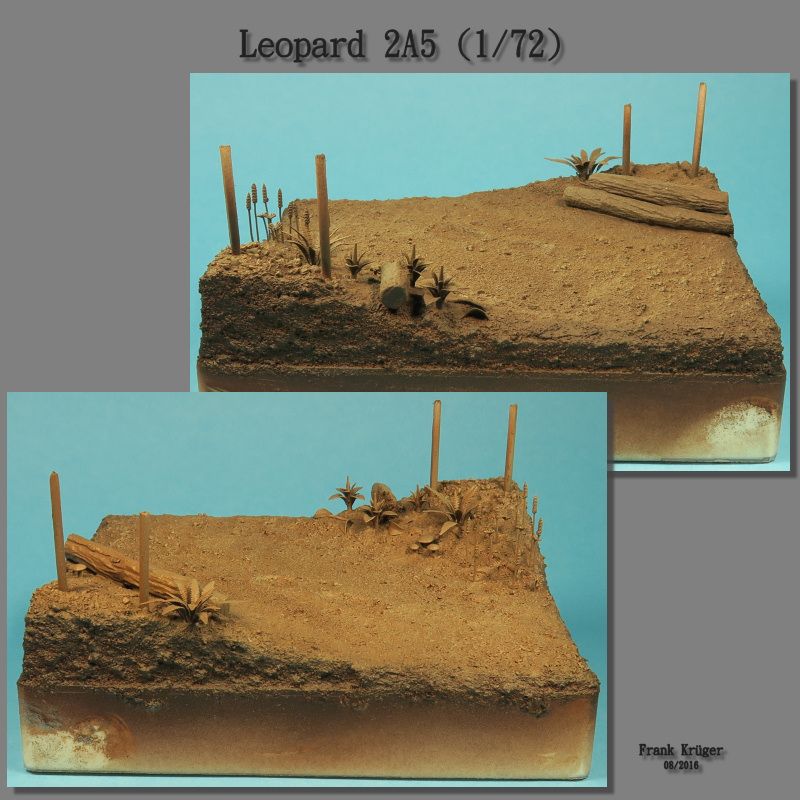
It's time for a little update. The Leopard 2A5 gets a home ....

Image

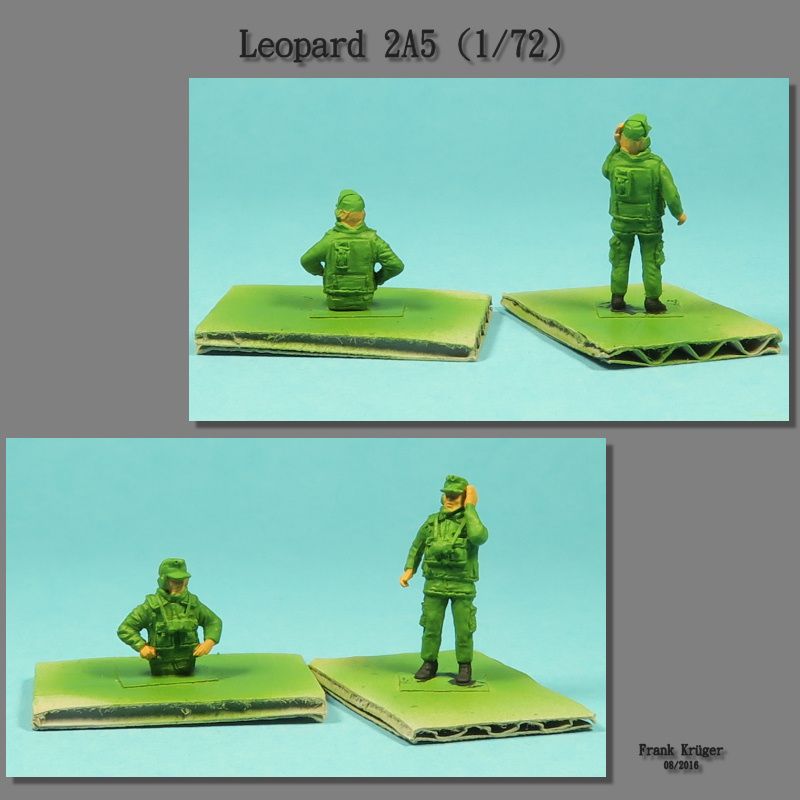
And the two nice gentlemen stand by his side.

Image

Link-Note :

http://umm-usa.com/onlinestore/product_info.php?manufacturers_id=15&products_id=246

Diorama and figures are to be ready painted with the brush. Let's go... :-D
User avatar
Hellboy  Germany
 
Posts: 611
Member since:
10 Feb 2016, 19:34

Posted by Peter on 28 Aug 2016, 20:37

Nice base and figures! Great work! :thumbup:
User avatar
Peter  Belgium

Moderator Moderator
 
Posts: 22559
Member since:
25 Mar 2008, 18:51

Posted by Hellboy on 10 Oct 2016, 17:50

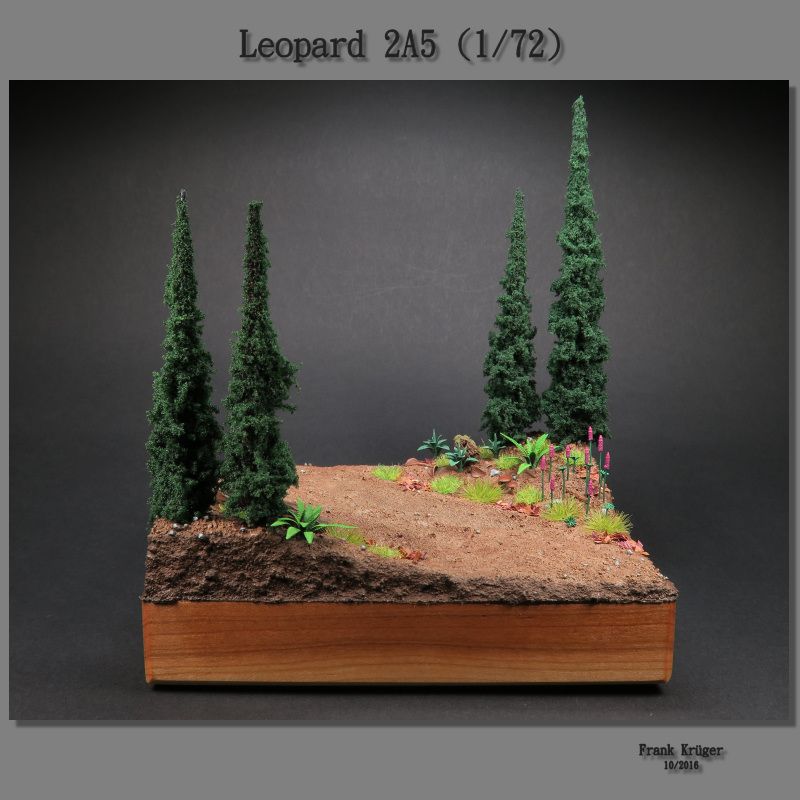
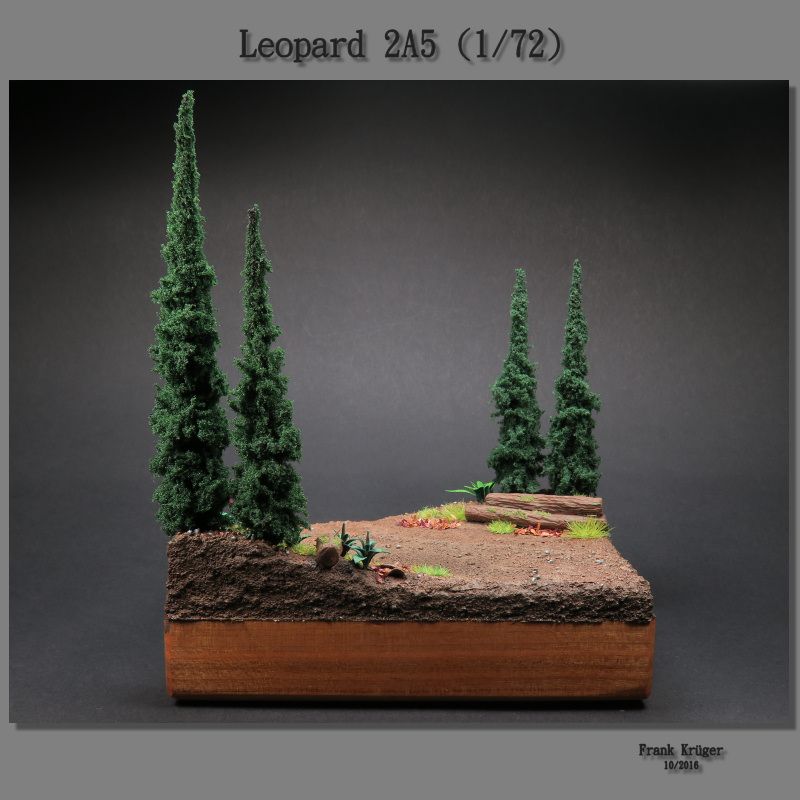
Again a small update. The 'basket' for the pussycat is (almost) finished. 'Loe' can move in soon ... :-D

Image

Image

The painting of the two nice gentlemen were finished yesterday. 4 small friends gets 'Leo' to the side .. hedgehog, squirrel, eagle owl and a hare.

Then we want to merge everything ... let's see what that results? ;-)
User avatar
Hellboy  Germany
 
Posts: 611
Member since:
10 Feb 2016, 19:34

Posted by Peter on 20 Oct 2016, 19:38

Can't wait to see the final result Frank! Base looks excellent to me! :thumbup:
User avatar
Peter  Belgium

Moderator Moderator
 
Posts: 22559
Member since:
25 Mar 2008, 18:51

Posted by KenzoSato on 01 Nov 2016, 20:24

great job
KenzoSato  Italy
 
Posts: 3921
Member since:
06 Jun 2009, 07:45

Posted by Hellboy on 16 Nov 2016, 22:26

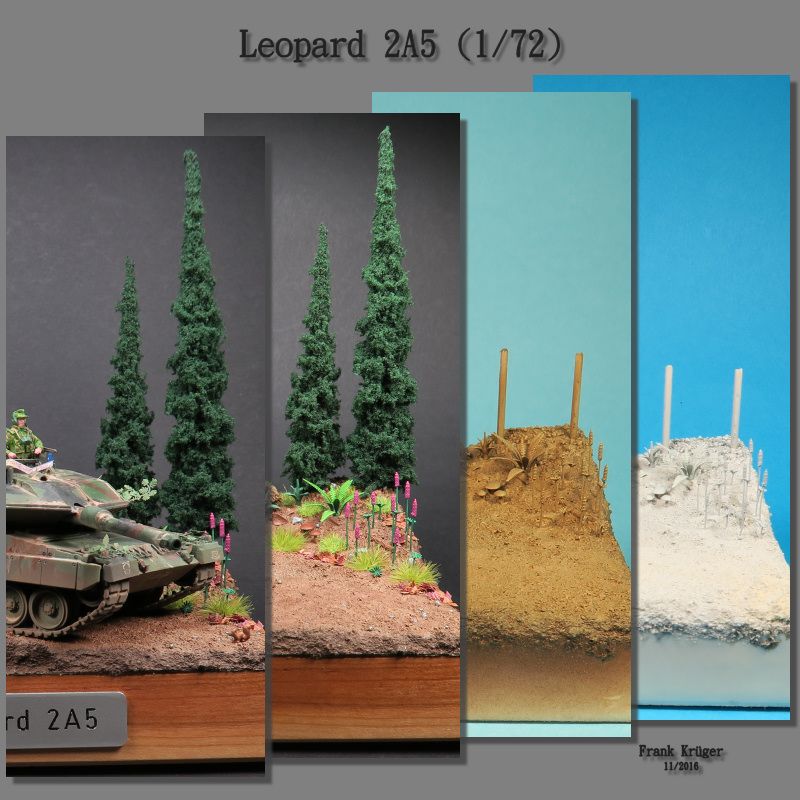
Last update. The diorama is ready. The work has been a lot of fun and I hope the result will please you. :-D

In the following picture you can see the work steps - from the priming, the work with the airbrush and then the painting with the brush. After that the tank, the figures and the animals were glued to the diorama. Finally, stick the sign on the wooden base - done!

Image

Here is the link to the finished project in the gallery.

http://bennosfiguresforum.com/viewtopic.php?f=2&t=19791
User avatar
Hellboy  Germany
 
Posts: 611
Member since:
10 Feb 2016, 19:34


Return to Work in Progress