
CASTING A RESIN SCALE 1:72 HUMAN FIGURE IN A THREE PART MOULD
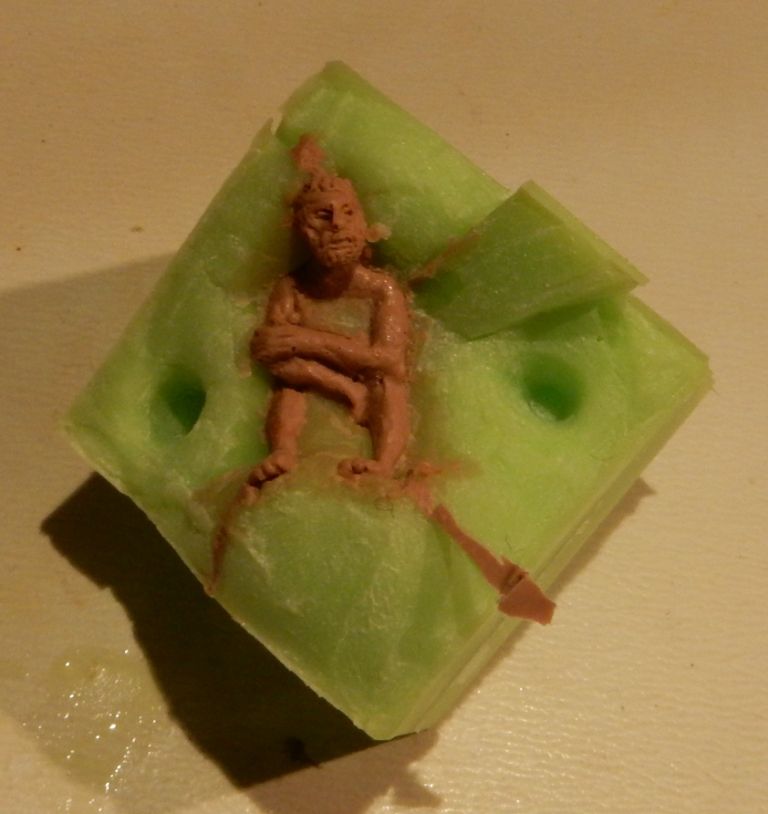
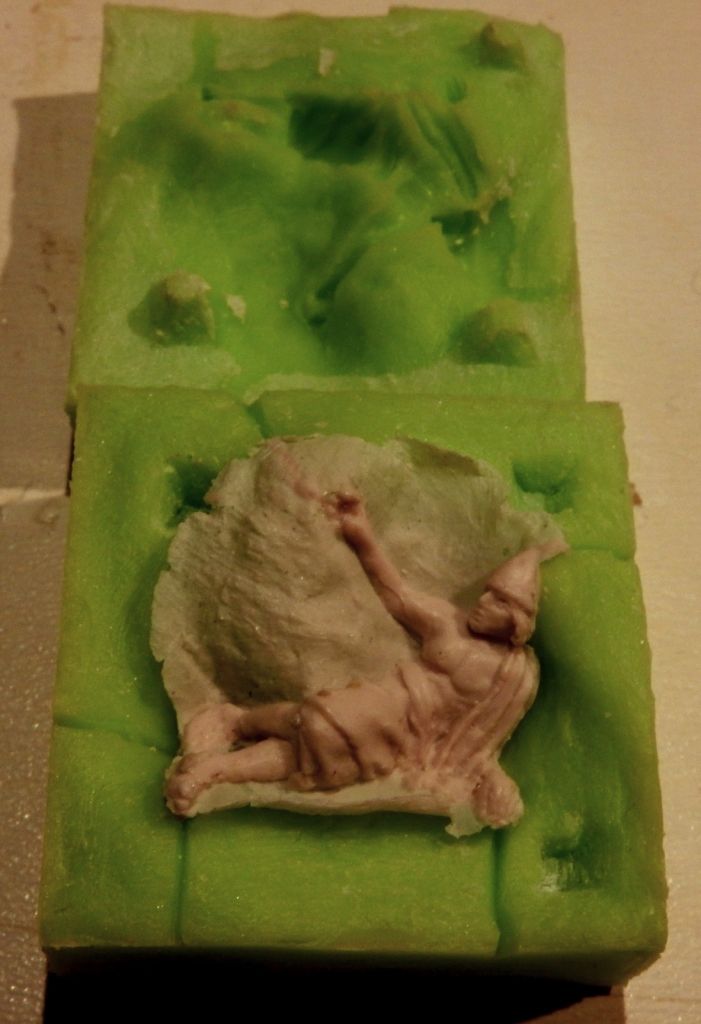
Below is an original sculpt in its mold:
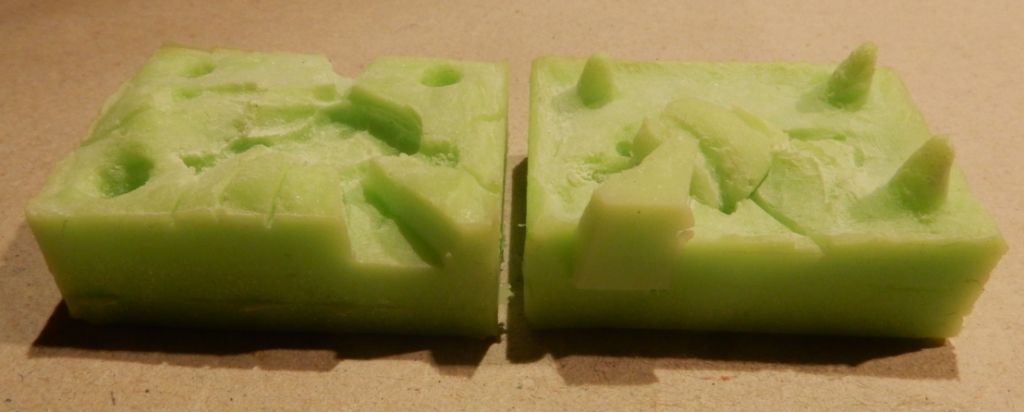
Pouring hole and vent canals have been cut after the different silicone mould parts have been made. If possible vent canals go upwards, but side- and downwards is possible too because of the pressure injecting of the resin.
All mould parts are covered in a very thin layer of baby powder to make the resin run through the mould more easy and stop air bubbles from getting stuck at the surface of the casted figure:
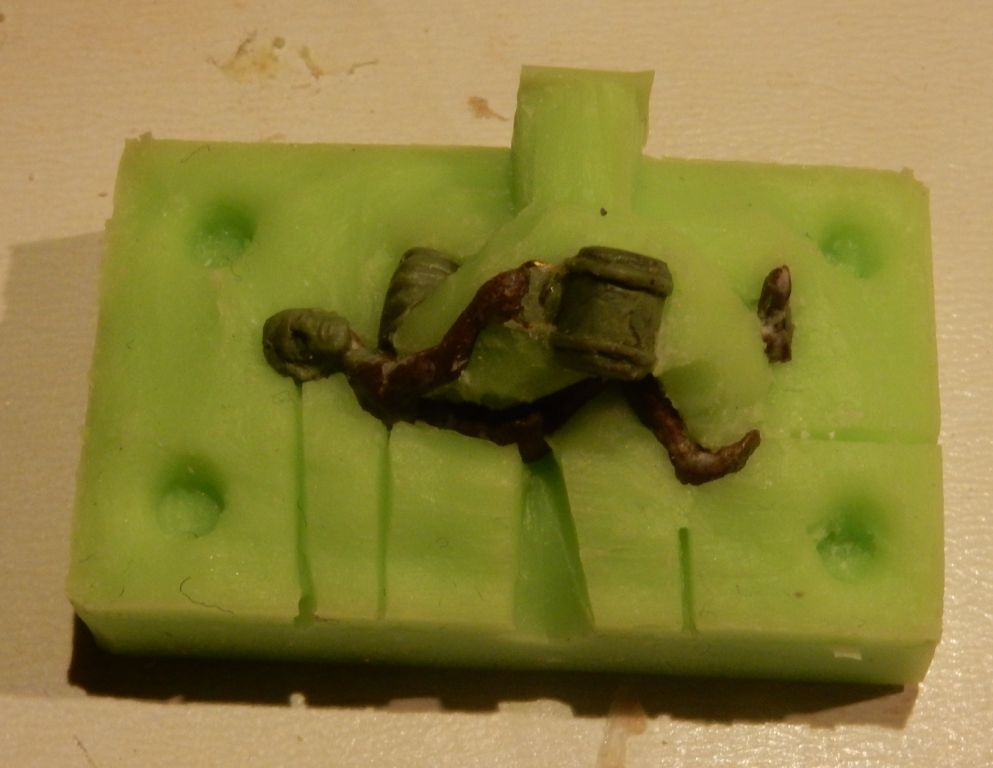
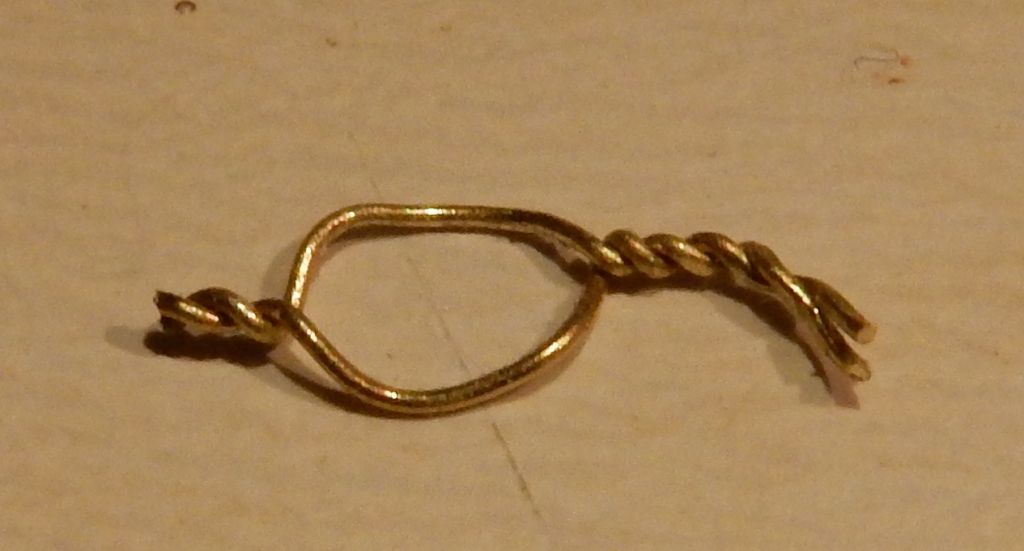
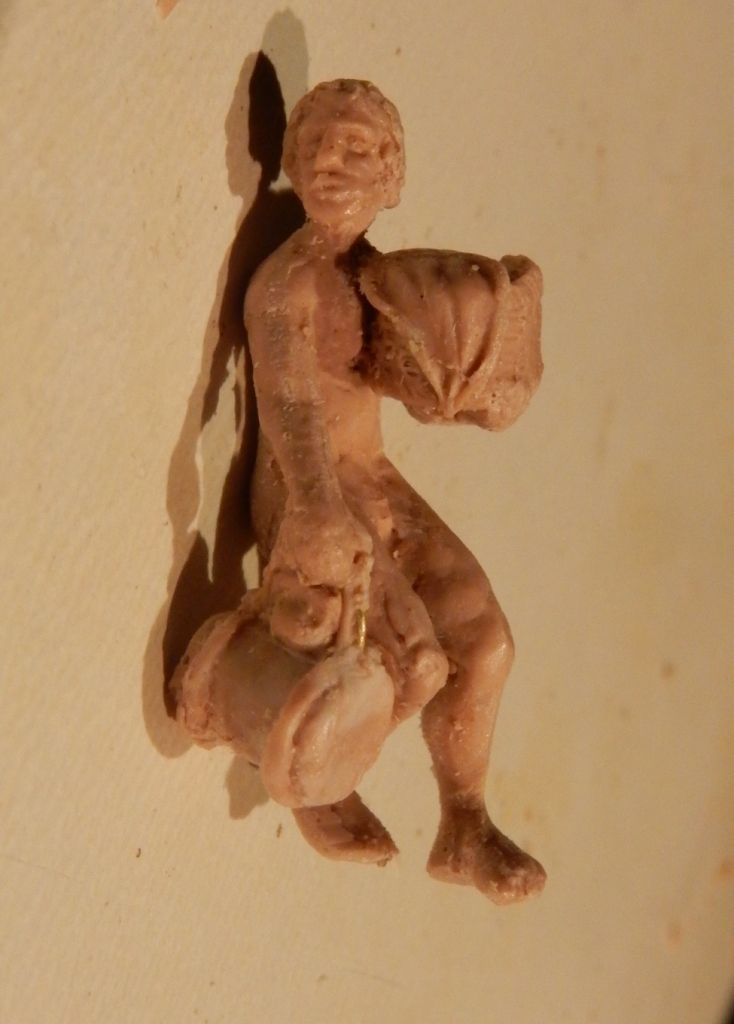
To realise the fragile handle of the canteen in its right hand, a 0,3 mm copper wire enforcement is made....
...and inserted at the right place before the central mould is placed into position again:
Different kinds of resin are used. Like Smooth-Cast 300 by Smooth-On:
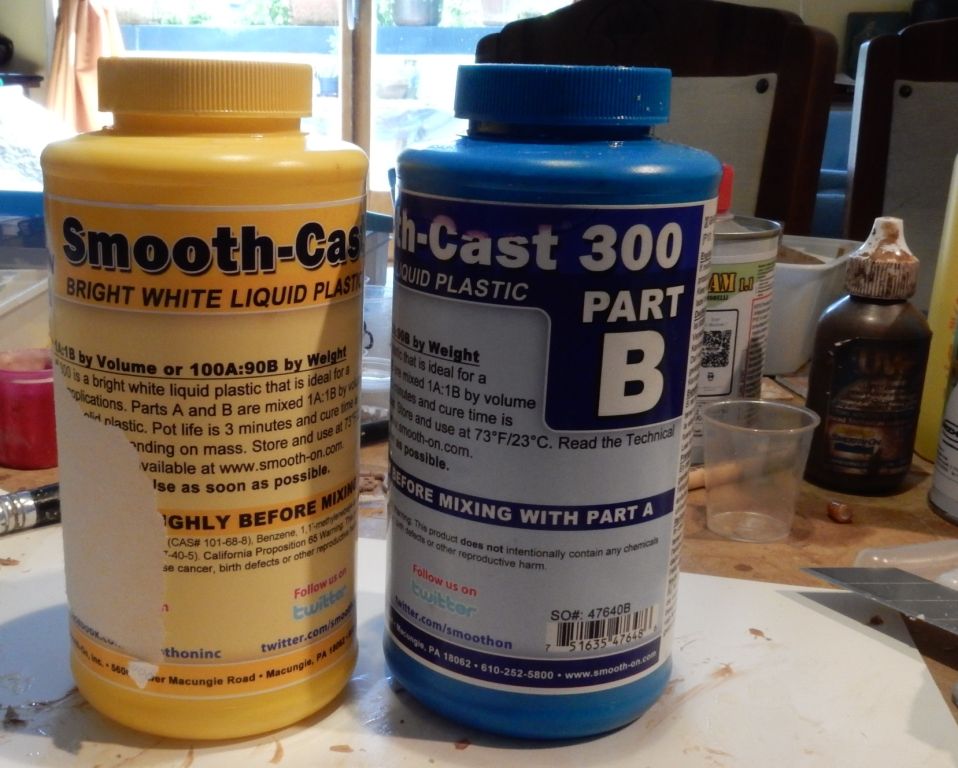
This resin is white. It has about six minutes of pot life so is useful for casting different moulds in one go. Curing time is about 20 minutes.
Also a very quick version of this product is available. It has only 30 seconds of pot life, forcing the user to work very quick, leaving almost no time for mixing, inserting in the syringe and injecting in the mould. One mistake in this process and the resin is cured too early.
But at the same time the very short curing time of just a few minutes makes it so attractive. A single casting can be made over and over again within a short period using just one silicone mould.
Another brand of resin is Sintafoam 1:1 by Prochima
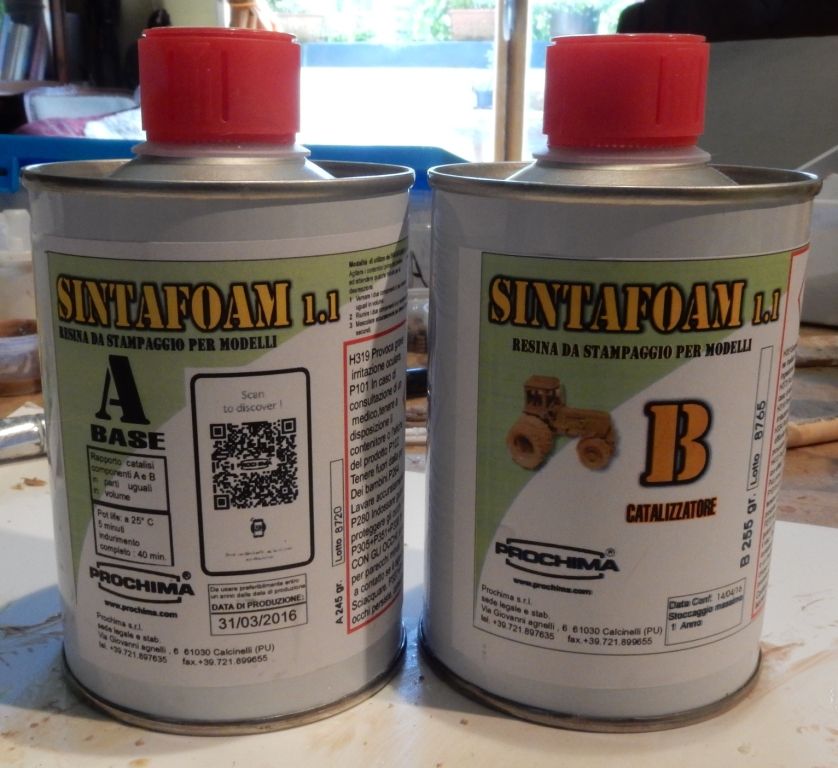
The colour is cream or beige. This one is developed for casting miniature models in particular. I like the result of this product better because fewer air bubbles appear during the curing process and the cast is stronger. But this product is more aggressive to human skin and its protection: its eating away rubber gloves and the skin profile on finger tips
To achieve the human skin tone, resin dye can be added up to 5% of the total resin volume. For a light skin tone 1 or 2% mixed with white resin created a light pink flesh tone. For representing darker wood tone up to 5% is added:
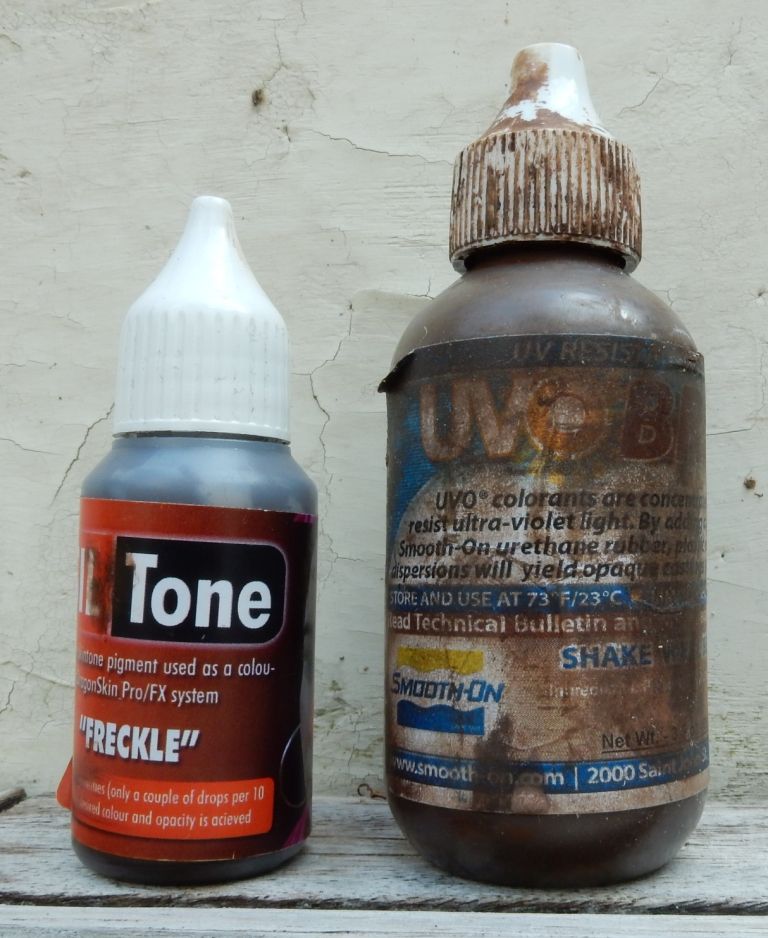
The large flask is for resin, the small one is dye for translucent silicone moulds.
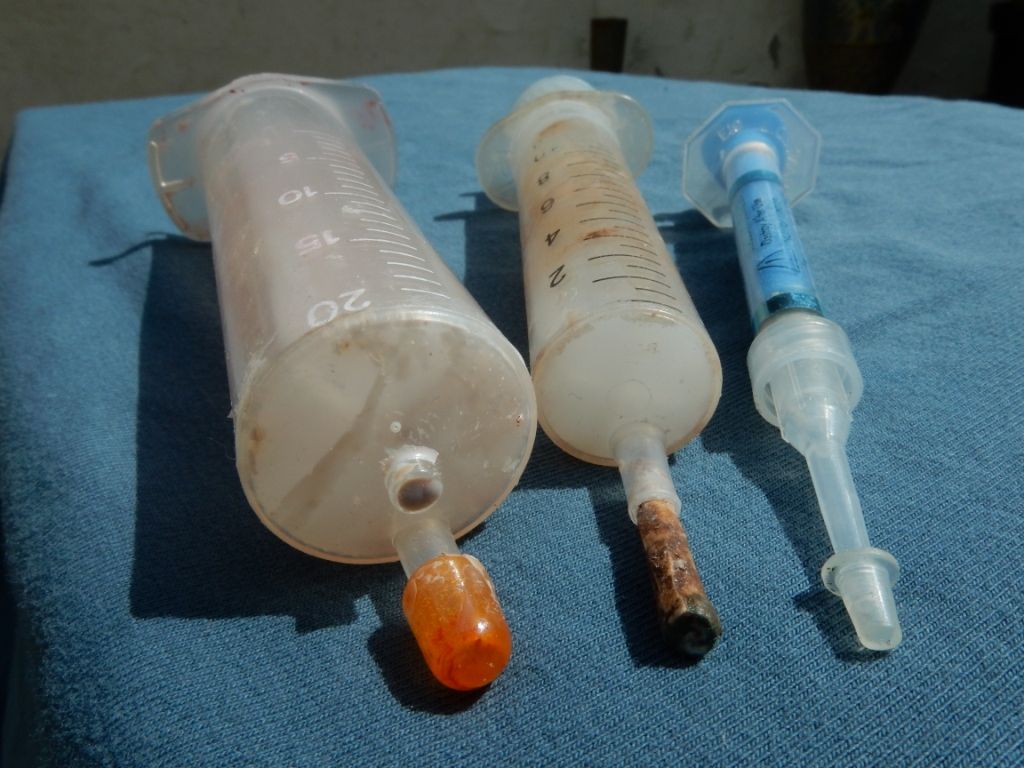
For the injection of single figures, several figures or larger objects, a collection of syringes is used:
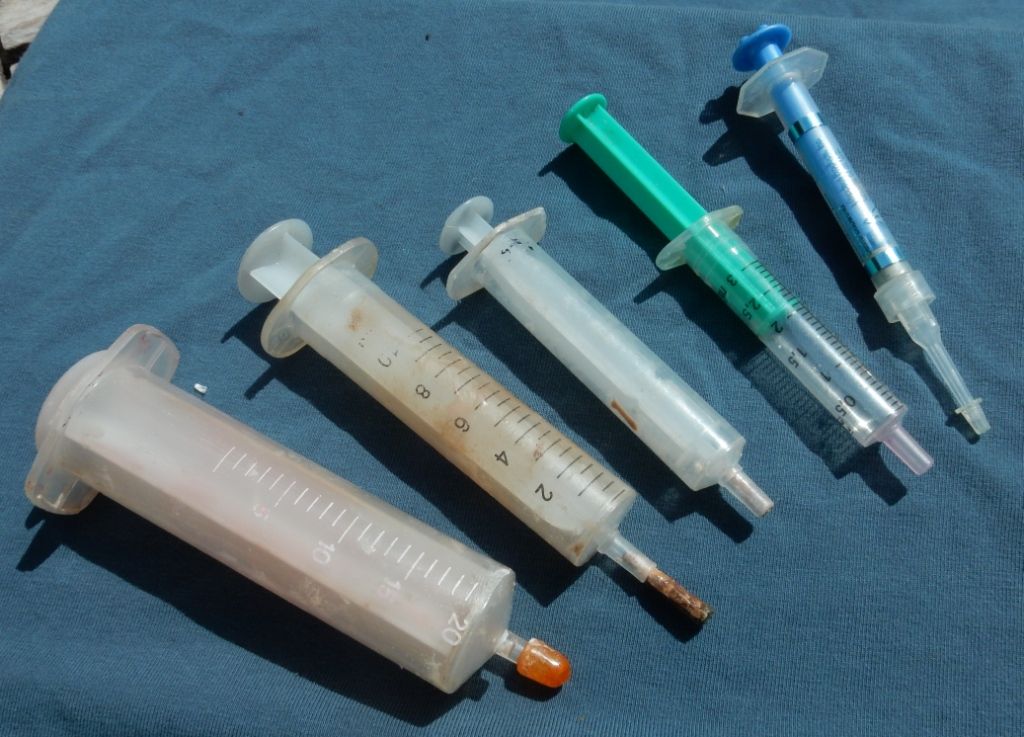
Injecting is necessary because the 1:72 human figure mould has an internal space that is too narrow for the resin to run properly into and through it and successfully reaching all outward laying tight holes like toes and fingertips by pressing away the air. For bigger scale figures and massive objects like a separate head, this will be a lesser problem.
With a short time 30 seconds pot life resin, there is no time to mix part A, part B and brown dye before pouring it into the syringe since several seconds are needed to press the air out of the tube before injecting in the mould. For that reason part B (less fluid than part A so less quick pouring) and the dye are inserted first with the plug closing the front hole, so no time clock is ticking yet, and these are mixed by shaking. After that part A is added, the tube closed at the back and all is mixed by shaking for about five seconds. Then the plug is removed, the air is pressed out and the tip of the syringe inserted into the pouring hole of the silicone mould.
For syringes without a plug, one can be cut of wood (centre) and should be marked with some colour paint (green top) not to confuse it with pieces of trash wood on the working desk ending in the dustbin the same day.
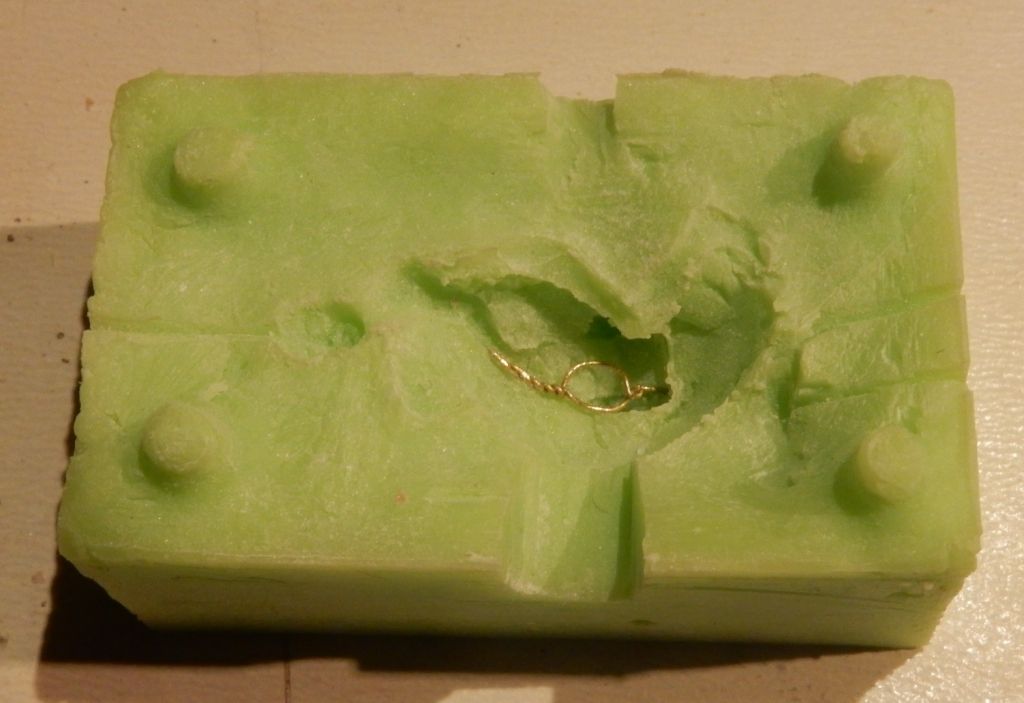
The first test cast reveals imperfections of the silicone mould. The air bubble in the elbow reveals a 'dead spot' where the air has no possibility to leave the mould:
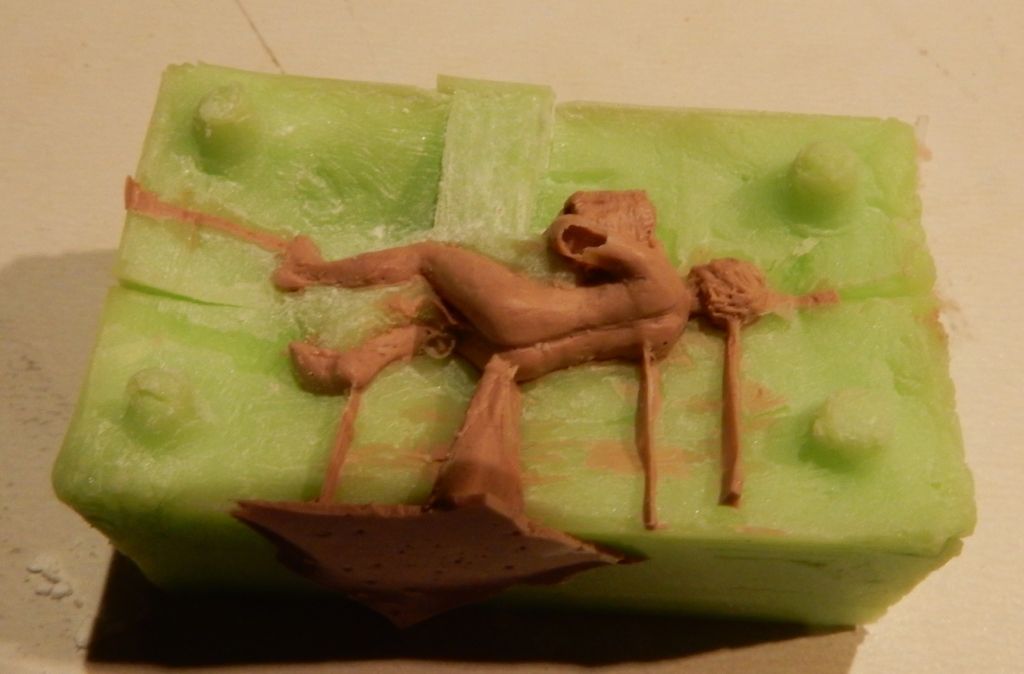
Also the canteen shows such a 'dead spot':

From the deepest end of such 'dead spot' a vent canal is pierced and widened by filing, using a round, sharp pointed micro-file:
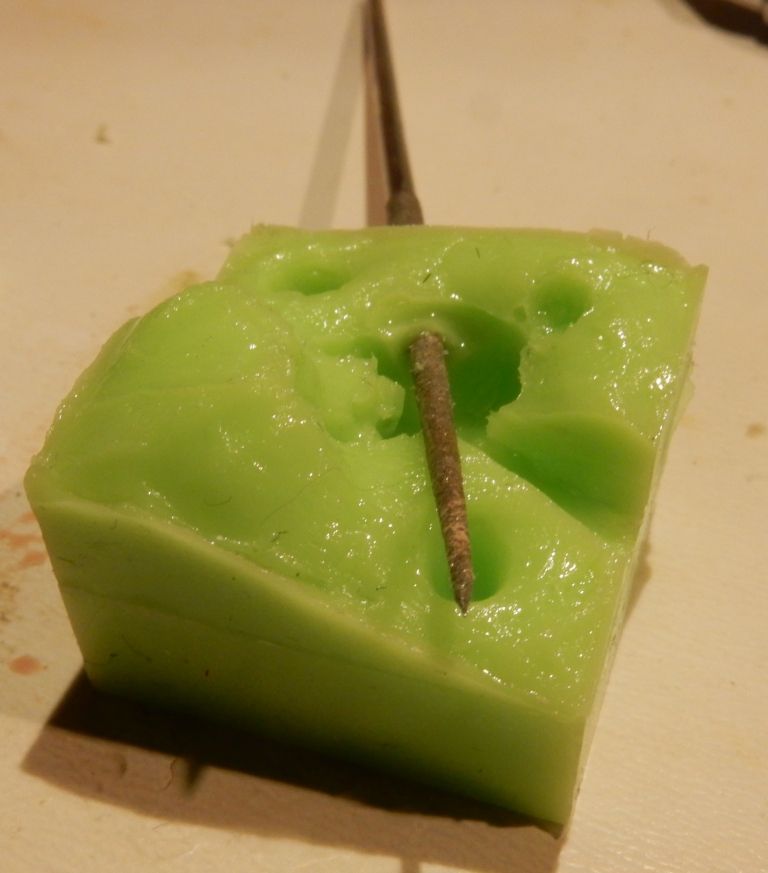
The air canal runs to an outside surface of the mould that will stay open during casting and will not be covered by the mould-supporting hardboard sheets:
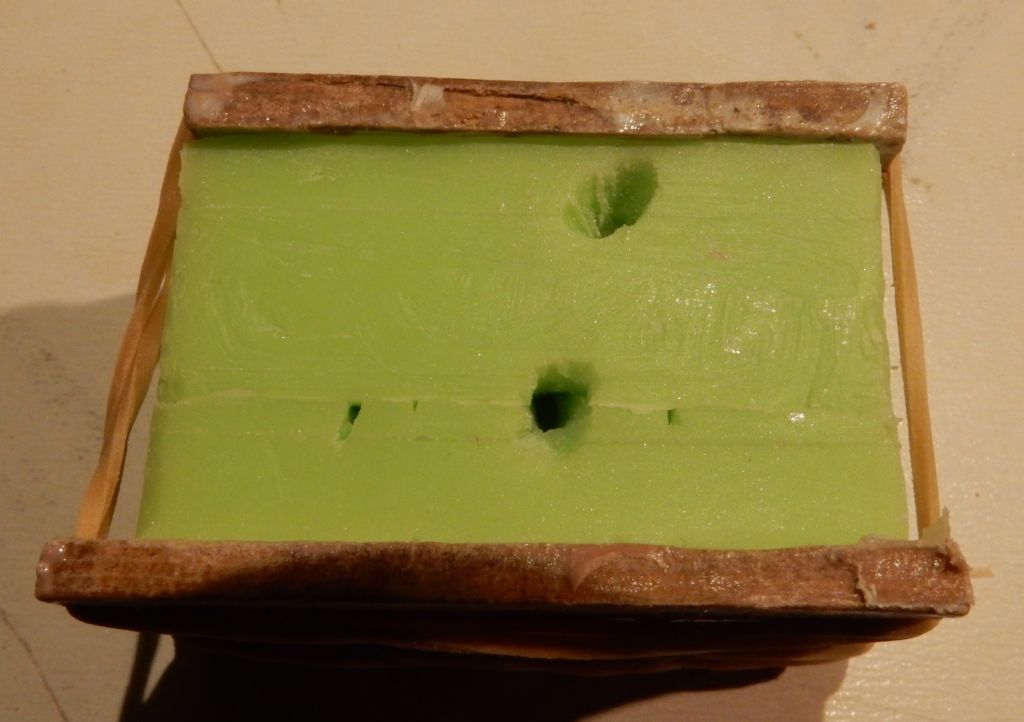
The original vent canals are visible together with the pouring hole on the dividing line of both outer mould halves. The new drilled canal is on top. It has been cut bigger on the outside with a hobby knife in a later stadium of the casting process to serve as a secondary pouring hole: the inside hollow space of the canteen was too far away from the original pouring hole. Resin leaked out from all vent canals before it was able to fill up the canteen space.
Hardboard and rubbers keep the mould together and equalise pressure.
Pressure can be increased by winding the rubbers an extra time around the mould or by adding more rubbers. Too much pressure creates deforming and misfitting mould halves.
After cleaning all mould parts these are covered in baby powder again and assembled for casting.
Fresh resin is injected until it runs out of all vent canals: first visible on the bottom and side openings and finally on the top side of the mould:
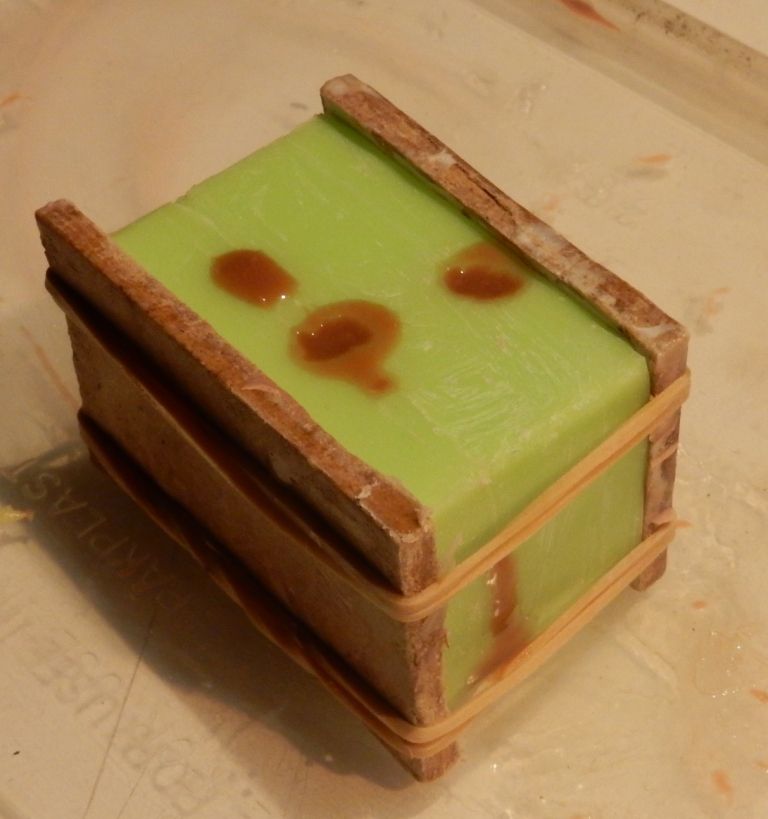
Only the new cut vent canal did not show any resin coming up at all. That meant it was out of the 'pressure zone' and it was filled up from the outside by injecting some extra resin through this hole.
After curing time:

An other mould:
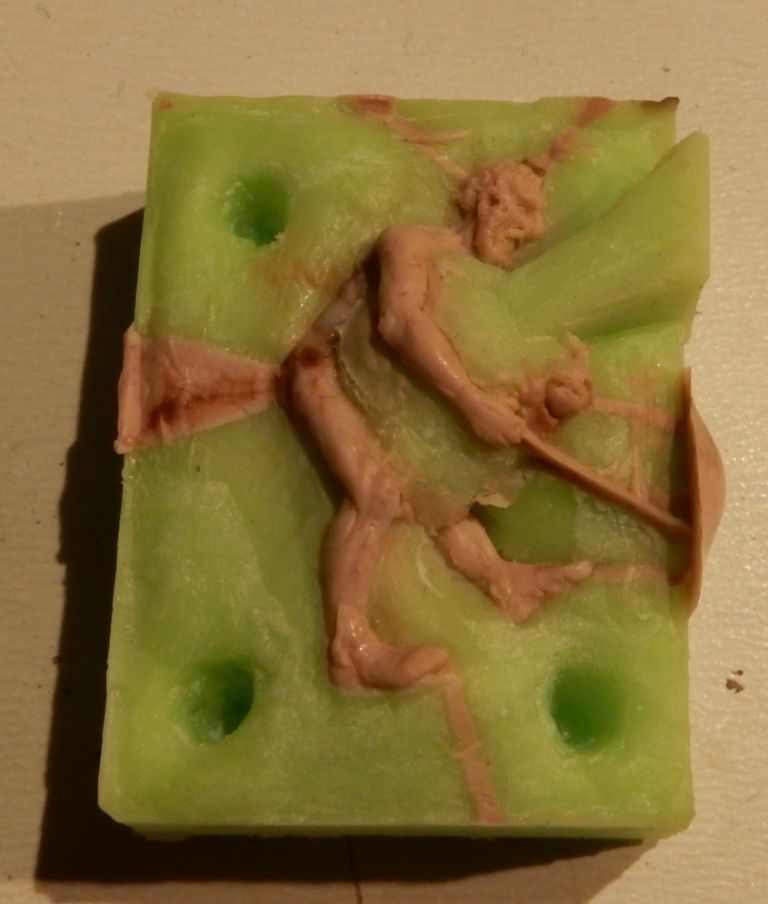
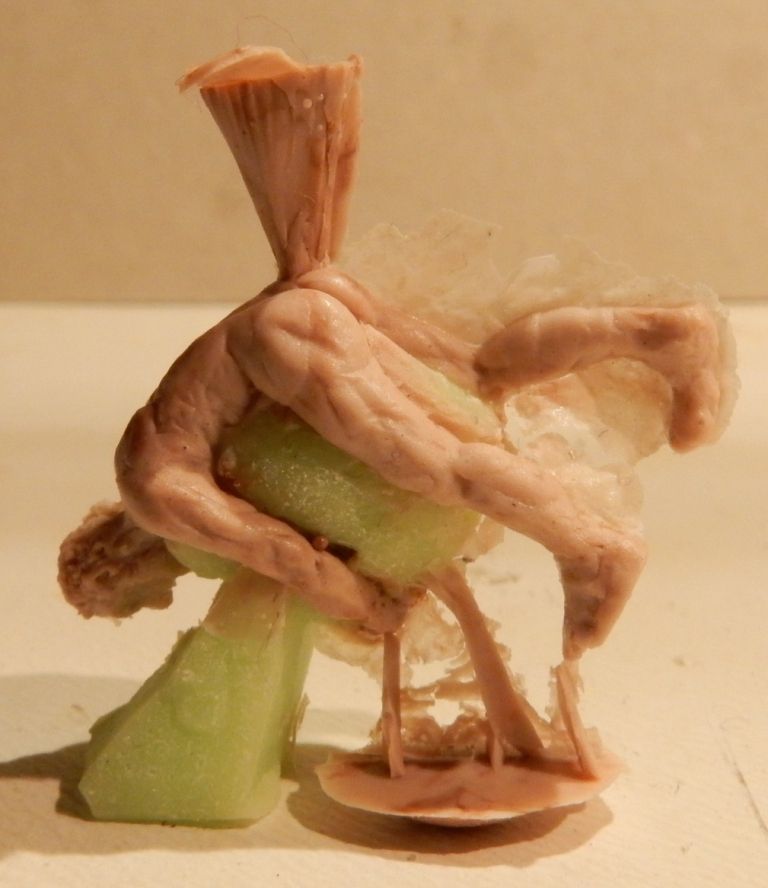

The excessive flash looks terrible. Its mainly a result of syringing with pressure. But at the same time, the creation of flash helps to remove the air trapped into the mould:
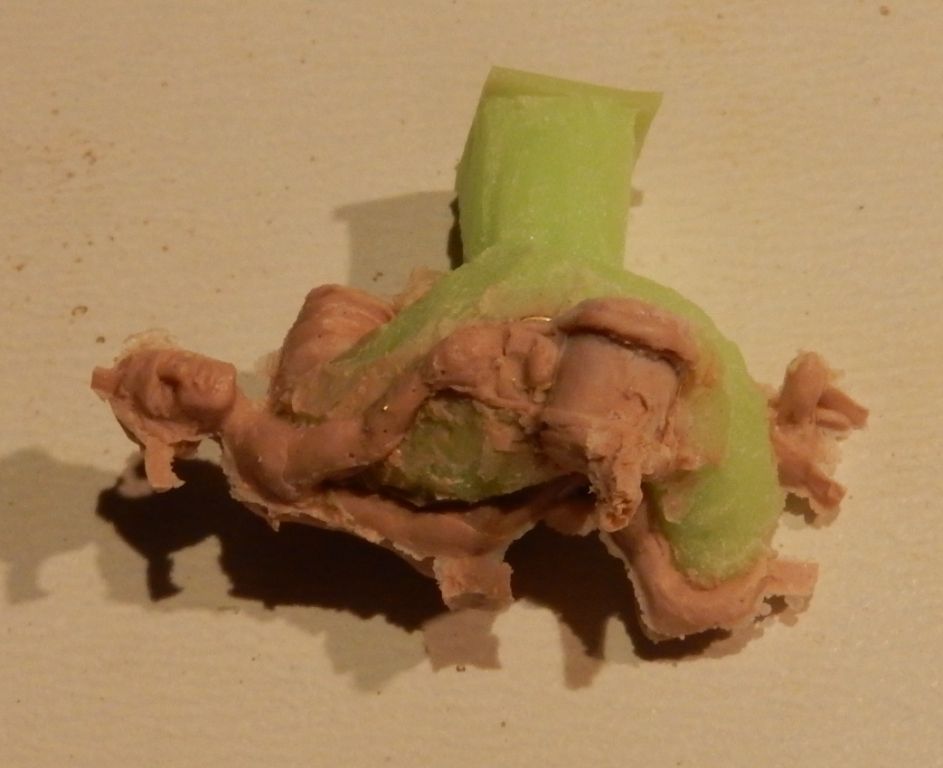
Air bubbles are not visible anymore. There still are, but inside the resin, not on the surface of the figure, because of the use of baby powder:
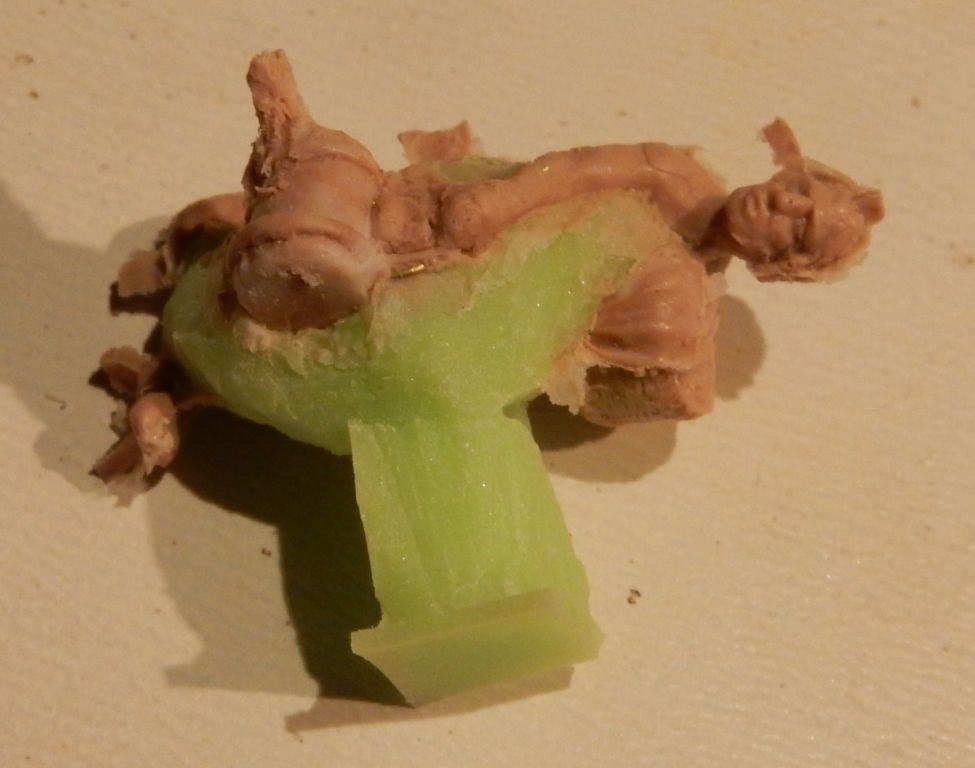
As soon as the flash is removed with a hobby knife, the air inside of the resin gets visible:
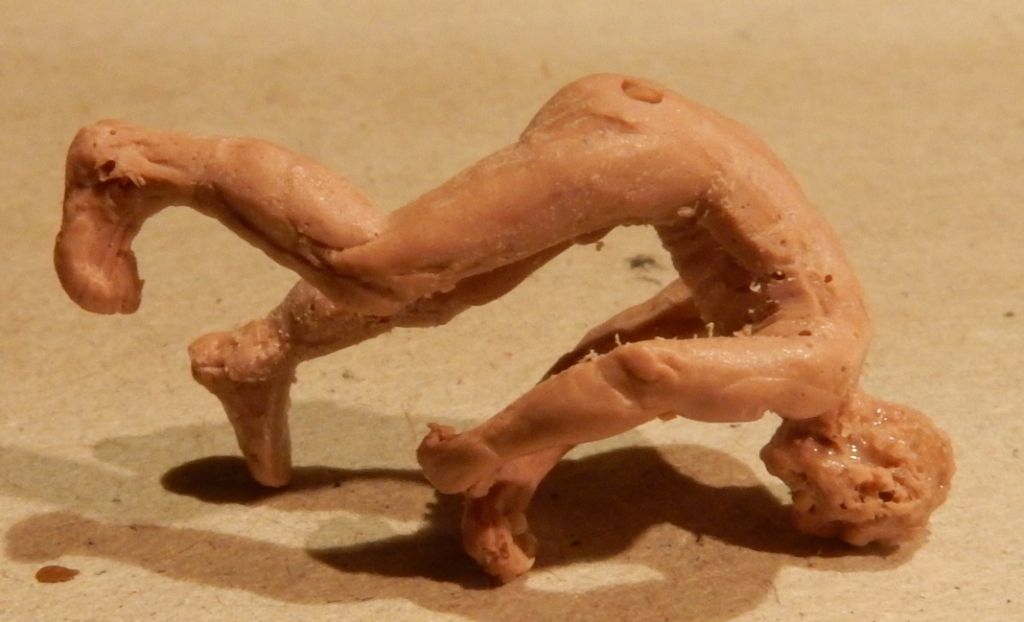
Some times the air bubbles are fewer and painting the figure will fill up those micro holes easily anyhow.
The air bubble problem is not only because of air trapped in the mould.
Its also because during the curing process, new air is produced inside the resin and that has to come out as well. Usually this will float upwards and leave through the vent and pouring openings. But the smaller and narrower the mould is (scale 1:72!!!) the more difficulties the air has to escape.
Other ways can be helpful too to let air escape from the resin:
- Wait a few minutes before injecting the resin into the mould. This enables the air produced during the curing process to float upwards and leave the resin before its injected. This can be done when the resin is in the syringe with the back still opened. Or it can be done before its poured into the syringe. Not possible with 30 seconds pot life resin.
- Shake or drill the mould after resin is inside.
- Squeeze it softly from both sides when resin is inside.
The air bubble problem can be solved best in a professional way by using a de-gassing machine.
An example of a two part silicone mould:
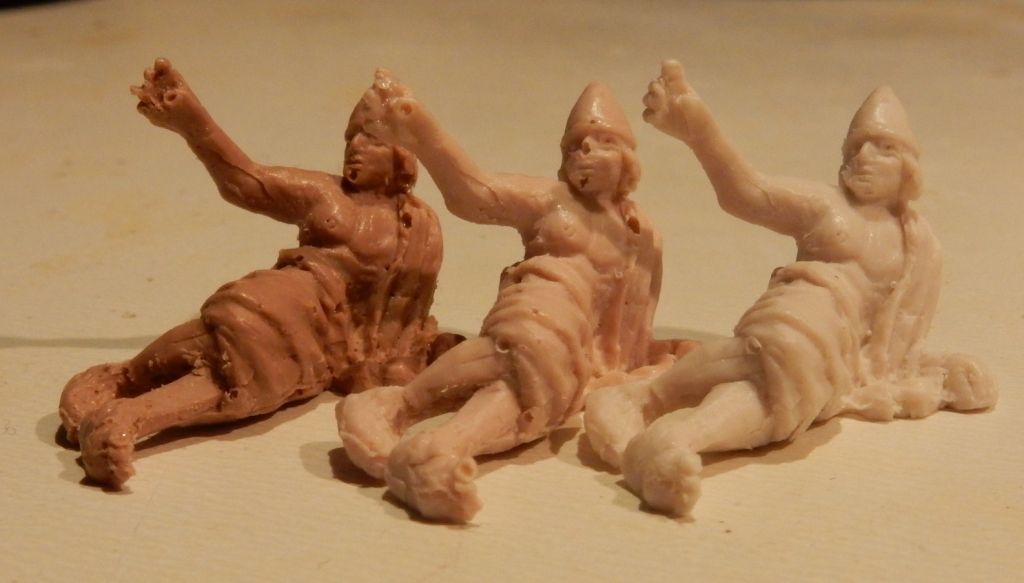
Three different casting procedures were tried as a test:
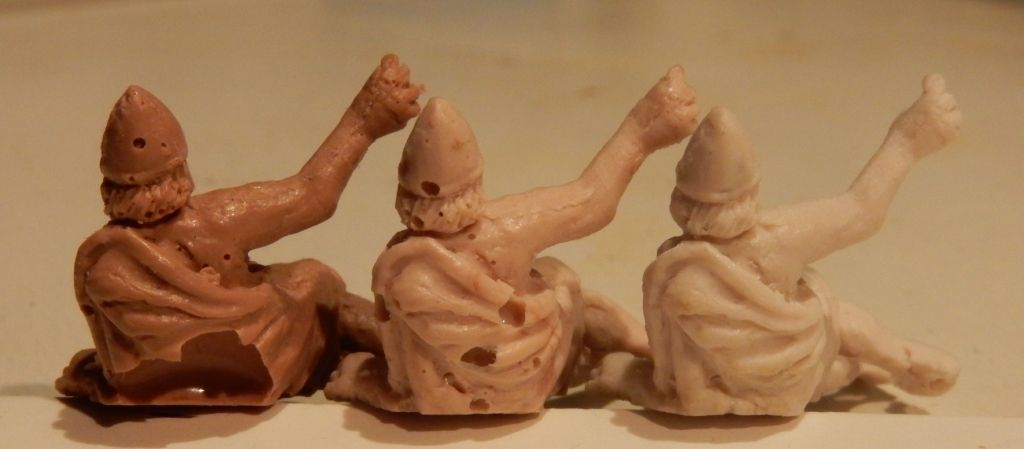
Brown: no vent canals, no baby powder
Pink: vent canals only, no baby powder
White: both vent canals and baby powder


 Supporting Business


