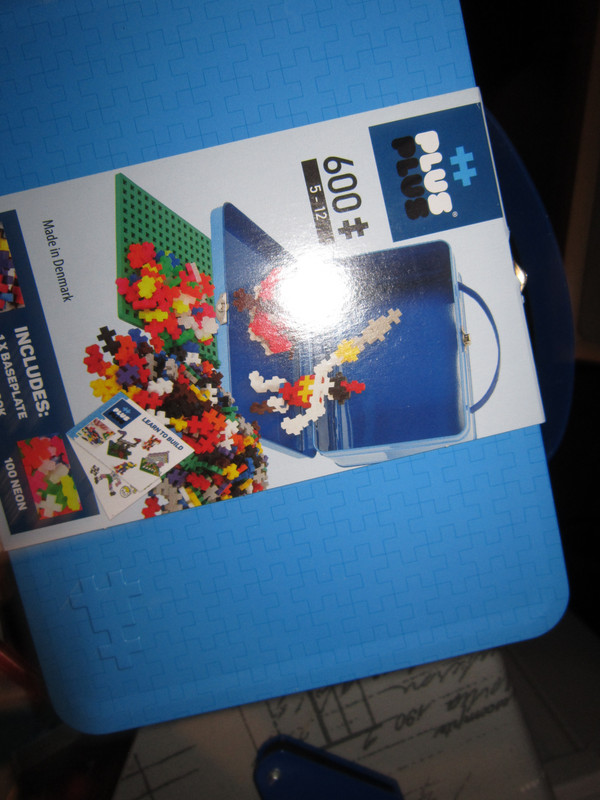
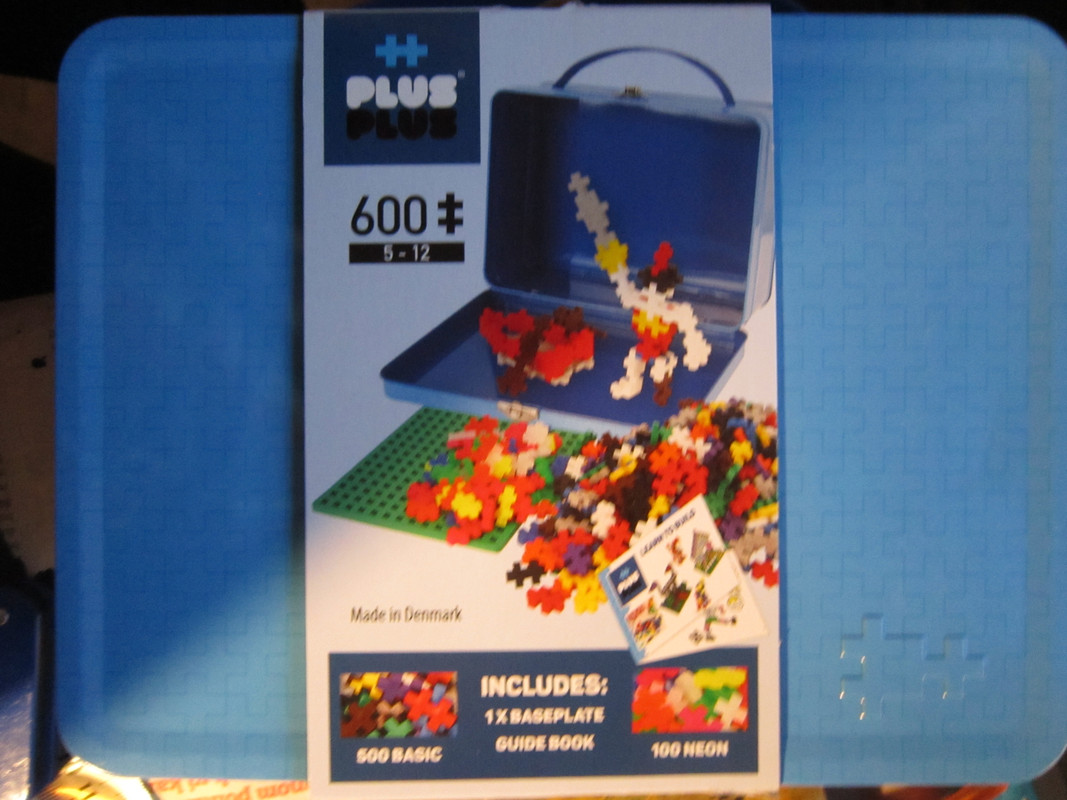
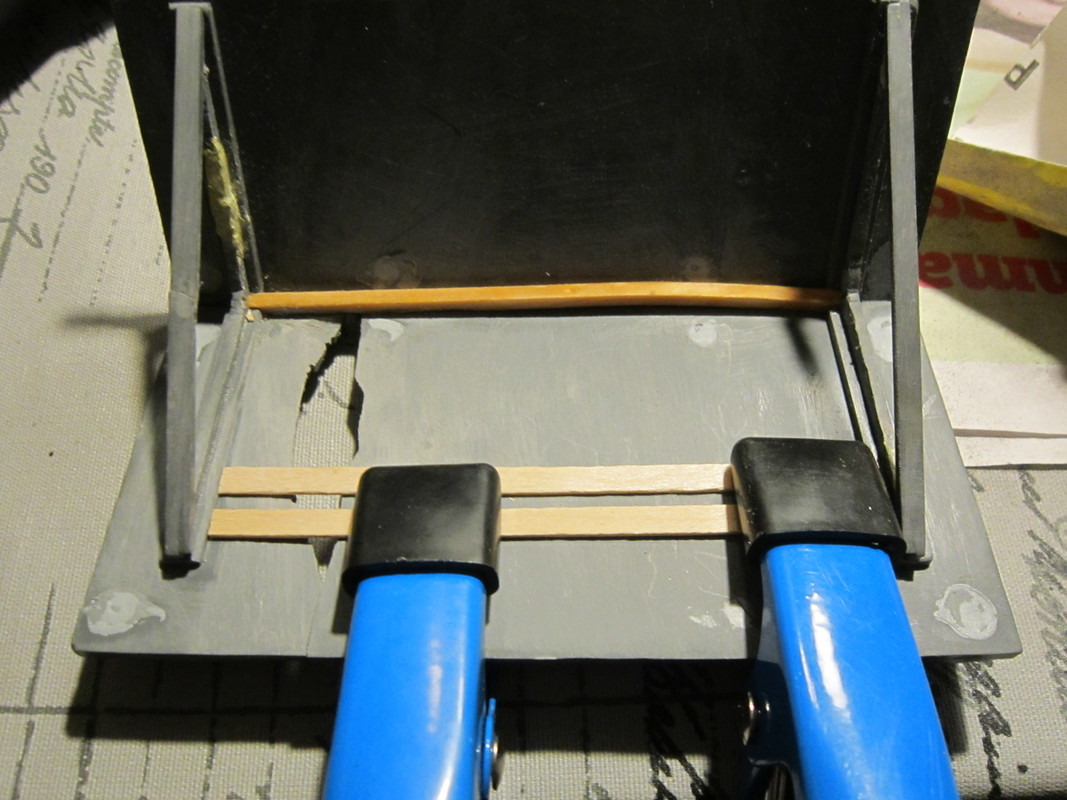
Now this project starts to take another turn. It will be very hard to try to sculpt stone walls, fit wall paper or paint walls after the walls for the rooms have been fit in and glued to place especially if the ceiling/floors have been glued in place, so it's time to figure out ways around this problem. Having something like lego brick walls would have been a good way to have finished walls, try out the placement, making a decision and then having them painted, fitted with wall paper or whatever and just putting them in place, would have been the ideal solution. Lego is way to thick for this scale, so it's time to look for some alternatives. My attention first goes to this material, that is somewhat similar to Lego, ++ Plusplus:
It has floors in which you could fit the different bricks and possibly replace the ceiling/upper floor in order to make a wall attach.
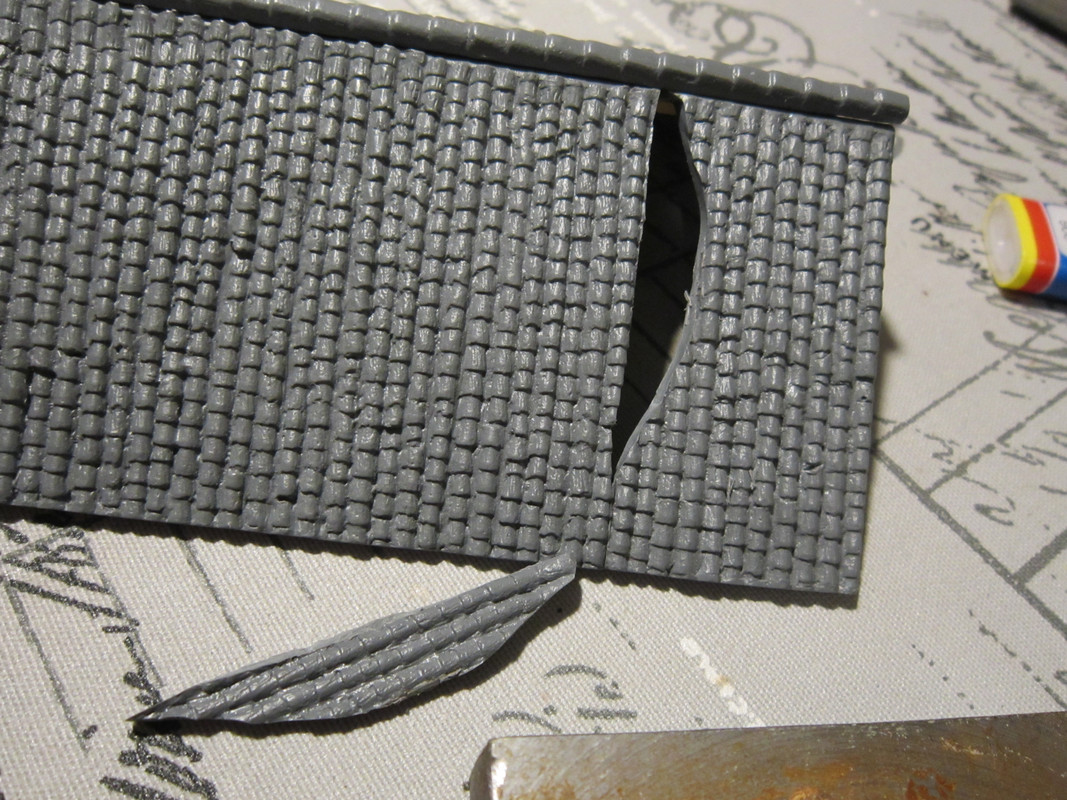
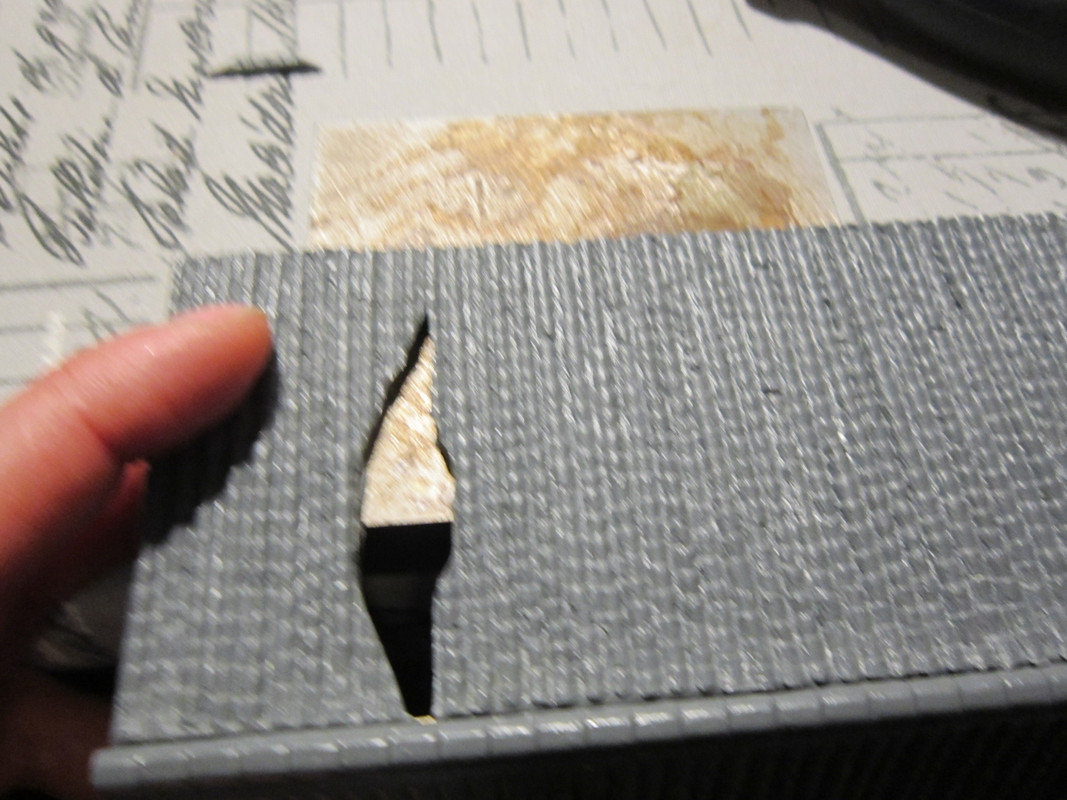
Can this be used in order to make a wall with a door opening, then use epoxy, styrene sheet amd or putty in order to have someting that fits well while being easily attached and deattached?
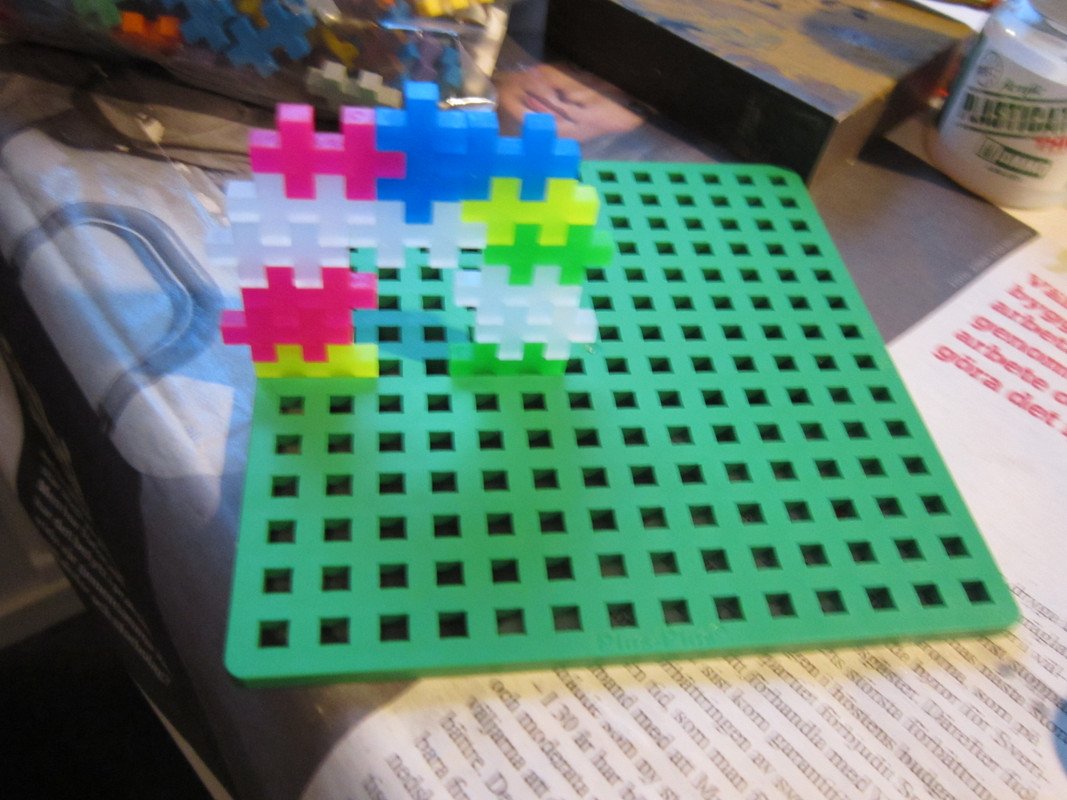
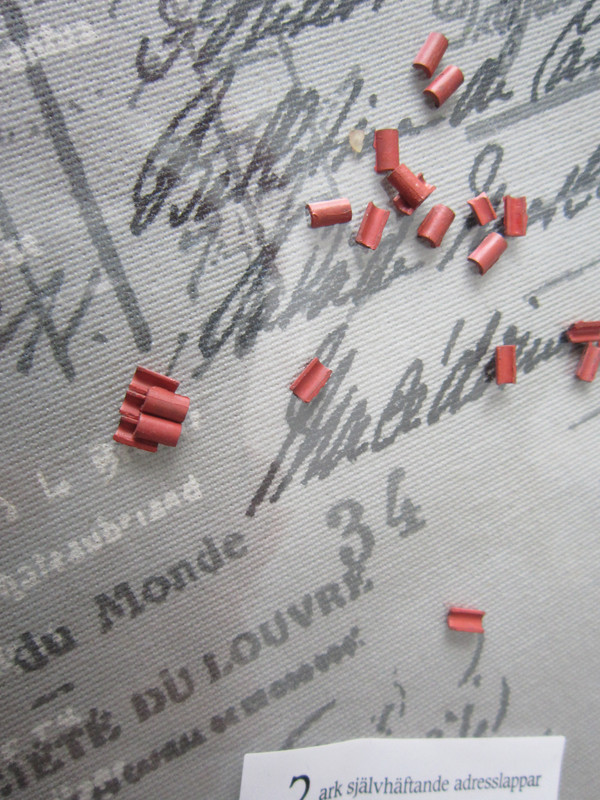
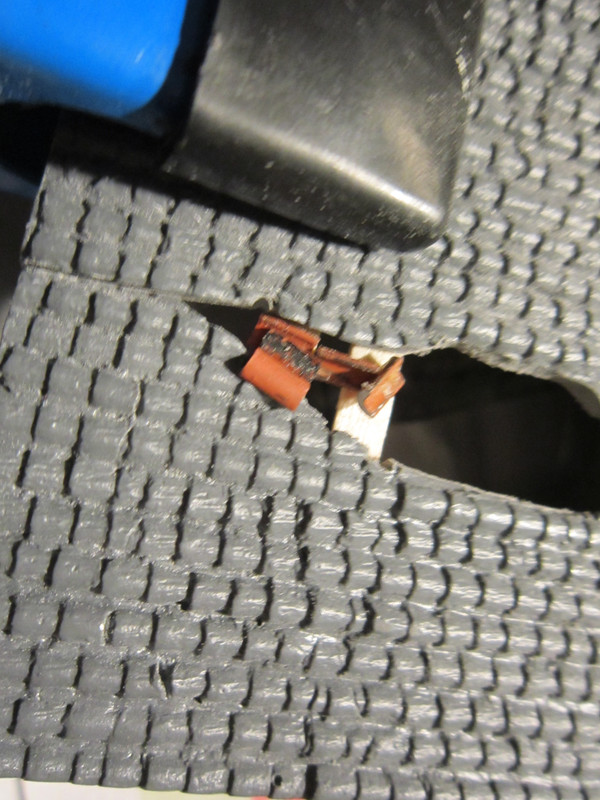
Pieces attach easily, though it can be hard fit them in to an outcome you really want. You can easily cut out the protruding parts with an sharp sidecutter.

 upload picture


 ladda ner musik gratis till mobilen
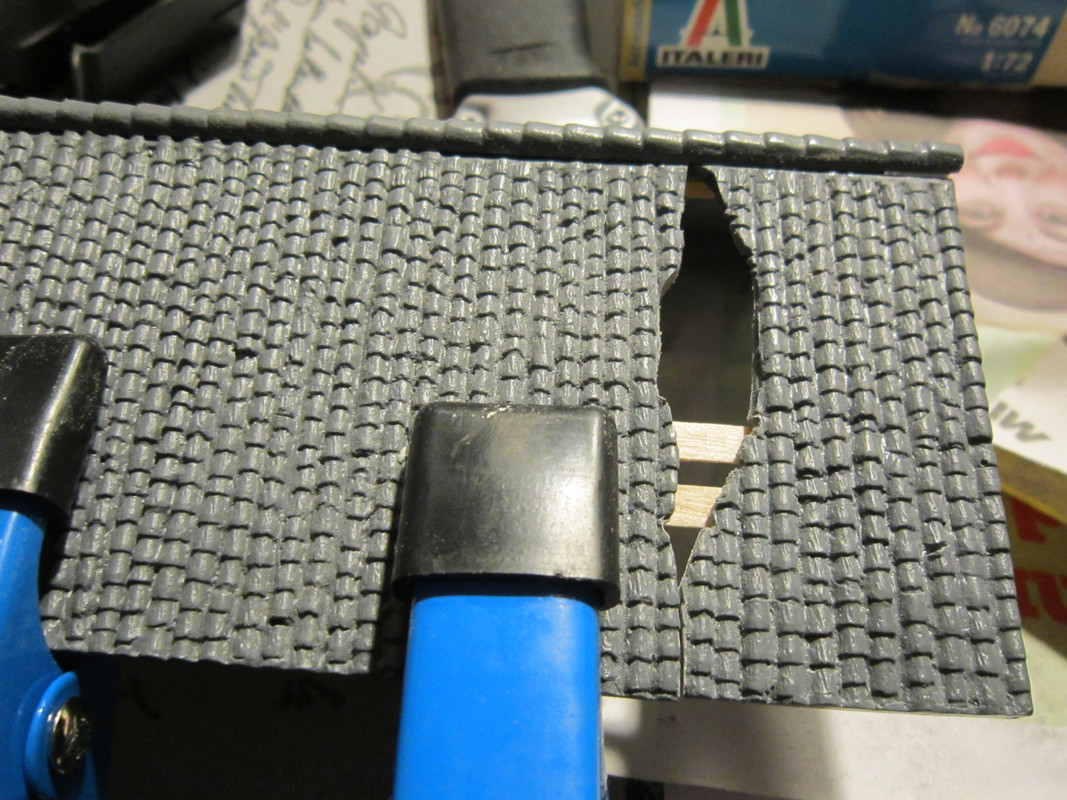


") Supporting Member (Gold)
Supporting Member (Gold) 


 Moderator