
Work in Progress
Converting a building into a transparent "dollhouse"
55 posts
• Page 2 of 3 • 1, 2, 3
Actually the drilling machine in pic 4 up is a Dremel 3000. Not sure actually what type of drill that is that I used(was in the package). It looks a bit odd, maybe something designed for drilling tiles? But it worked on plastic without causing it to melt.
-
Santi Pérez likes this post. •
- Reply
- Hobbyinovator
- Posts: 235
- Member since:
28 Dec 2009, 23:19
I was planning to use some wall paper och the interior walls, that I had bought from unicorn models:

But then I realized you don't put wallpaper och stone walls. So I will have to sculpt interior stone walls with epoxy. Why can't anything be easy?
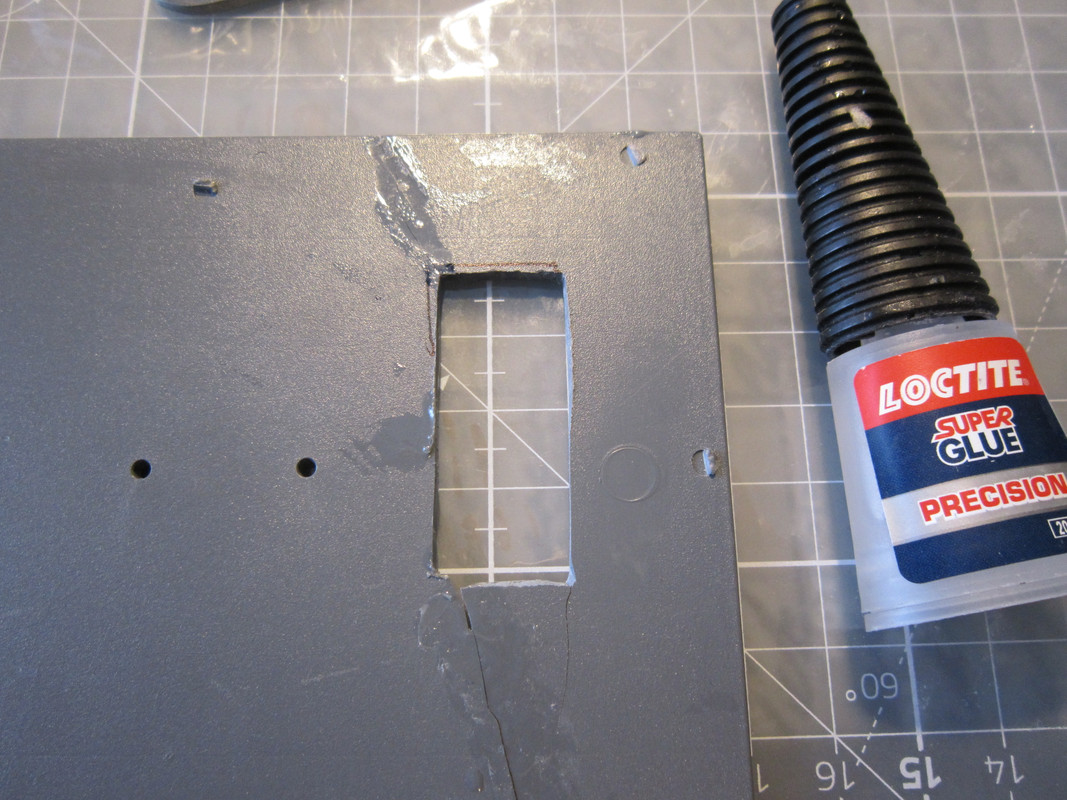
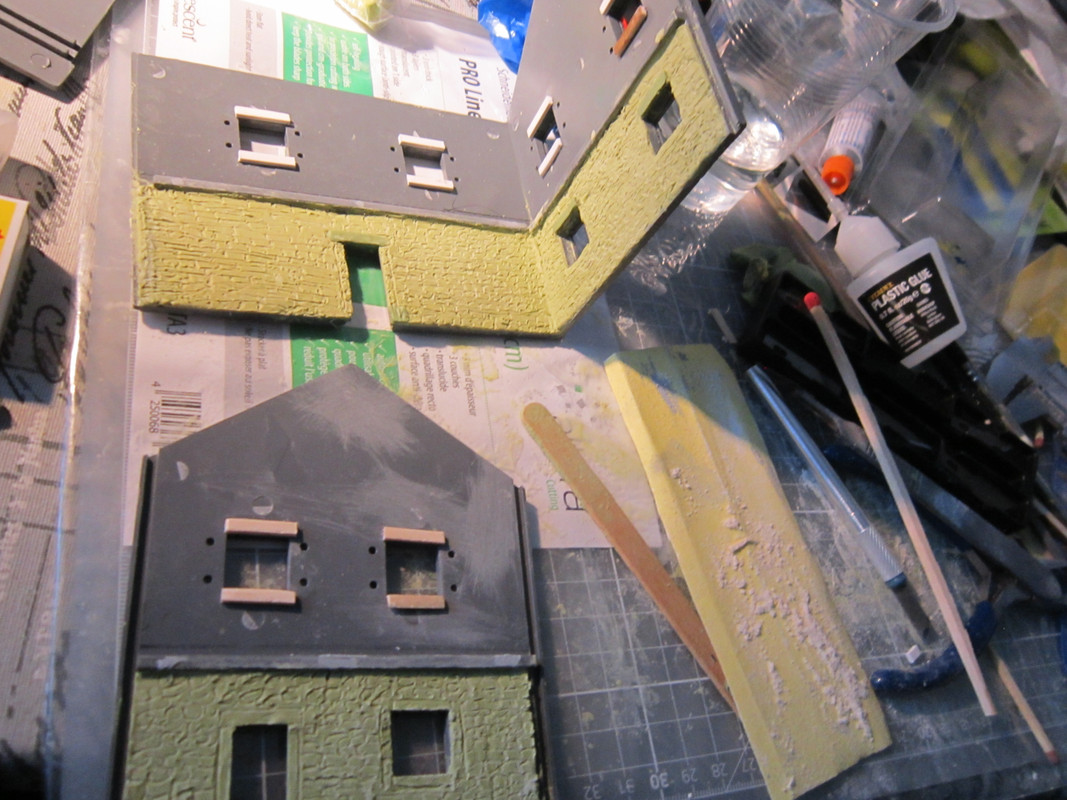
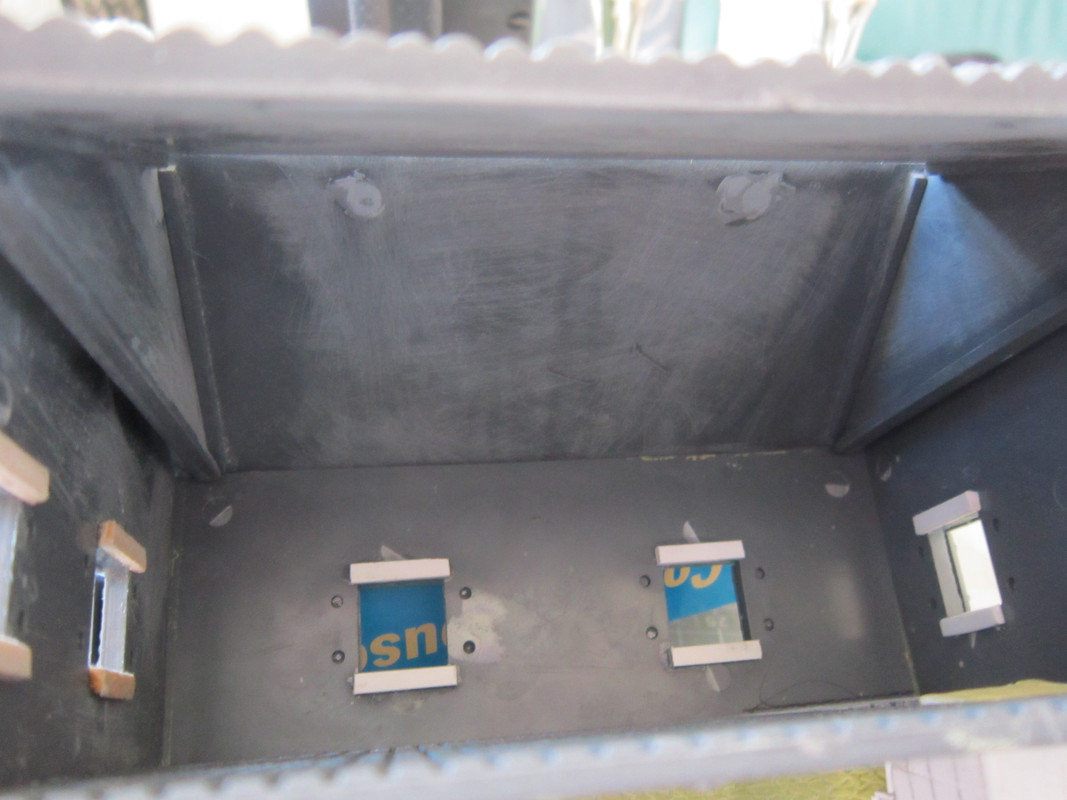
I will have to glue on the exterior windows boards before I start so that the attachment holes don't get filled up with epoxy. I would actually have prefered painting them before gluing them, but that's not practical now.

Meanwhile I glue floor back together.
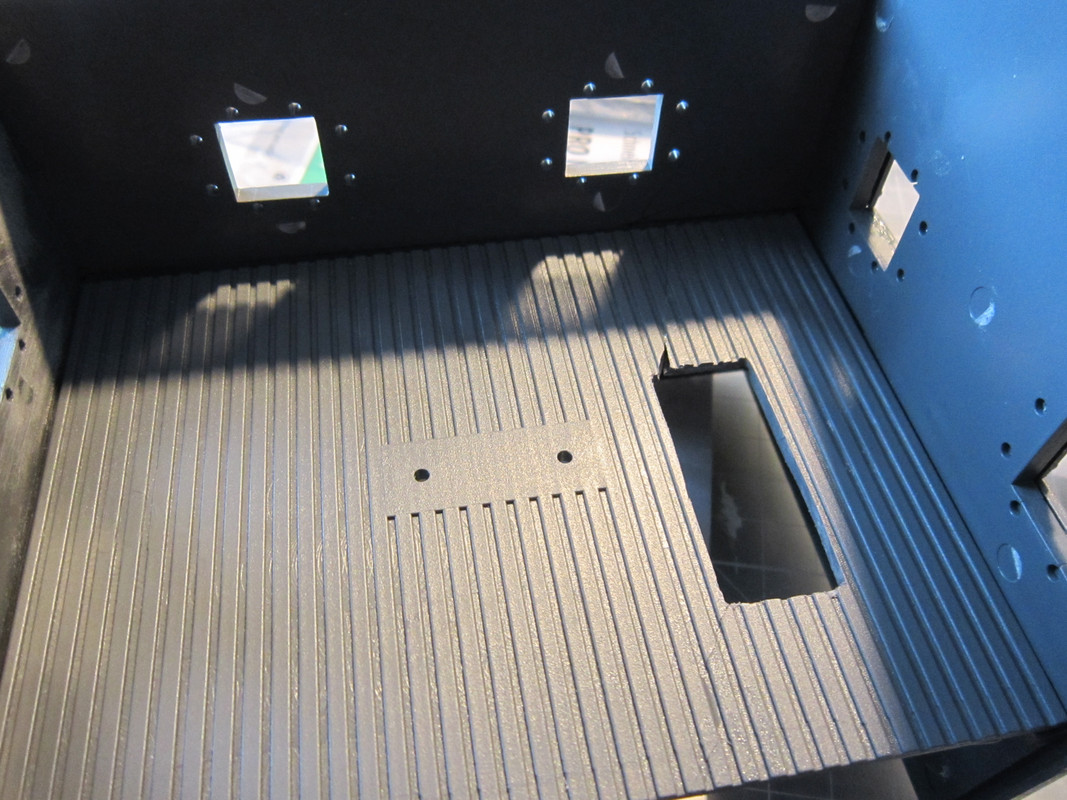
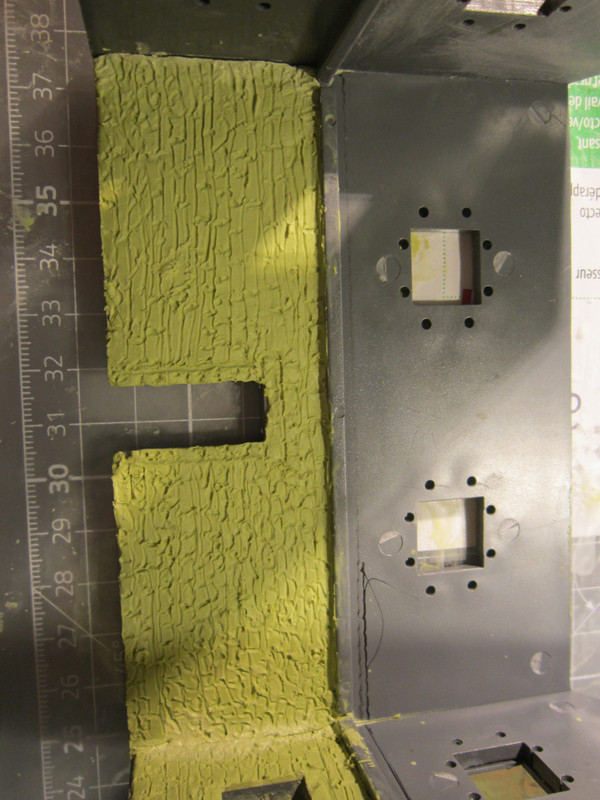
Let the wall sculpting begin. I'm not gonna push it, just one side and one floor at the time:

But then I realized you don't put wallpaper och stone walls. So I will have to sculpt interior stone walls with epoxy. Why can't anything be easy?
I will have to glue on the exterior windows boards before I start so that the attachment holes don't get filled up with epoxy. I would actually have prefered painting them before gluing them, but that's not practical now.
Meanwhile I glue floor back together.
Let the wall sculpting begin. I'm not gonna push it, just one side and one floor at the time:
- Hobbyinovator
- Posts: 235
- Member since:
28 Dec 2009, 23:19
Well, maybe I'll reconsider using it on the upper floor? I'm not sure how normal plastic glue vill interact with the wallpaper? Should perhaps something else be use like white glue?
- Hobbyinovator
- Posts: 235
- Member since:
28 Dec 2009, 23:19
-

Peter
 Moderator
- Posts: 22507
- Member since:
25 Mar 2008, 18:51


Help keep the forum online!
or become a supporting member
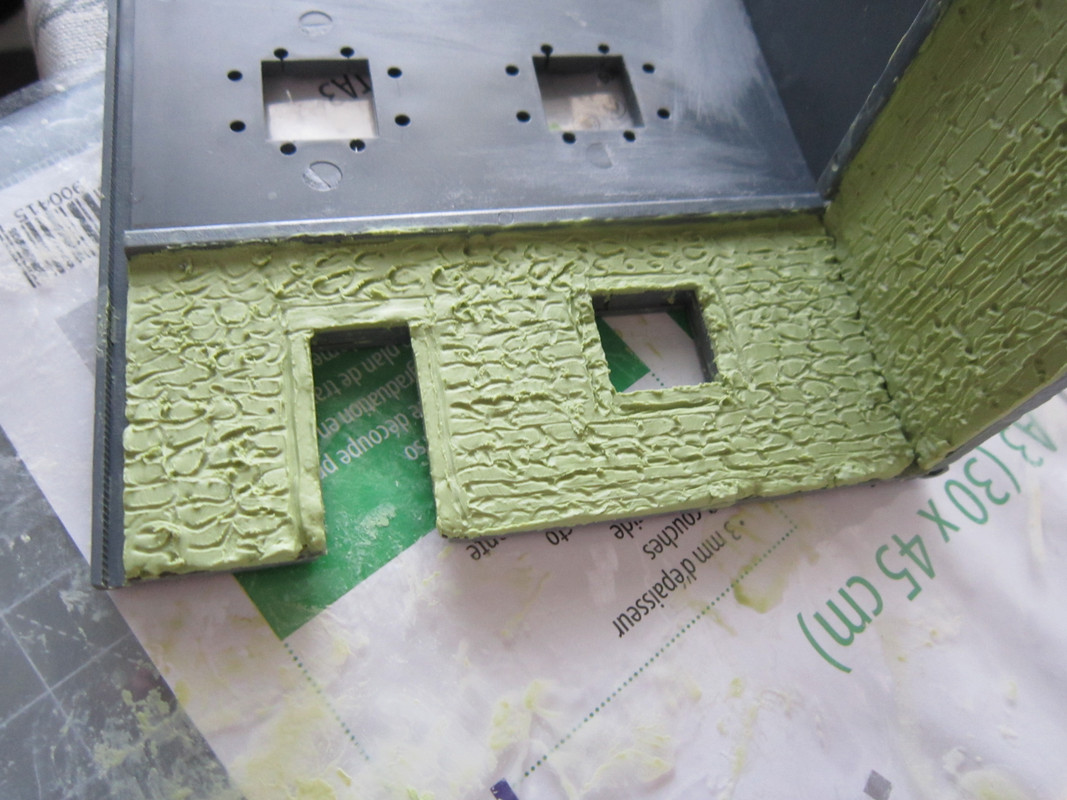
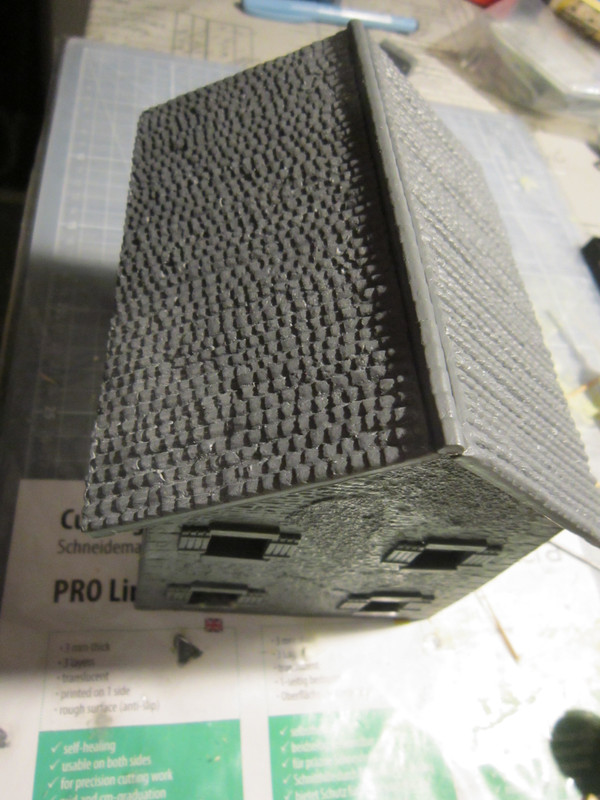
Third bottom floor side sculpted:
Assembling a wooden laser cut chimney trying to decide where to put it, thought it has to suit were the roof chimney will be.
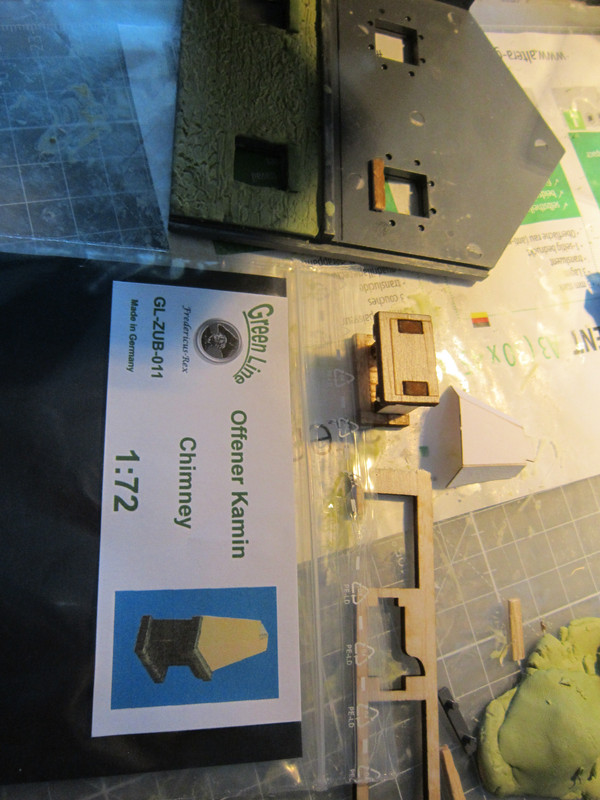
Sanding down Evergreen to make it right size for window stones:
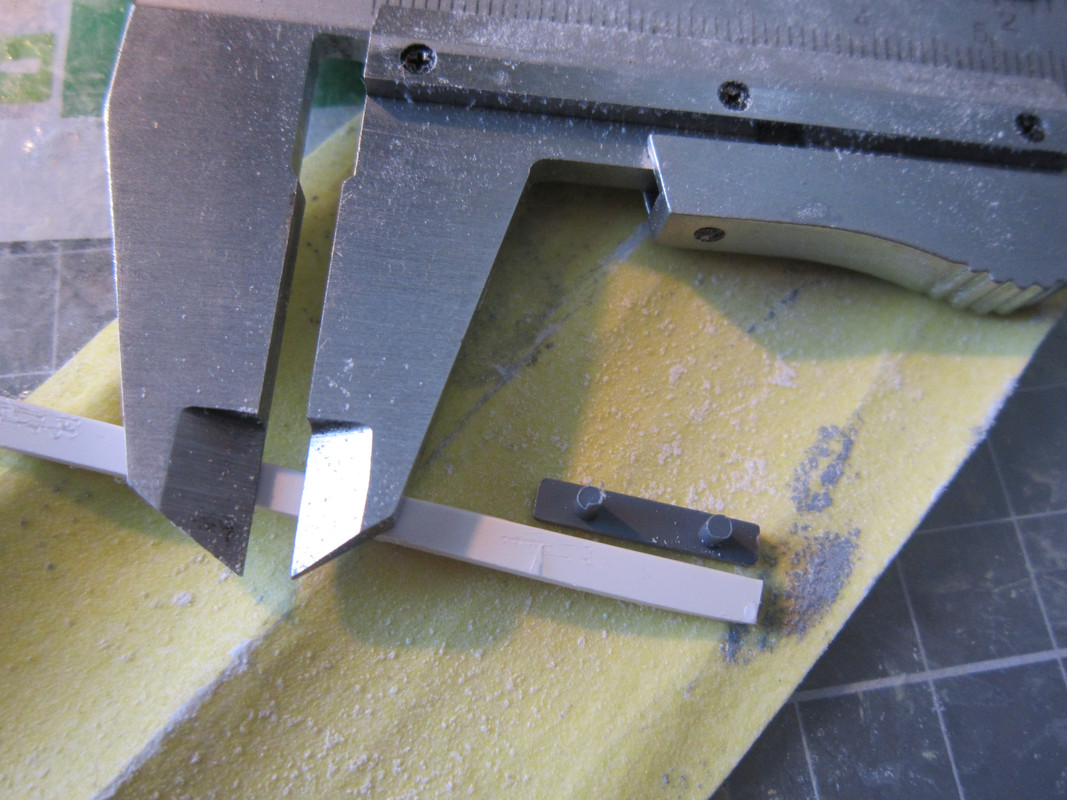
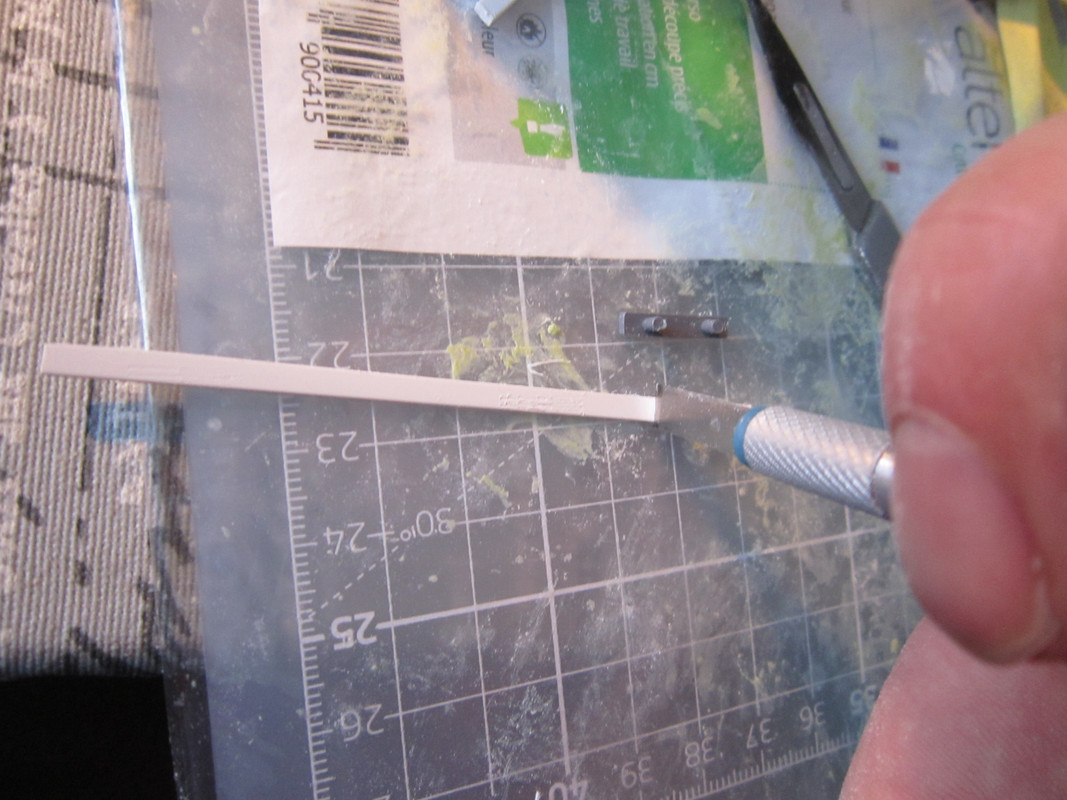
Sanding down some matches:
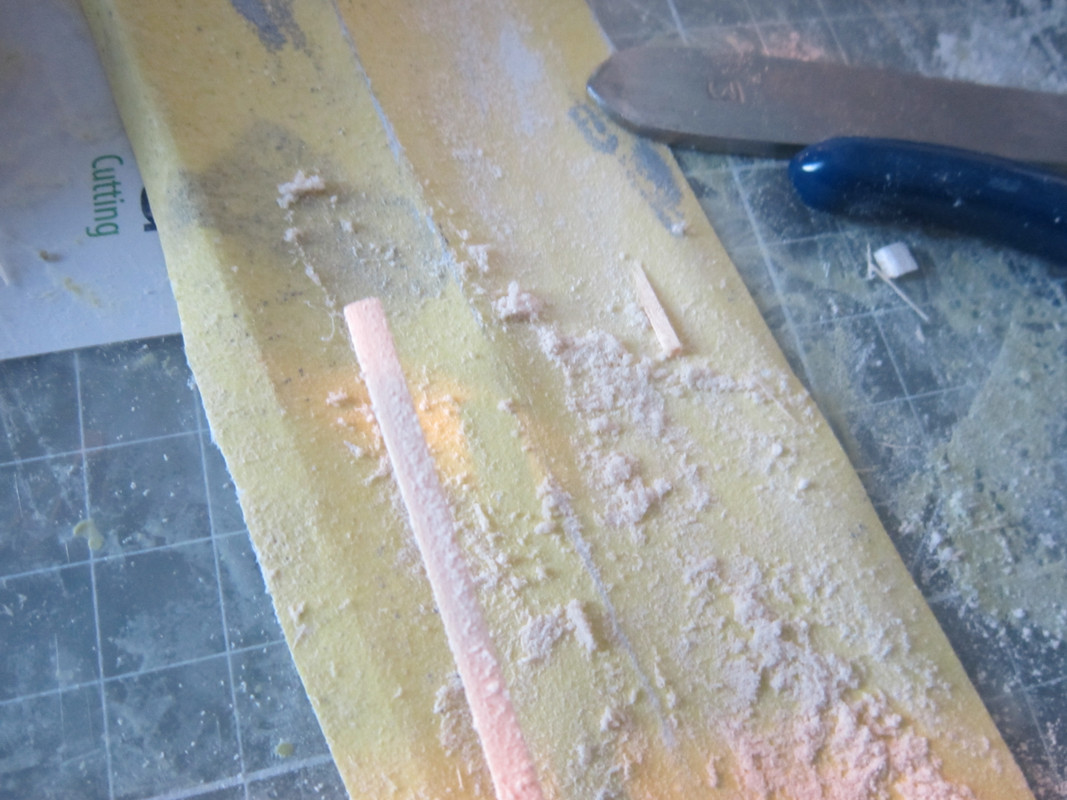
Gluing the internal window stones on, will hopefully look better then sculpting them in epoxy.
Assembling a wooden laser cut chimney trying to decide where to put it, thought it has to suit were the roof chimney will be.
Sanding down Evergreen to make it right size for window stones:
Sanding down some matches:
Gluing the internal window stones on, will hopefully look better then sculpting them in epoxy.
- Hobbyinovator
- Posts: 235
- Member since:
28 Dec 2009, 23:19
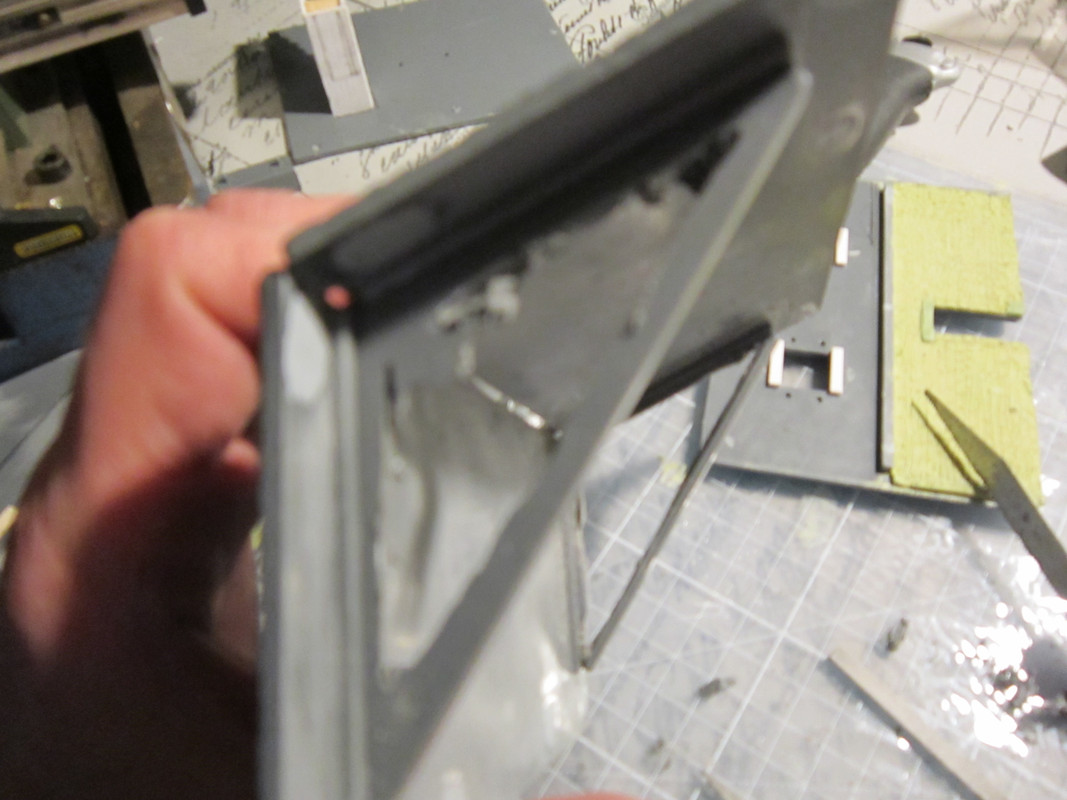
I added the two triangles that support the roof, but realized they were inside out:
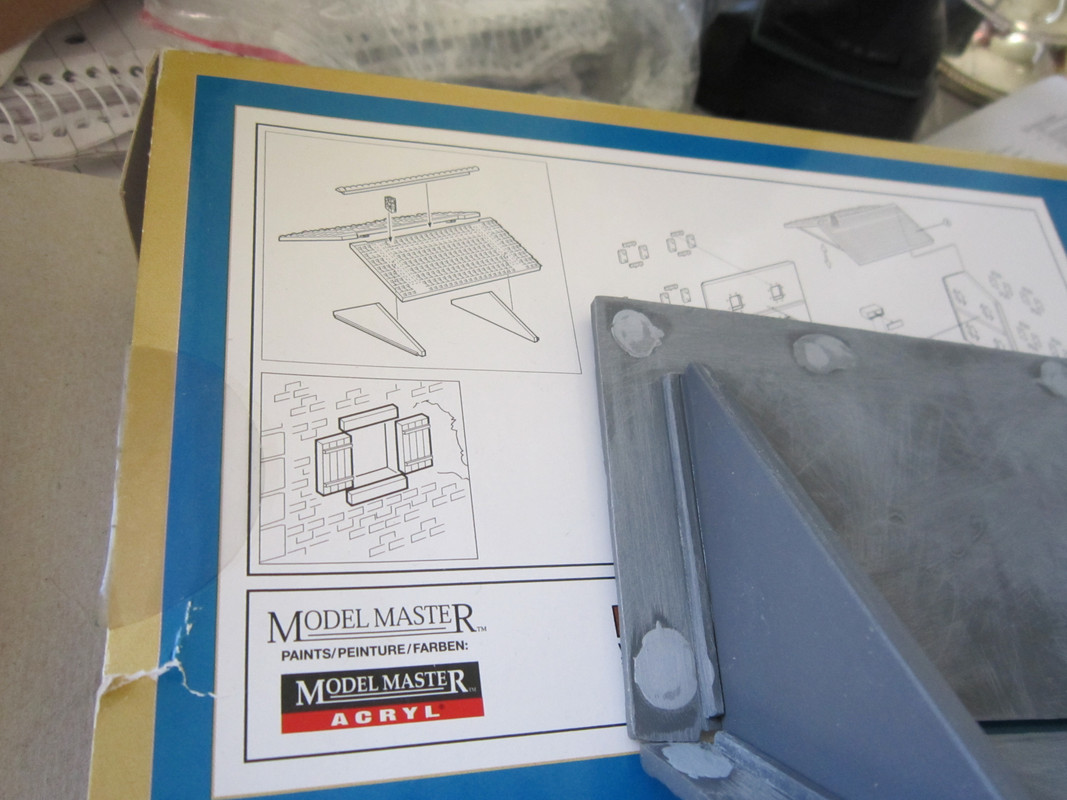
I was under the impression that it would look more credible this was with the A frames visible, but it seems like they are mean to come in contact with the outer walls to make them more stable.
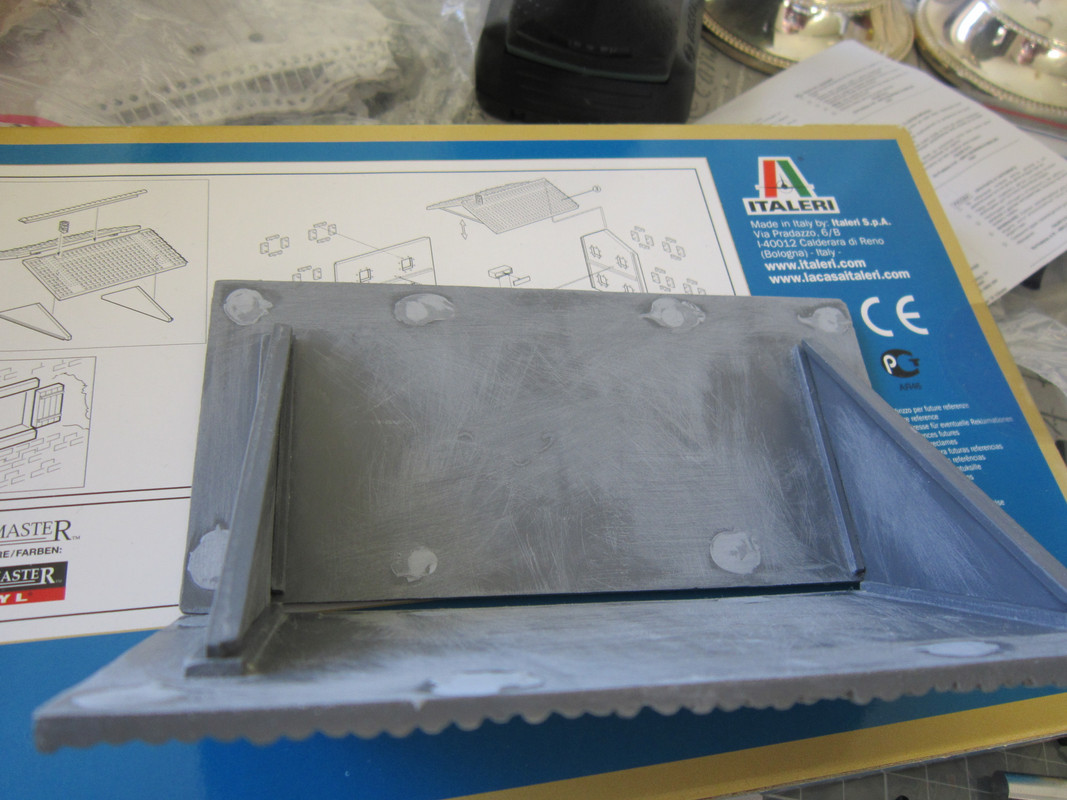
The Roof:
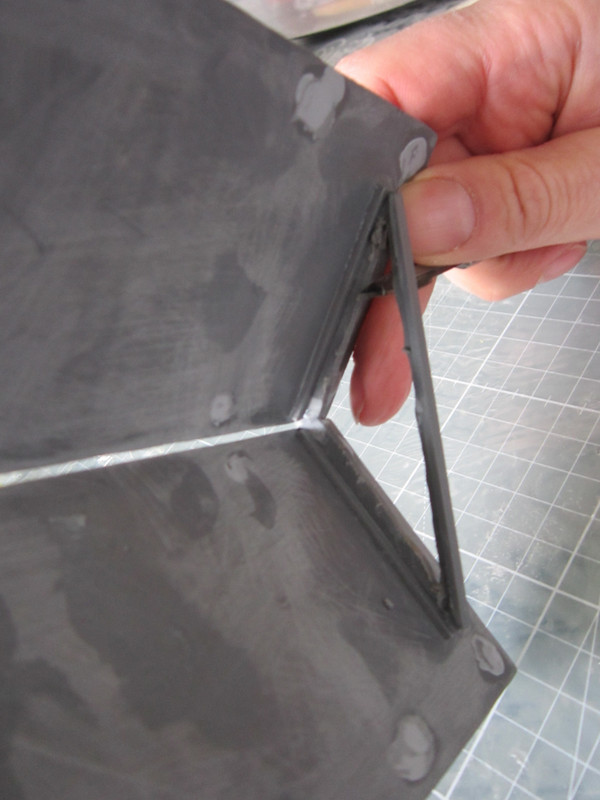
The gap between the A-frames and the wall more visible:
The A-frames are to attachtec to remove now, so I start removing the interior plastic of the A-frames in order to make them more realistic.
First i drill hole with a Dremel then I sand and cut with the sculpel, takes lots of time and effort:
I cut a bit to much from the A-frames and have to do some repairing with Miliput. I use a long match to add a central beam. at the moment I am considering making a hole in roof from artillery shells, adding some floor planks for the attic floor, and maybe having some German observers at the attic:
 gratis bild
I was under the impression that it would look more credible this was with the A frames visible, but it seems like they are mean to come in contact with the outer walls to make them more stable.
The Roof:
The gap between the A-frames and the wall more visible:
The A-frames are to attachtec to remove now, so I start removing the interior plastic of the A-frames in order to make them more realistic.
First i drill hole with a Dremel then I sand and cut with the sculpel, takes lots of time and effort:
I cut a bit to much from the A-frames and have to do some repairing with Miliput. I use a long match to add a central beam. at the moment I am considering making a hole in roof from artillery shells, adding some floor planks for the attic floor, and maybe having some German observers at the attic:
gratis bild- Hobbyinovator
- Posts: 235
- Member since:
28 Dec 2009, 23:19
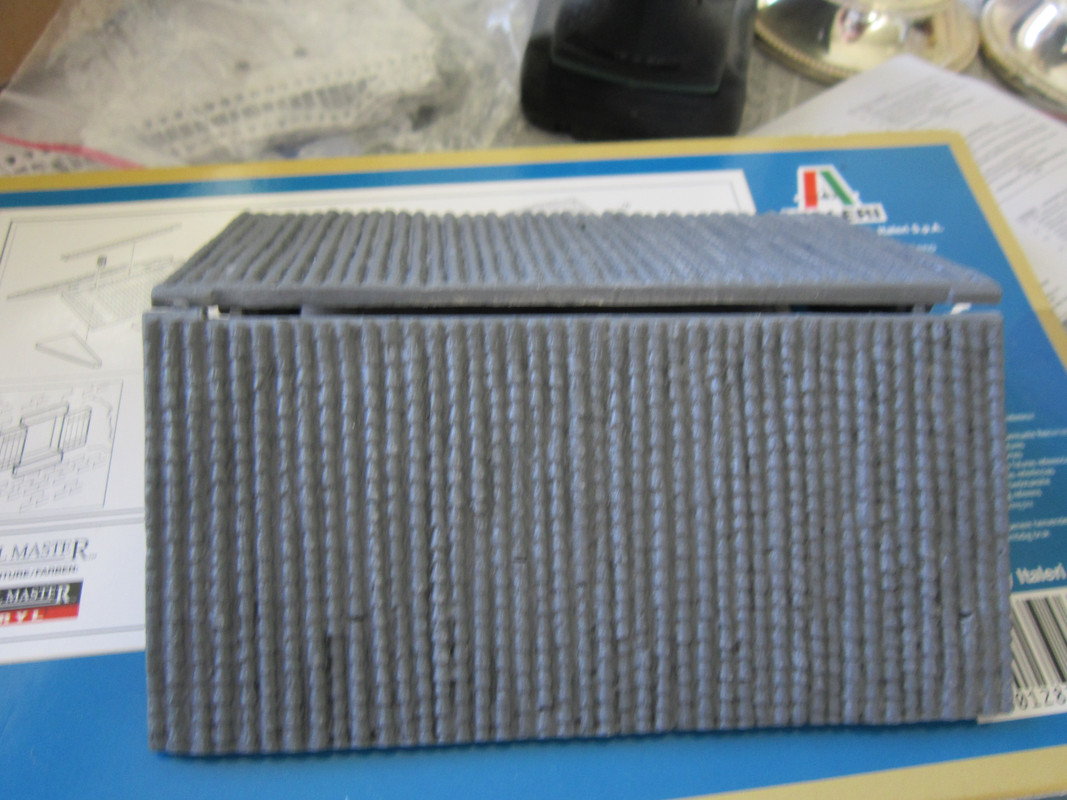
I have added the ridge of the roof. It's not as centered as it should be, but it's hard to do anything about it. I was planning to make a hole through the roof tiles so that you can look inside the attic, but I it will be to much work to make it look good and credible with loose tiles and visual roof battens. I'm not even really sure what kind of tiles those are supposed to be, C-shaped curved ridge tiles? But the transparency problem can be solved by making a shell hole on the upper short side of the wall instead. Though I find it hard to believe an antitank gun or and infantry gun would be able to punch a hole through the wall of the attic while not at the same time knocking off some of the roof tiles, well sometimes you will have to compromise, I'm still a beginner at this.
- Hobbyinovator
- Posts: 235
- Member since:
28 Dec 2009, 23:19
Follow this with very great interest! Have the house, but haven't done anything with it (have built the other one though).
-

Susofrick
") Supporting Member (Gold)
Supporting Member (Gold) - Posts: 7678
- Member since:
19 Feb 2008, 12:10
Susofrick wrote:Follow this with very great interest! Have the house, but haven't done anything with it (have built the other one though).
Which other model is that? This one? https://www.italeri.com/en/product/885
- Hobbyinovator
- Posts: 235
- Member since:
28 Dec 2009, 23:19
-
Susofrick
- Supporting Member (Gold)
- Posts: 7678
- Member since:
19 Feb 2008, 12:10
Susofrick wrote:Yup, that one! I went nuts with all those windows and stuff!
Yes, looks a bit hard and I guess painting the walls behind the pillars is a bit problematic? We'll see if that building will end up in my inventory in the future.
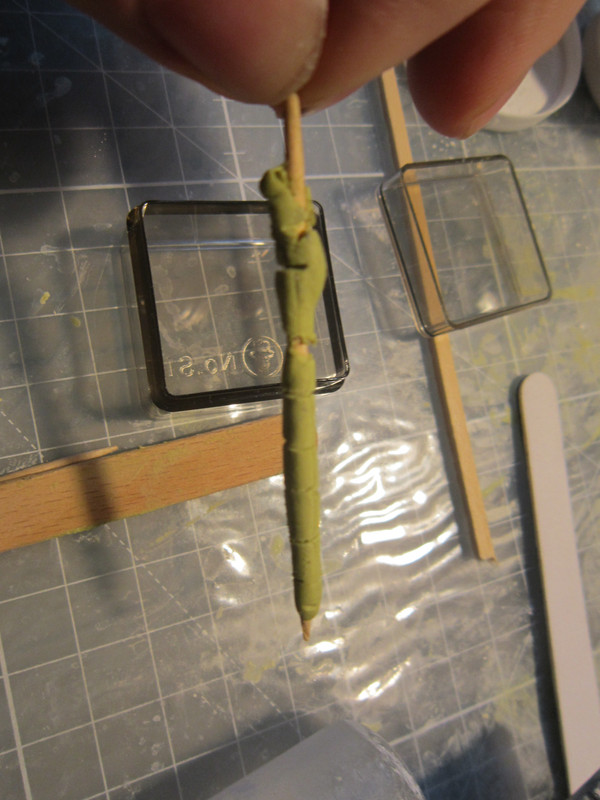
Meanwhile I have been investigating methods to create curved ridge tiles. The current method I'm trying to roll Miliput mixed with Green stuff around a brass rod, then cut it on both sides along the rod and then cut it again to separate the tiles.
A bit hard to get the camera to focus:
Trying to find some use for the surplus epoxy that couldn't fit around the rod. I guess I will have to buy more rods if I'm gonna use this method.
- Hobbyinovator
- Posts: 235
- Member since:
28 Dec 2009, 23:19

Help keep the forum online!
or become a supporting member
Peter wrote:Why didn't you use the real stuff.......clay?
My previous experience with Das has been as ground material and as a filler, and I'm not sure how the shrinkage would work, but maybe it could be worth a try? Have you used it for making building material?
-
Santi Pérez likes this post. •
- Reply
- Hobbyinovator
- Posts: 235
- Member since:
28 Dec 2009, 23:19
I used it to rebuilt a ear of a clay rabbit. As far as I know it didn't shrink. I would give it a go.
Have you seen what Huib did with clay for his Russian tank?
Page 9 of this topic he made a cobble road with it: viewtopic.php?f=11&t=24362&start=160
Have you seen what Huib did with clay for his Russian tank?
Page 9 of this topic he made a cobble road with it: viewtopic.php?f=11&t=24362&start=160
-
Peter
- Moderator
- Posts: 22507
- Member since:
25 Mar 2008, 18:51
Everything looks very promissing. I returned after a longer break and like Peter, I am curious to see the final building. 
-

MABO
- Supporting Member (Gold)
- Posts: 9146
- Member since:
12 May 2008, 18:01
Peeling of some rof tiles:
Hard to prevent the tiles from getting deformed.
Another attempt, I think this contained a higher admixture of green stuff:


Hard to prevent the tiles from getting deformed.
Another attempt, I think this contained a higher admixture of green stuff:
- Hobbyinovator
- Posts: 235
- Member since:
28 Dec 2009, 23:19
55 posts
• Page 2 of 3 • 1, 2, 3