Thank you both, my dear friends,
NEVER GIVE UP AFTER A SECOND FAILED ATTEMPT?
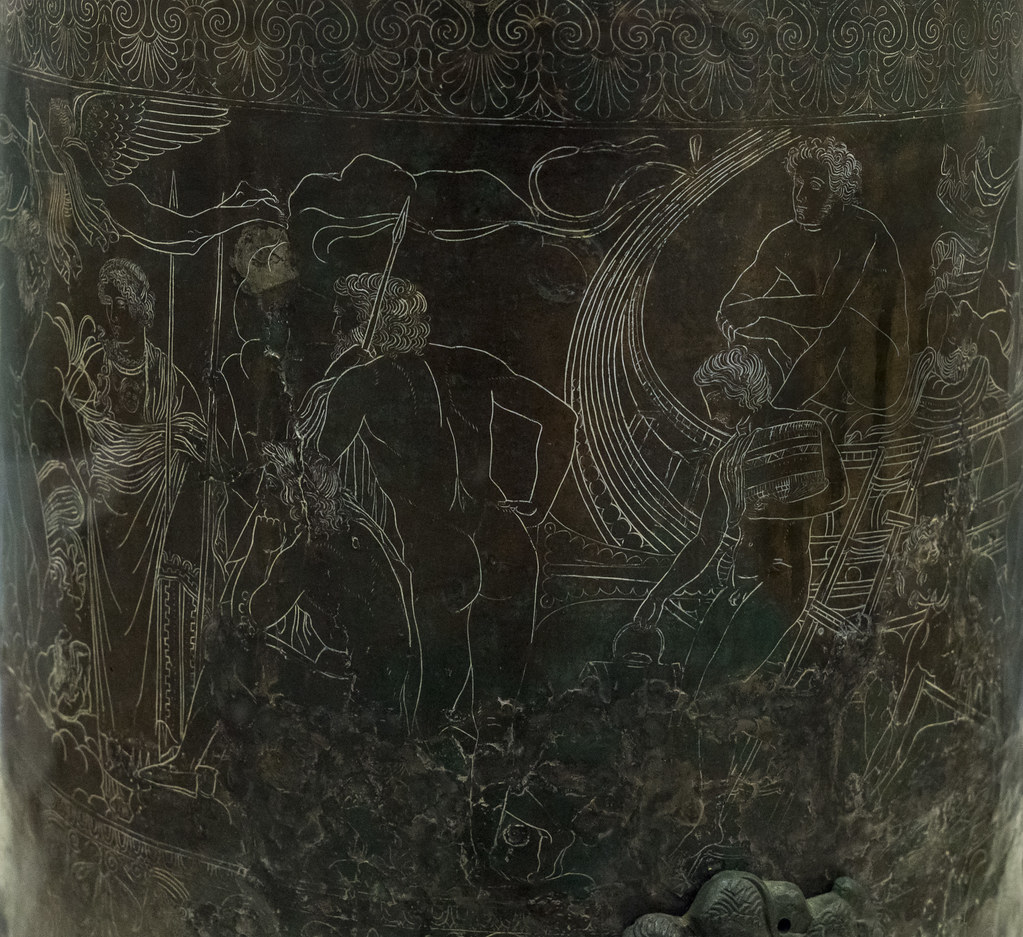
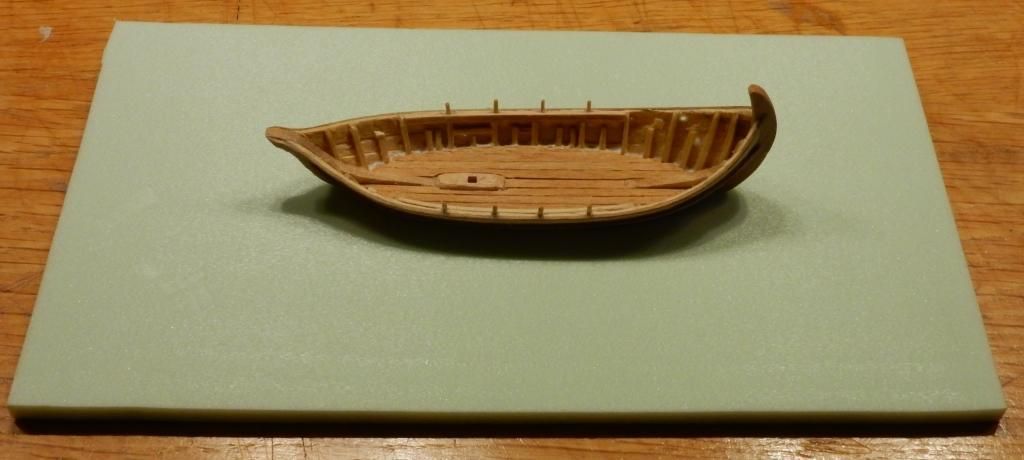
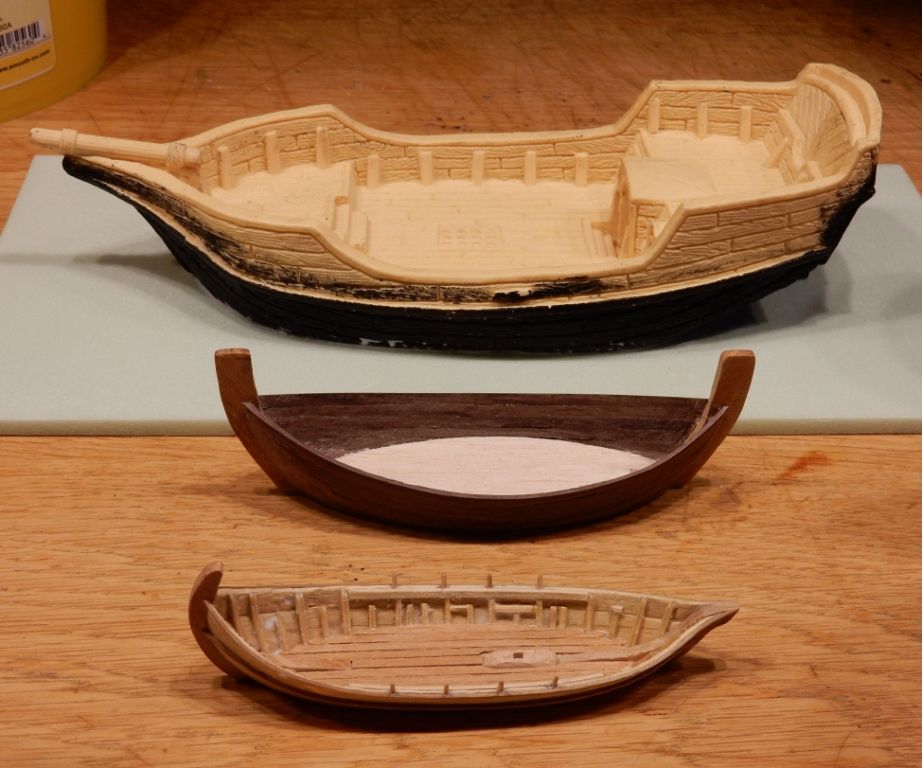
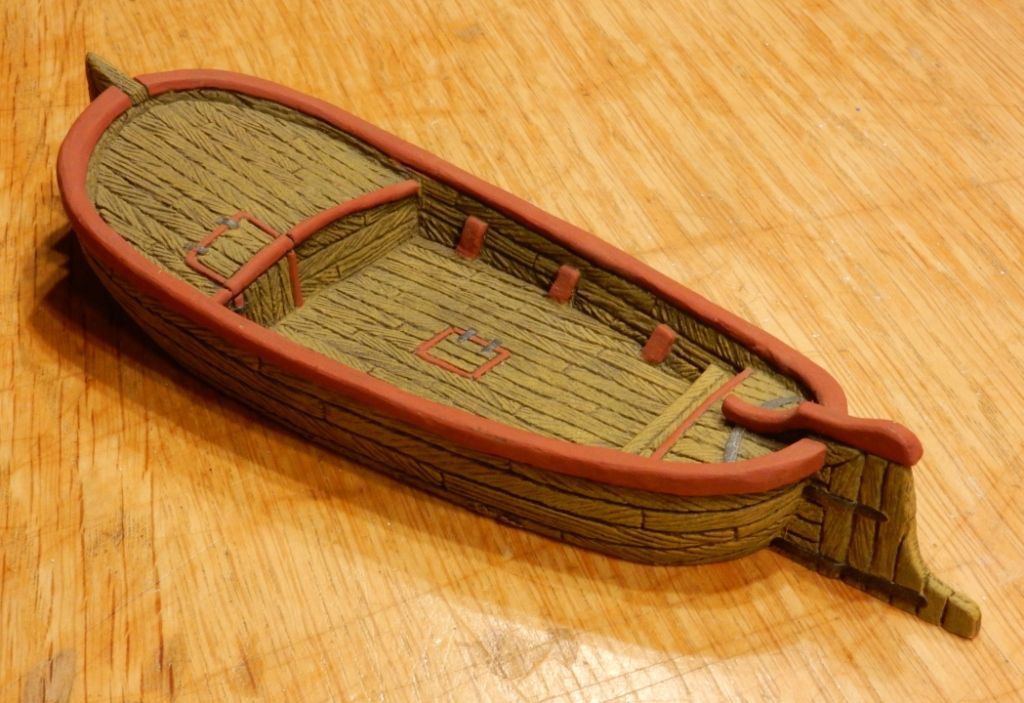
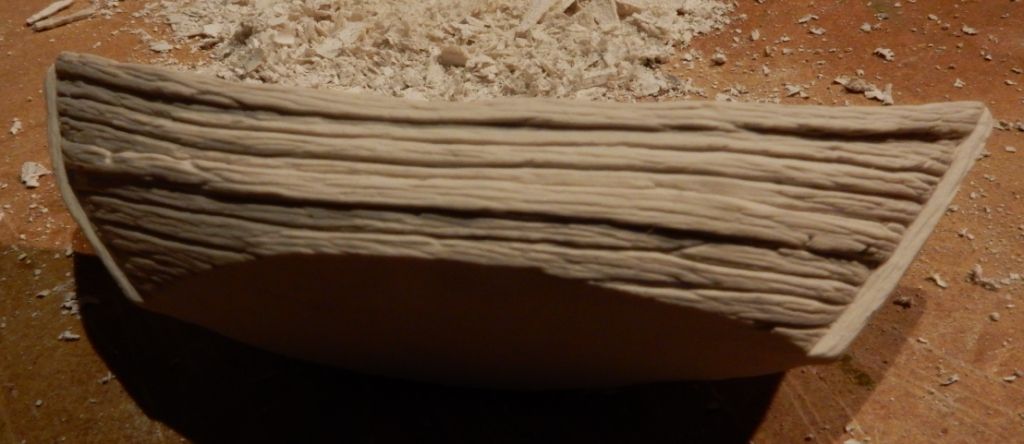
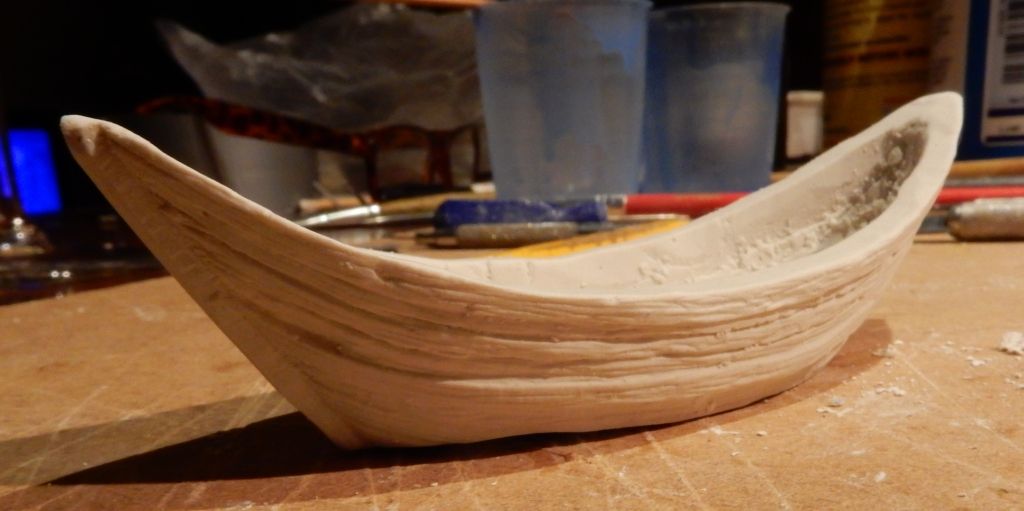
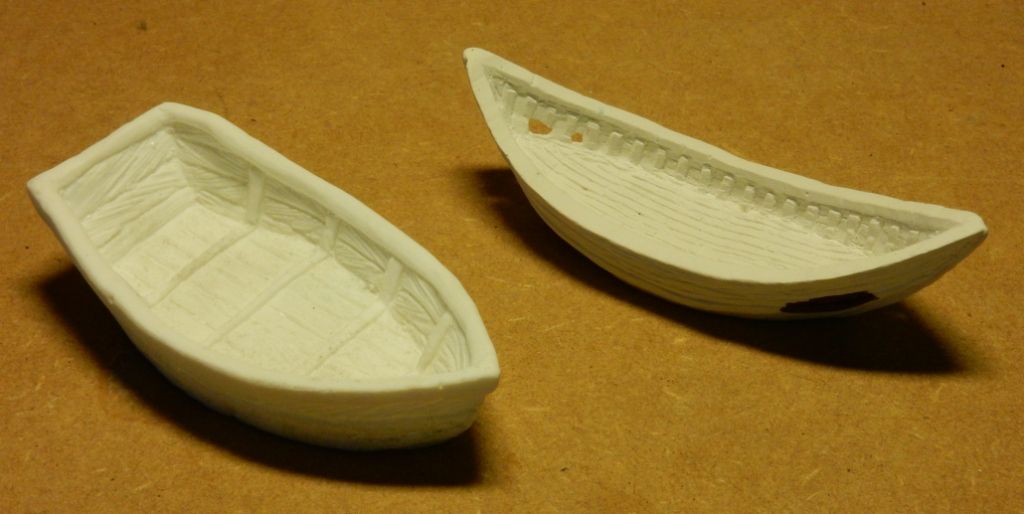
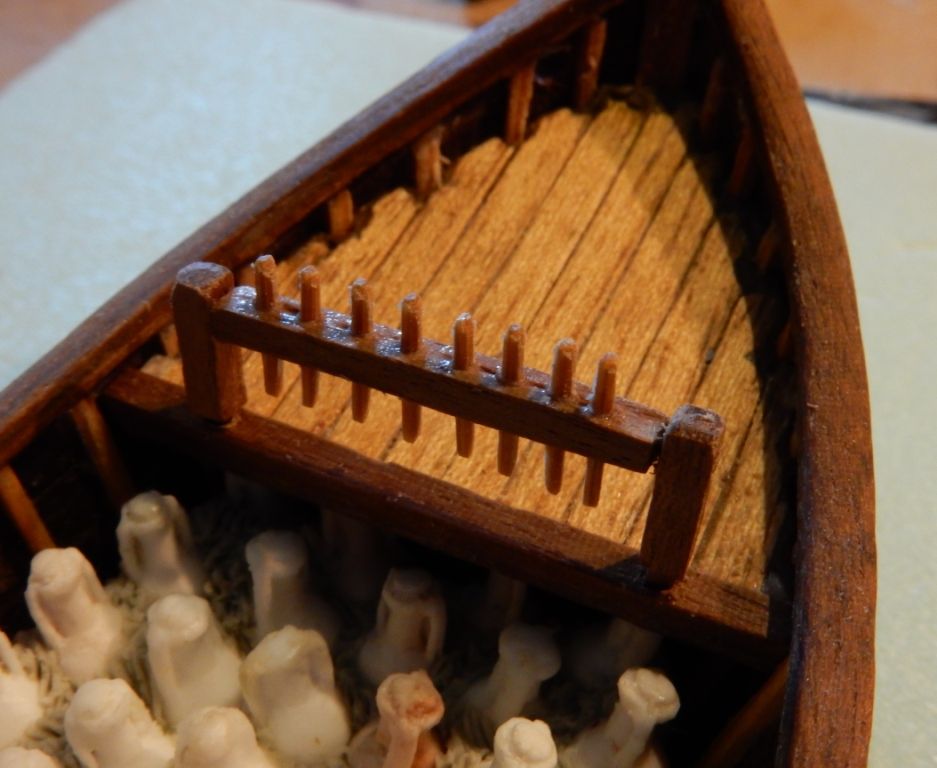
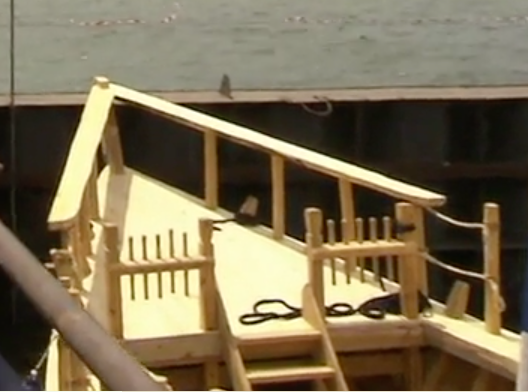
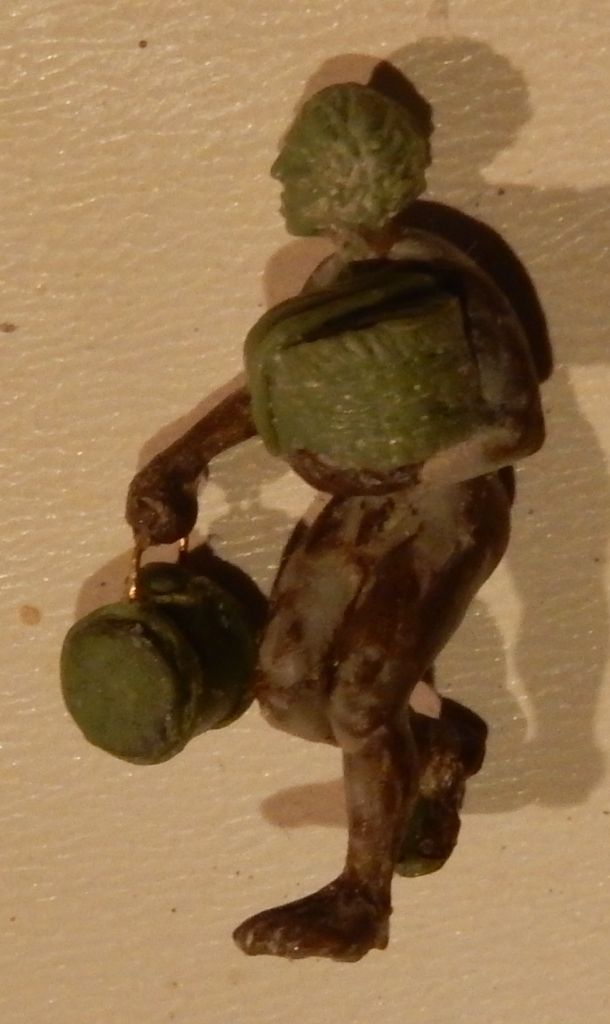
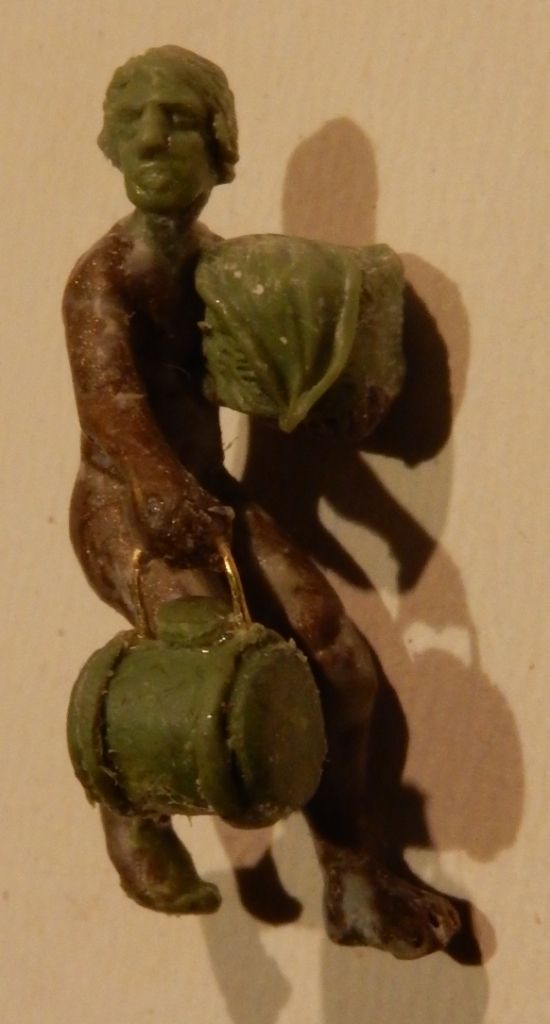
Remember my first Phoenician rowing barge, Kostis you payed some interest in this boat.
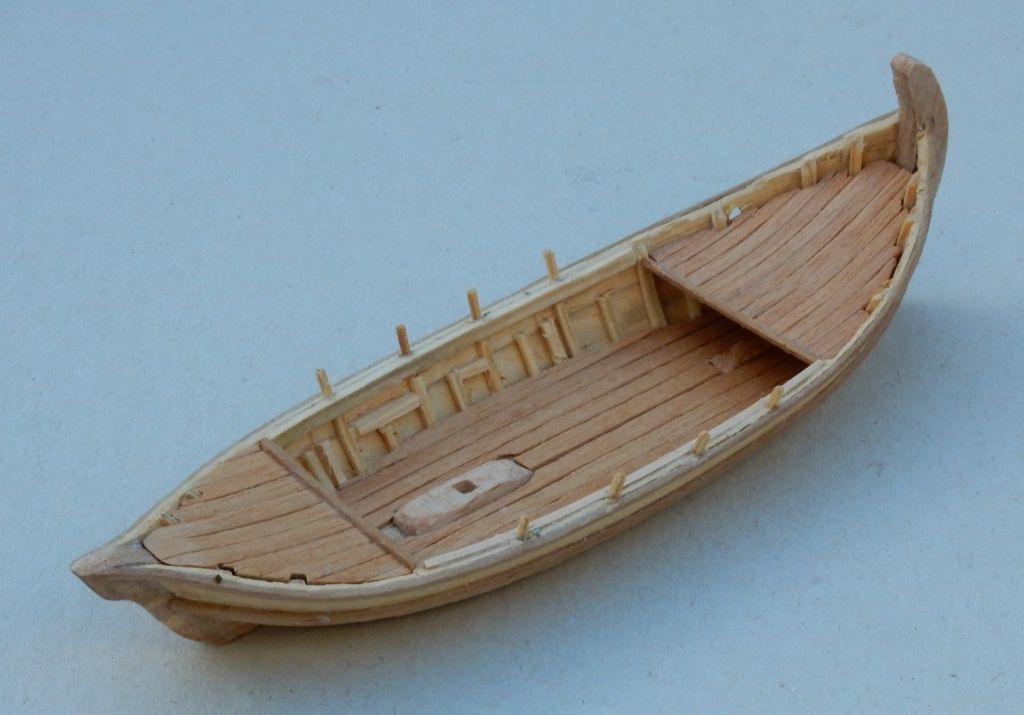
I wanted to make a resin copy of it to send it to Crete and make a few copies for my own use too. But things didn't go as was hoped for:
Gerard Boom succeeded in casting a complete Pirate galleon in one single part mold. Last januari I asked him to show me how.
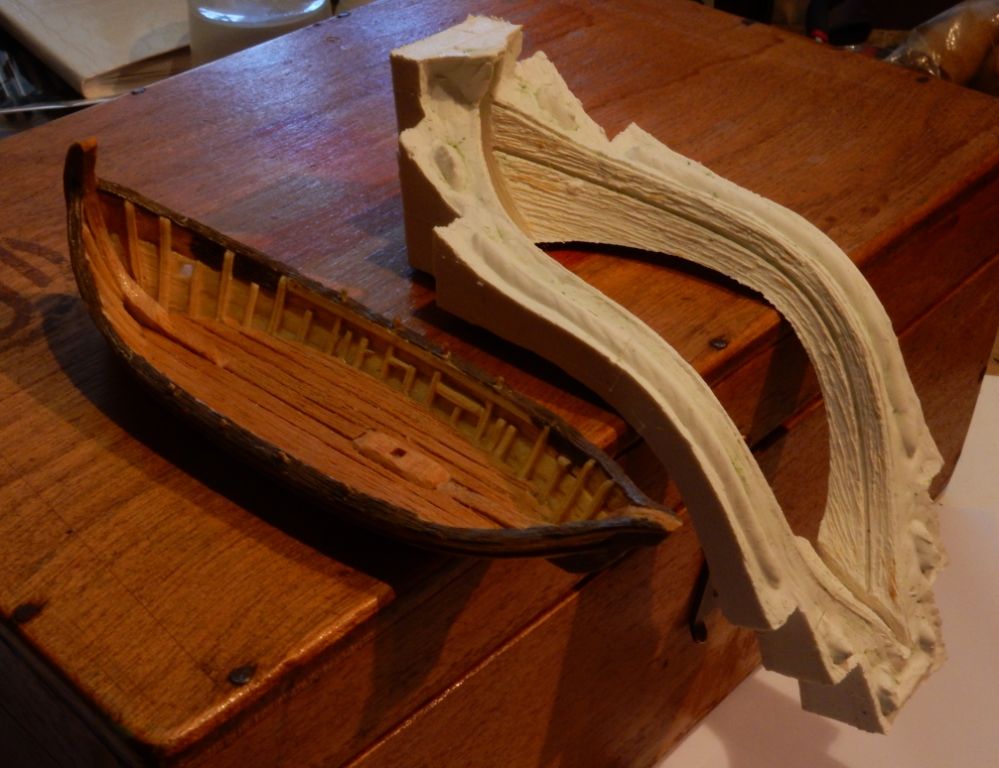
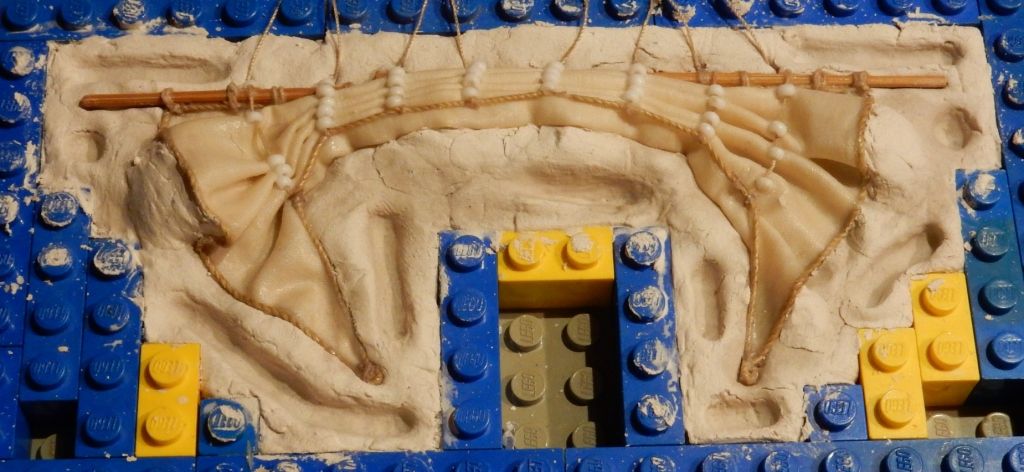
We glued the wooden master on a sheet of foam:
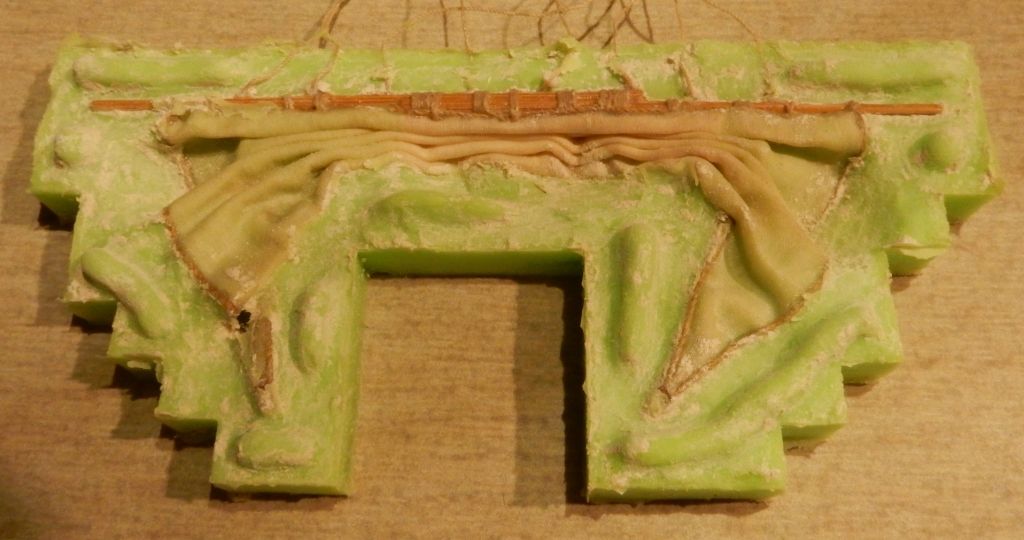
I sprayed it with parting agent. And then he showed me how to apply layers of a very elastic silicone rubber called DRAGONSKIN. For this I used a brush and applied the first layer. Each layer has to dry for a day so I left my ship behind and every following day Gerard applied another layer until with 6 layers the rubber skin was thick enough for removing. When the ship returned to me it looked like this:
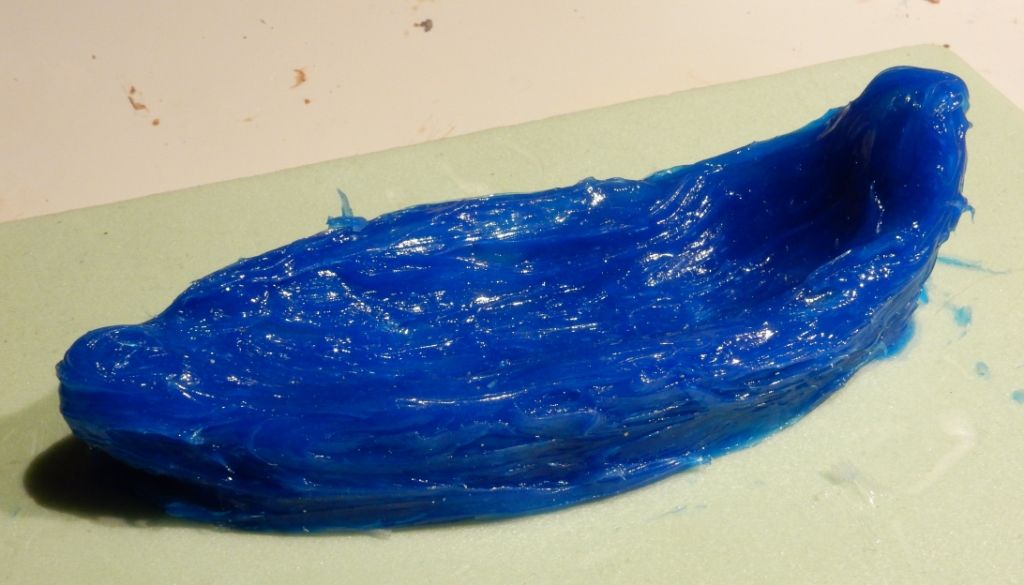
Because of the parting agent the mold came off very easy without damaging the very fragile wooden master:
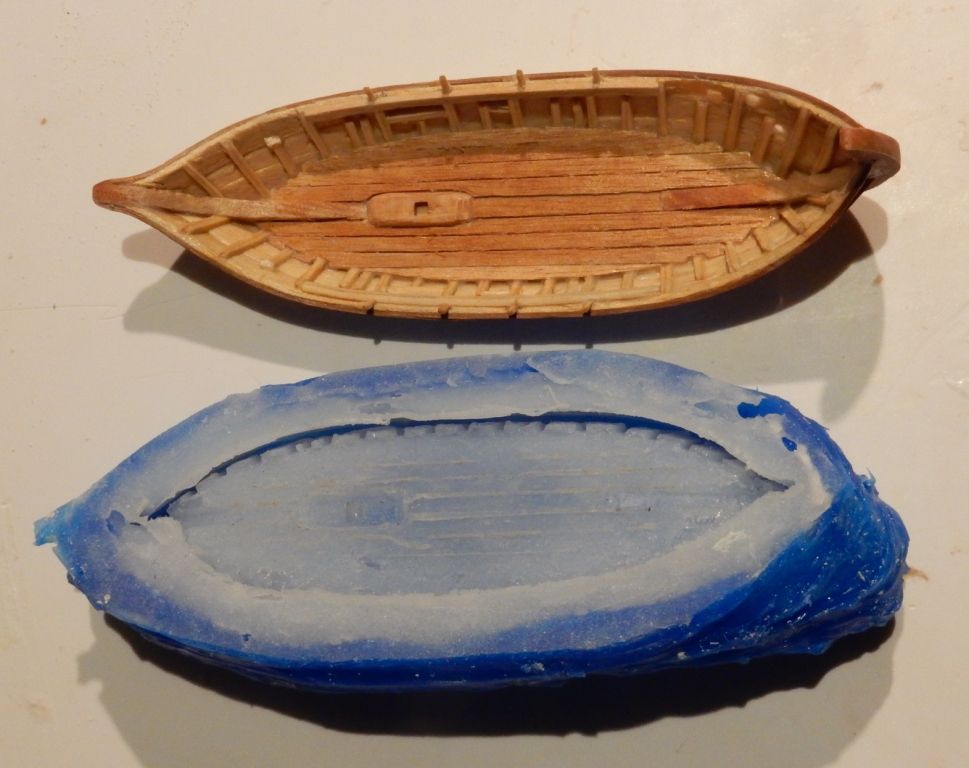
The elasticity of this mold is funny: it can be turned inside out:
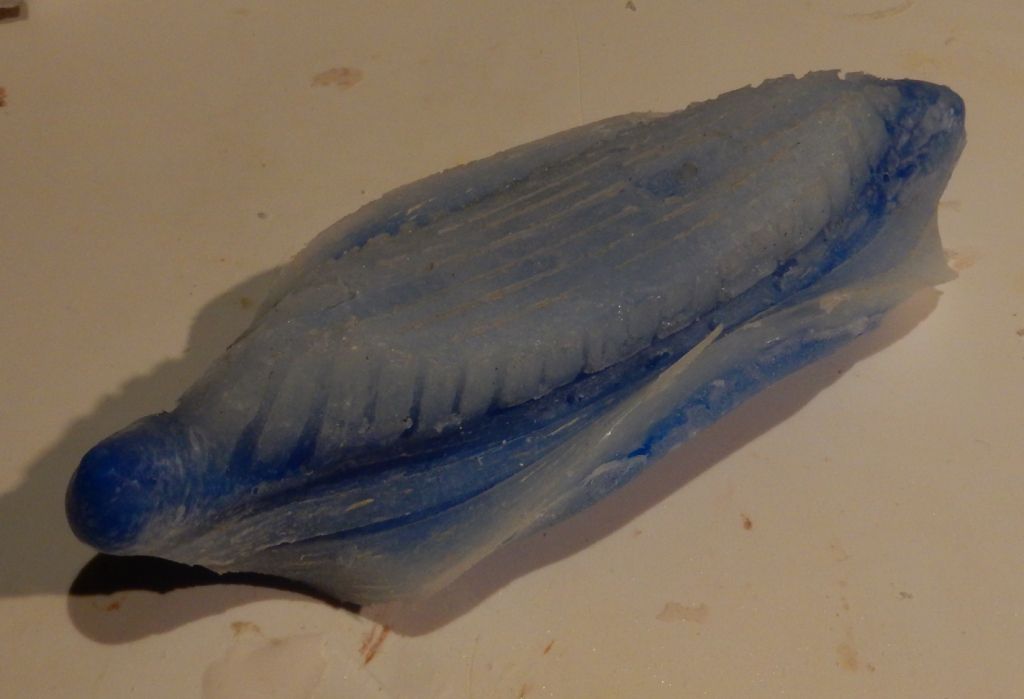
So cleaning of the inside is easy. At this stage the mold looked pretty good.
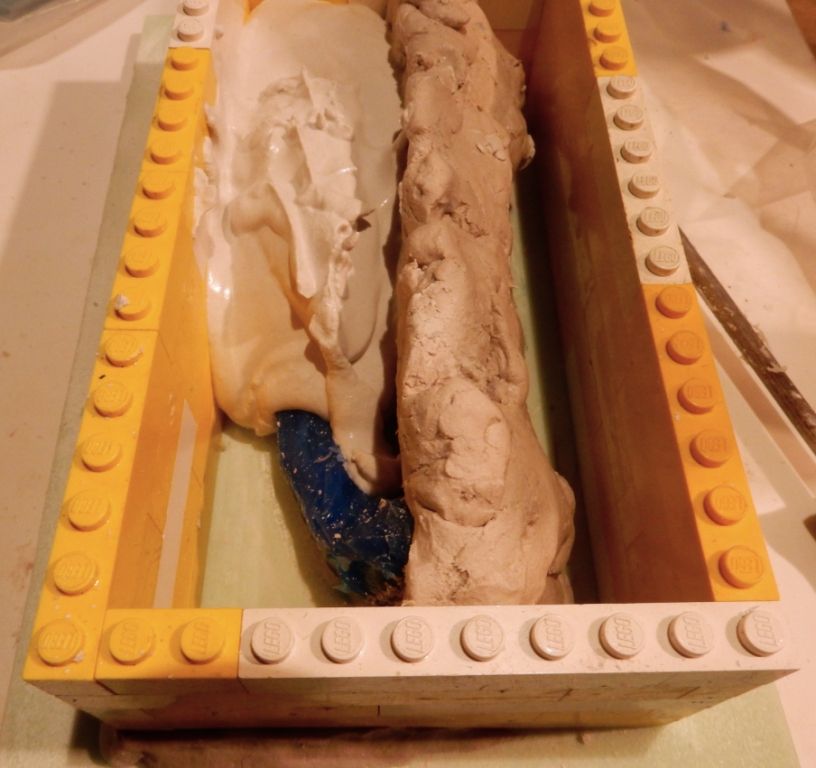
This rubber skin is too soft to use it for casting. For that a cheap two part plaster supporting mold is needed. With ship and rubber skin inside, the castingbox is divided in two halves by a temporary clay wall (right)covered in vaseline. The left halve is filled up with plaster:
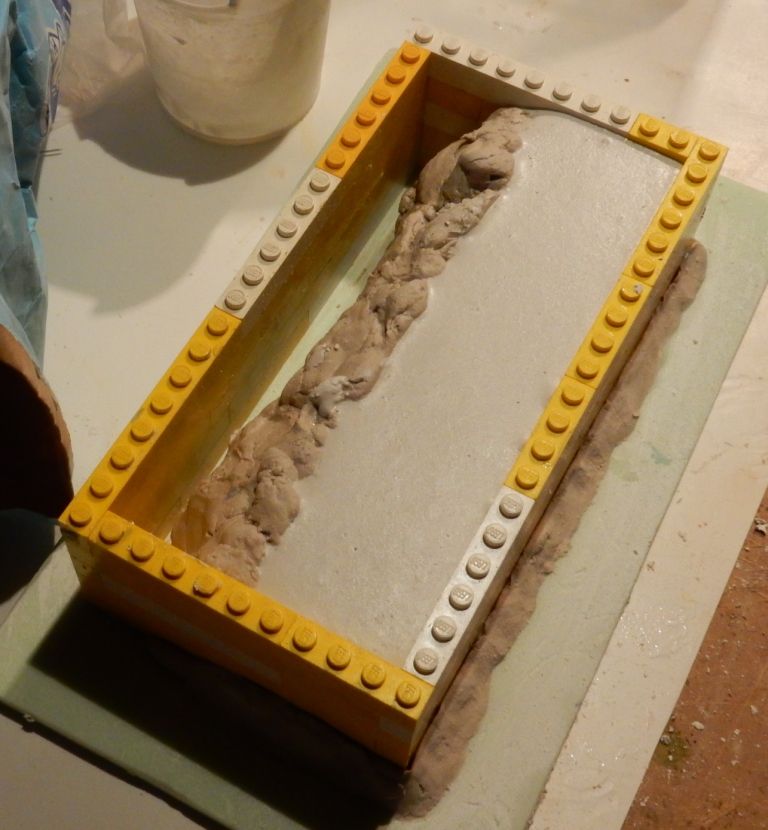
After the first plaster halve has hardened, the clay wall is removed:
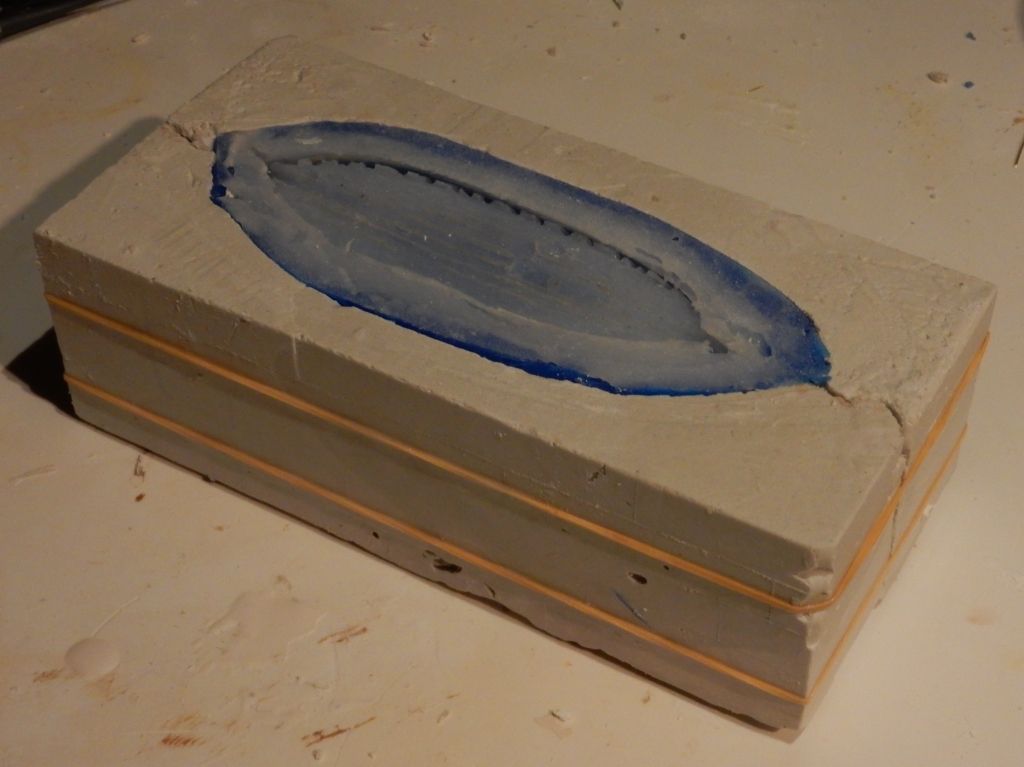
The (future) plaster joint is covered in vaseline, and the second halve is filled up with plaster. An hour later the casting box and foam sheet are removed:
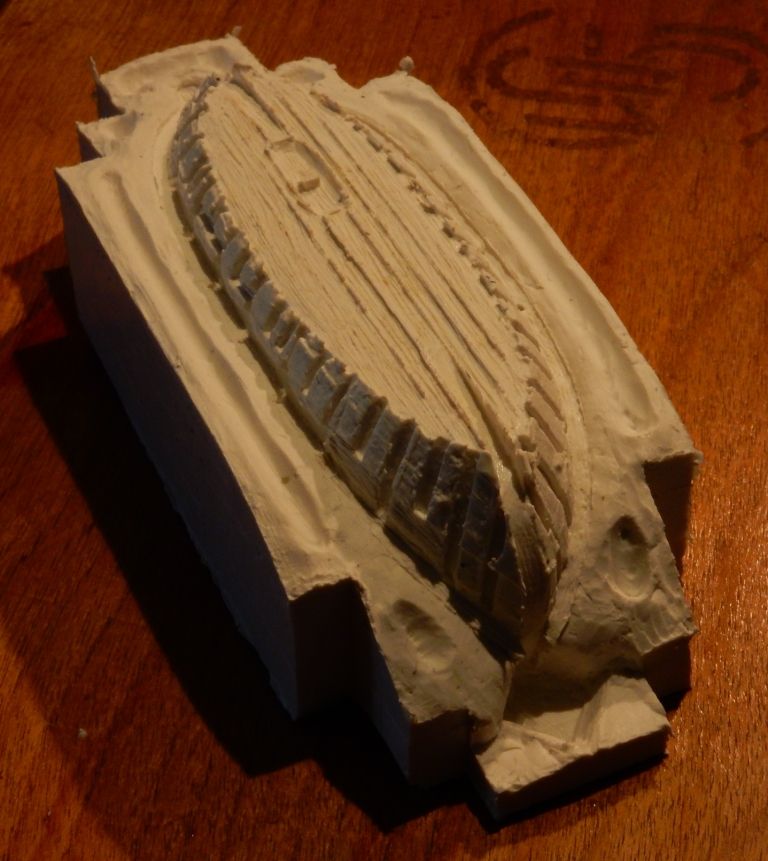
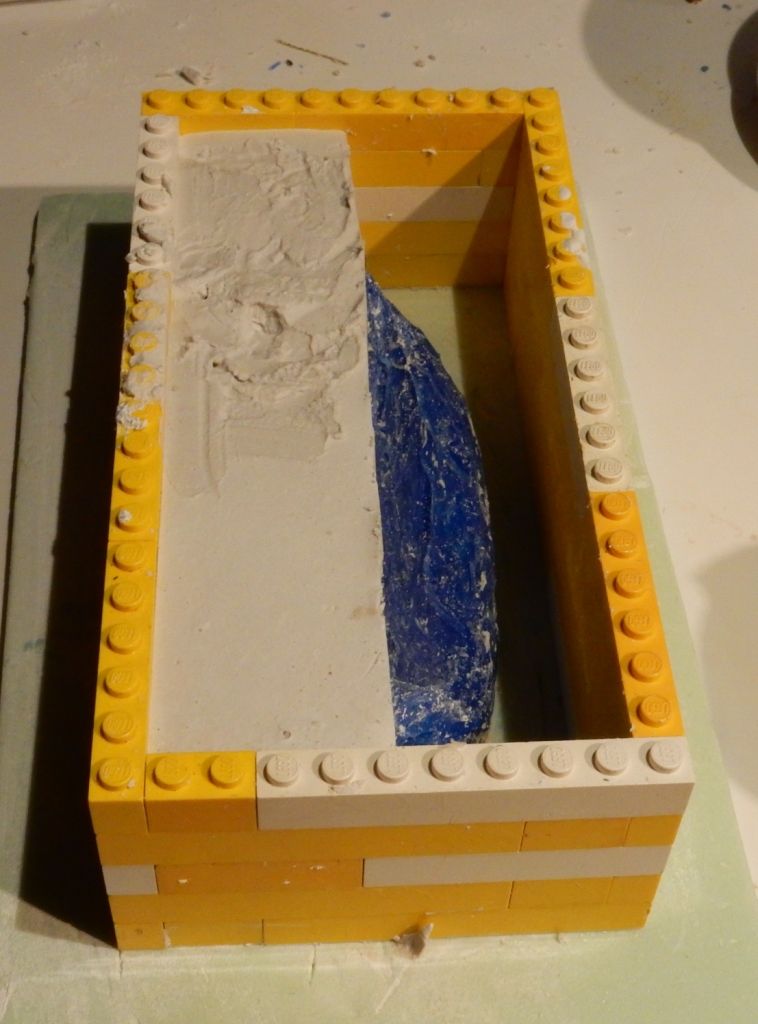
The supporting mold is opened:
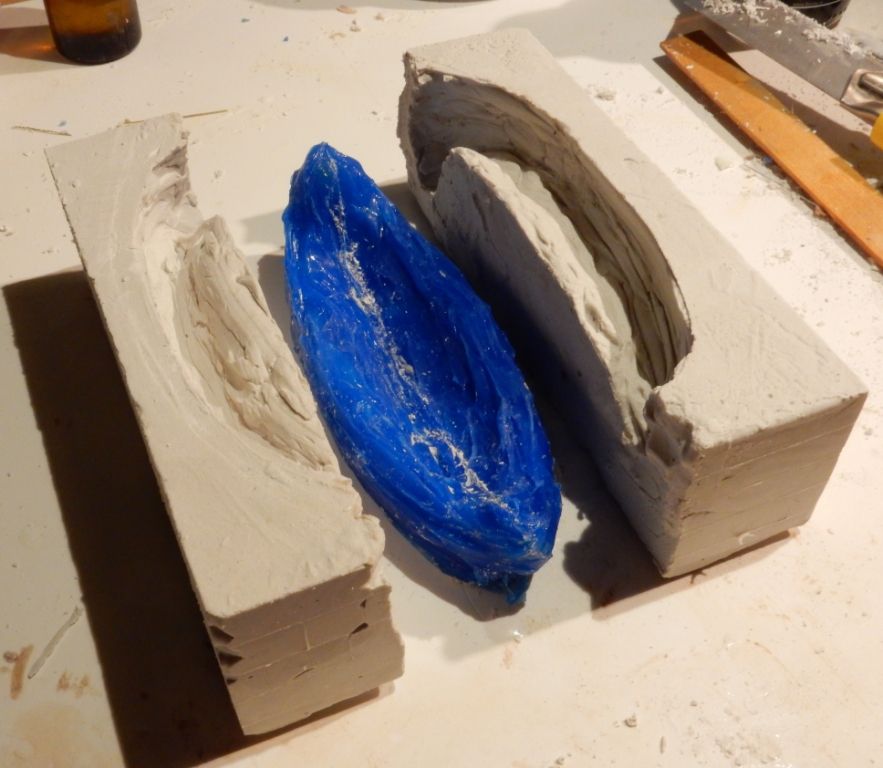
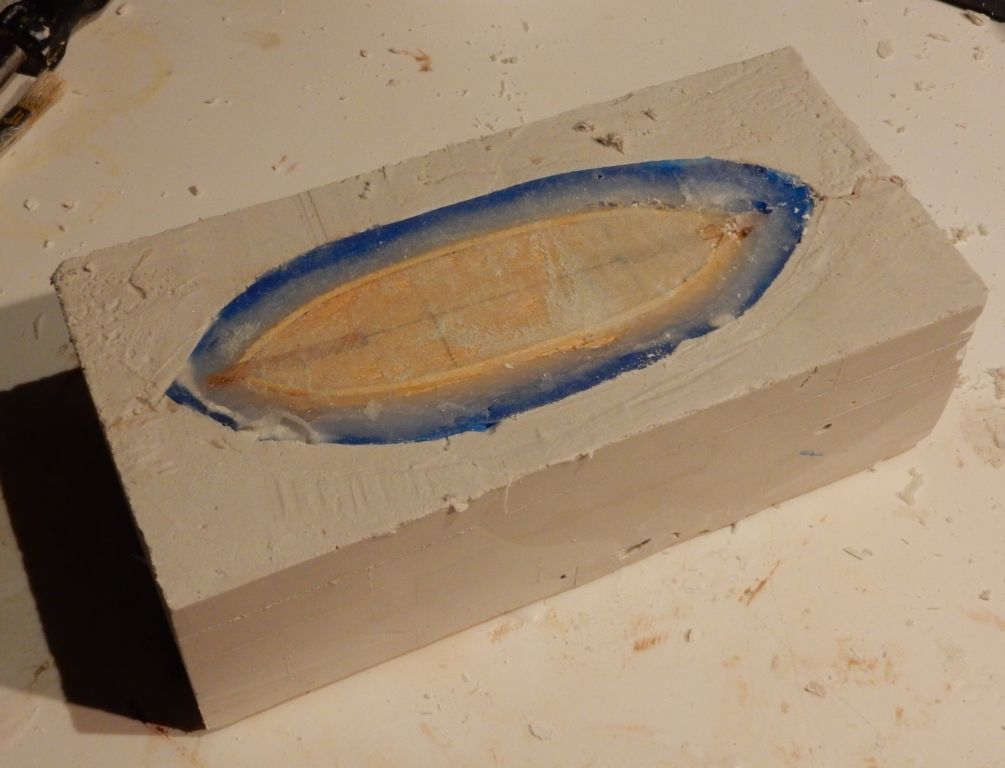
The wooden master removed:
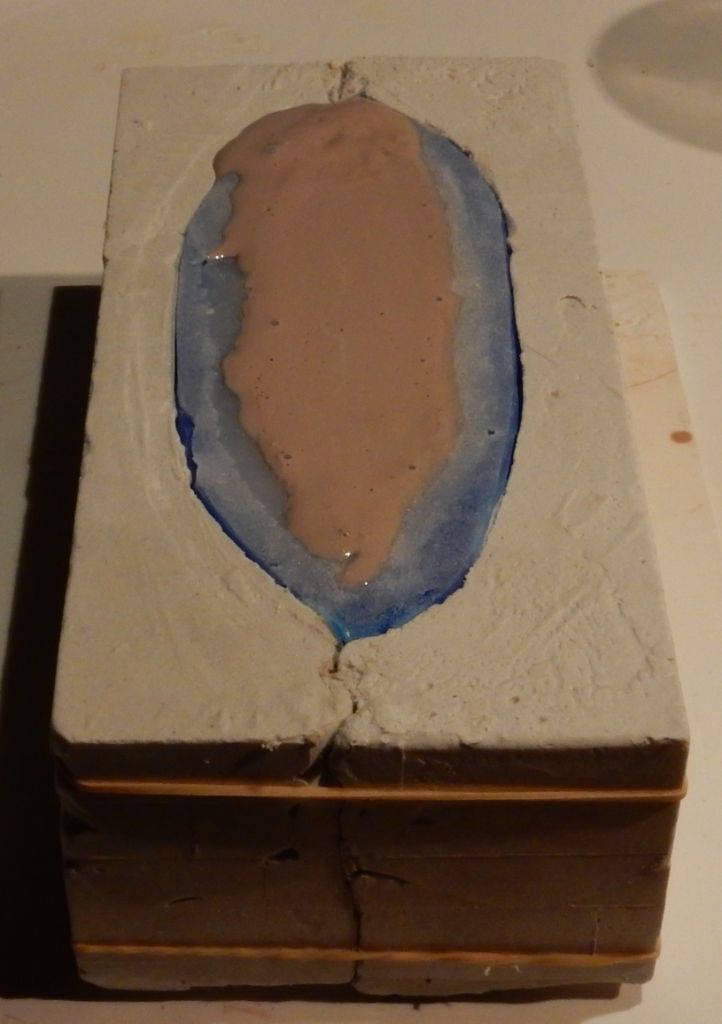
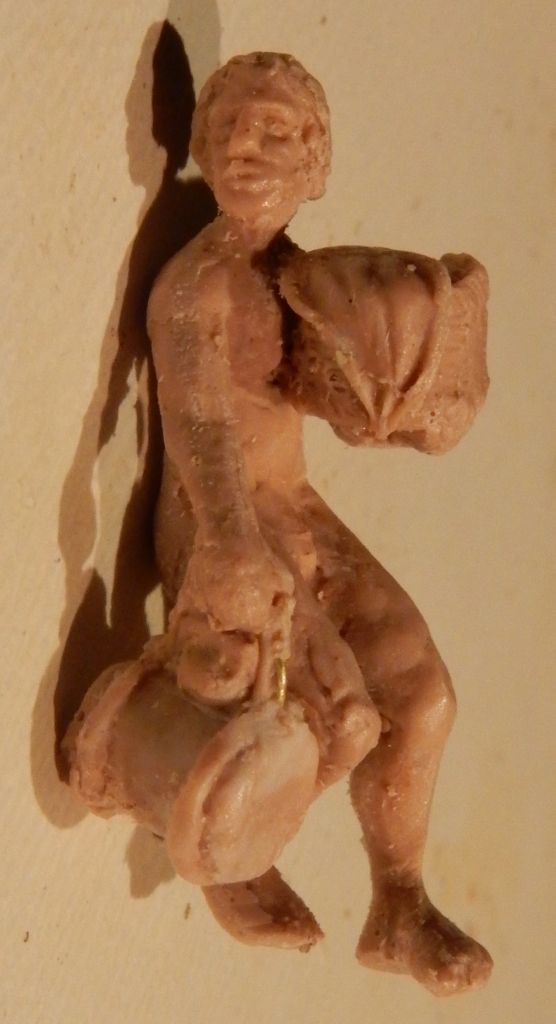
Wood colored resin poured into the grooves:
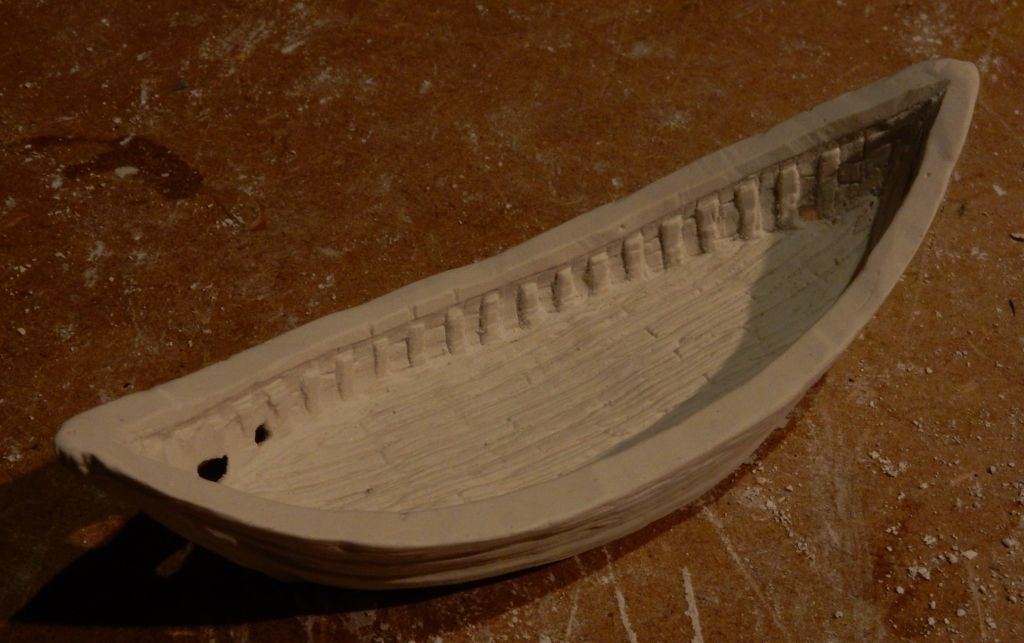
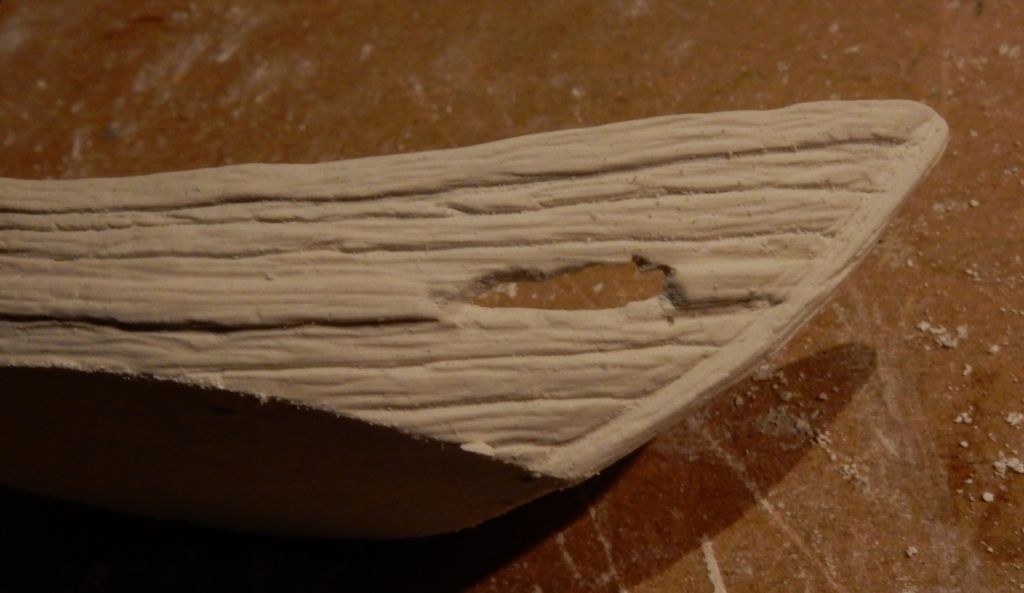
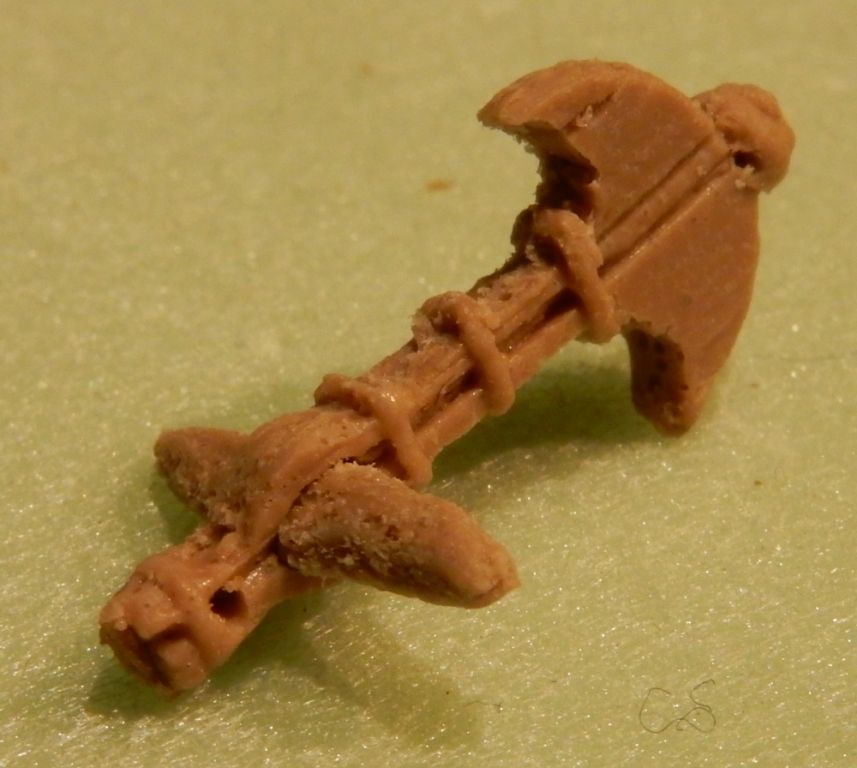
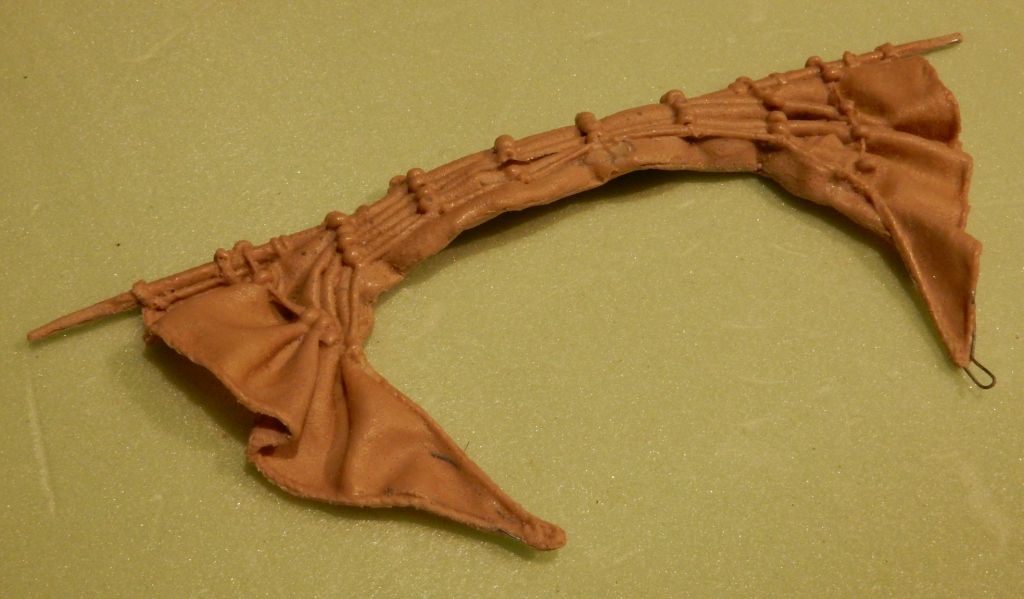
After an hour the unpacked resin copy.....
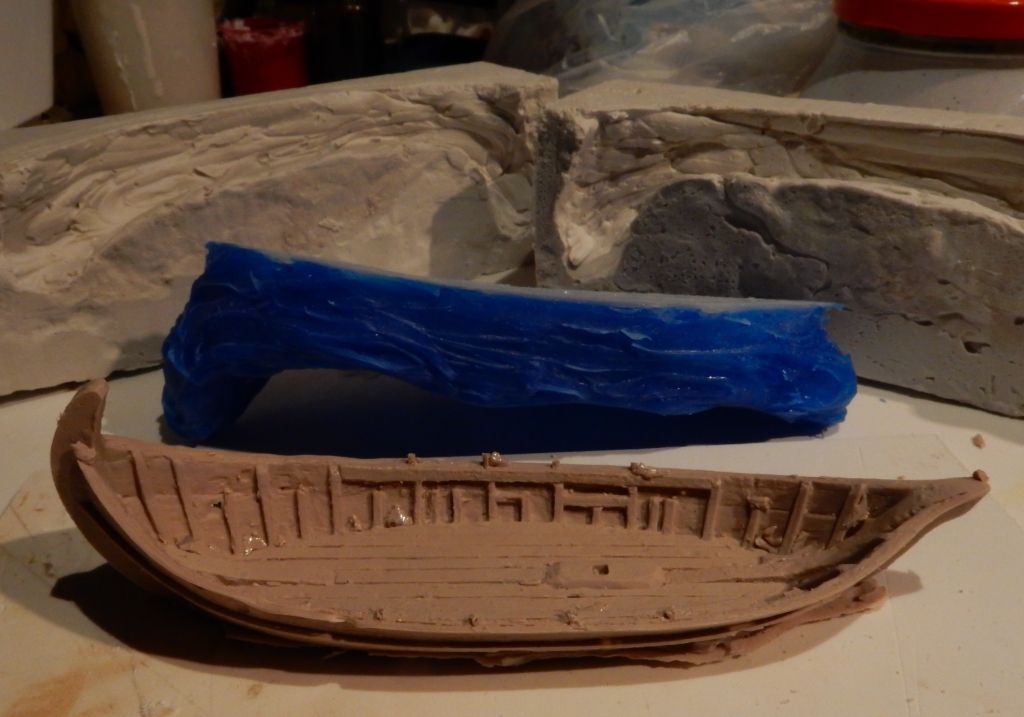
LOOKS TERRIBLE!


What went wrong? Air bubbles got stuck at the moment I applied the first layer of dragon skin at Gerards studio. Having a second inspection of the rubber skin mold, I did indeed see some imperfections.
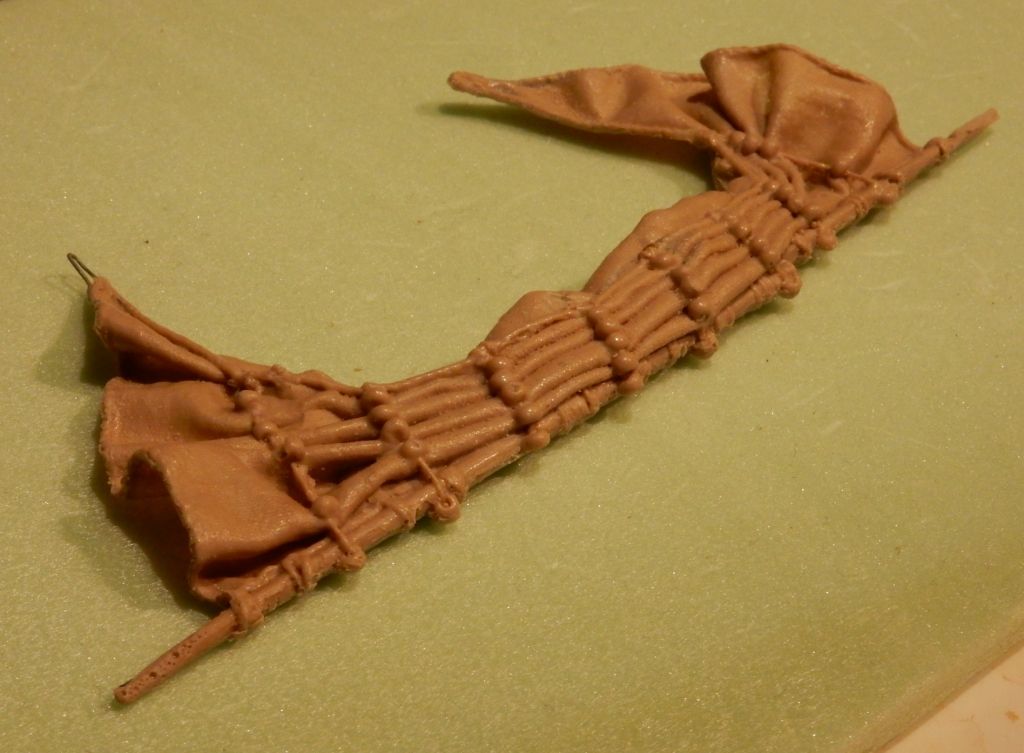
Because the skin mold can be turned inside out, I tried to fix the holes by applying some silicone kit from a tube. That approved the quality of the resin copy. But it was still far below my desired accuracy level.
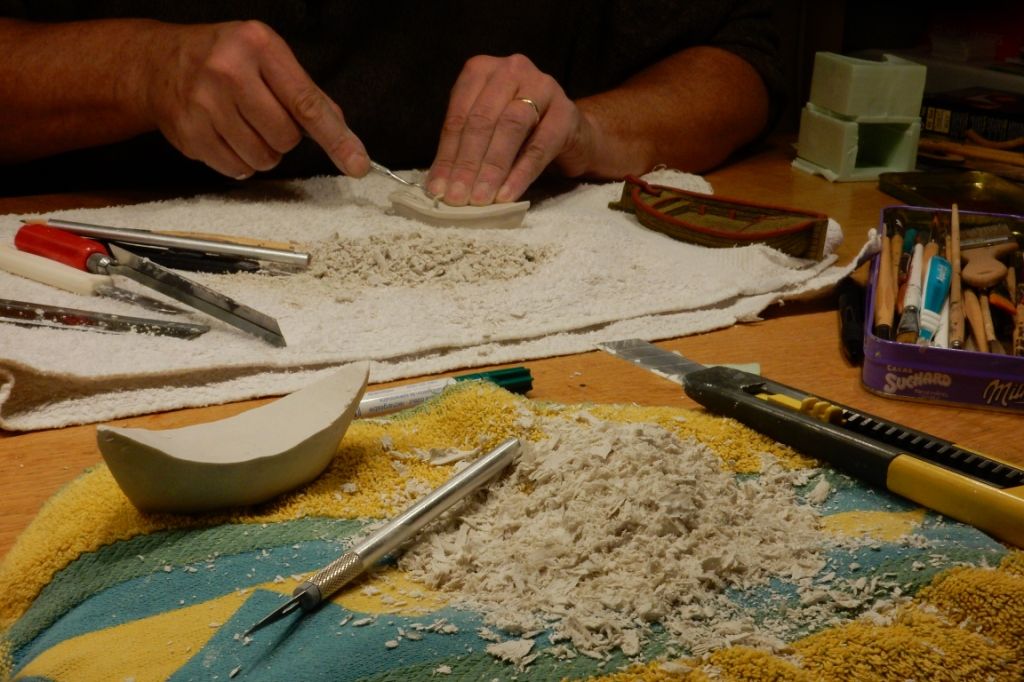
By now the wooden boat model was pretty much worn out. I repaired it with putty and applied layers of white glue to strengthen it for a third attempt.
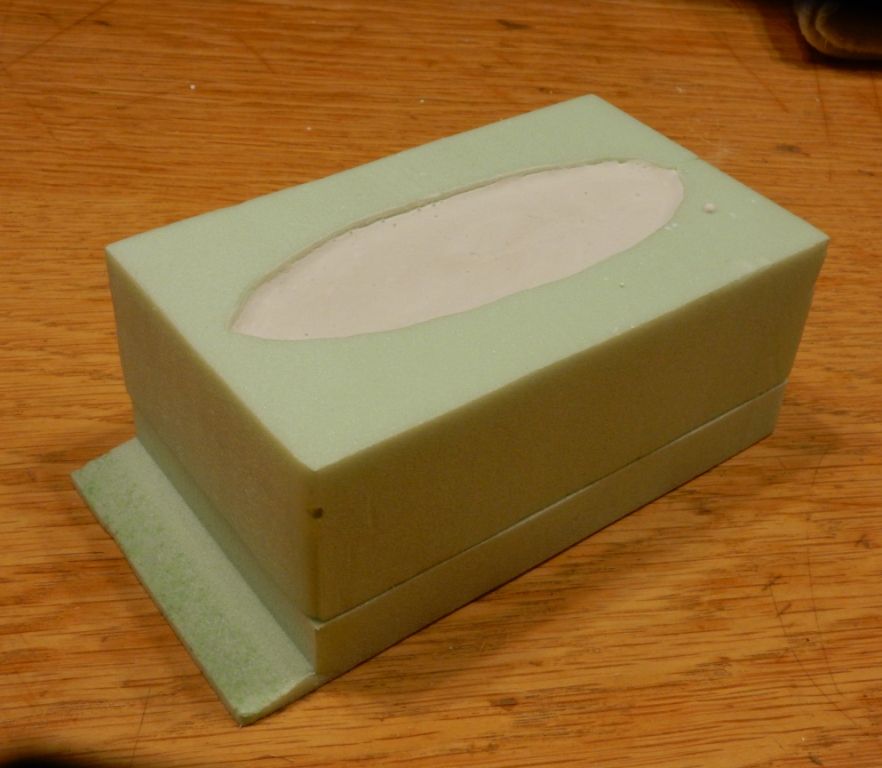
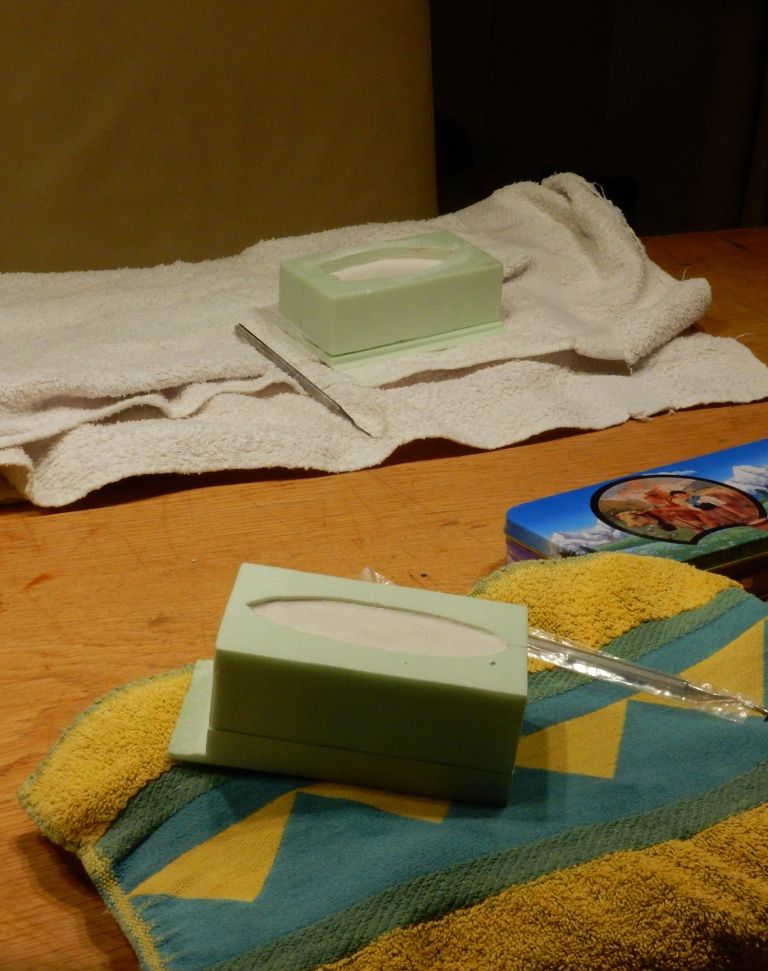
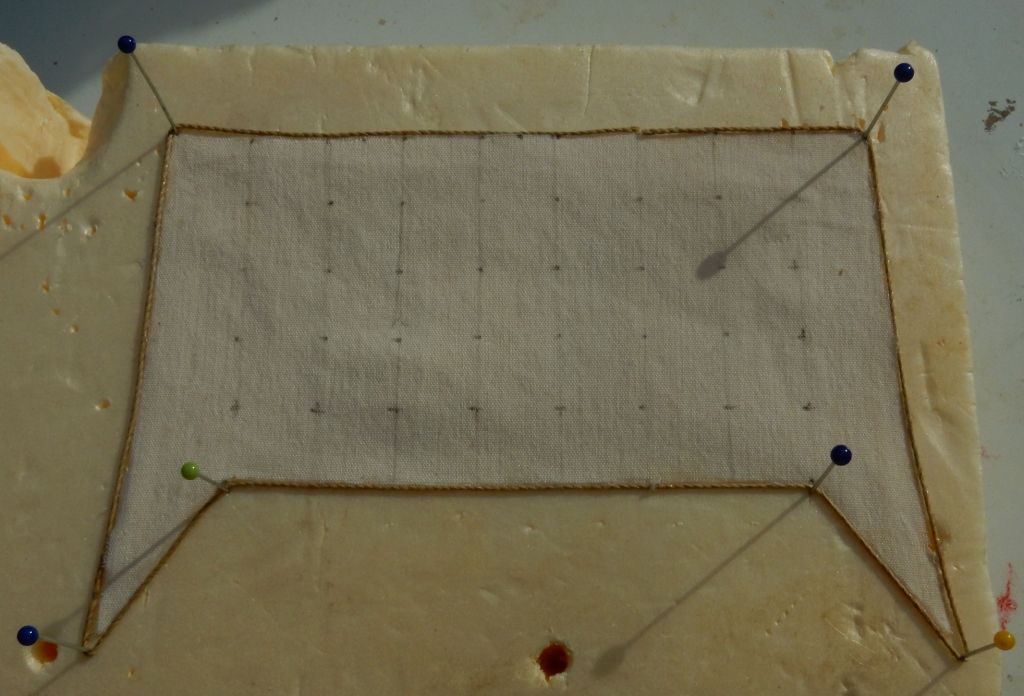
Back to my own way of making a two part mold. Florist clay is used to make the temporary mold. This clay is not water solvant. It does not dry and it does not shrink during drying like potters clay. This clay bed curves with the shape of the ships stern to avoid ugly fins.
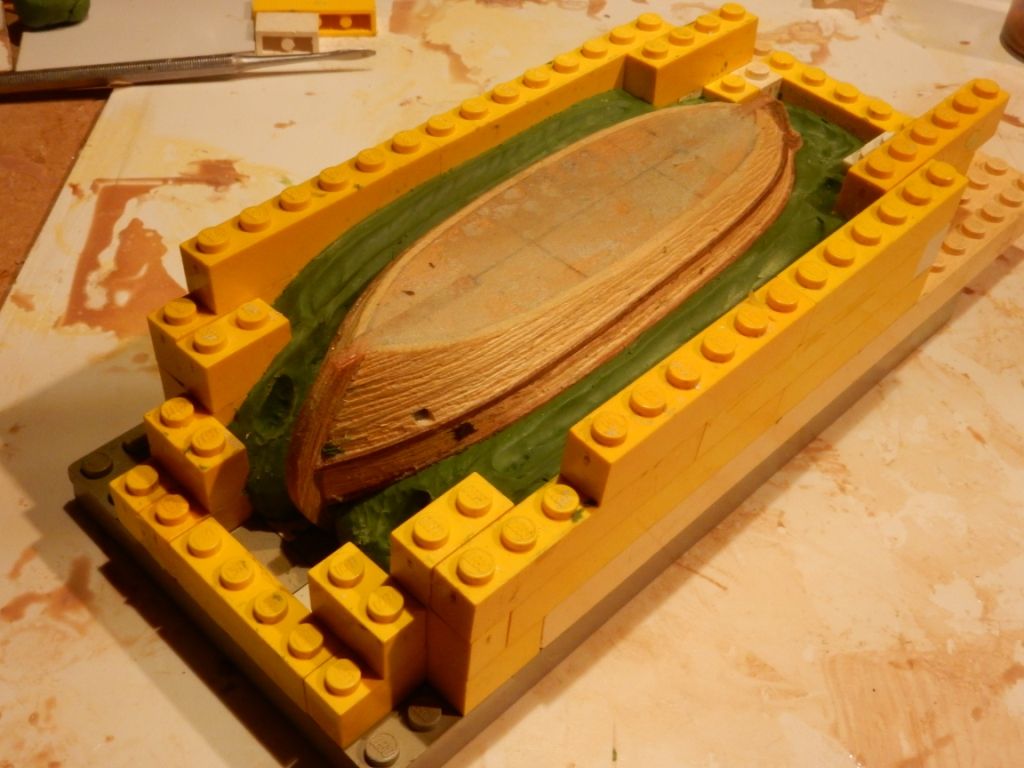
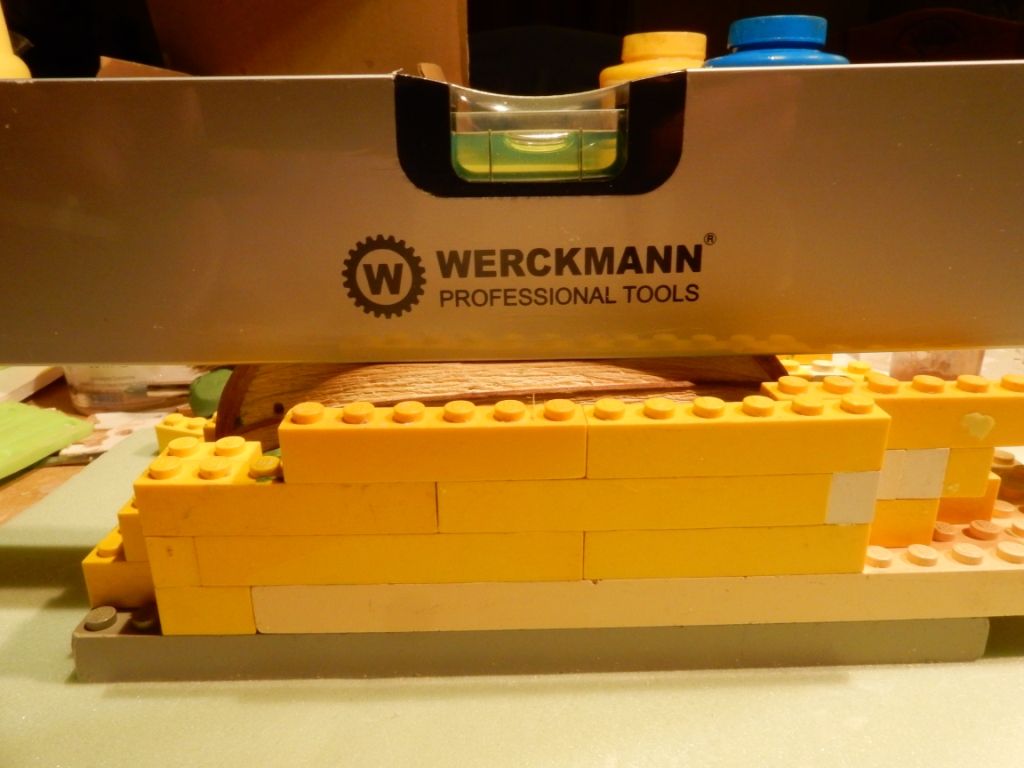
My new waterpass to be sure gravity creates a horizontal ships bottom:
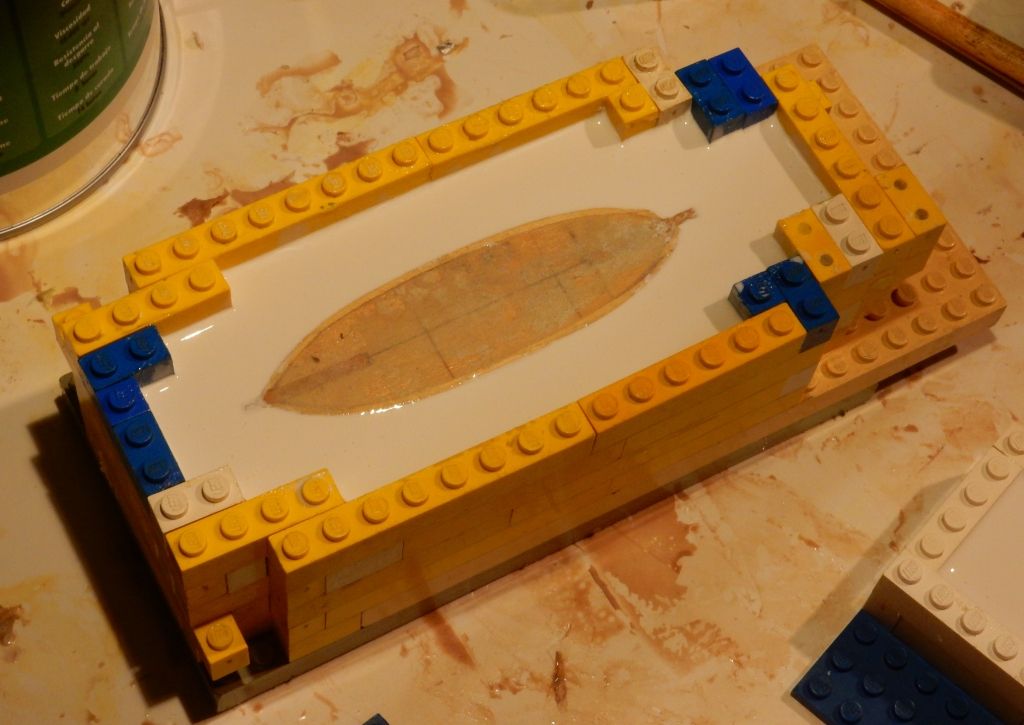
Now I used a new low budget silicone rubber (lead and benzine based) with ratio 100:5. Cost is 20 euro for a liter instead of the 30 to 40 euros for the platinum quality rubbers. I measured it as correct as I could in ratio 80ml:4ml because I estimated I only needed 70 milliliter for the bottom halve mold. After intensive stirring I poured it in:
The manual of this sillicone product sais: curing time 14 hours.
The next day, after 12 hours, I could detect no trace of hardening at all.
After 15 hours no hardening.
The next day after 36 hours still no hardening.
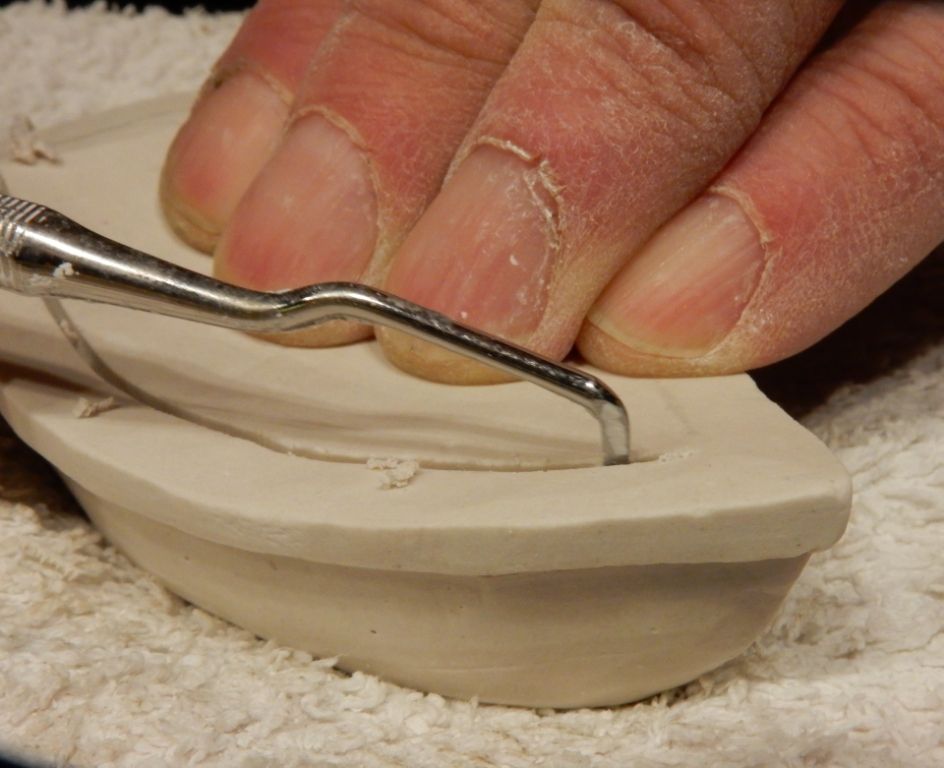
What to do? This stuff is terribly sticky. If I try to remove this liquid stuff now I will never get it out of all the small grooves and wood veins again. Is my little ship lost for budget reasons? Don't the English call this
Penny wise pound foolish? :mrgreen:
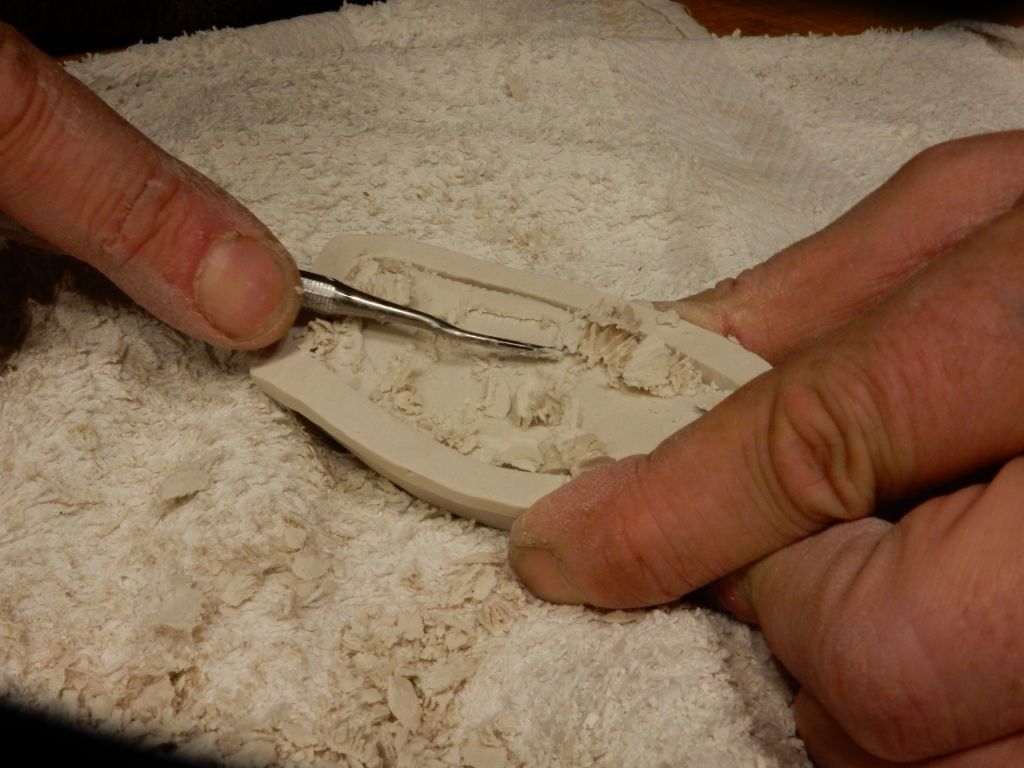
I decided to wait for some more days. After 5 days it was still sticky but not fluable anymore. Now its one week later. Its still sticky but feels like some kind of fluffy rubber.
I think I better wait for one more week and see if its hard enough to open the molding box and rescue the wooden master boat.


 Supporting Business
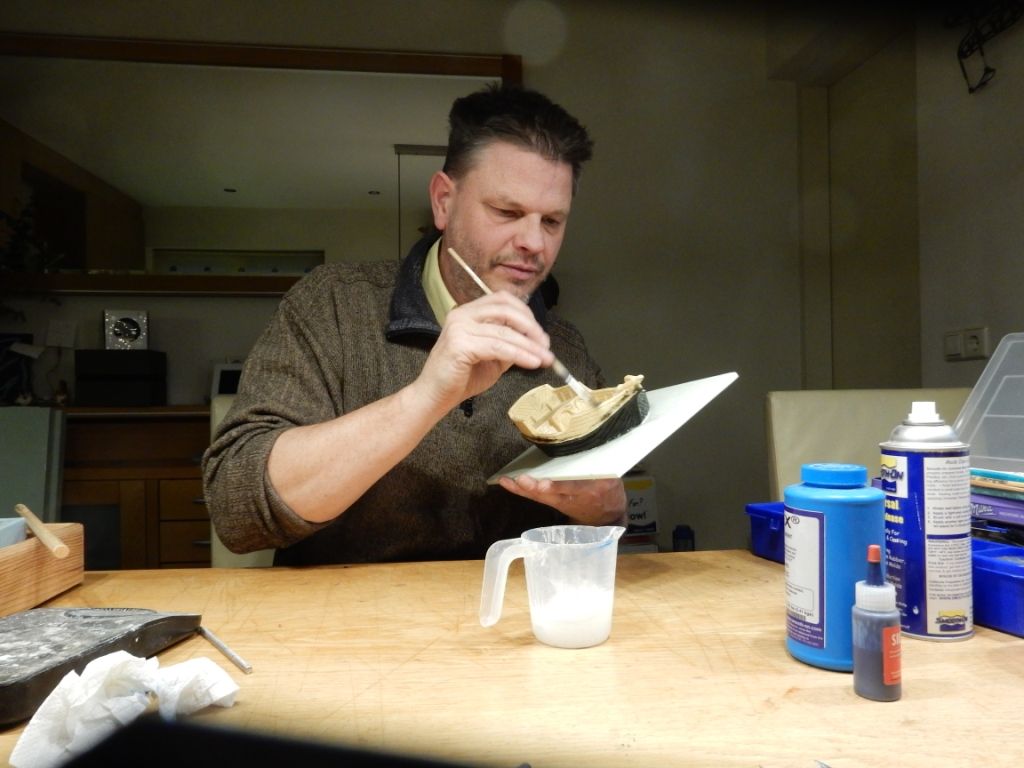


") Supporting Member (Gold)
Supporting Member (Gold) 


 Moderator
") Supporting Member (Bronze)
Supporting Member (Bronze) 


 Damn, I though!