Tutorials

Terrain

Posted by GEM on 24 Jan 2011, 23:56

Image
A Base has been pick, the Windmill is already painted, a base for trees fro GEM and Trees from Companhia das Miniaturas.
Image
The elements being organized in the base, with the well added.
Image
Terrain modelling is done using Das Pronto modelling clay.
Image

Image

Image
To be continued...
User avatar
GEM  Portugal
 
Posts: 519
Member since:
09 Dec 2009, 20:32


Posted by Peter on 25 Jan 2011, 20:32

And to be followed ;-)

Good work so far :thumbup:
User avatar
Peter  Belgium

Moderator Moderator
 
Posts: 22507
Member since:
25 Mar 2008, 18:51

Posted by GEM on 25 Jan 2011, 23:07

Image
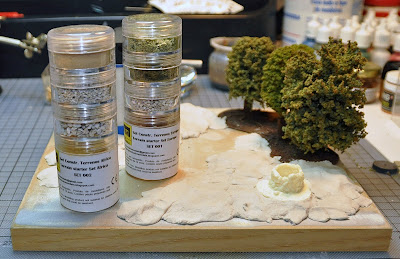
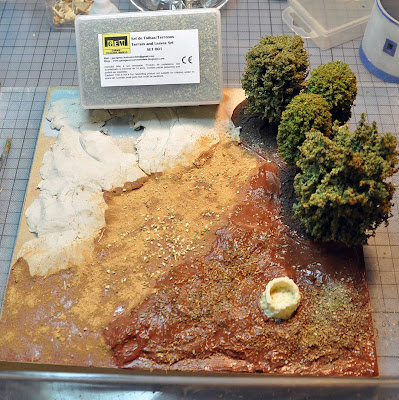
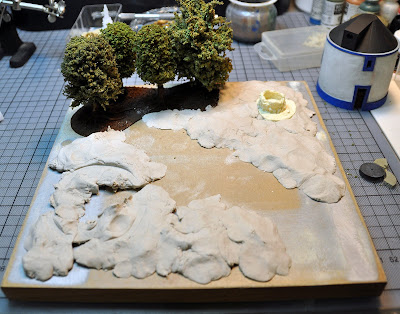
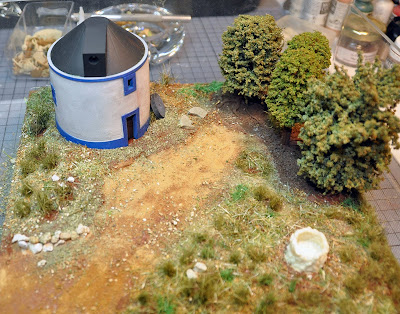
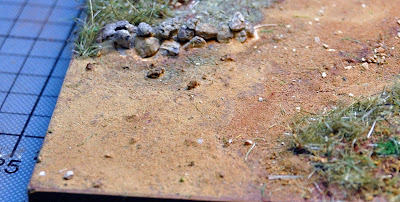
We continue with the terrain starter sets, for this dio we will use the Set 1 Europe and the Set 2 Afrika.
Image
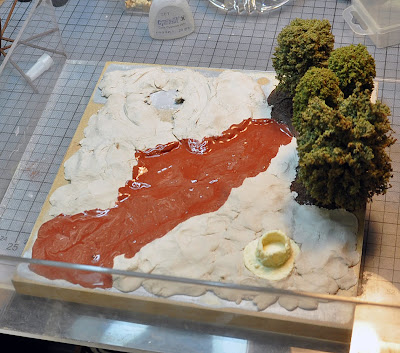
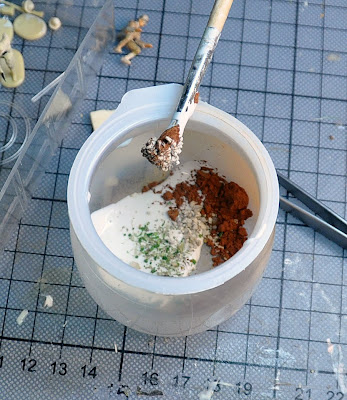
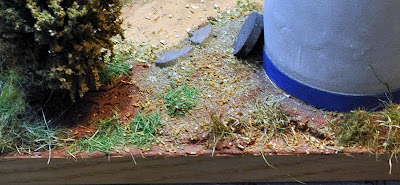
We mix the Pigment from set 1 with PVA glue, we added also a little of Red Earth Pig-9. The mix we used here is very diluted.
Image
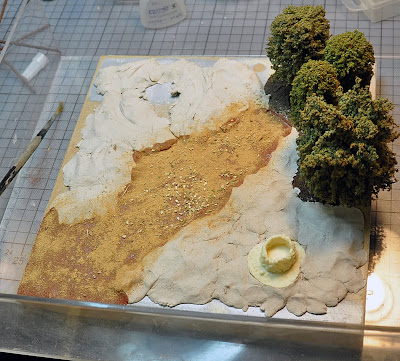
Because the mix is more diluted, this will help to settle better the pigment from set 2, ochre mixed with desert sand f-010 and some stones, that we scattered on top of the mix.
Image
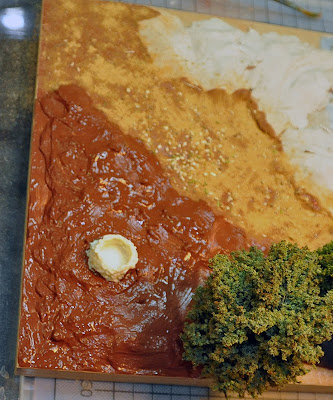
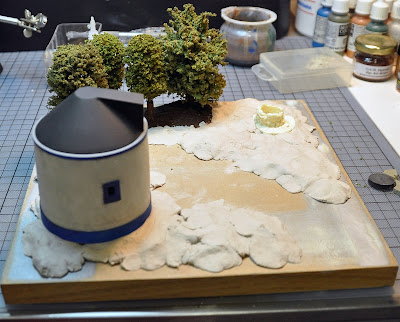
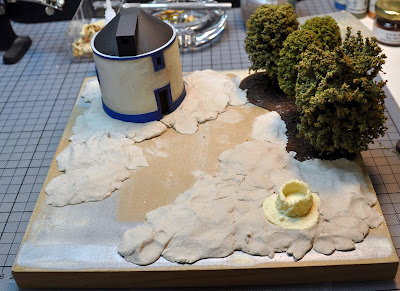
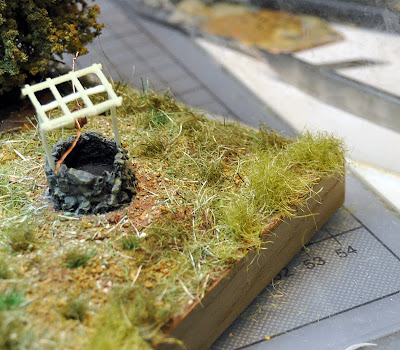
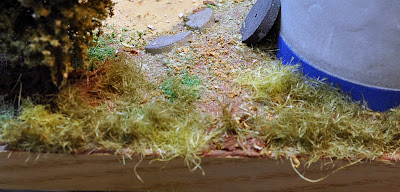
We go from the track to the surrounding area. Here we use the same mix, but thicker.
Image
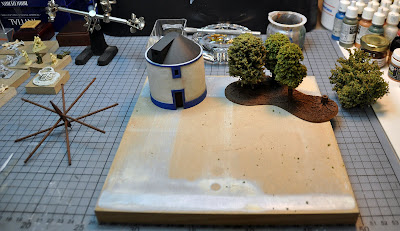
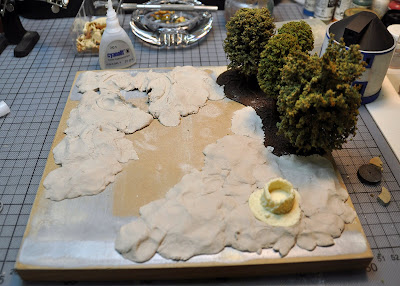
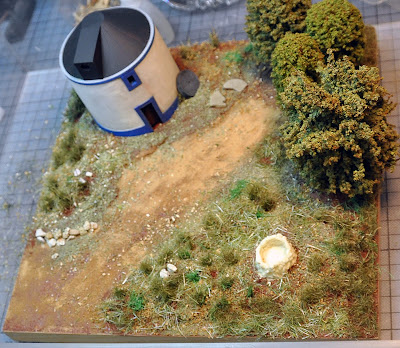
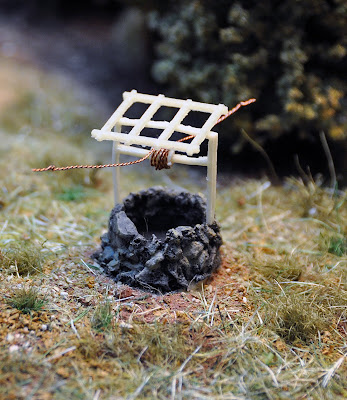
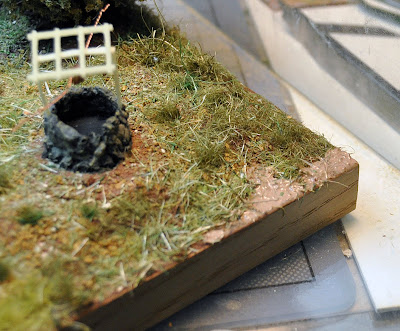
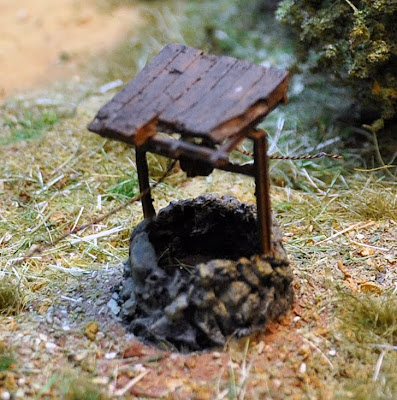
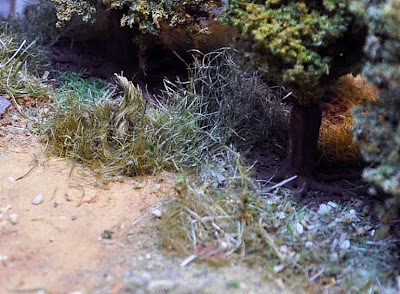
Before it gets dry we can start adding ground cover. For that we will use the ground cover that comes in the set leaves and terrain.
Image

to be continued
User avatar
GEM  Portugal
 
Posts: 519
Member since:
09 Dec 2009, 20:32

Posted by GEM on 27 Jan 2011, 21:00

Image
It is very important that you don't let the Das Pronto dry before this step, after scattering the ground cover it is time to do the grass. This is done by sticking the grass in the Das pronto so it can be vertical.

Image
The same process is done on the other part of the diorama
Image
Several materials were used, since ground covers, grass and stones to give some diversity.

Image
User avatar
GEM  Portugal
 
Posts: 519
Member since:
09 Dec 2009, 20:32

Posted by Peter on 27 Jan 2011, 21:26

Looks great João :thumbup:

And the tutorial is also :thumbup:
User avatar
Peter  Belgium

Moderator Moderator
 
Posts: 22507
Member since:
25 Mar 2008, 18:51

Posted by Maurice on 27 Jan 2011, 22:01

Great tutorial, I like the small tree base, good for wargames and easy to make using some model railroad houses.

One question; I see you use DAS Pronto, doesn't that shrink when it dries? That's what some store owner told me once.
User avatar
Maurice  
 
Posts: 2925
Member since:
04 Jan 2009, 15:59

Help keep the forum online!
or become a supporting member

Posted by GEM on 27 Jan 2011, 23:15

I don't have any reason to complain. Until now It worked fine for me.
User avatar
GEM  Portugal
 
Posts: 519
Member since:
09 Dec 2009, 20:32

Posted by GEM on 29 Jan 2011, 23:23

Image
After the base of the well is painted, we start working on the rest of the details.

Image
We make another mixture of PVA Glue, pigment, stones and some ground cover.

Image
That mixture is going to be applied in areas where we want to have more ground cover or grass.

Image
Here is the result

Image
Another example

Image
When we are working with the ground cover or grass, the best is to have the model in a box. Like that we can apply what we want and don't make a mess on the working table and in the end we can re-use all the material that didn't stick with the glue.


Still continues...
User avatar
GEM  Portugal
 
Posts: 519
Member since:
09 Dec 2009, 20:32

Posted by Peter on 30 Jan 2011, 09:50

And it looks nicer and nicer. :thumbup:

Is that copperwire on the well?
User avatar
Peter  Belgium

Moderator Moderator
 
Posts: 22507
Member since:
25 Mar 2008, 18:51

Posted by GEM on 30 Jan 2011, 15:08

Yes it is Peter. Copper wire twisted to make a rope.

Cheers
João
User avatar
GEM  Portugal
 
Posts: 519
Member since:
09 Dec 2009, 20:32

Posted by KenzoSato on 30 Jan 2011, 15:30

:thumbup:
KenzoSato  Italy
 
Posts: 3921
Member since:
06 Jun 2009, 07:45

Posted by GEM on 01 Feb 2011, 00:27

Image
The Well already has a roof.

Image
It was added more Pigment Pig-05 and desert sand F-10 to the path.

Image
We start to work on the acessories that we bring the model to life.

Image

Image

Image
It was added more grass in the tree's area.

more to come...
User avatar
GEM  Portugal
 
Posts: 519
Member since:
09 Dec 2009, 20:32

Posted by west1871 on 01 Feb 2011, 20:49

Great tutorial mate,love that windmill :thumbup:
User avatar
west1871  United Kingdom
 
Posts: 2225
Member since:
06 May 2009, 17:08

Posted by GEM on 13 Apr 2011, 23:26

More stuff in the terrain. A scarecrow and some chicks...

http://4.bp.blogspot.com/-fG0tQEqlr9c/TaTEEsH3vSI/AAAAAAAABvU/vq2g1UZg5r4/s400/33.jpg
Image

Image
User avatar
GEM  Portugal
 
Posts: 519
Member since:
09 Dec 2009, 20:32

Posted by Peter on 15 Apr 2011, 14:05

Very nice addition :thumbup:
User avatar
Peter  Belgium

Moderator Moderator
 
Posts: 22507
Member since:
25 Mar 2008, 18:51

Posted by Maurice on 15 Apr 2011, 14:11

I like the chickies :)
User avatar
Maurice  
 
Posts: 2925
Member since:
04 Jan 2009, 15:59

Help keep the forum online!
or become a supporting member

Posted by Carlo Antonio on 25 Jun 2011, 22:29

GEM !!!! Very nice tutorial !!! I like this :love: :love: :love:
User avatar
Carlo Antonio  Italy
 
Posts: 662
Member since:
16 Apr 2011, 14:35


Return to Tutorials