
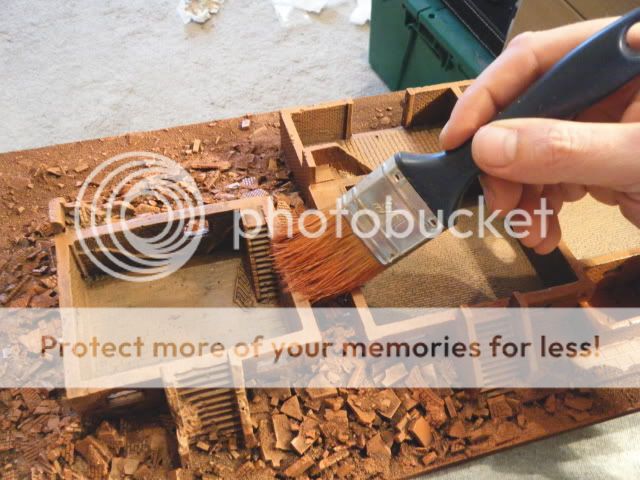
Step 1 - The undercoat
The most important part is getting the right undercoat. I use teo types of brown spray from a maker called Plasticote. I use their Matt Chocolate Brown and the Satin version. The reason I use both is that the Satin finish has a higher red pigment, thus making it useful for areas of heavy rubble. I tend to spray the whole building in the Matt and then overspray rubble with the Satin. This gives a two tone undercoat... Though to be honest it aint really needed. The most important point is to use a brown, not black undercoat to get the right tone.

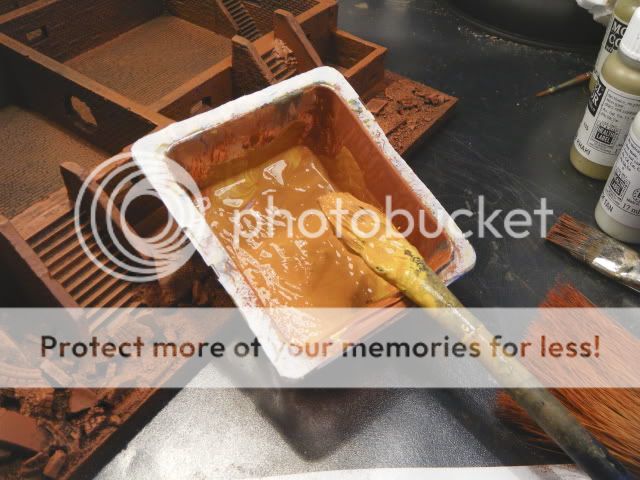
Step 2 - Base Colour
For this I use Vallejo Red Leather applied with a heavy drybrush using a large decorating brush. Now you may think that you might not get much from a pot of Vallejo, but I did all my sections using just a single pot! With this stage you can go very heavy but still try to keep the brown undercoat showing through. With each stage of drybrush you want to get lighter and lighter with the amount of paint used.

Step 3 - The Highlight
To get the right colour for the highlight make a mix of Vallejo Red Leather and GW Foundation Iyanden Dark Sun are a 50-50 mix. Then once again use the large brush to drybrush it over the entire piece. You can add in further amounts of Iyanden Dark Sun if you wish (or less) to get the desired effect. In my later pieces I have just used this single colour drybrush before moving on.

Step 4 - Dusting
The final drybrush is using Vallejo Iraqi Sand. I mix this into the colour from the previous stage, at about 80-20 and then lightly drybrush the entire model. For areas of heavy rubble I will then give them a pure Iraqi Sand drybrush and sometimes a drybrush of Vallejo Deck Tan to really make them stand out.

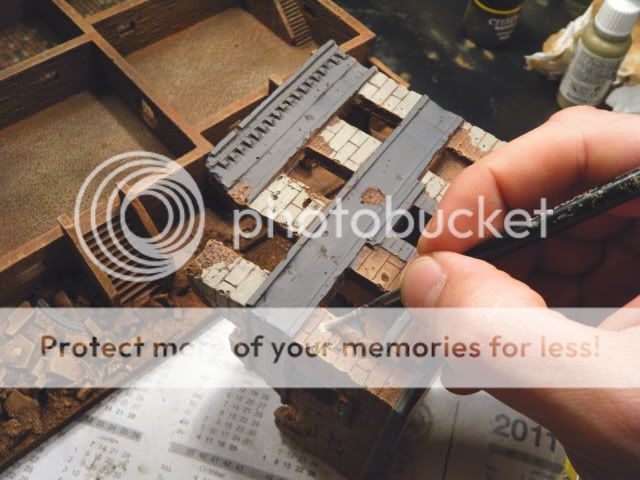
Step 5 - Detailing
This stage is getting all the details to pop. I use single base colours on the models and have not bothered with any highlighting to speed things up, you could of course do so, or add a final very light off-white drybrush. I use very subtle colours and paint in brickwork, cobblestones, wall facias, window and door frames and anything else that stands out. Finally I use GW Devlin Mud and GW Badab Black washes to redefine areas, often washing entire floors, paving stones and under large overhangs on roofs. You can also use the black to paint interior walls of ruins to give them a burnt look. One important thing to do at this stage is to paint some of your rubble with any colour you are using on the building to tie in the rubble to the actual structure. Again, its up to the individual how much you do, but the good thing with terrain is taht you can always return to it.


I hope thats of some use to people, and my next part of this will cover building the actual bases themselves, another simple process.


 Moderator