Comments and suggestions are welcome.
Step One: Prep. Prime and Fix your minis to their bases.
Follow your usual drill for prep and glue your minis to whatever bases you intend to use. Prime your minis with a good quality grey primer. I use grey-gesso thinned 50-50 with water and sprayed with an airbrush. You can also brush on thinned gesso and that works very well indeed. I think grey is best, and have read that white can also work; giving you very strong contrast throughout the following steps. Let your primer dry completely.

Step Two: A thin Black-Wash brings out the details.
A thin wash of black pre-shades every detail of the mini. Each layer of paint that follows will be thinned to near transparency, allowing the black-line detail and shading to define and influence everything. Deceptively simple!
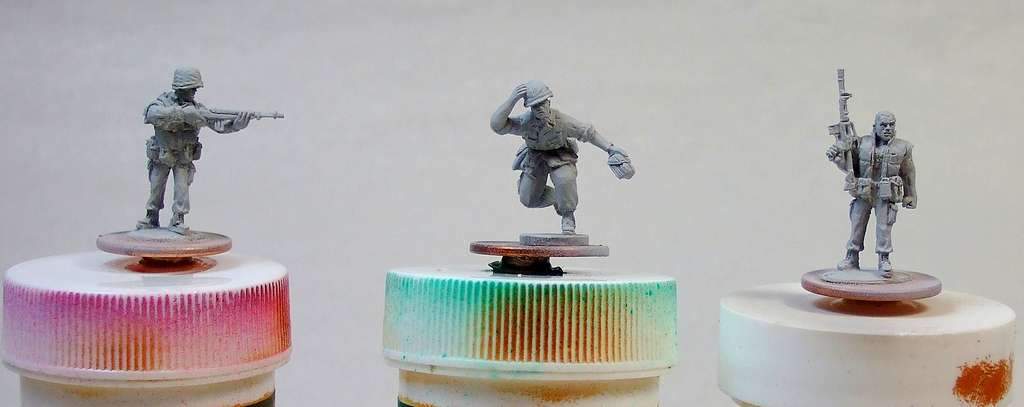
Here are 3 Marines before their black-wash.

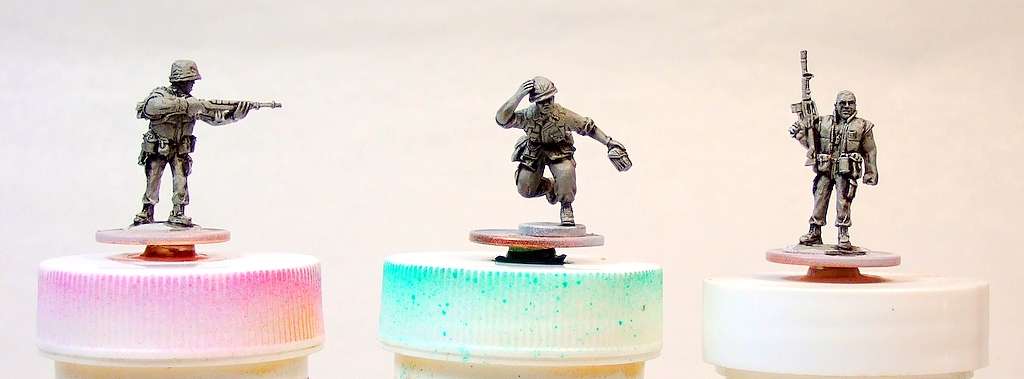
The same 3 Marines after the black-wash is applied.

The wash is brushed on quickly and evenly, settling in the recesses and details of the mini while flowing off of the flat, raised surfaces. Instant shading, highlighting and black-lining in one step. Success here relies on two things: a good primer and a good wash. Let this 'ink-wash' dry thoroughly before moving on to Step Three.
Free Recipe Alert!
I like to mix my own washes with a few inexpensive stock items from the local art or craft supply down the road. Take a moment to check out this great tutorial by Les Bursley. While he is not the first talented mini painter to suggest pre-mixing these media, he certainly has done the community an excellent service by promoting the idea.
Home Made Wash Mix: 50% Matte Medium and 50% Acrylic Flow Release (actually a mix of Flow-release and water; you mix this bit first). Combine these two well. That's it. That's the special Wash Mix.
To this you can add Black (or any other) Acrylic Ink (Daler Rowney, Liquitex or others) to create the intensity of wash you desire. About 20-30 drops of ink in 30ml of wash-base is a good start. This mix is truly versatile. It not only lets you create lovely washes using inks, you can also use it straight-up to thin paints, as you will see in just a moment! Your paint does not break, the finish is matte, and it goes on smooth. I use more of the basic 'Wash Mix' when painting than I do of the black wash!
Step Three: A Uniform Base Colour.
For these Marines I used Vallejo MC Brown Violet thinned 1 to 8 with the Wash Mix as the base colour for uniforms, packs, webbing, helmet covers and flack-jackets -even hand grenades.
Uniforms & Webbing base-coated.

The paint must be smooth, thin and almost clear, not unlike an ink! Thin paint like this flows very nicely and is easy to control.This is low-stress painting. You can still clearly see all the black silhouetted detail and shading from the black-wash, only now everything has a good olive-drab character. The few layers of colour that follow will go on as transparent glazes adding to the highlights and shadows already present.
Step Four: Flesh Tones.
Paint the exposed skin using a base made of Wash Mix and Citadel Chestnut Ink, at a ratio of 1 to 8 or so. Don't use this mix neat; add a tiny (I mean tiny!) amount of Reaper (or similar) Rosy Shadow; or Dark Skin; or Tanned Skin to this base to give a hint of opacity and character to the paint. The Chestnut Ink from Citadel has the right warmth and hue to counter the coldness of the grey primer & black-wash we are working up from. The three colours I use from Reaper provide for an authentic variety of skin-tones for my troops.
Already looking Human..

Step Five: More Tones.
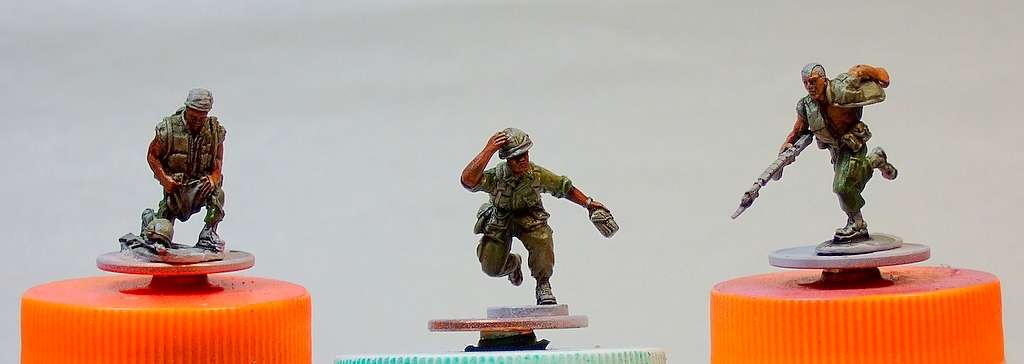
Now give pants and shirts a wet-brushing with Reaper Muddy Olive thinned with Wash Mix. This layer was slightly thicker than previous mixes, about 1 to 6, but still transparent. The goal is to hit most of the high areas of the clothing; suggesting a change of colour and tone over the natural highlights. Don't cover everything.
Shirts & Pants only. No Webbing, Packs or Flack-Jackets yet.

Packs, webbing & helmet covers are all painted carefully with Citadel Catachan Green and the flack-jackets hit with a mix of Citadel Camo Green and Reaper Olive Green. For both of these steps the paint is well thinned 1 to 8 with Wash Mix.
Sooo Much Green. Hard to tell the difference between the shades w/ my bad lighting.

Step Six: Details.
Details and a little bit of dry-brushing now..
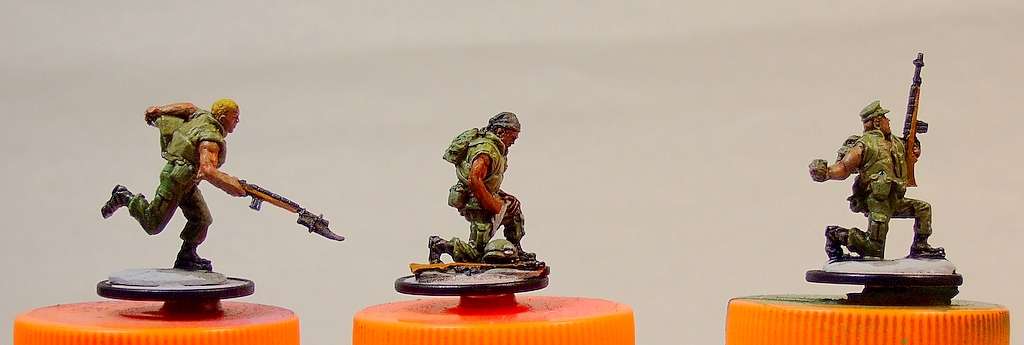
Packs & webbing are picked out and / or dry-brushed with Citadel Camo Green, or to provide some variety from one mini to the next, with Reaper Olive Green. Gun-stocks are painted with Citadel Snakebite Leather, 1 to 8 with Wash Mix and the barrels and boots were done with Golden Airbrush Acrylic Black, again 1 to 8 or more with Wash Mix. Getting the black sufficiently thin so that it 'self-highlights' is important.
Have a look from a few different angles.


Lastly, all the fine details; bug-juice bottles, canteen caps, cigarette packs, helmet bands and grenades are picked out as time, skill and patience permit.


 Moderator


