
YOU WILL NEED
the cardboard tube from some toilet paper
cereal box cardboard
normal paper
PVA glue
Foam craft balls (optional)
filler (optional)
thread (optional)
twine (optional)
thick card
coins or a compass
printer or some other way to get the advertisement
tape
scissors and/or a craft knife
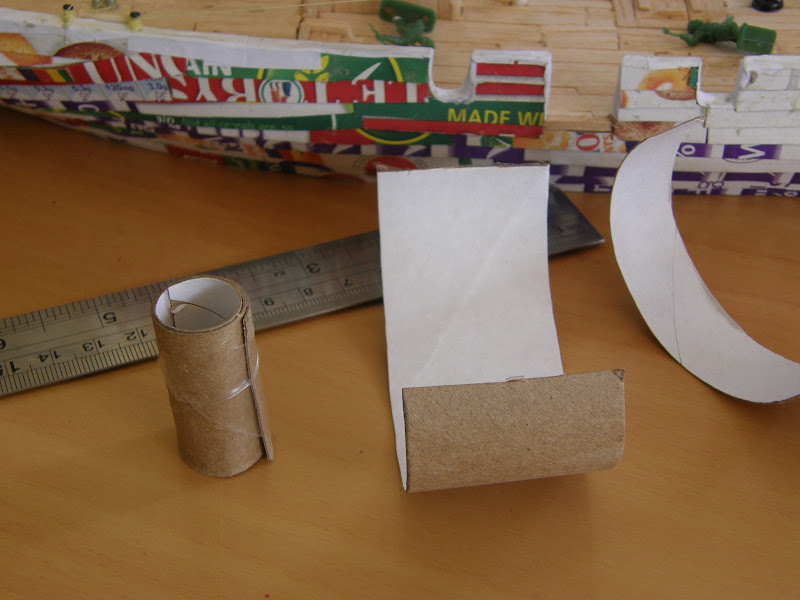
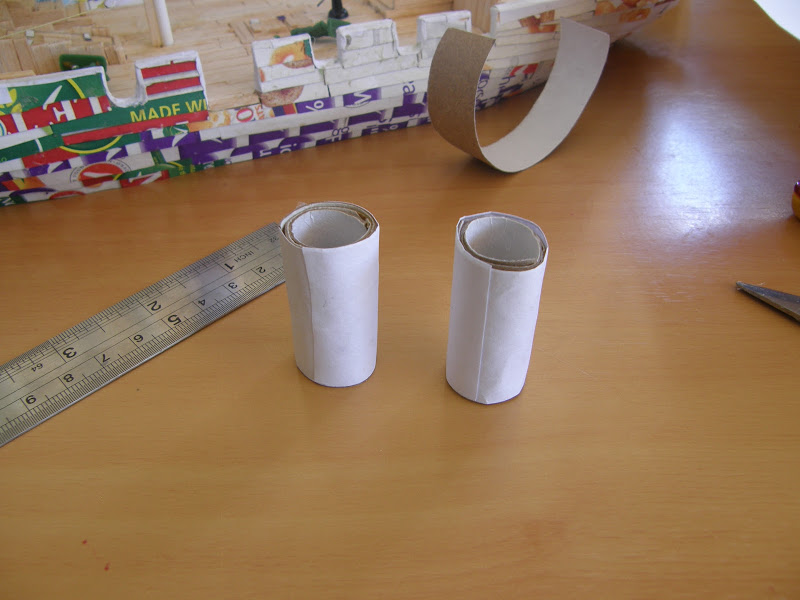
Step one; basic column
The first step is really simple get your tube and cut vertically down the side. next cut horizontally across to create some strips, these can be between 2 and 3 cm wide depending on how tall you want your columns, now put your finger inside the tube and use it to keep one end in place. Then Twist the tube up until it becomes a very thin column. tape the other end to the column to keep it in place. secure with some PVA. then get some paper and wrap it around the columns, with glue on the inner side, wrap it as tight as possible. there the basic bit is done.
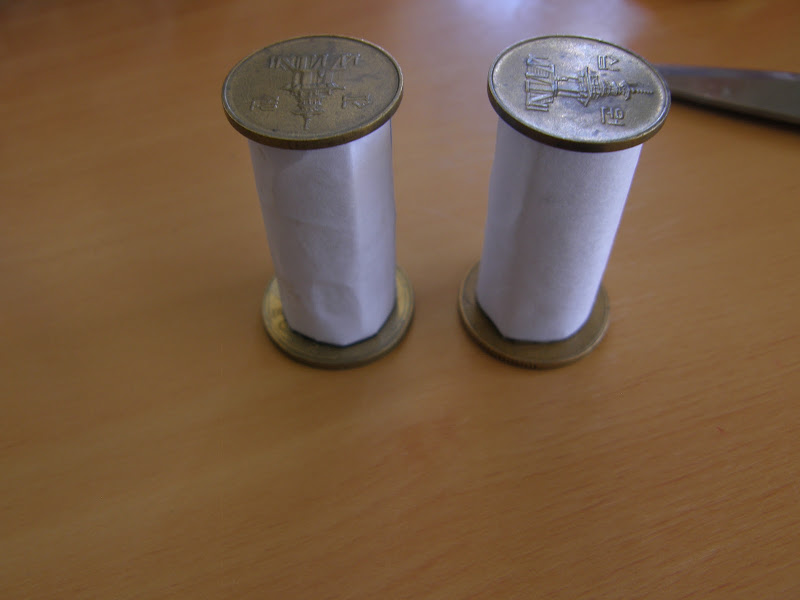
Step two; the ends
now there are 2 ways to get the ends one get some coins and find out how big you want your ends to be that way and then draw around them onto some thick card and cut that out or get a measurement and then use a compass to transfer that onto the card. remember one should be wider than the other as that one is the base. cut out the thick card and glue the ends on, simple enough.
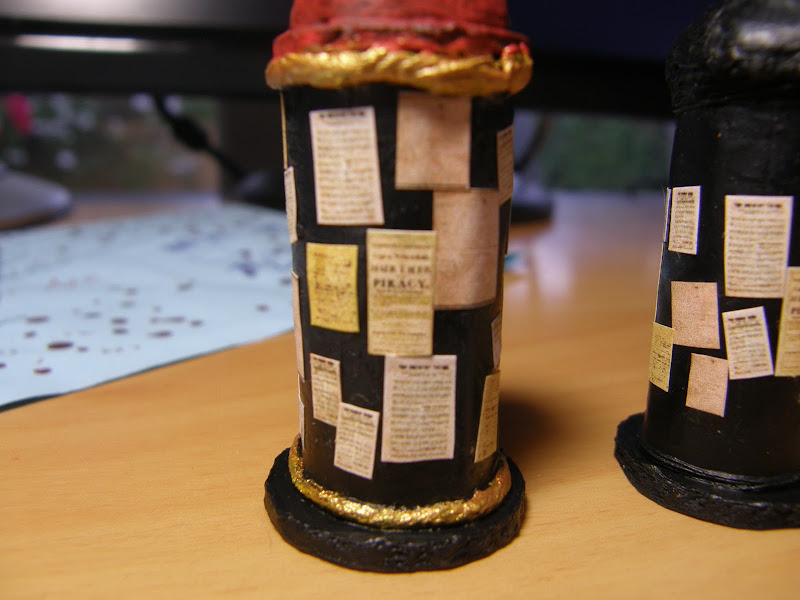
Step three; top, detail, paint and decorate
the tops are put on top of the card, there are many types of top here I shall explain just 2, a conical shape and a dome, I shall also explain how to do some minor details before you paint and decorate.
The dome top is made from half a foam craft ball, these are commonly found in cheap "dollar stores" or in craft places, essentially just Styrofoam balls they might be easy to get or not depending on where you are. the ball is cut in half and glued on top and then PVA is "painted" on top to harden it. the conical shape is made by staking smaller and smaller circles of thin card and then putting filler on top, then just sand and add some PVA.
The details are easy also, some thread wrapped repeatedly around the top and bottom of the tube or just some thicker twine or string wrapped around once... glue in place. Then undercoat black and then begin to paint. I did just plain black one one and a more pretty colour scheme on the other but still pretty basic. Then print off some advertising or use some decals, these are then put on the columns. and there you have it!!!!!


")


 Moderator