
Today I am posting a tutorial of how to make a guard checkpoint.
I was inspired by an Italeri’s kit (1/72Battlefield Buildings #6130), and from Rich’s post (his blog is this http://westmodelsandfigures.blogspot.com, from a forum I am a member of (http://www.bennosfiguresforum.com).
I couldn’t find it in my local store, so I decided to go my own way and make one out of my own materials and ideas.
This is Rich's work:


Basically, what I needed was a piece of a vinyl tile (as a base), some balsa wood, some pieces of plastic (strips), some PVA glue (and sand), and a metal file.
Below there’s the group photo.

So the ‘’how-to’’ procedure was the following:
Step 1.
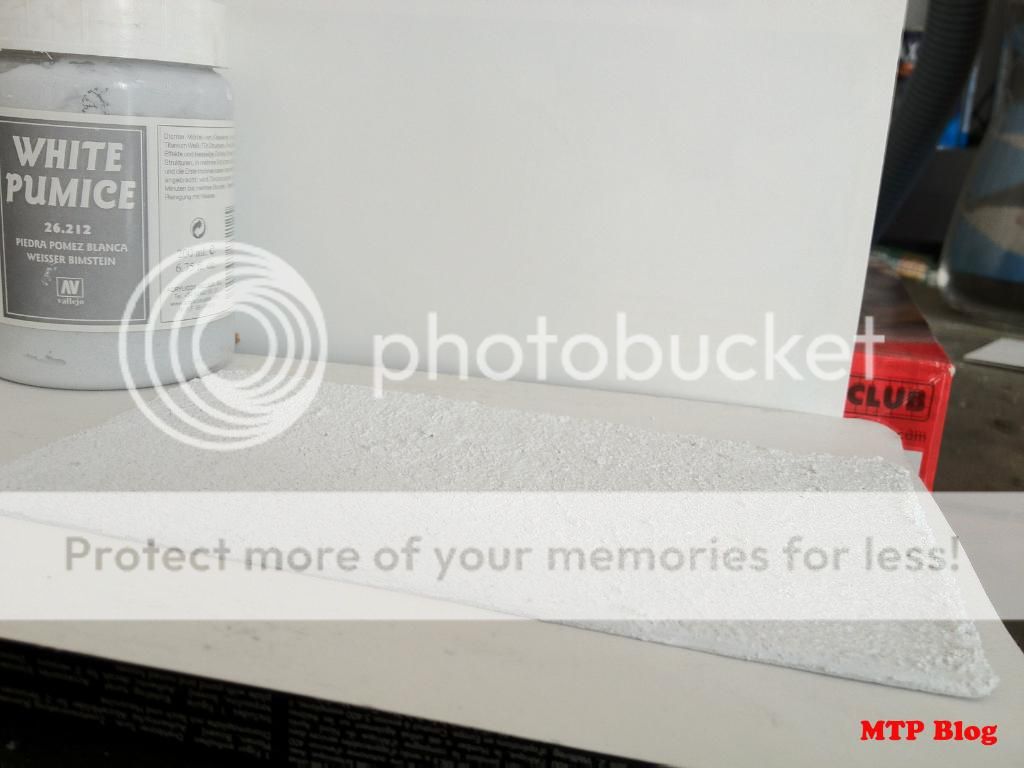
Apply some ‘gluesand’ mix on the base(10cm x 17cm). In this occasion I used some Vallejo’s white pumice paste, to save some time (I tend to choose ready made stuff, when I can afford them). Let it dry.


Step 2.
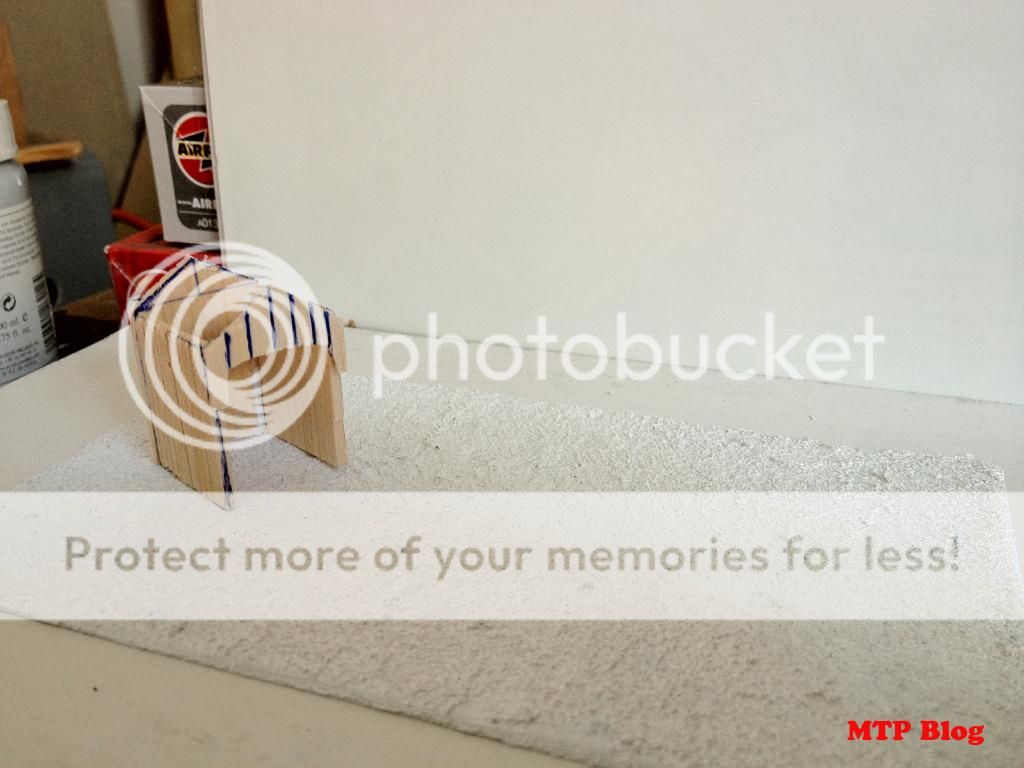
Cut out (from a 0.5 cm balsa wood sheet), four small pieces and glue them together in order to make the guard post. Their dimensions were:
The front and back pieces:
W: 0.5cm, L:2.5cm, H:3.8 cm.
The front piece was cut in a way in order to have an entrance for a figure. Photos below will explain adequately, I hope. The side pieces:
W: 0.5cm, L:2.5cm, H:3cm.
The roof pieces:
W:0.5cm, L:3cm, H:1.8cm.


Step 3.
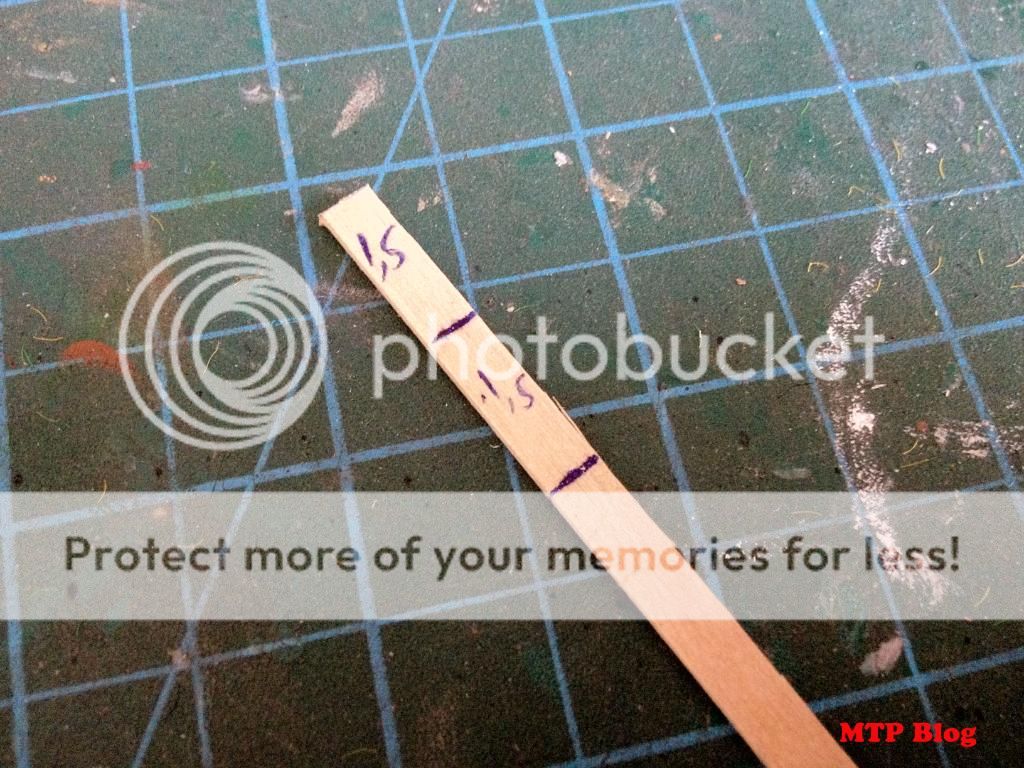
Take some balsa wood (0.5 cm) and cut a small piece of 1.5cm. Then place two small pieces of plastic strip (1cm) on its sides, like horns!


Step 4.
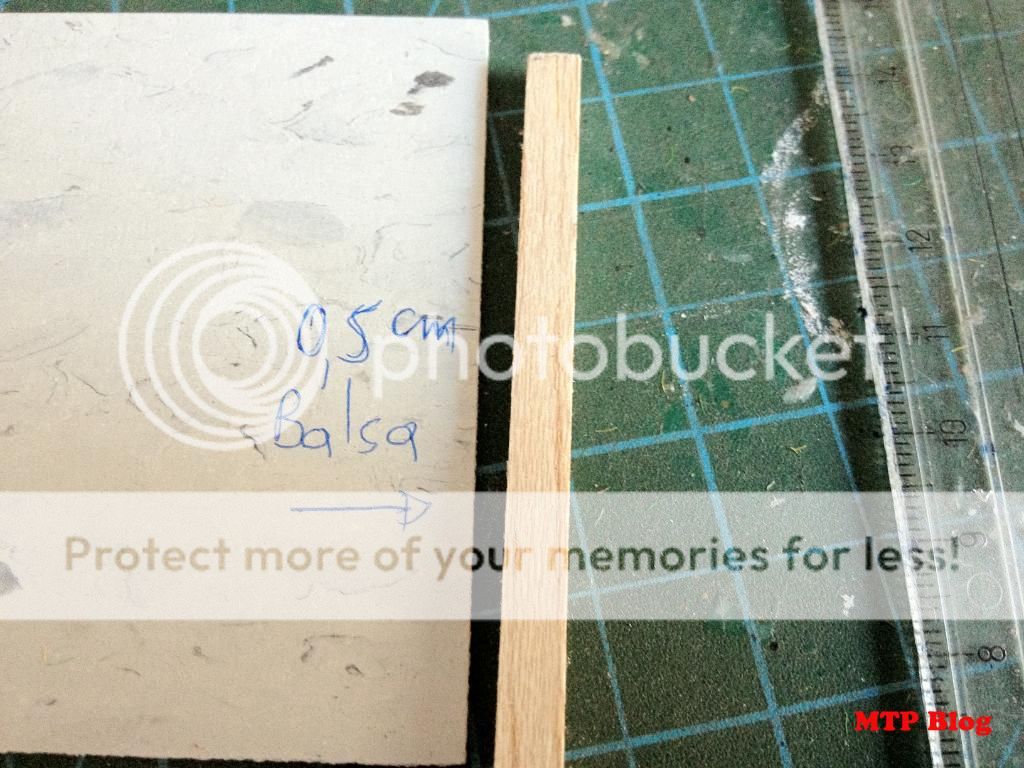
Take another piece of balsa wood (0.5cm -0.5cm strip) and cut a piece of 2.3cm. Then, take the metal file and make a ‘V’ gap on its upper side.

Step 5.
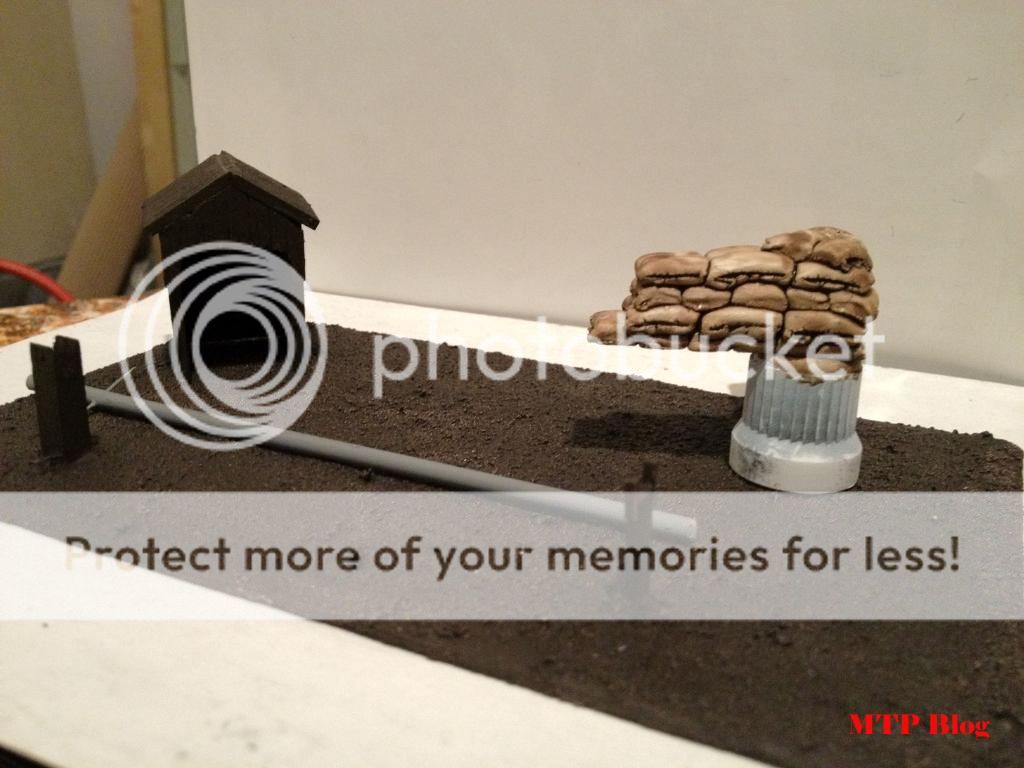
Use some Milliput epoxic putty and make some sandbags ( you can see how to make them, in my blog).


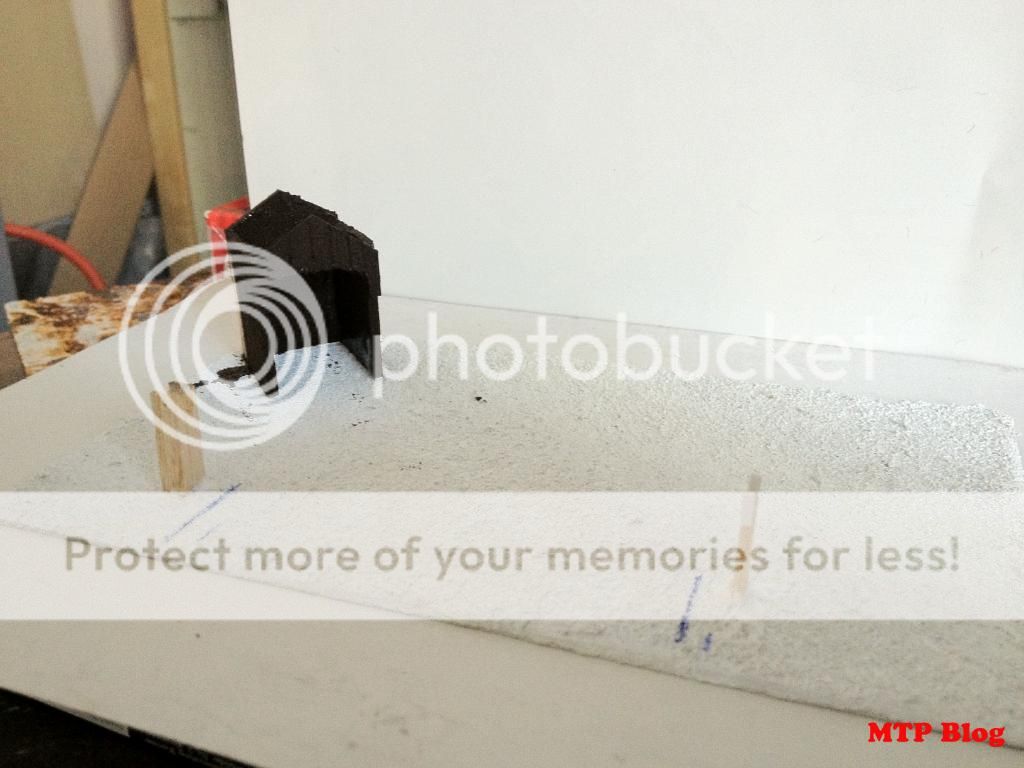
Step 6.
Glue the parts (except for the sandbags that need a different method of painting – see my blog) on the base. The checkpoint has a width of 8.5 cm approximately. After that, paint the whole lot in a dark brown colour. I use simple emulsion paint, by the bucket.


Step 7.
Drybrush the base with a lighter brown colour, and then follow the same procedure with a lighter brown colour (close to buff colour).


Step 8.
While letting it dry, take a round piece of plastic (strip) and cut a piece of 10.5-11 cm (what suits you best, to be honest). Make a hole with a pin all the way through it. Paint it grey.


Step 9.
Paint the guard post and the checkpoint’s wooden components in the same way I painted my wooden barriers (see relevant post in my blog - Dark Brown, VPA Old Wood, VMC Green Grey).


Step 10.
Glue all the parts on the base.
Step 11.
Paint the round plastic strip and paint it with two colours: red and white. One part red, one part white and so on.
Step 12.
Put some greenery on the base (static grass, clump foliage and so on…) and you’re pretty much finished. Except for the last detail that make the piece stand out (in terms of colour).


Step 13.
And now the tricky part. Take a pin and make a hole on the left wooden handle, then pass the pin through the round piece of plastic and then finish the procedure, by making a hole on the far end of the wooden handle. The upper 'ring' on the red/white plastic strip was made by a small piece of a paperclip, that was bended accordingly.


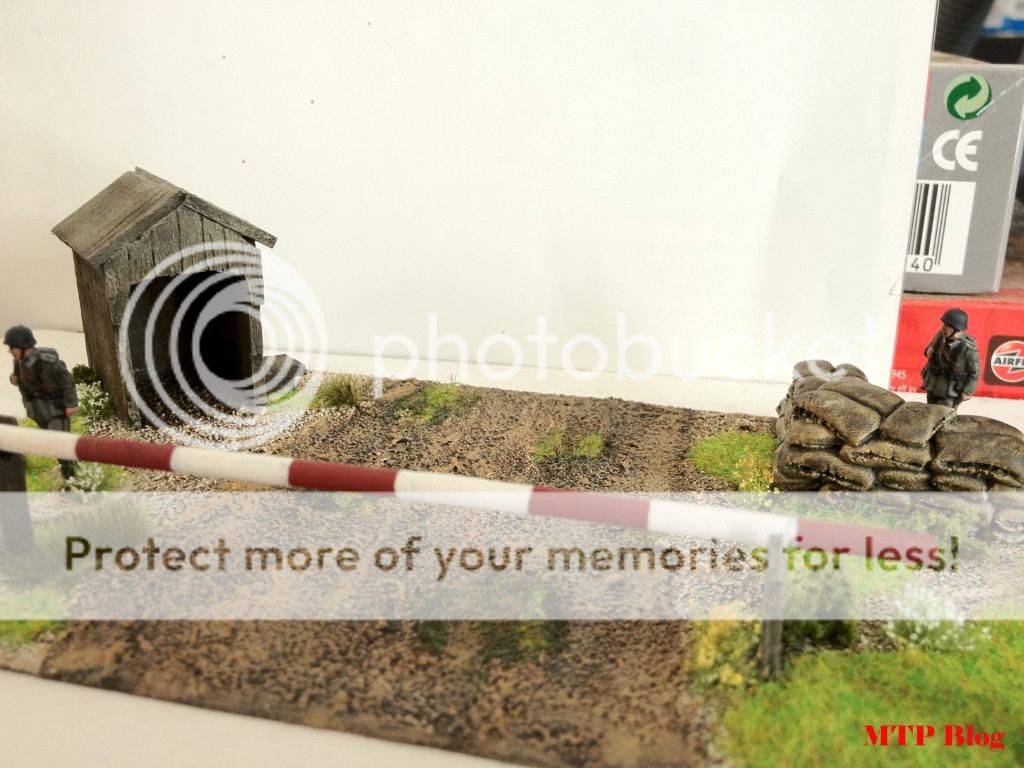


As you can see, I made it movable. The therapists, may call this as O(bsessive) C(ompulsive) D(isorder). I don’t care.
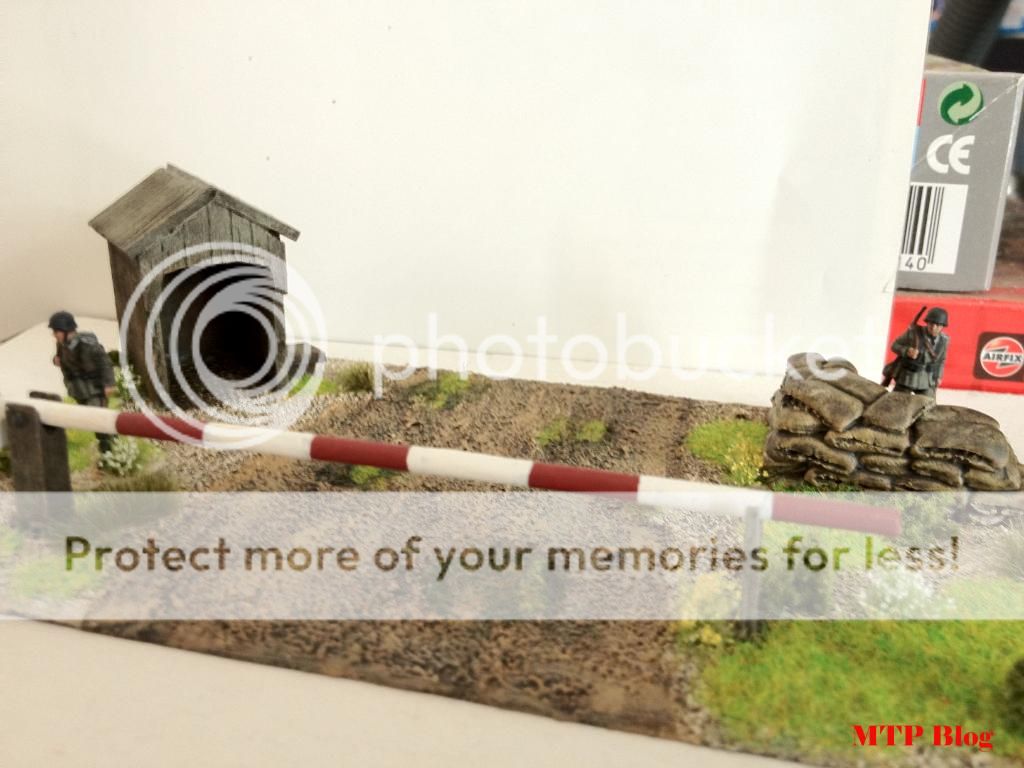
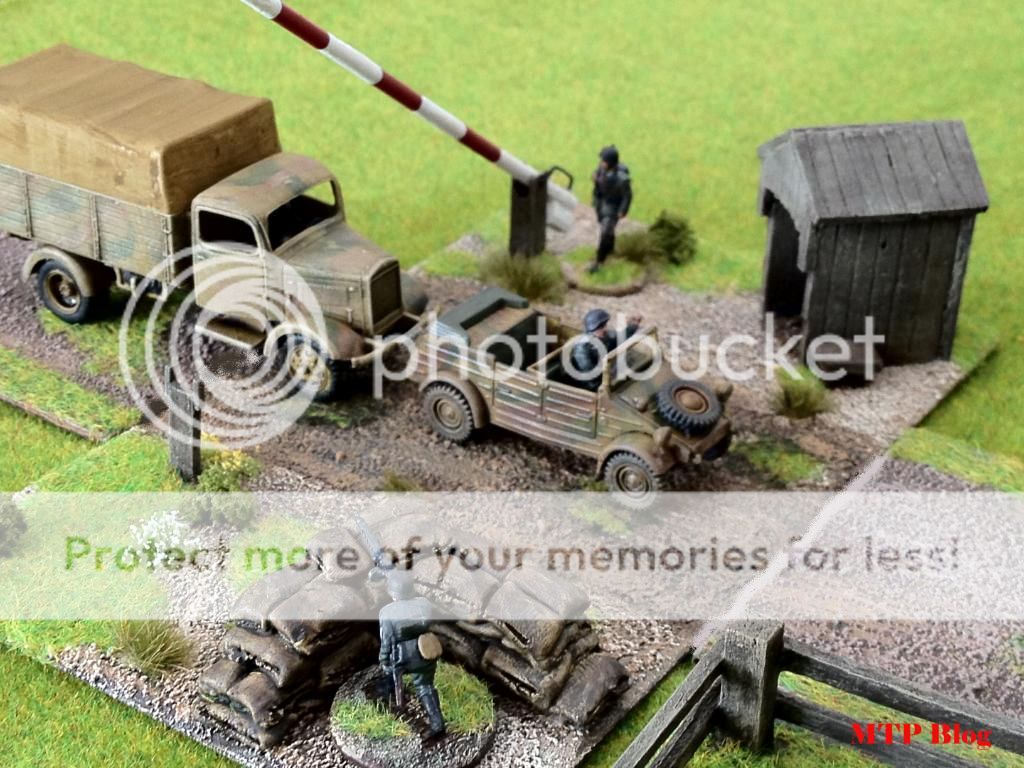
Now, we can call it a day!
It may not look as clean cut as the model from Italeri does, but that’s what you get when you make something with your hands. After all, crude is one of handmade pieces major attributes.
The total cost of this terrain piece didn’t exceed the amount of 3 euros. Not too bad I think.
I hope you found this tutorial useful for your projects. Thanks Rich for the idea!
Any C&C are more than welcome.
Have a nice day!
T.


")


 Moderator

 Great stuff!!!!


