
Just thought i show you pictures of how i made my corsair ship. I hope that there are some tricks and tips that you can use. Anyway enjoy !!
And ofcourse don't hesitate if you have questions.
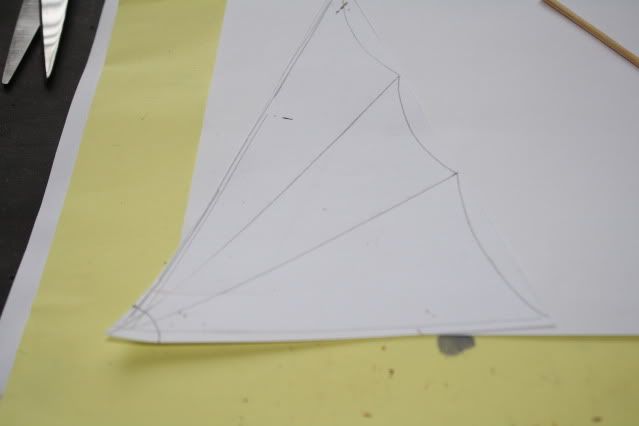
First i made some templates (you never know...)
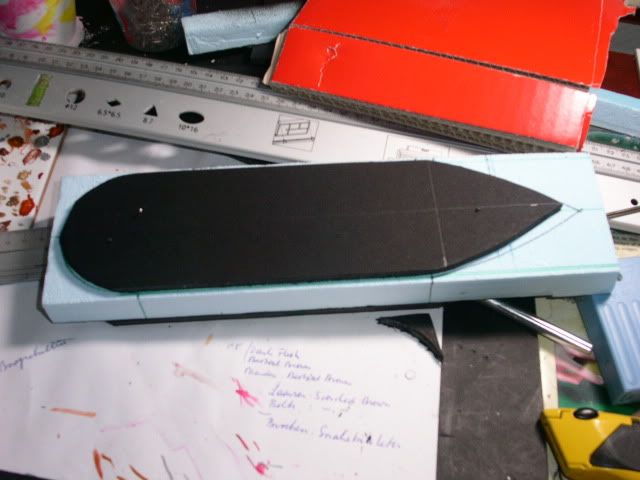
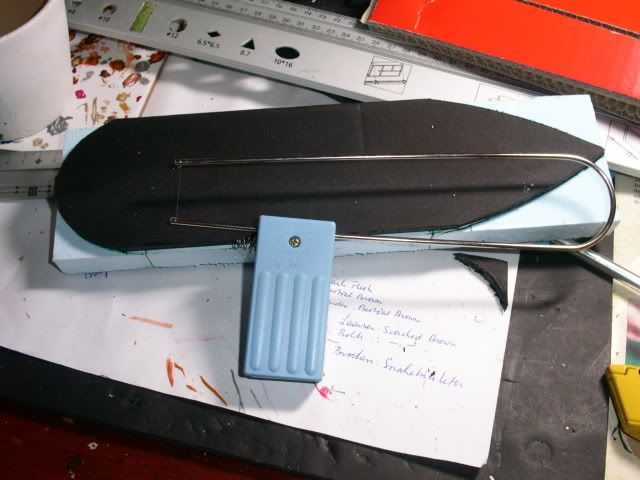
Then i used a wire-cutter to make the base of the ship

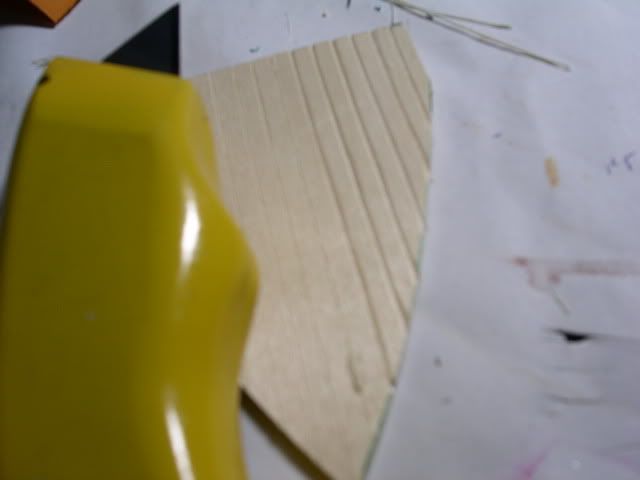
then i made the floor by carving some planks into the wood (which comes from old mandarine(the fruit) boxes
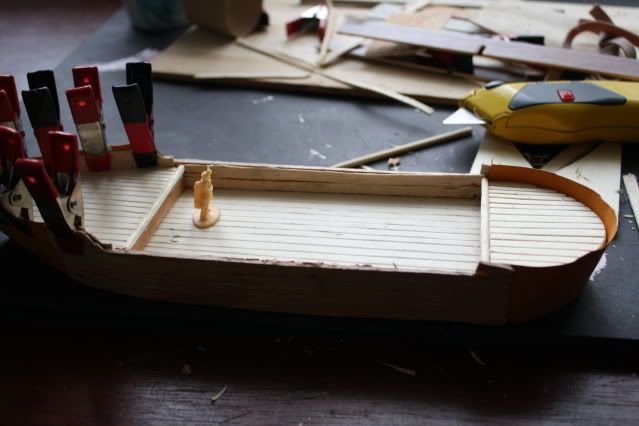
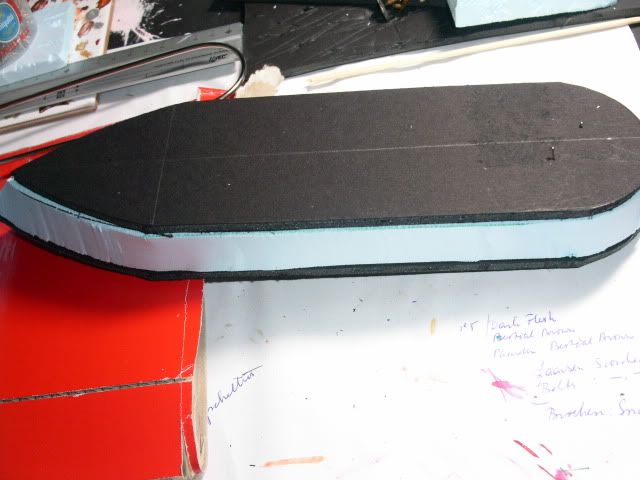
At the side i glued some planks. Now here's a tip.... use lots of glue and be patiend enough to let everything dry. (i diid'nt and as a result i had to glue the whole lot twice
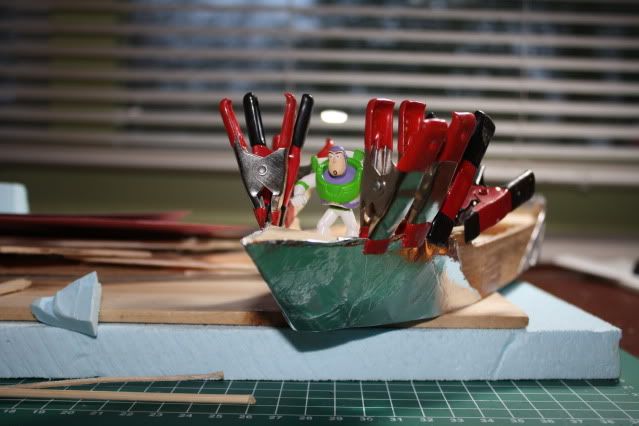
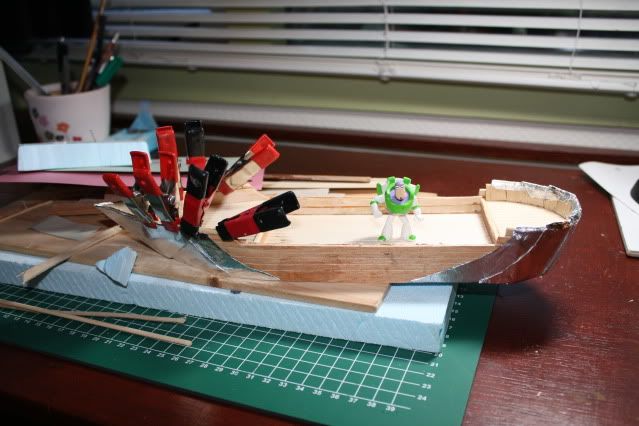
For the front and back i had the idea to make that from iron. Now there were two options. I could order some steel plates and started welding (?) or.....use alummium-foil (?) and glued that on (with a little help from Buzz...) I choose the last option
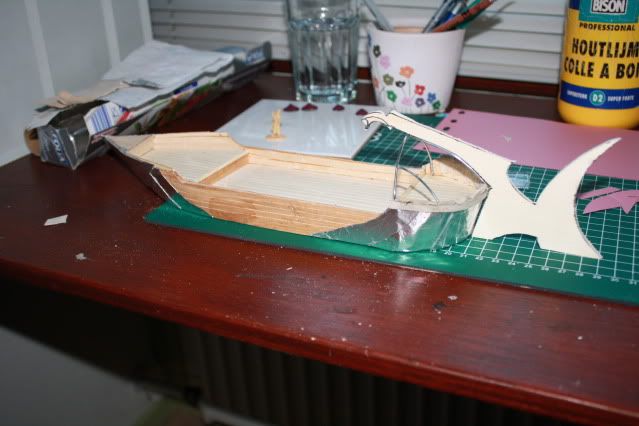
next step.. the tail. Just use your imagination
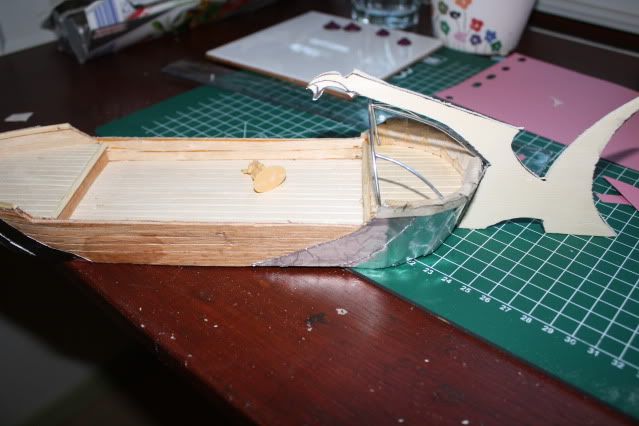
As u can see here, i also made a smal structure (from paperclips) to make a cabin.
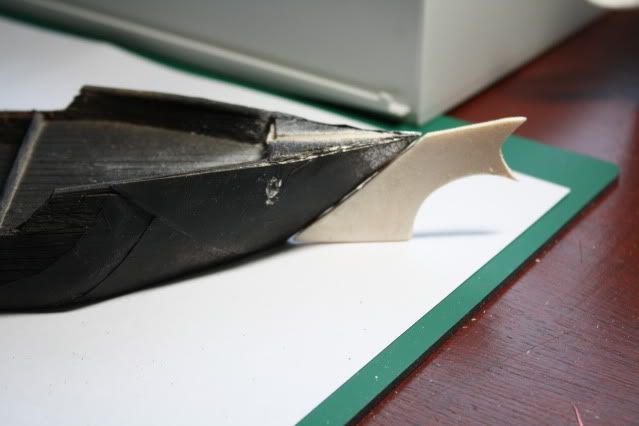
then i spray-painted the result so far
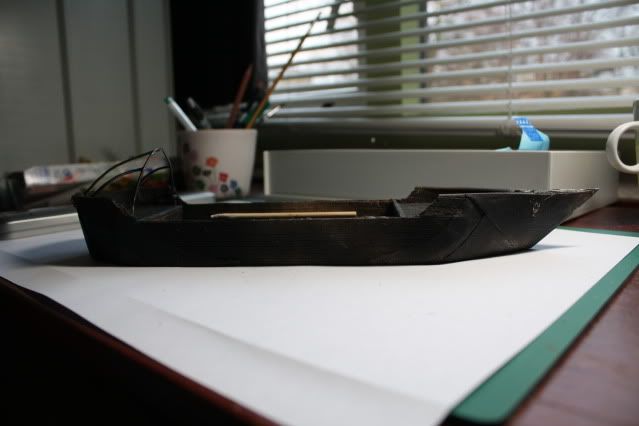
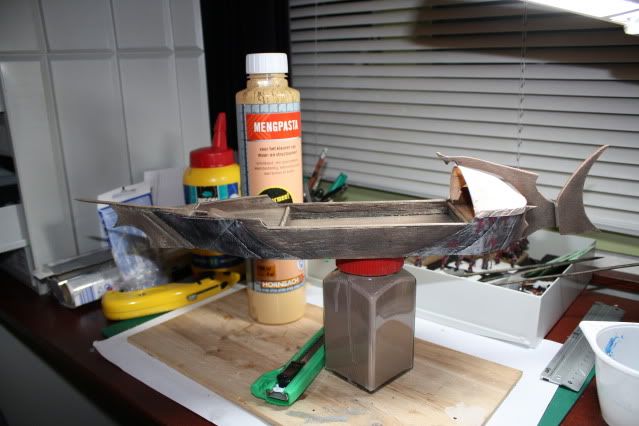
then the front... again just use your imagination. As i wanted to let the whole ship look like some fearse creature coming out of the ship i decided for this form. But feel free to do whatever you want.
Now i did'nt fotograph every step so here's a little jump.
I made the cabin-tent-cover just from paper drenched in watered glue. This way it looks like real tent-material and it gives you a better surface to paint.
For the paint on the boat i just use cheap wal-paint (as for al my dio's etc)
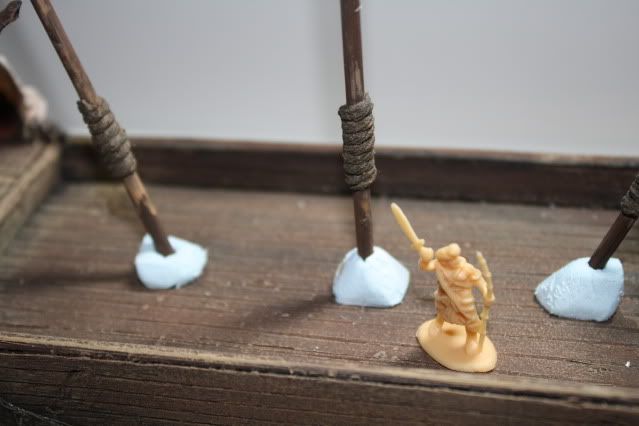
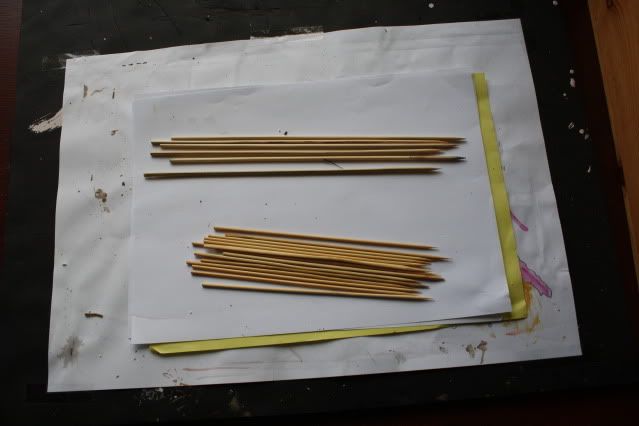
Then the masts. I just used giant sateh-sticks. I sanded the top to make them look less like ...... sateh-sticks.
i used some nitting wool (?) which i again dreched in wattered-glue to make the ropes around the masts
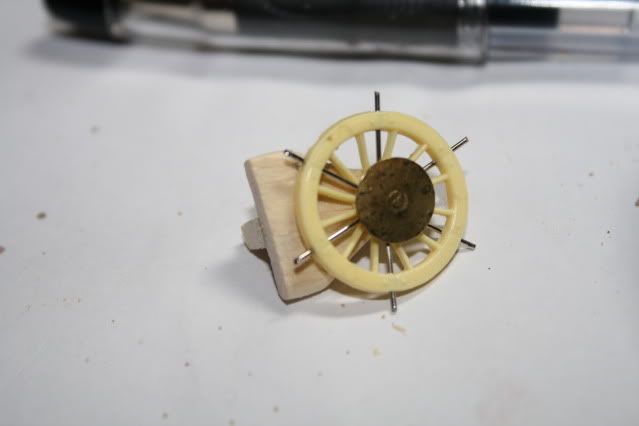
the steeringwheel is just a small piece of wood, some pins en an old airfix wheel... (and a punaise in the center, don't know the english word..)
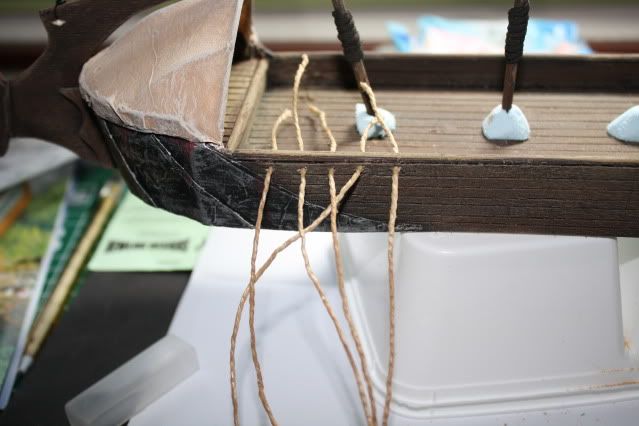
as for the rigging.... just some robe in watered glue and a lot of patience....
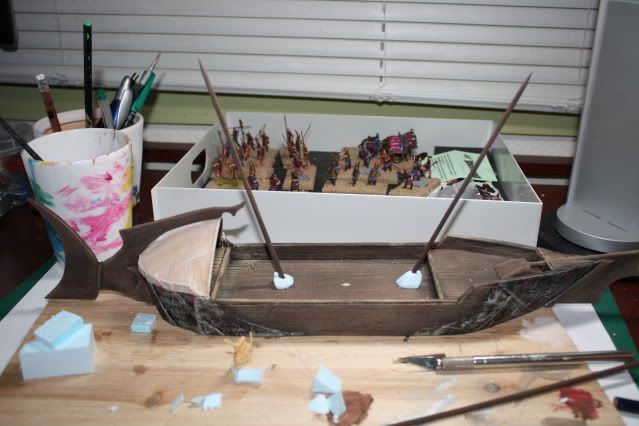
its starting to look like.... well.... a ship
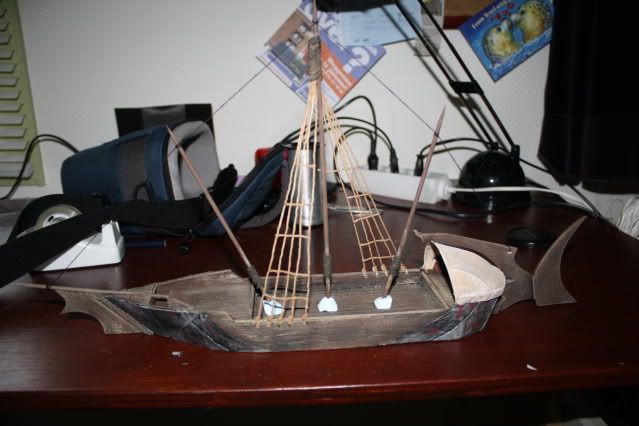
then the sails....
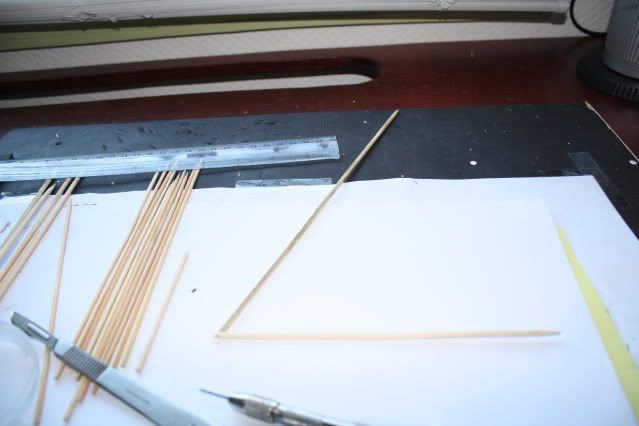
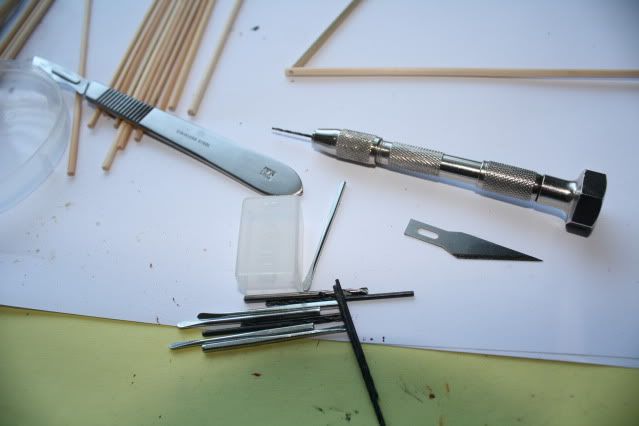
wooden sticks
now it's hard to see, but i drilled a hole in the bottom of one stick, then put a needle trough the other one and then pushed it into the drilled hole...
In my design-studio (the chair next to me
then glue some sticks to them and glue the whole lot together
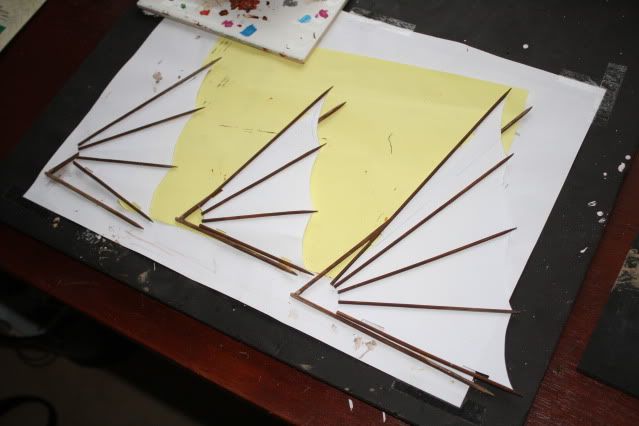
then paint the sails and attach them to the masts (this is a bit tricky so take your time)
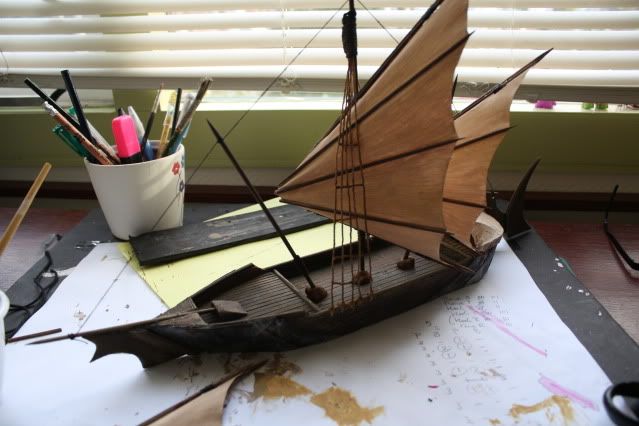
and at the end it looks something like this

as for the resul : http://bennosfiguresforum.com/viewtopic.php?f=2&t=10593
And for those who want to rebuilt it 1:1.... I cannot garantee that it floots....
Enjoy !!


")


 Moderator