
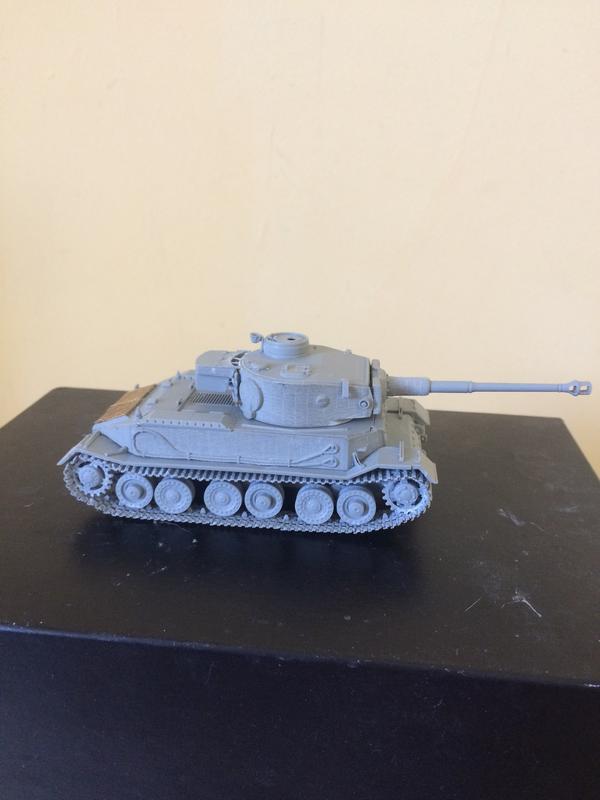
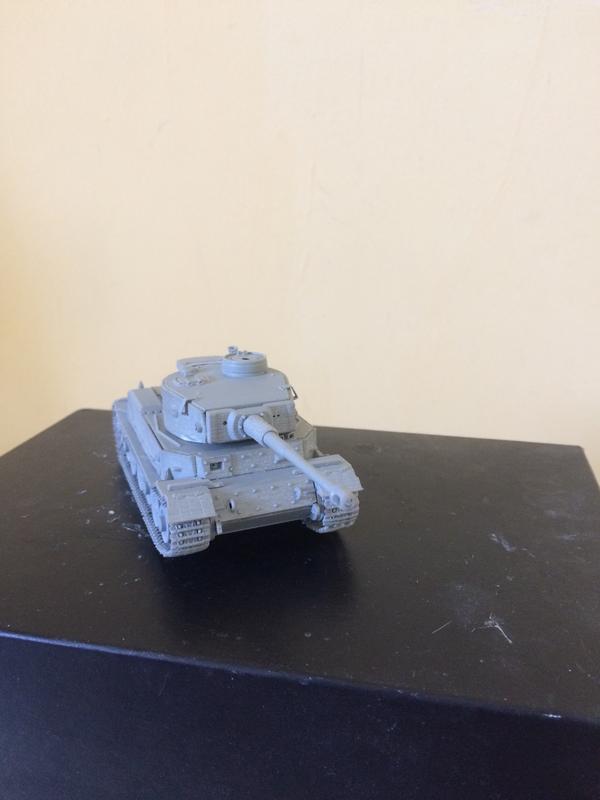
Resting a little of the figures, I decided to work in this legendary and unique tank.
The 1/72 kit is from Dragon.
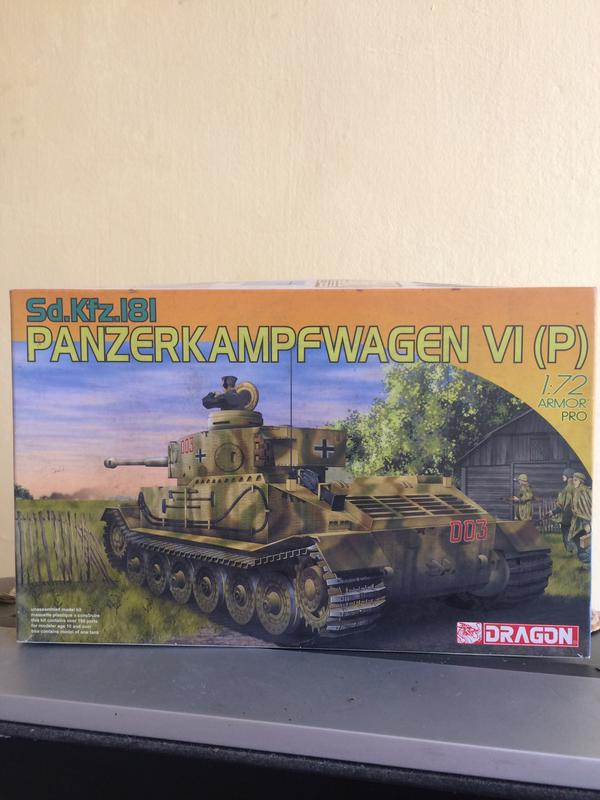
As you can see, well assembled and well painted in the diecast version of Dragon Armor, a beautiful kit.
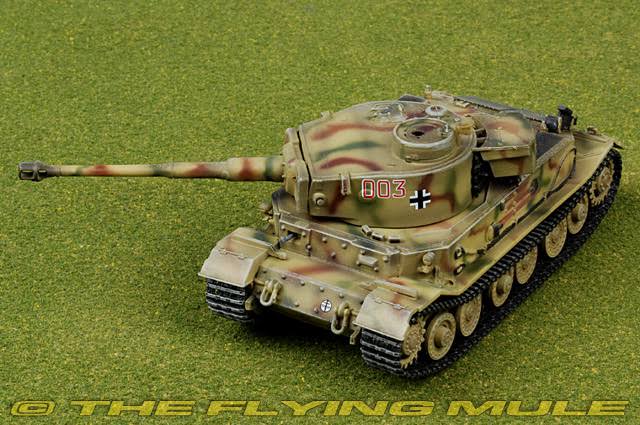
However, as I see it, there was a fatal forgetfulness to the operating version of Tiger P. It was done without Zimmerit.
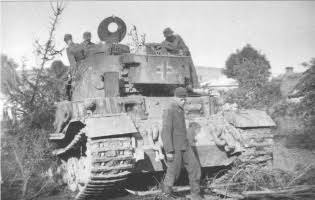
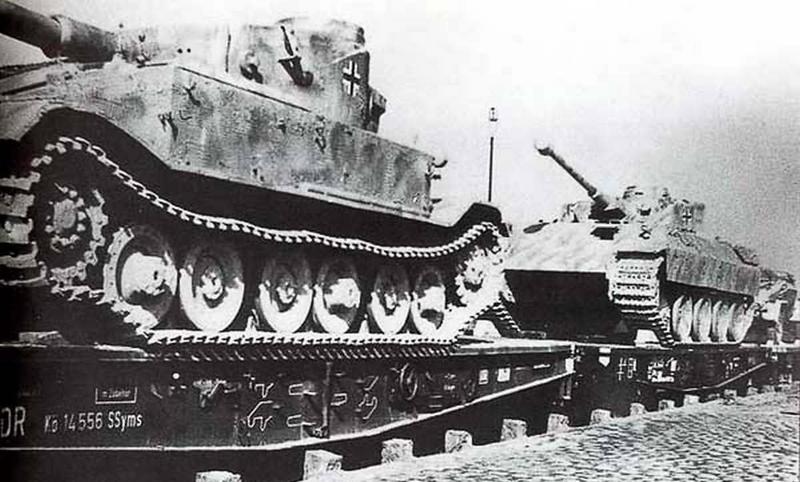
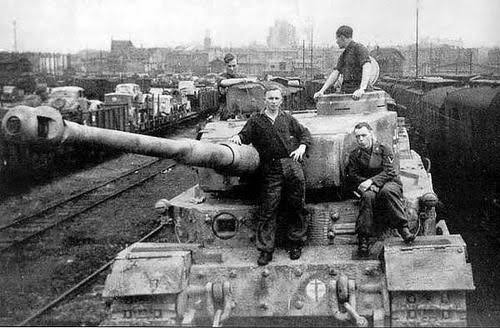
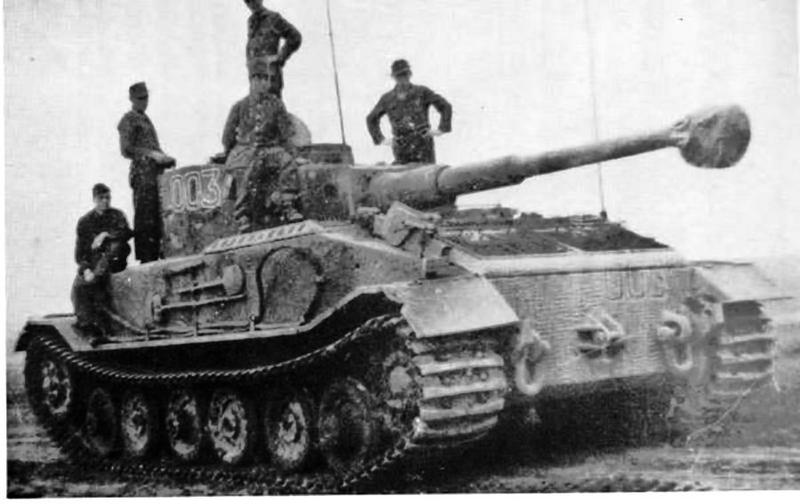
Pictures of the Tiger P in operation, including in a train car, next to a Panzer IV turret Panther tank.
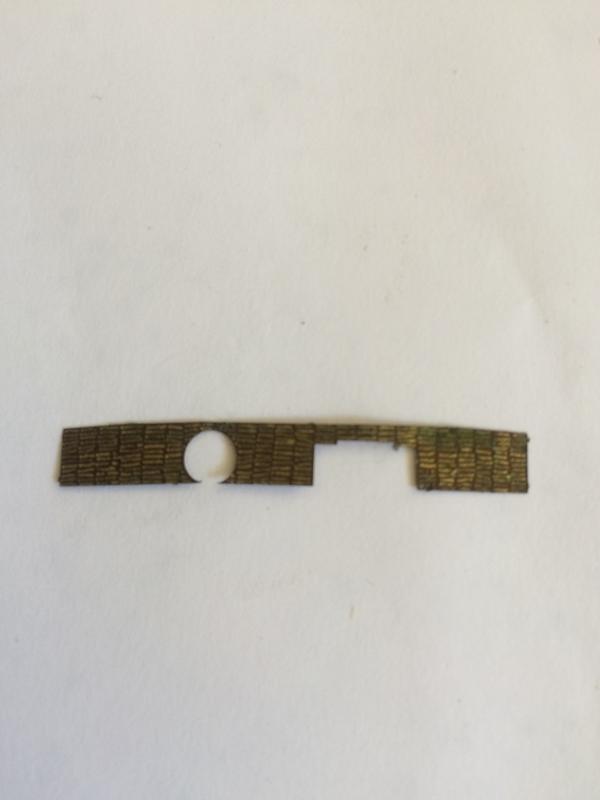
I don't know if there is a 1/72 photo -etched for this tank.
I even thought of using Part photo-etched print for the more well-known Tiger I.
However, I found 2 problems:
1- I would need to crop and adapt the recorded photo-etched to apply on Tiger P. I found it impossible.
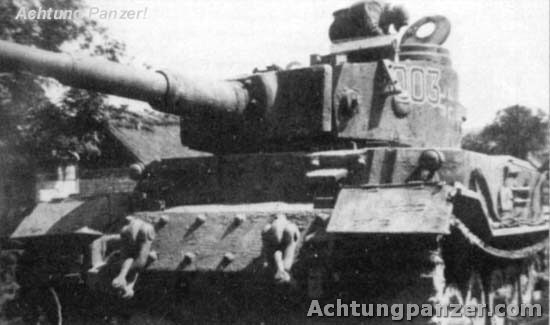
2- Researching and enlarging the photos, I concluded that it was applied to Tiger P, thin layer of Zimmerit and quite irregular. The option to put dough and make would make the Zimmerit layer thick.
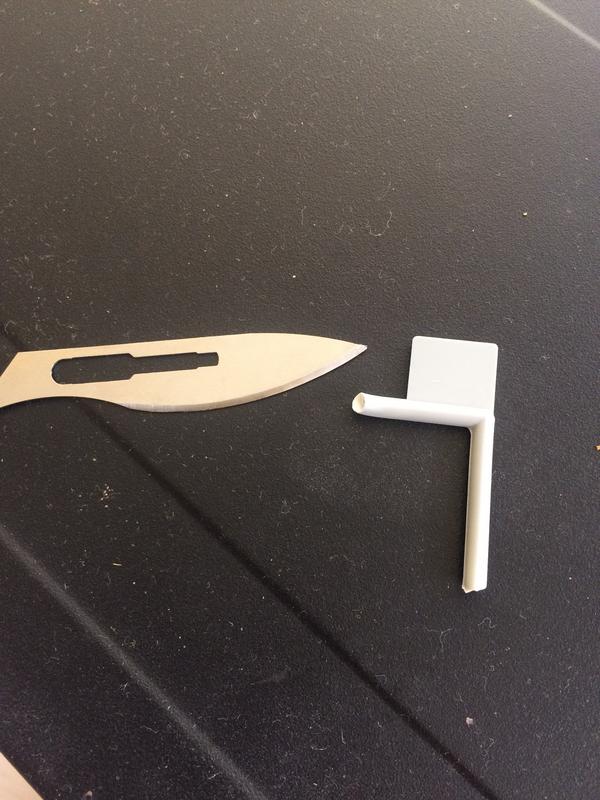
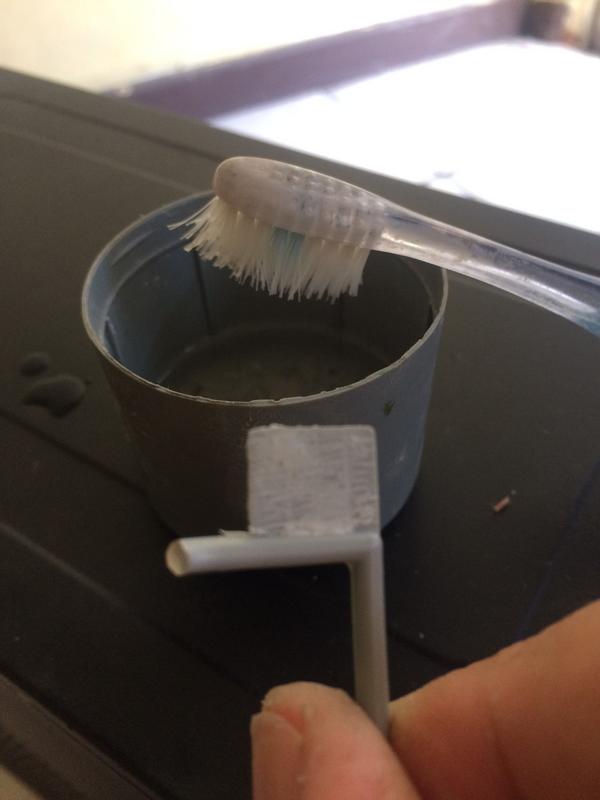
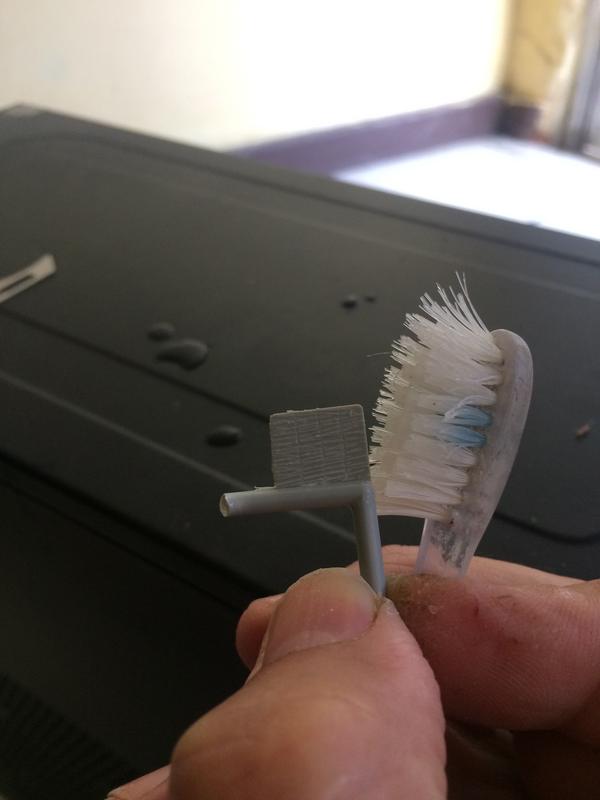
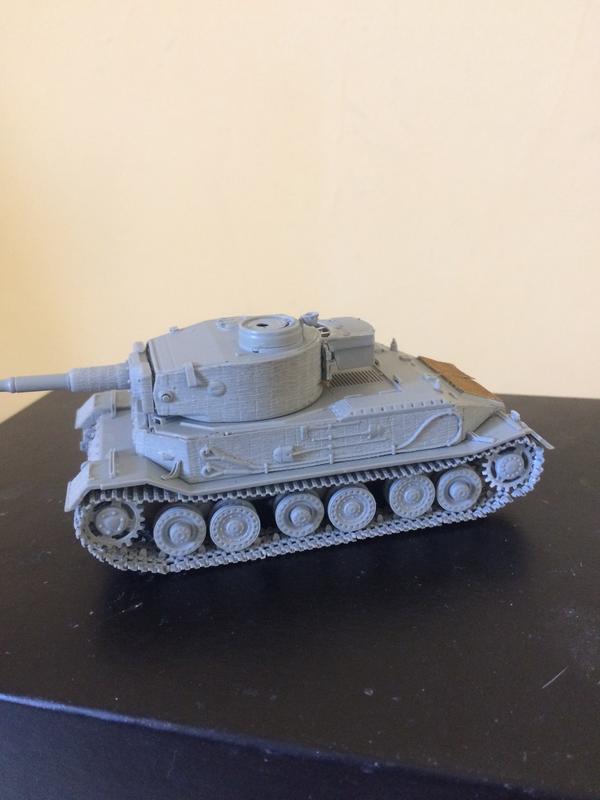
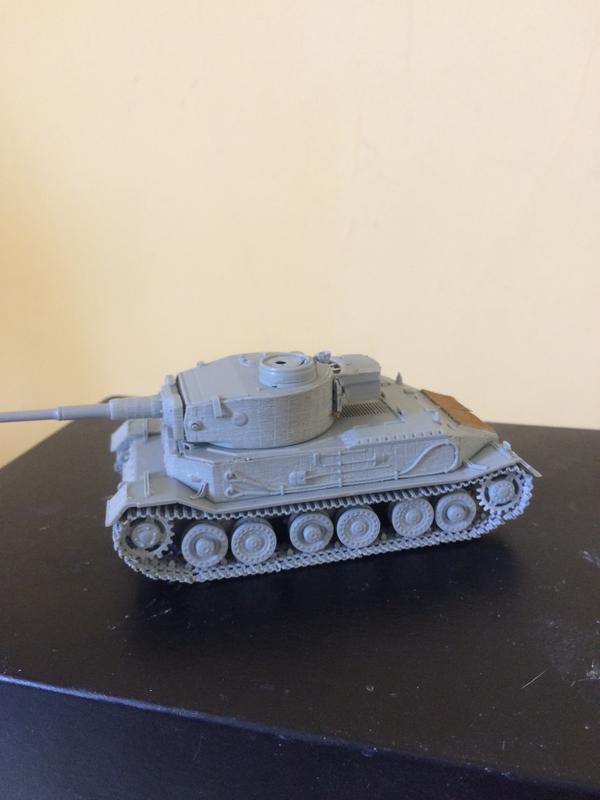
The solution I found after researching the parts that received Zimmerit was to make an application of Zimmerit with a blade, mass epoxy, water and toothbrush.
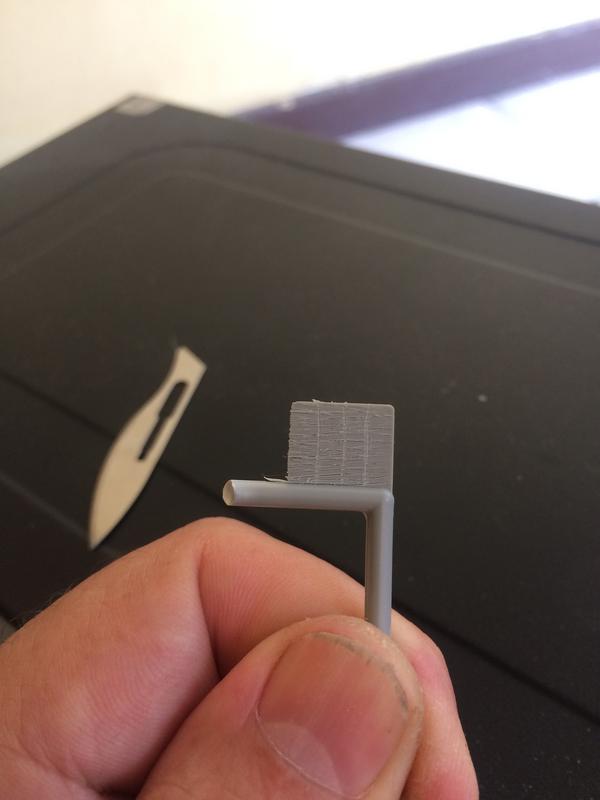
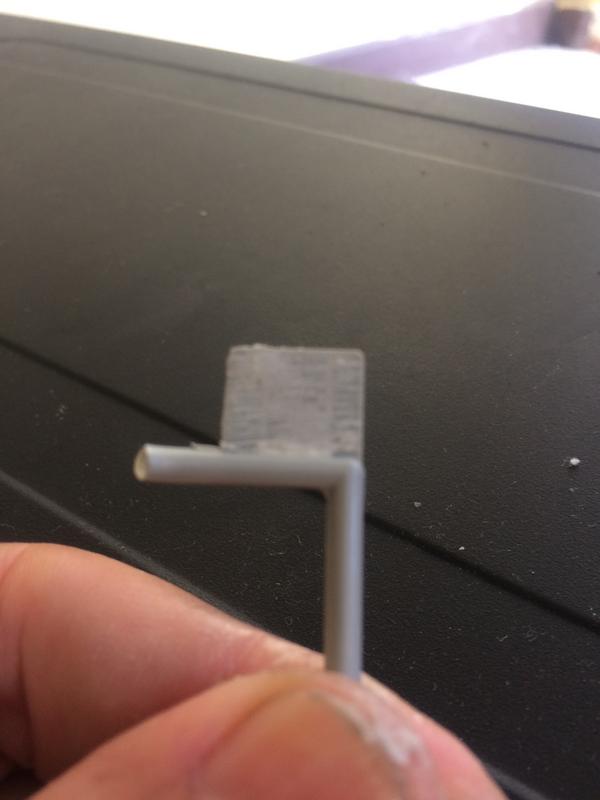
Using a small piece of the same plastic as the kit, an example tutorial of what I did in the tank:
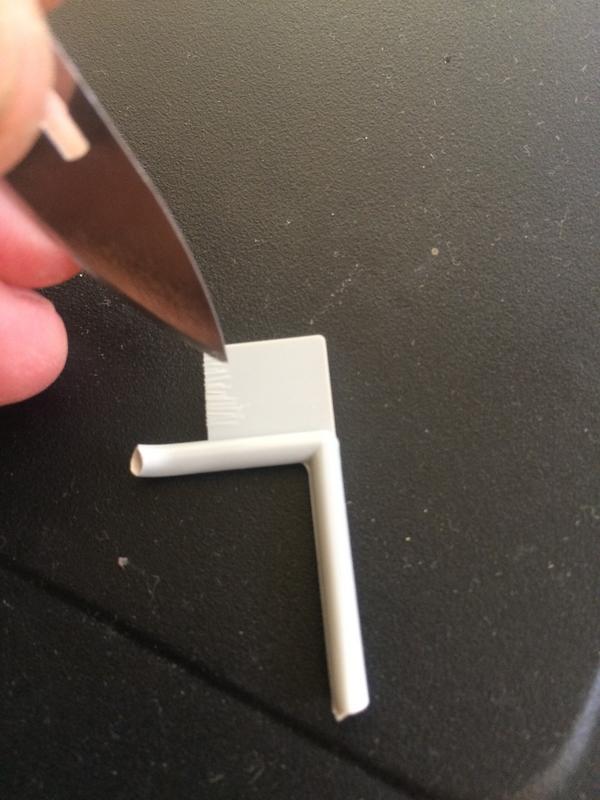
1- With the blade, I first made small scratches in the horizontal position.
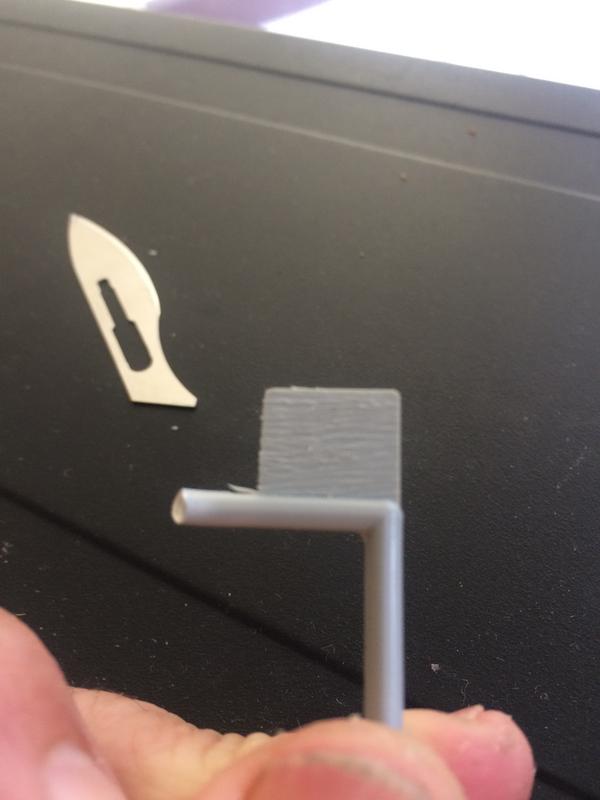
2- Then, lighter scratches, vertically.
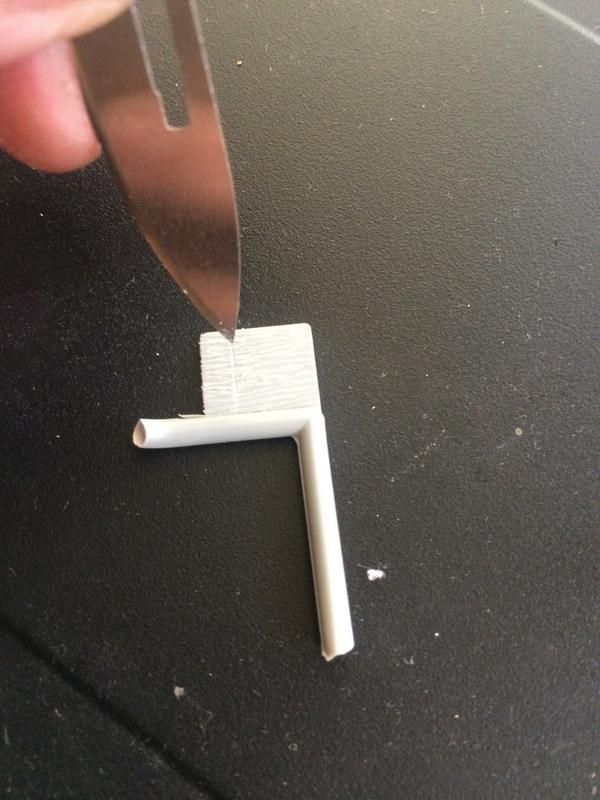
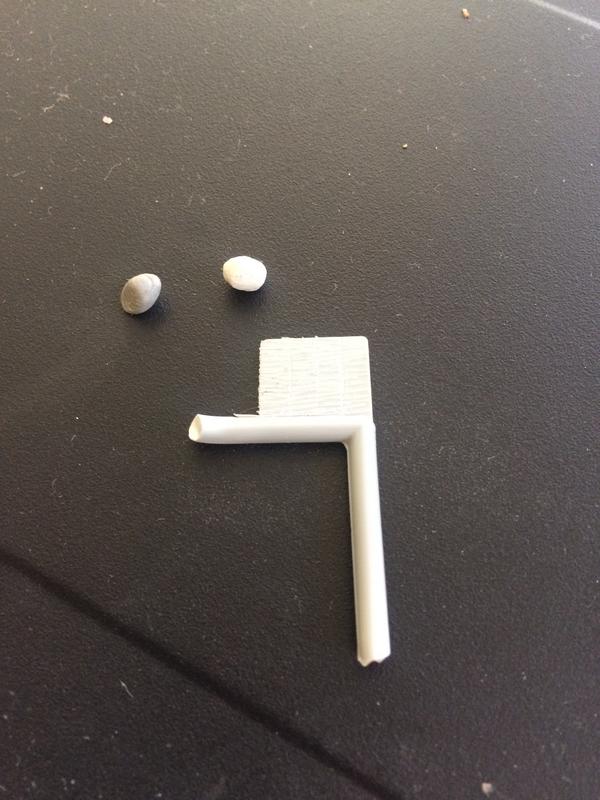
3- Then, with epoxy paste and water to soften, I made a paste (my Zimmerit
 pic sharing
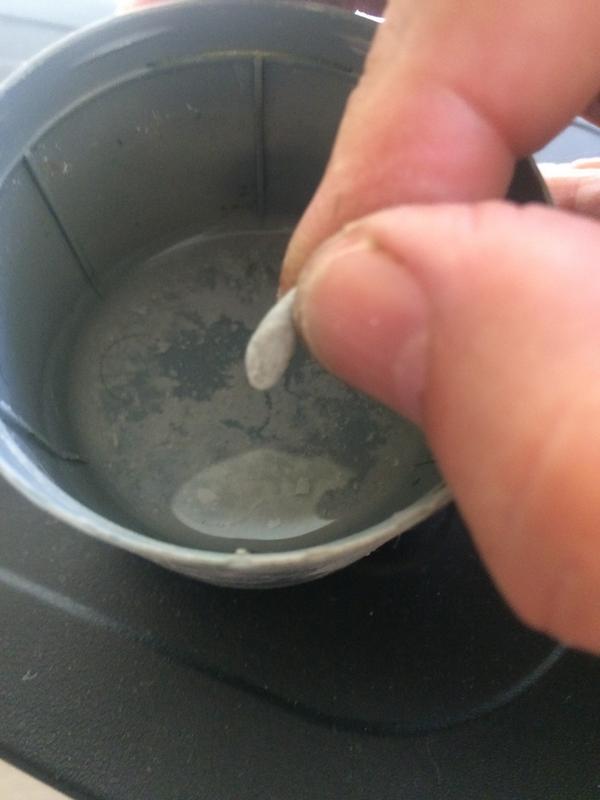
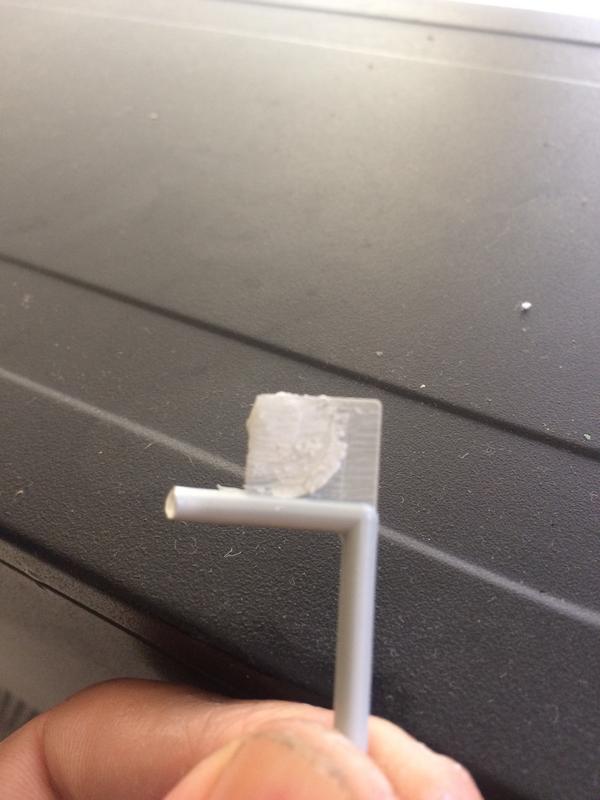
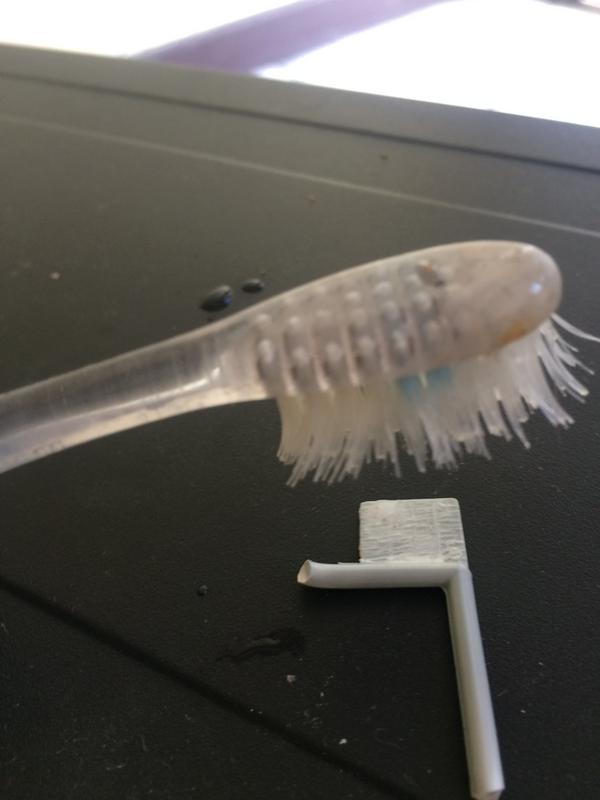
The result in the tank is like this.
Regards.


