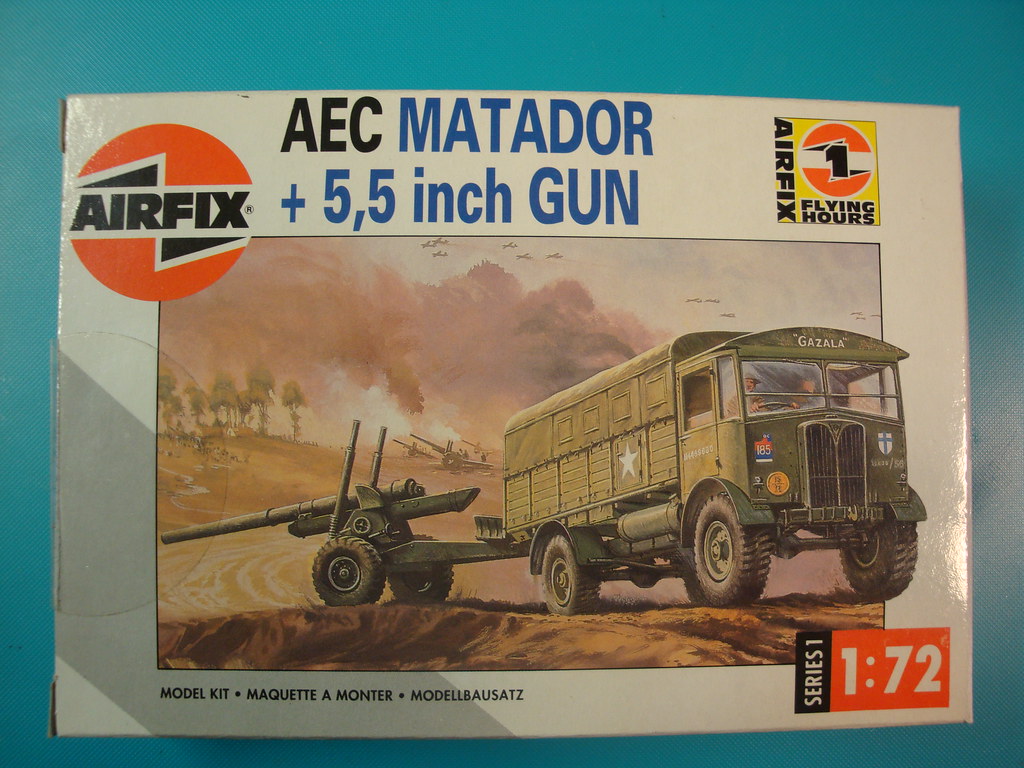
The Matador was developed in 1937 by the Associated Equipoment Company, famous by their red London double-deck busses. The Matador was commissioned by the British army as a tractor for their range of medium guns, like the 4.5 inch medium gun, the 5.5 inch medium gun, the 6 inch howitzer and the 3.7 inch AA gun.

Earlymodel Matadors towing 6 inch howitzers during exerceises in Scotland in 1941.
The Matador was a heavy 4 wheel drive truck, equipped with a heavy winch. In the truckbed there was space for the full gun crew as well as a limited store of ammunition. The Matador appeared to be a succesful design, and was produced with only minor modification all through the war. It was used on all fronts, and still in the 1980's special versions of the Matadore were in the reserve of the British forces. In total almost 9.000 were built.

Matador towing a 5.5 inch Medium Gun.
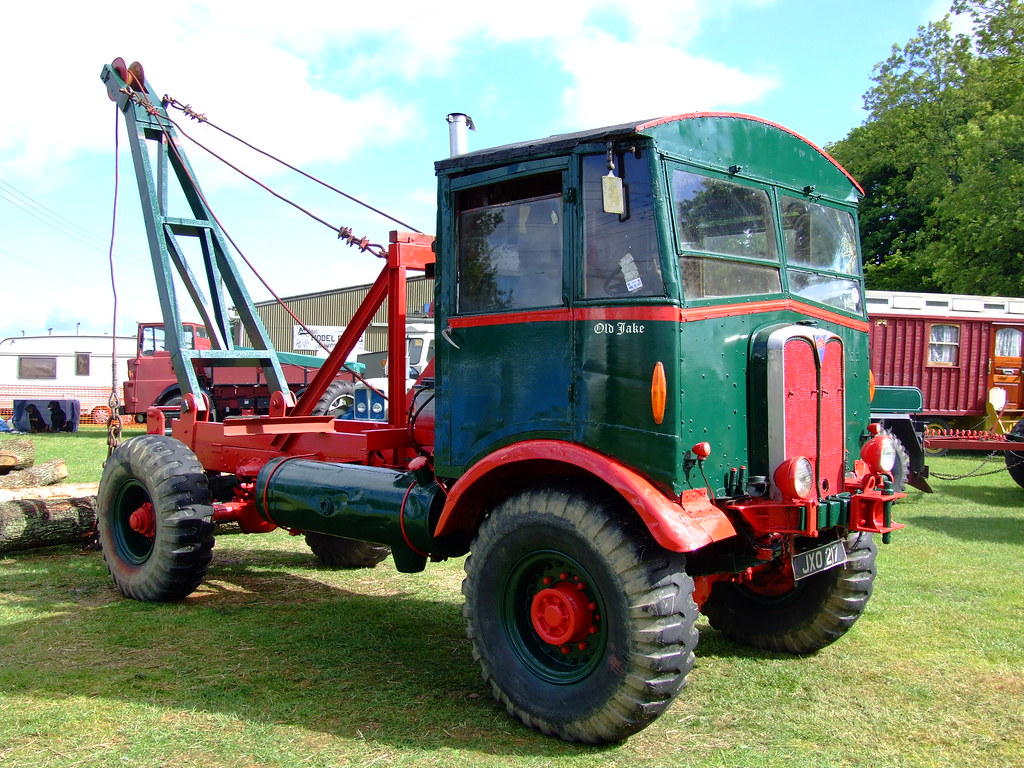
The succes of the Matador led to varierty of special versions, including tankers, tow trucks, mobile cranes and even armoured vehicles. After the war military surplus Matadors were popular in the civilian world, especially as recovery vehicles and timber trucks. You can still meet them in the UK:
But I will restrict myself to a more out of the box approach: a late war artillery tractor like on the picture below:
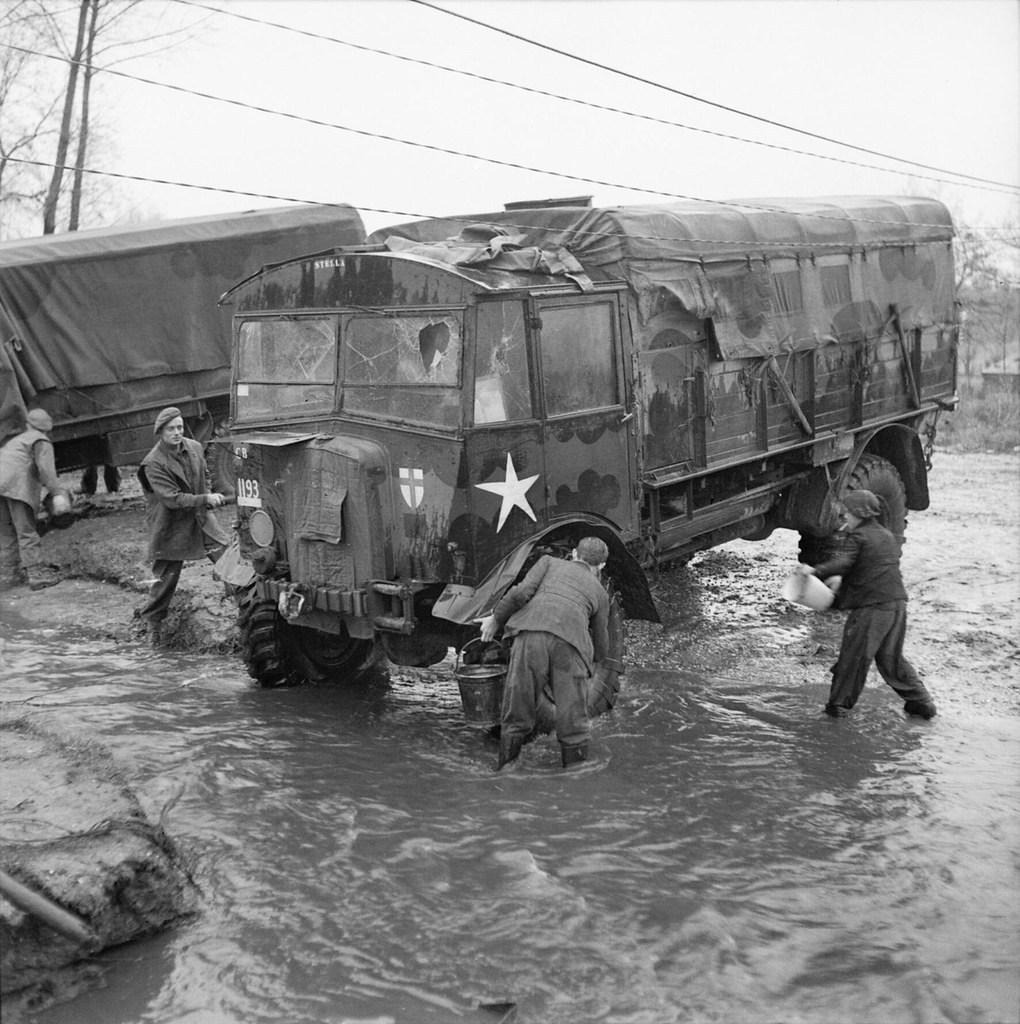
A late version Matador artillery tractor of 2nd Army in Holland 1944, sporting an olive drab and black "Mickey Mouse" camo pattern.
I like this vehicle, especially because of its very British uglyness, the big wheels and the functional straight lines of its wooden cab.


")


 Moderator