Work in Progress

Airfix 1/76 AEC Matador and 5.5 inch Medium Gun

Posted by Mai Strac on 10 Apr 2019, 06:46

:shock: An awesome work on a great Airfix classic box!!!! :thumbup: :thumbup:
User avatar
Mai Strac  Italy
 
Posts: 2538
Member since:
11 Jan 2009, 19:08


Posted by huib on 10 Apr 2019, 17:53

Thank you, Mai!

Finishing the truckbed

Image
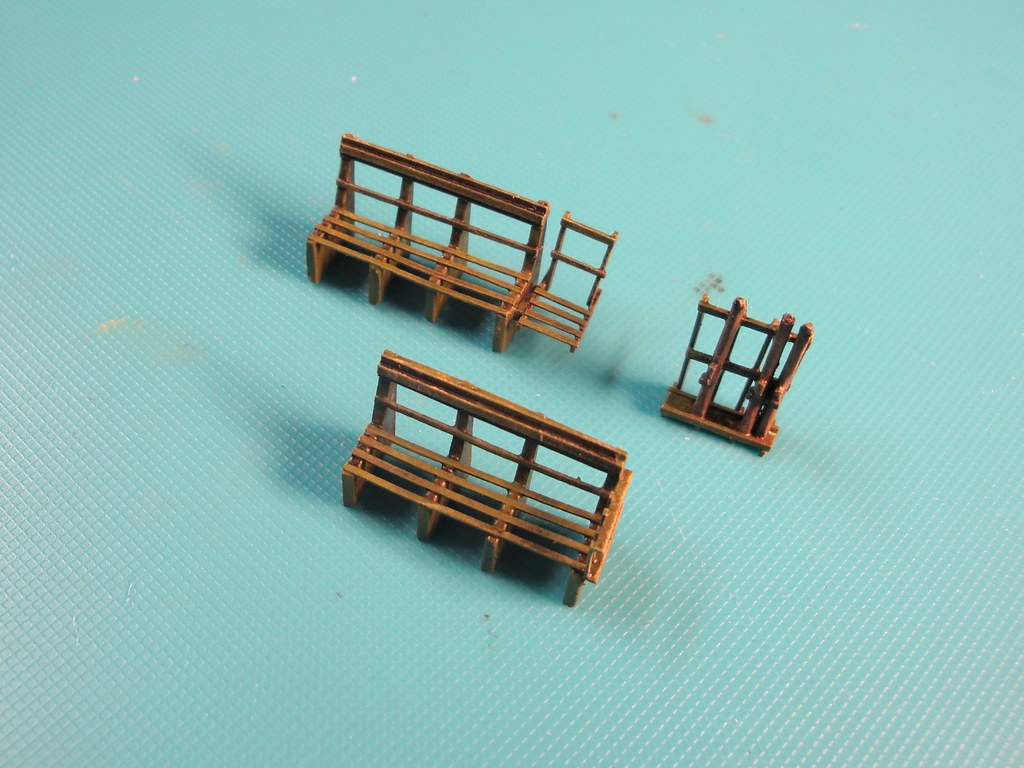
Truckbed furniture: the benches and rifle rack after painting and weathering.

Image
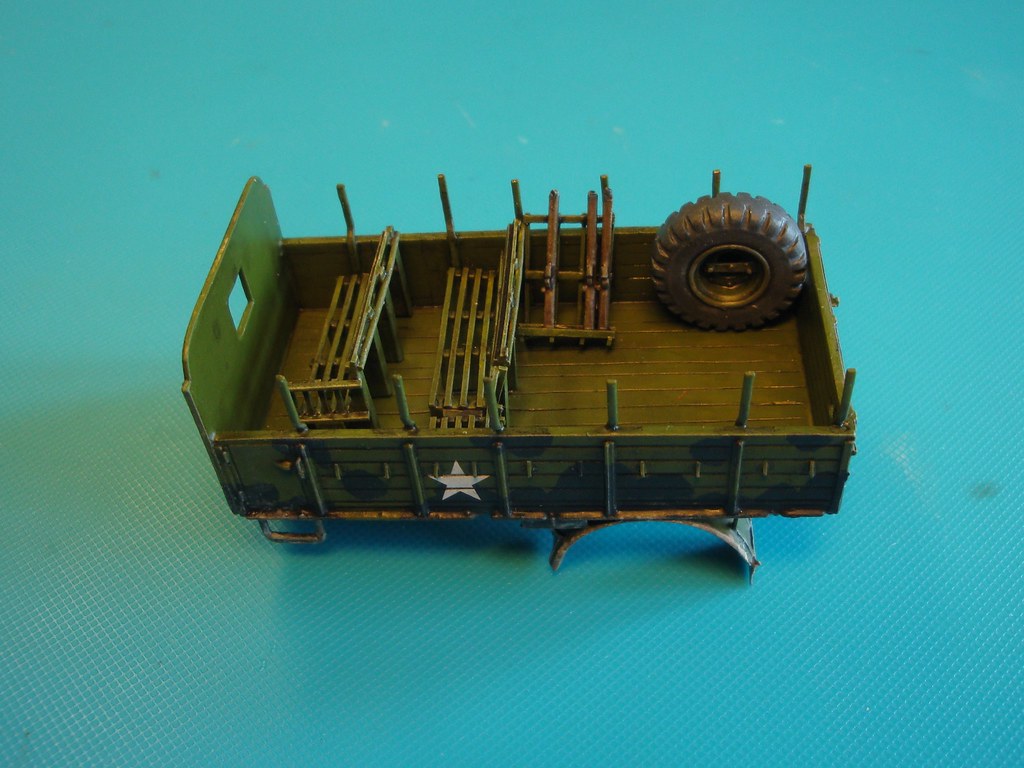
The truckbed fully furnished in contemporary style.

Image
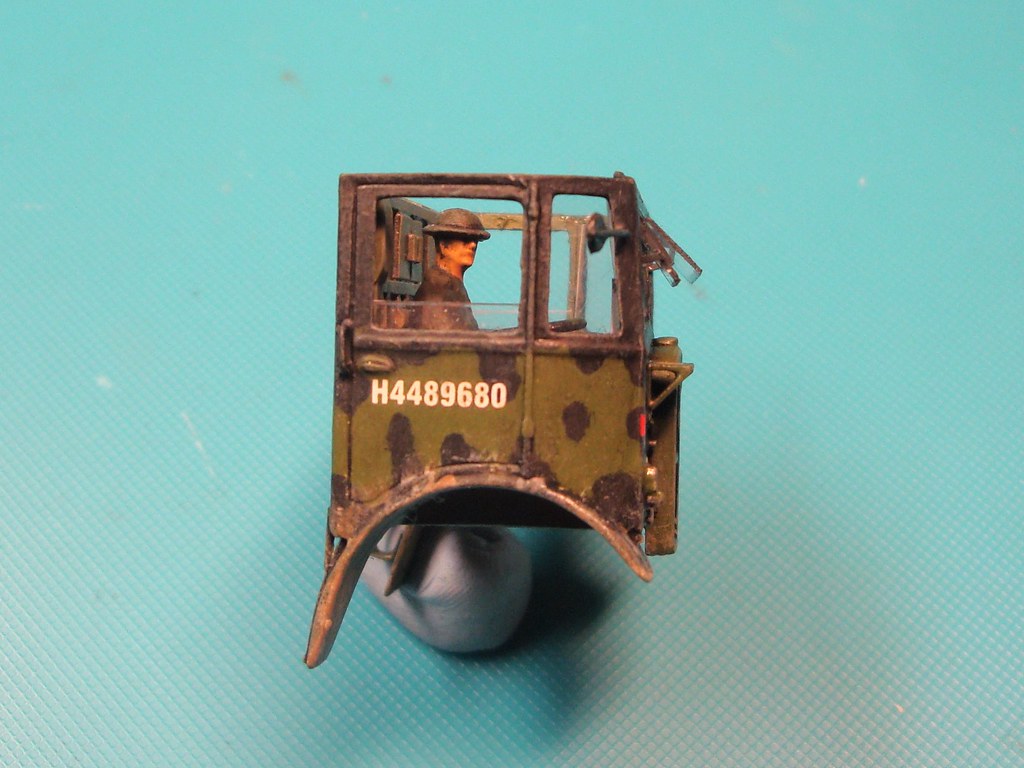
Crew and stowage in position.

Image
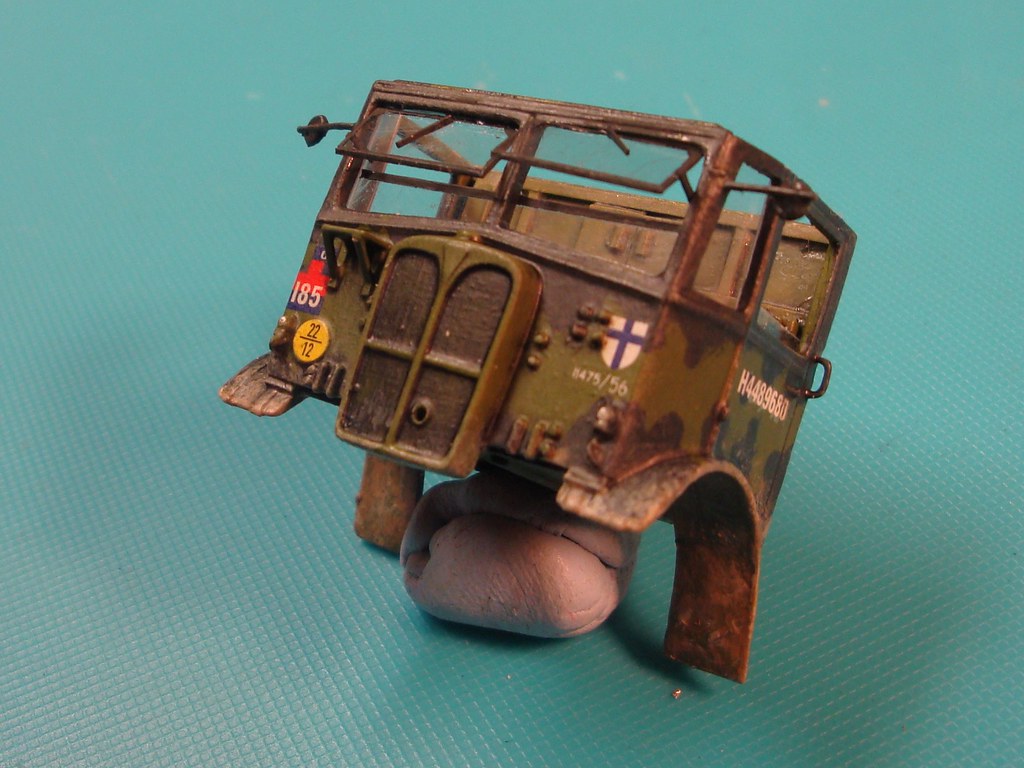
The roof glued in position. The seam between roof and frontwall had to be camouflaged with filler.

Image
After some careful sanding.

Image
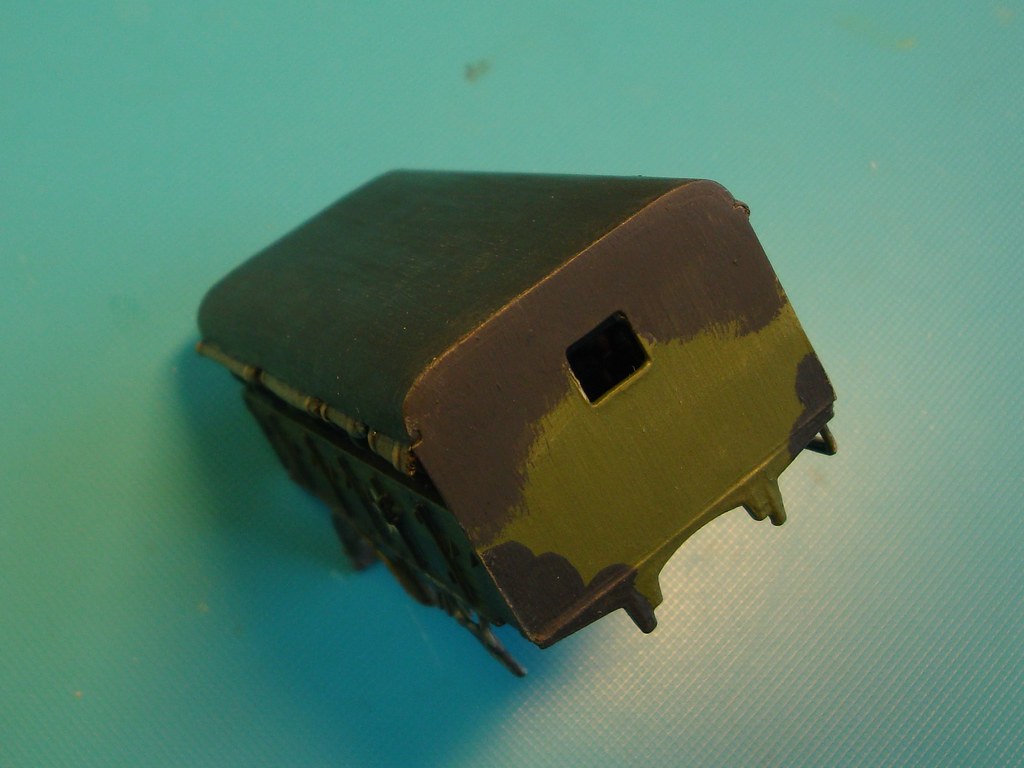
Paintwork restored, and a drybrush to lighten up the edge.

Image
Then the towing cables were fiddled in position.

Image
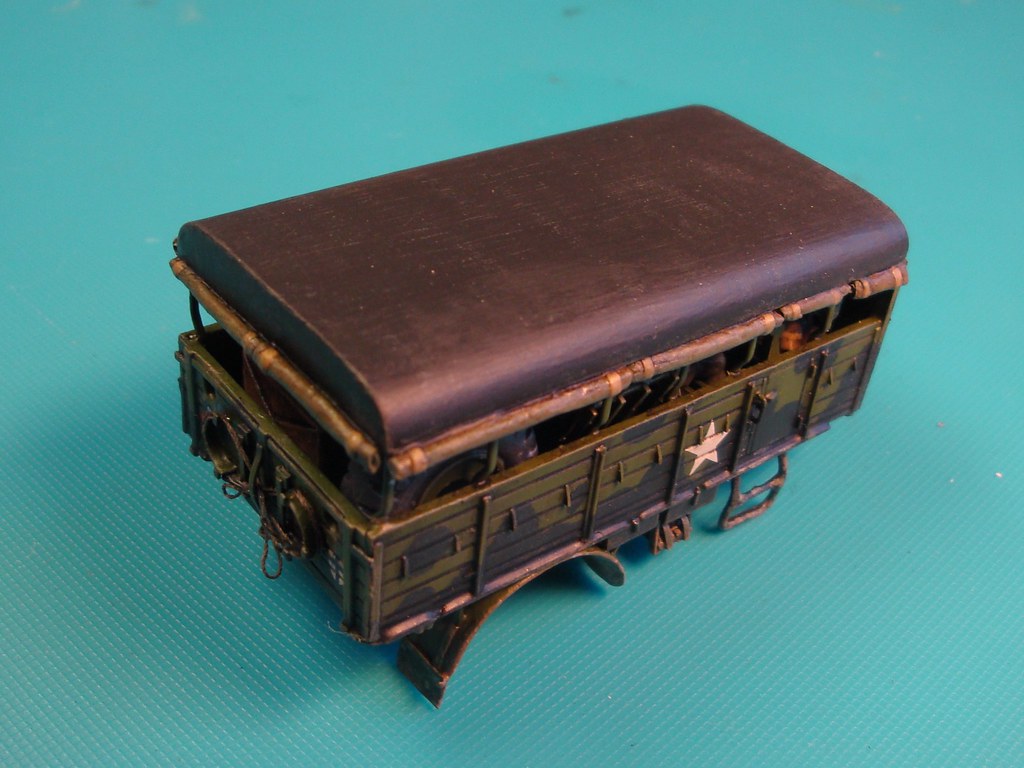
And also this subassembly is ready for final assembly.

Only some work left to do on the cab now.
User avatar
huib  Netherlands
 
Posts: 962
Member since:
12 Dec 2015, 15:57

Posted by huib on 11 Apr 2019, 16:41

Finishing the cab

Finishing the truck cab starts with glazing.

Image
The front windows masked and painted.

Image
Unmasked and wipers added.

Image
All windows glued in position.

Image
The driver in position.

Image
Sideview: the driver having a look in his nearside rearview mirror.

Image
The roof fixed.

Truck cab ready. Now for the final assembly!
User avatar
huib  Netherlands
 
Posts: 962
Member since:
12 Dec 2015, 15:57

Posted by C M Dodson on 12 Apr 2019, 07:19

Wonderful.

Chris
C M Dodson  United Kingdom
 
Posts: 2568
Member since:
01 May 2015, 18:48

Posted by huib on 12 Apr 2019, 12:50

Thanks, Chris!

Final assembly

Image
The different subassemblies ready for final assembly.

Image
The three different parts of the tractor glued together.

Image
From below. The last part I had to add was the length of exhaust pipe between the cab and the muffler. As the kit part was too short I replaced it with iron wire, painted rusty brown.

Image
And a shot from the other side.

Image
With the gun hooked on.

This model is finished. Final pictures soon!
User avatar
huib  Netherlands
 
Posts: 962
Member since:
12 Dec 2015, 15:57

Posted by CPN on 13 Apr 2019, 00:14

Amazing!
CPN
CPN  France
 
Posts: 207
Member since:
11 Nov 2014, 17:15

Help keep the forum online!
or become a supporting member

Posted by Bluefalchion on 13 Apr 2019, 04:47

That really turned out well. What was the one part of this build that surprised you the most?
User avatar
Bluefalchion  United States of America
 
Posts: 3575
Member since:
23 Dec 2010, 07:57

Posted by Wiking on 13 Apr 2019, 06:24

This is the result if huib get a kit, plastic card, bits and bobs, glue, and a knife !
:yeah:
User avatar
Wiking  Germany
 
Posts: 2825
Member since:
14 Sep 2015, 10:03

Posted by huib on 13 Apr 2019, 13:56

Bluefalchion wrote:What was the one part of this build that surprised you the most?


Hm, difficult question, Bluefalchion. Maybe the endless online discussions on the right shade of olive drab and its British equivalent SCC 15, and then deciding which colour to use myself.
User avatar
huib  Netherlands
 
Posts: 962
Member since:
12 Dec 2015, 15:57

Posted by Bluefalchion on 13 Apr 2019, 14:59

huib wrote:
Hm, difficult question, Bluefalchion. Maybe the endless online discussions on the right shade of olive drab and its British equivalent SCC 15, and then deciding which colour to use myself.


I have been mired in such discussions as well. The sun and the water and the mud and field improvised camouflage change the regulation colors and there is a great deal of variety even amongst those.

Thanks for answering. I like to explore the process that results in excellent finished projects like you have shown us here.
User avatar
Bluefalchion  United States of America
 
Posts: 3575
Member since:
23 Dec 2010, 07:57

Posted by MABO on 14 Apr 2019, 09:38

huib wrote:
Hm, difficult question, Bluefalchion. Maybe the endless online discussions on the right shade of olive drab and its British equivalent SCC 15, and then deciding which colour to use myself.


When I have painted my British vehicles, I have done a lot of research as well. It resulted in a mix of Vallejo 924 & 888 as far as I remember. Then I have bought a special mix of colours from AMMO for the Commonwelth Shermans. But painting my Prussians actually, I have not yet made a test. Let's wait and see.

But it goes without saying, that I will never reach such a high level like you in painting. :notworthy: :notworthy: :notworthy:
User avatar
MABO  Europe
Supporting Member (Gold) Supporting Member (Gold)
 
Posts: 9146
Member since:
12 May 2008, 18:01

Posted by Graeme on 14 Apr 2019, 13:23

This was very enjoyable to watch, the conversions on truck and gun were all excellent. But I think my favourite thing is the internal dressing of the truck, it looks like a real working space. I love the drivers clipboard with the route instructions written on it. That's a really nice detail.
User avatar
Graeme  Australia
 
Posts: 1565
Member since:
27 Nov 2015, 02:39

Posted by Bluefalchion on 14 Apr 2019, 20:46

Graeme wrote:This was very enjoyable to watch, the conversions on truck and gun were all excellent. But I think my favourite thing is the internal dressing of the truck, it looks like a real working space. I love the drivers clipboard with the route instructions written on it. That's a really nice detail.


I did not notice that clipboard until I read Graeme's post. I went back to check. I zoomed in on the photo, half expecting to be able to read the route instructions. huib is just that good! Bravo.
User avatar
Bluefalchion  United States of America
 
Posts: 3575
Member since:
23 Dec 2010, 07:57

Posted by huib on 18 Apr 2019, 10:55

Thank very much guys, for all your kind comments!

I forgot to post the link to the final pictures: http://bennosfiguresforum.com/viewtopic.php?f=2&t=22560
User avatar
huib  Netherlands
 
Posts: 962
Member since:
12 Dec 2015, 15:57

Previous page

Return to Work in Progress