 An exceptionally good building report. Very interesting! Great pictures! So many details!
 I am very curious to see how it goes. Furthermore much fun with the model and good success !!!!!!
 An exceptionally good building report. Very interesting! Great pictures! So many details!

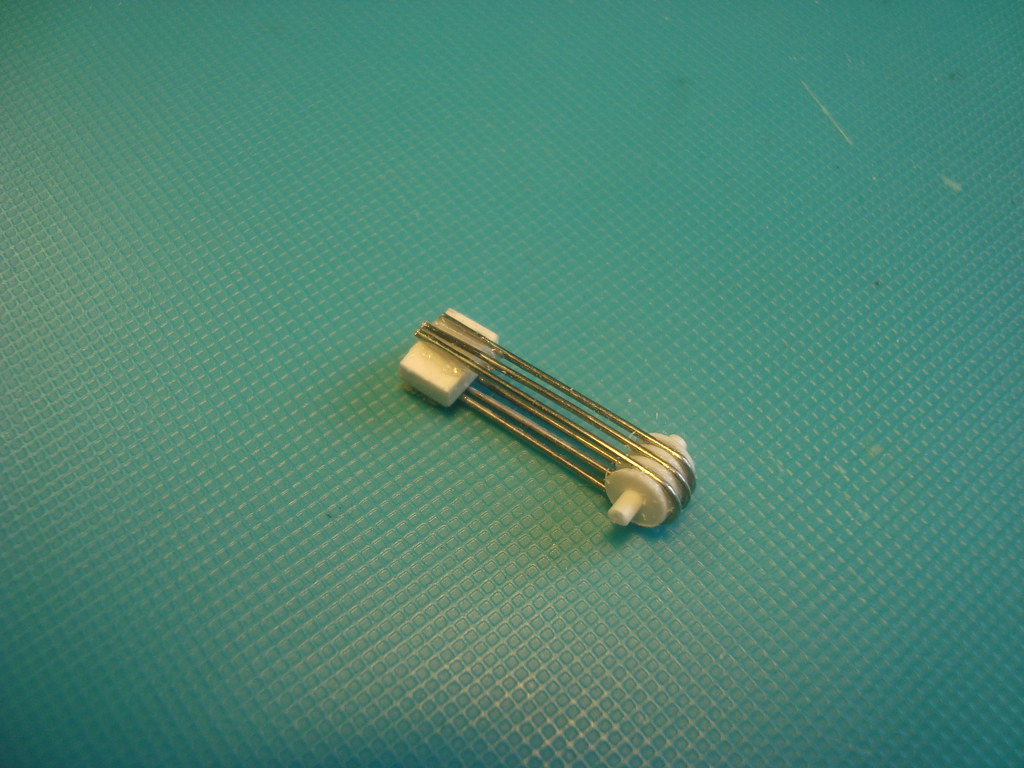

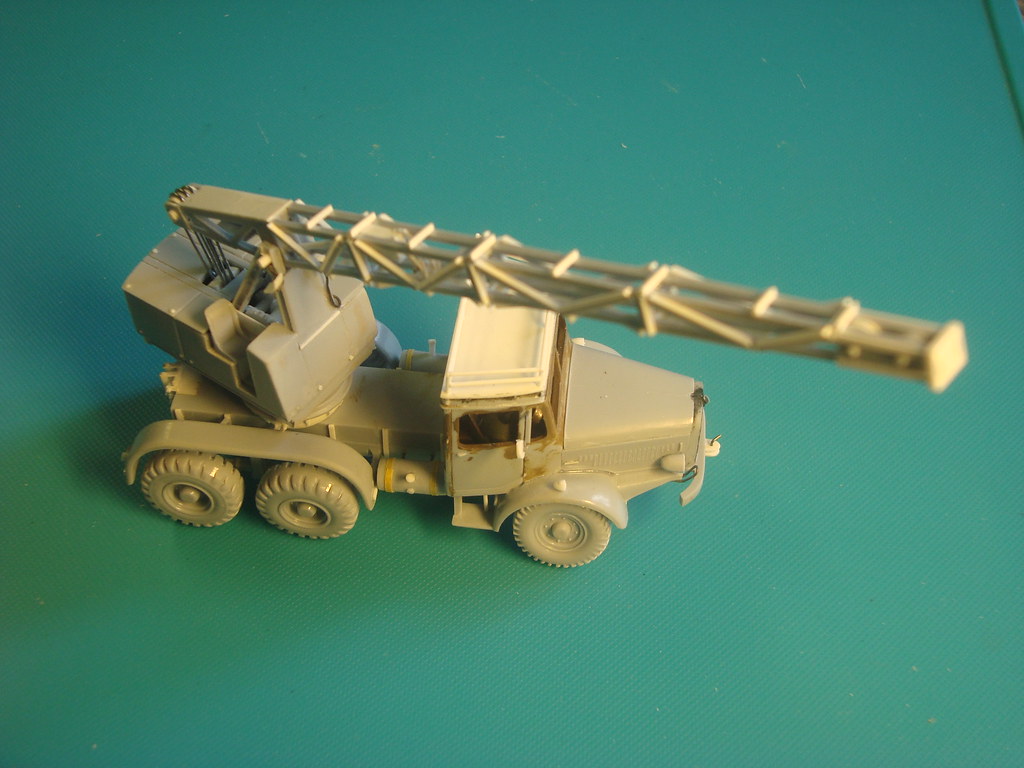
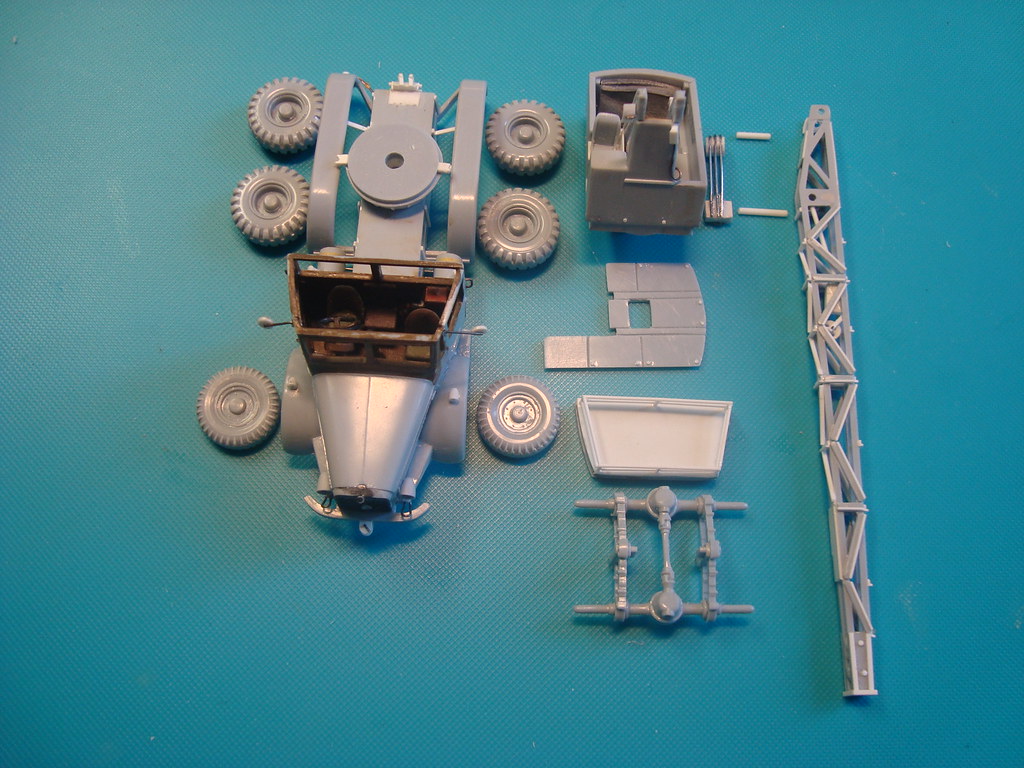
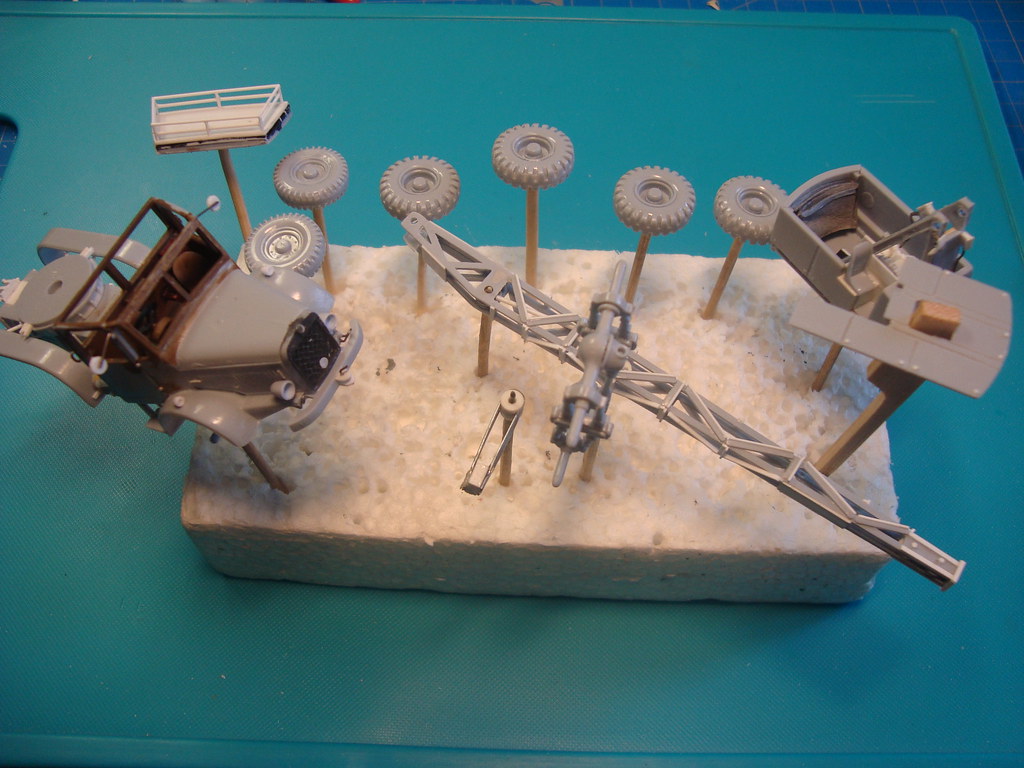


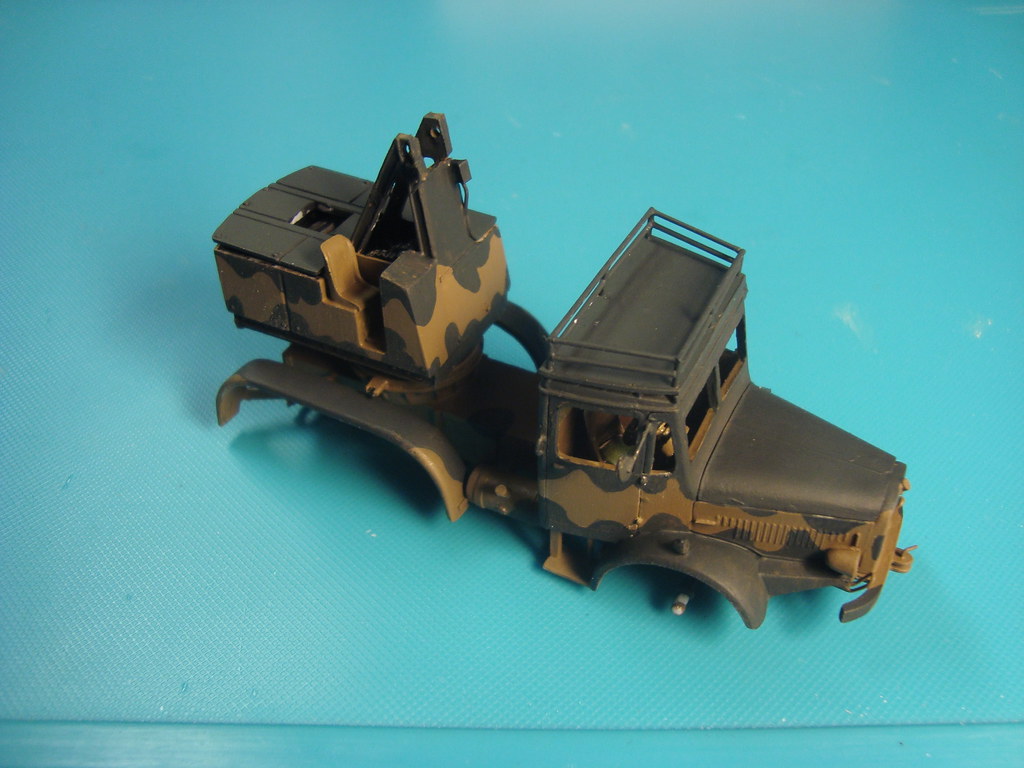
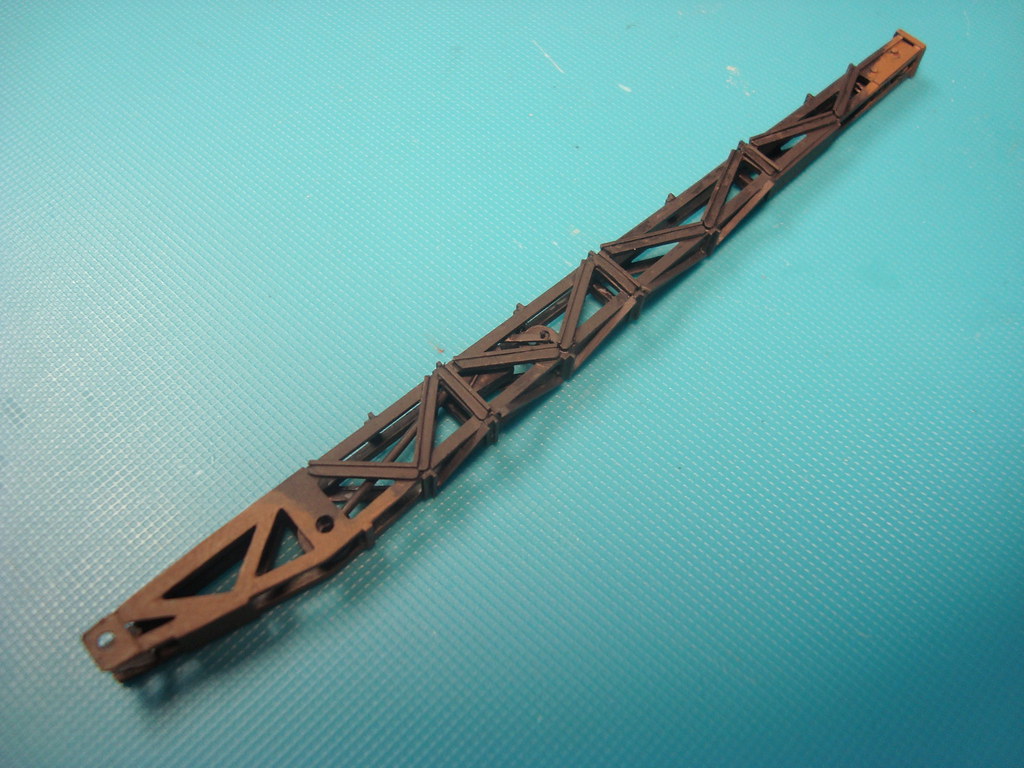
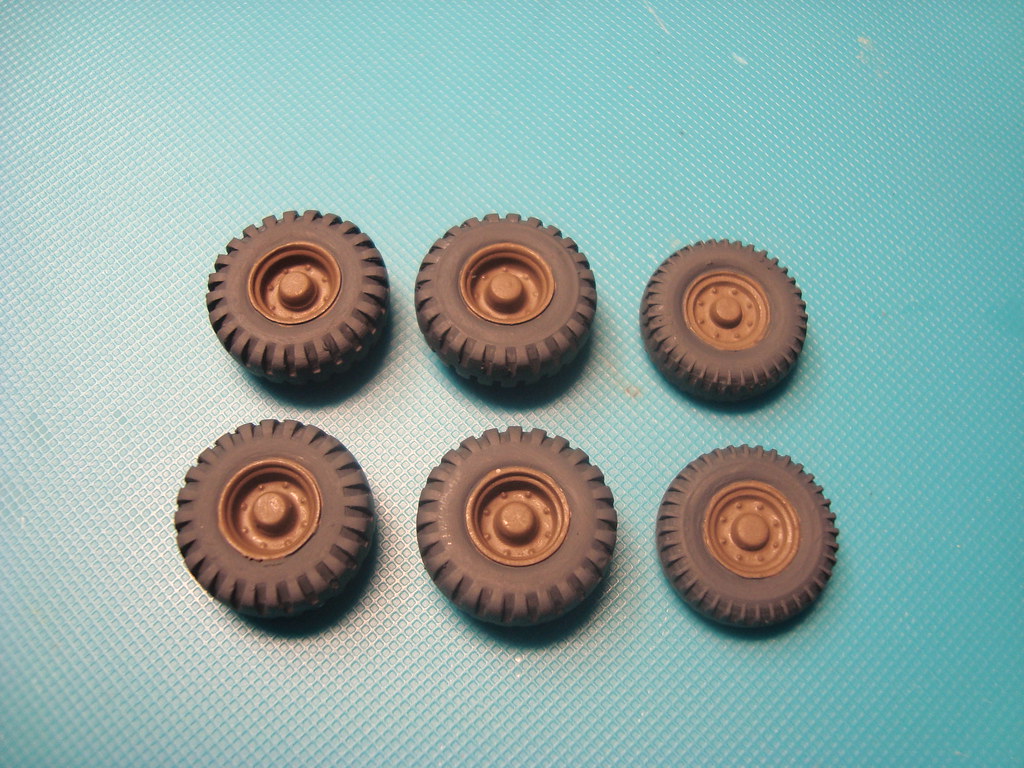
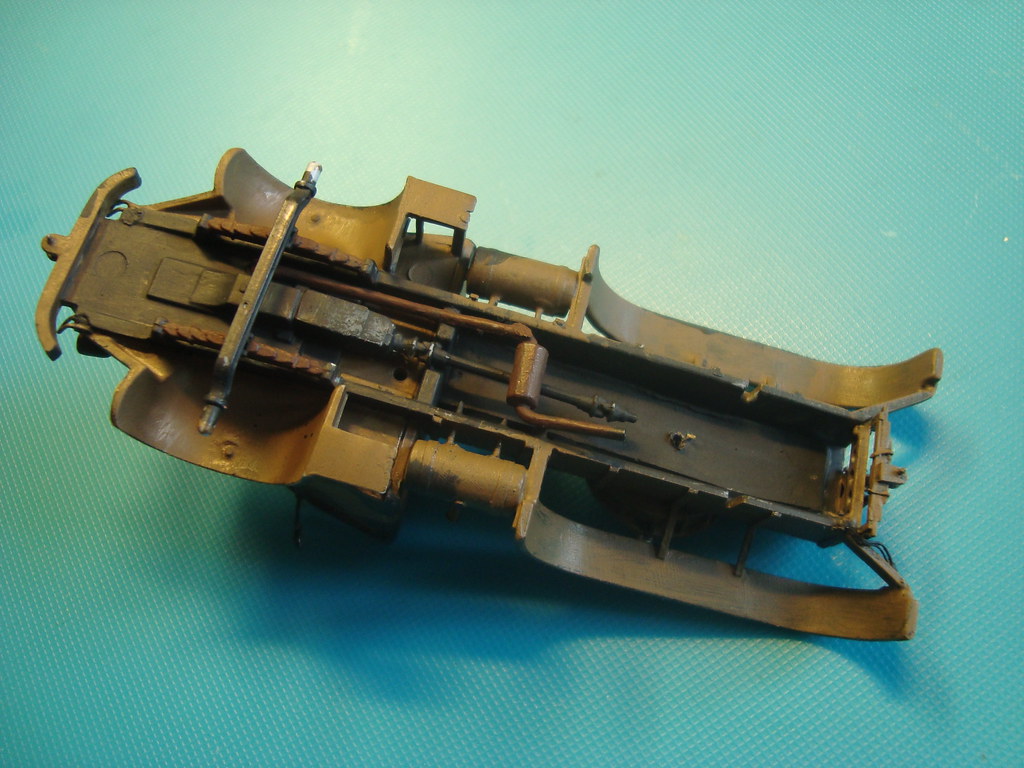
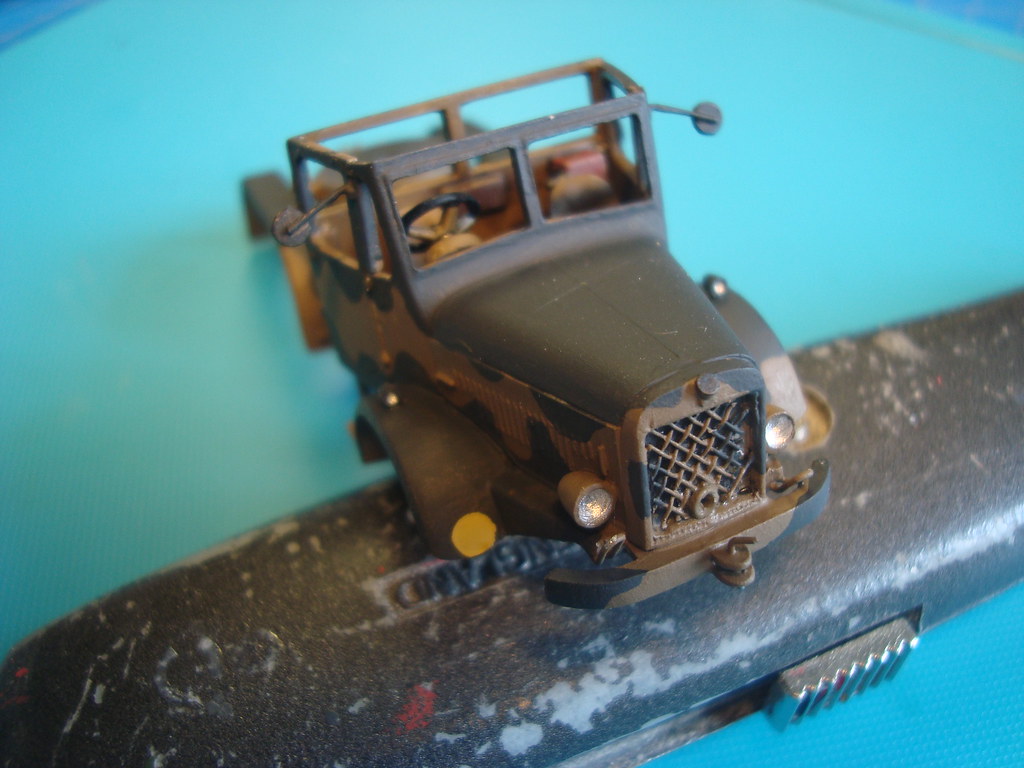

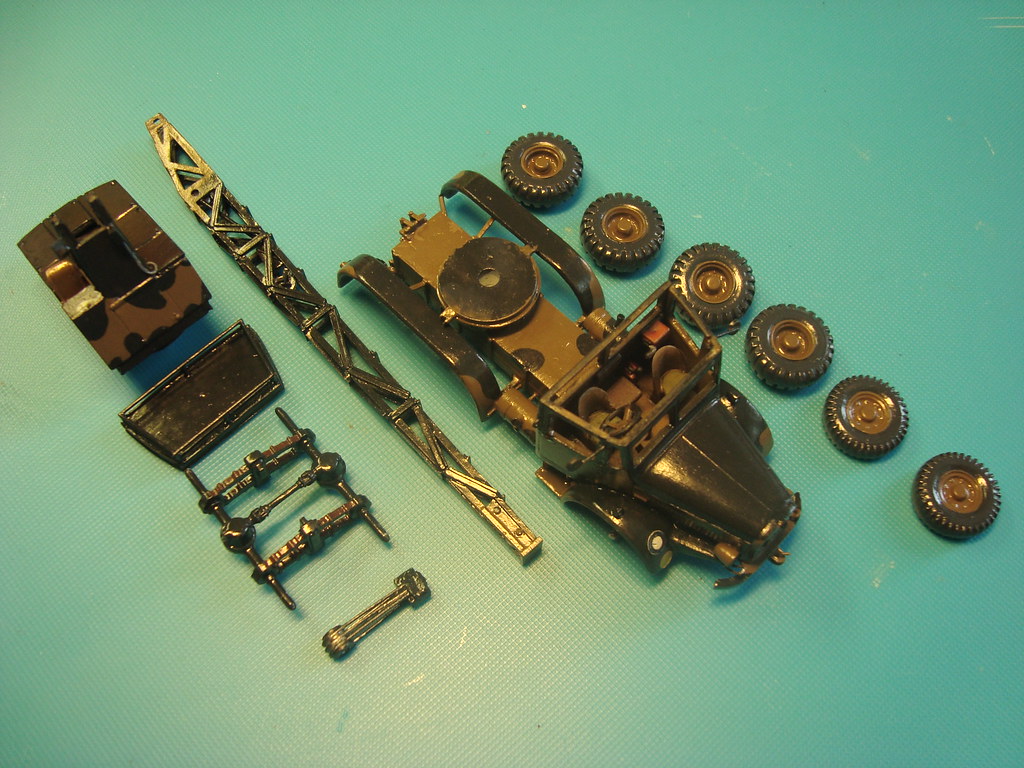

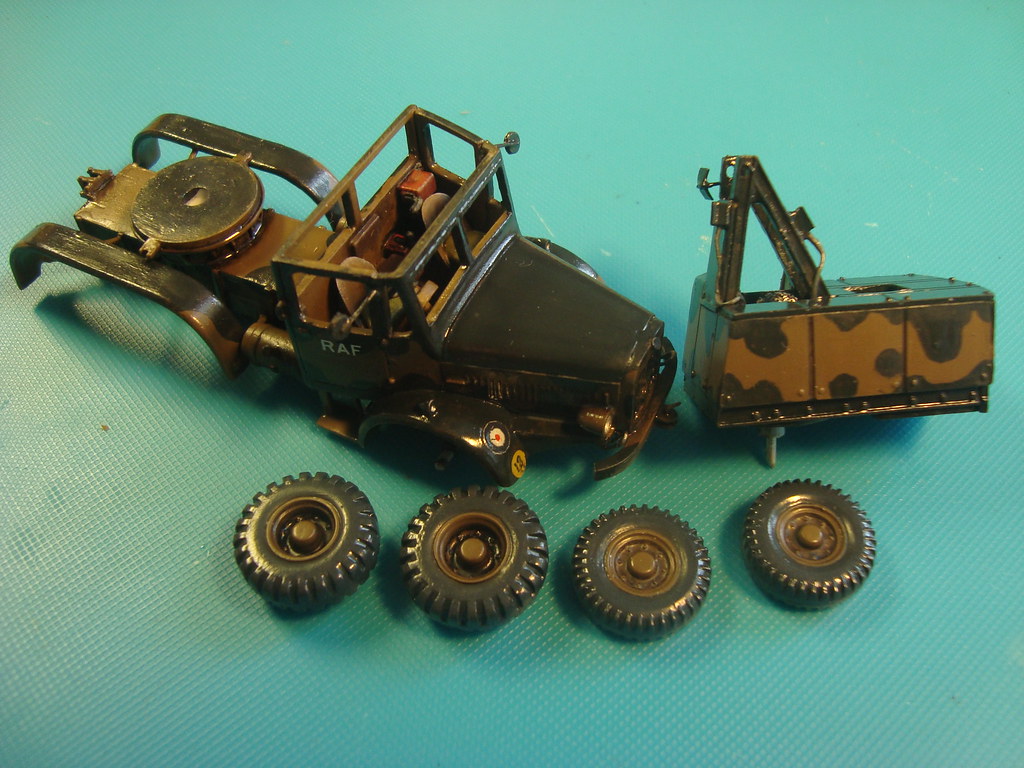
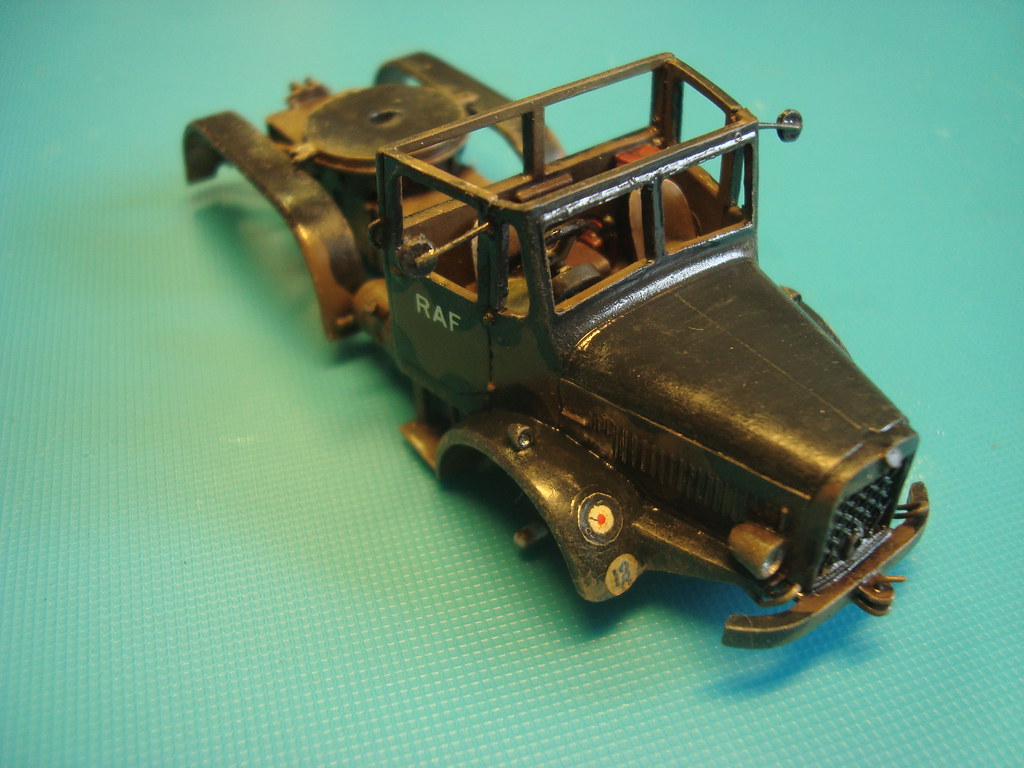
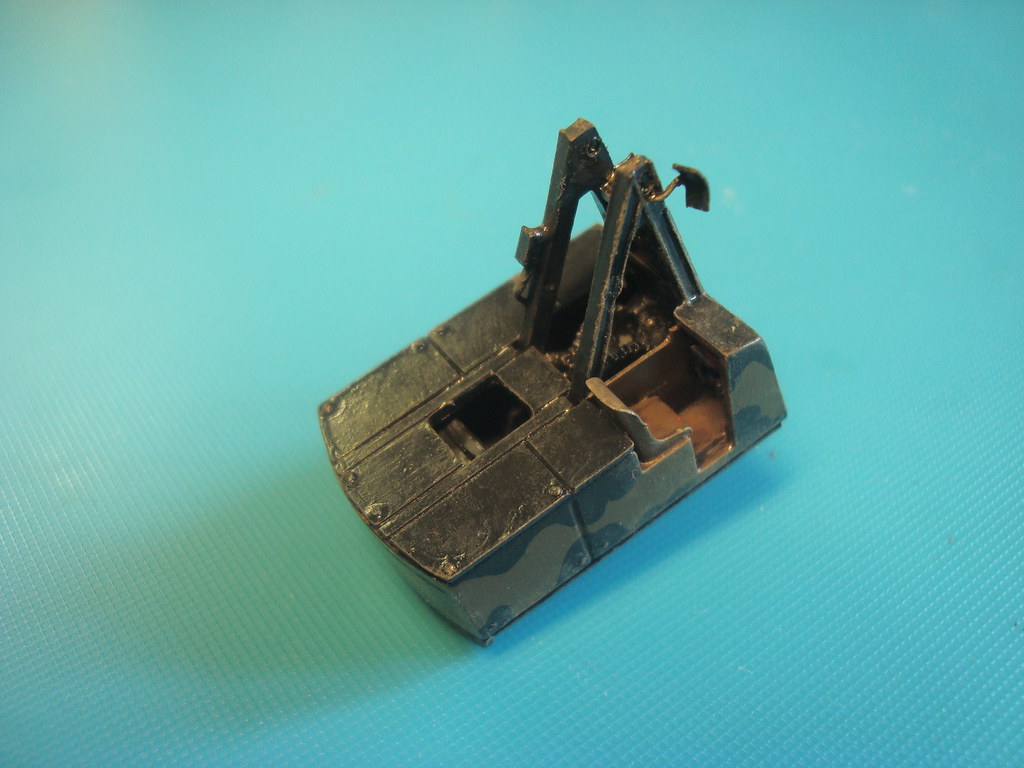
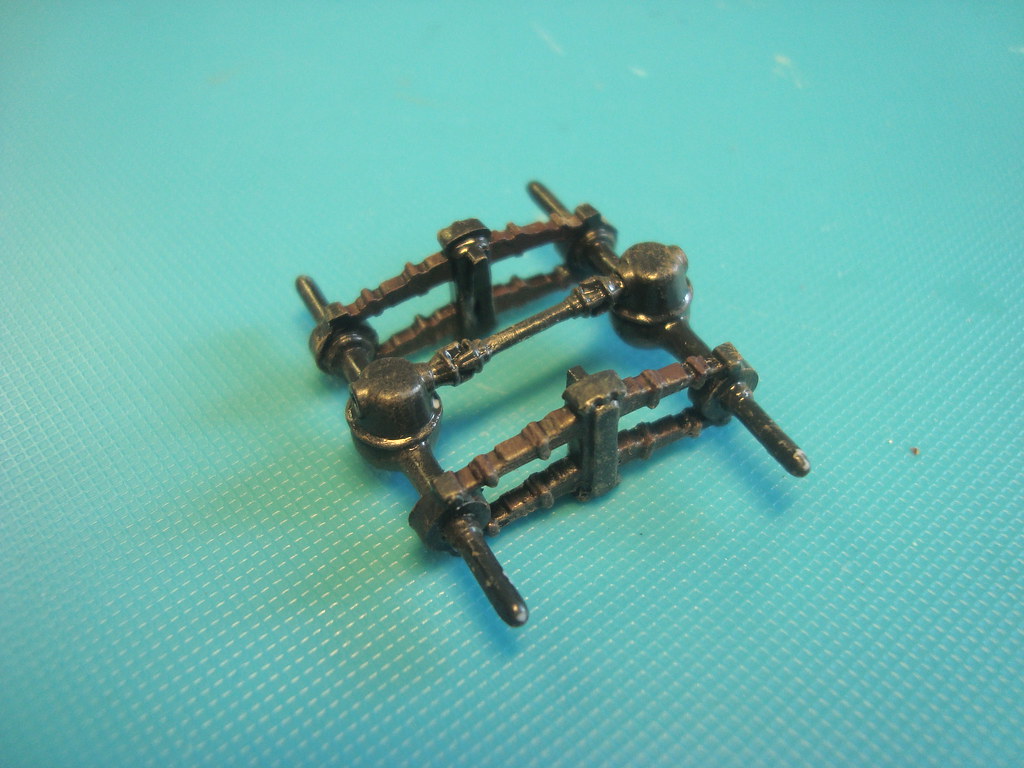


Wiking wrote:And the last batch of applicants.

huib wrote:
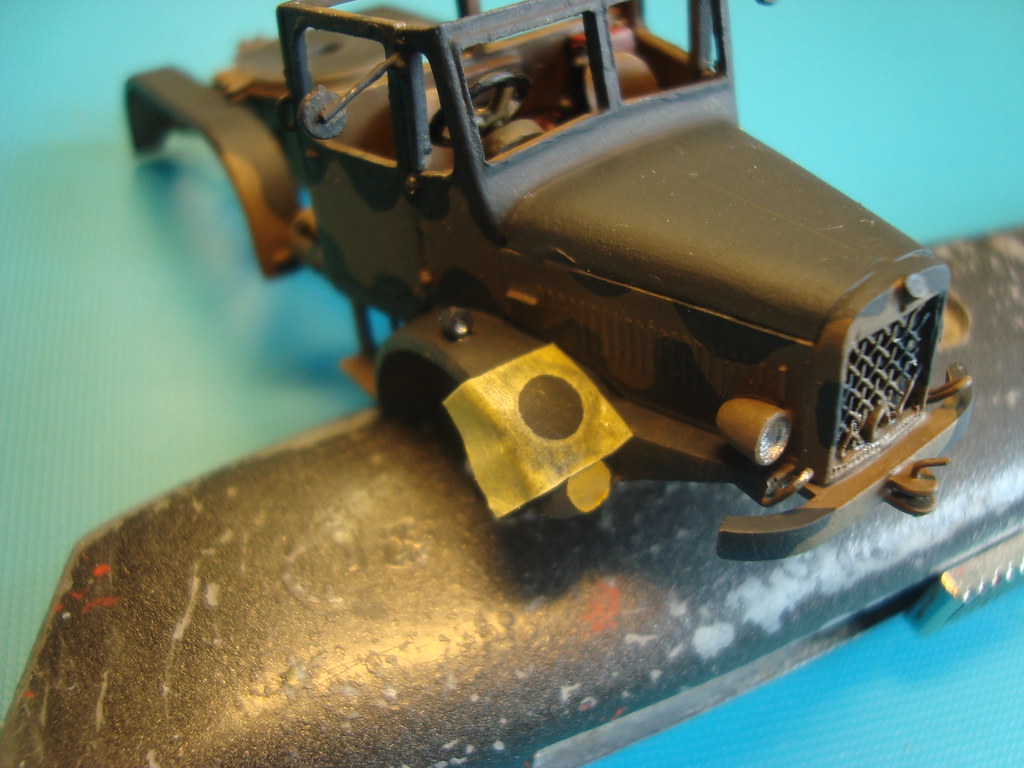
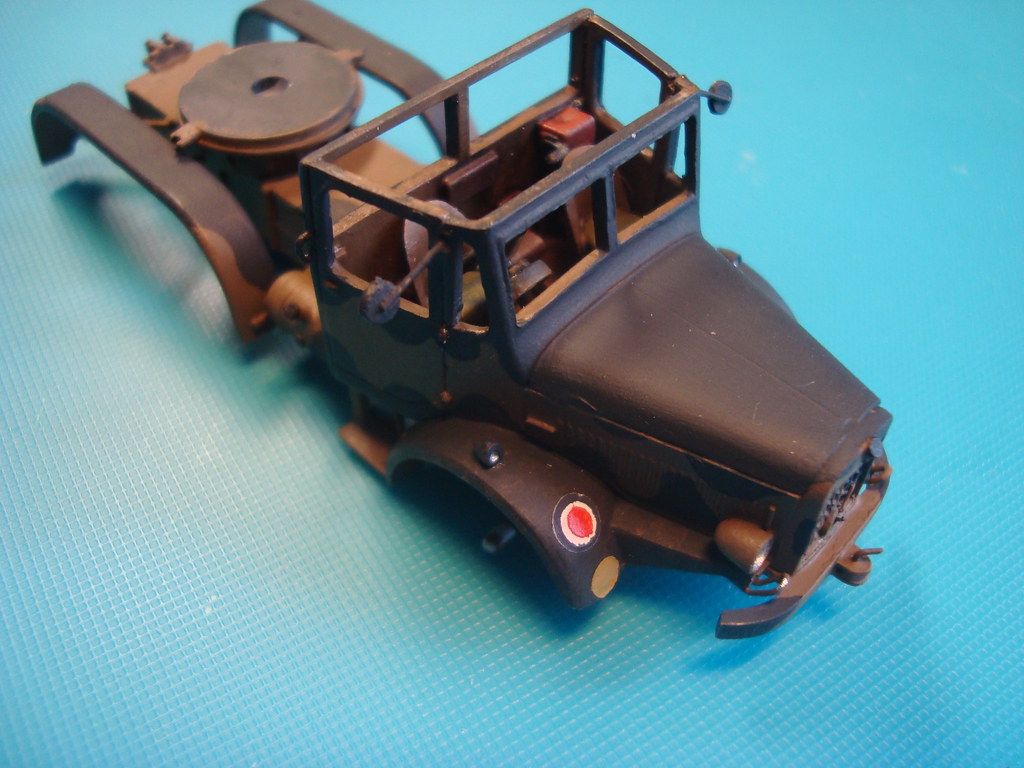
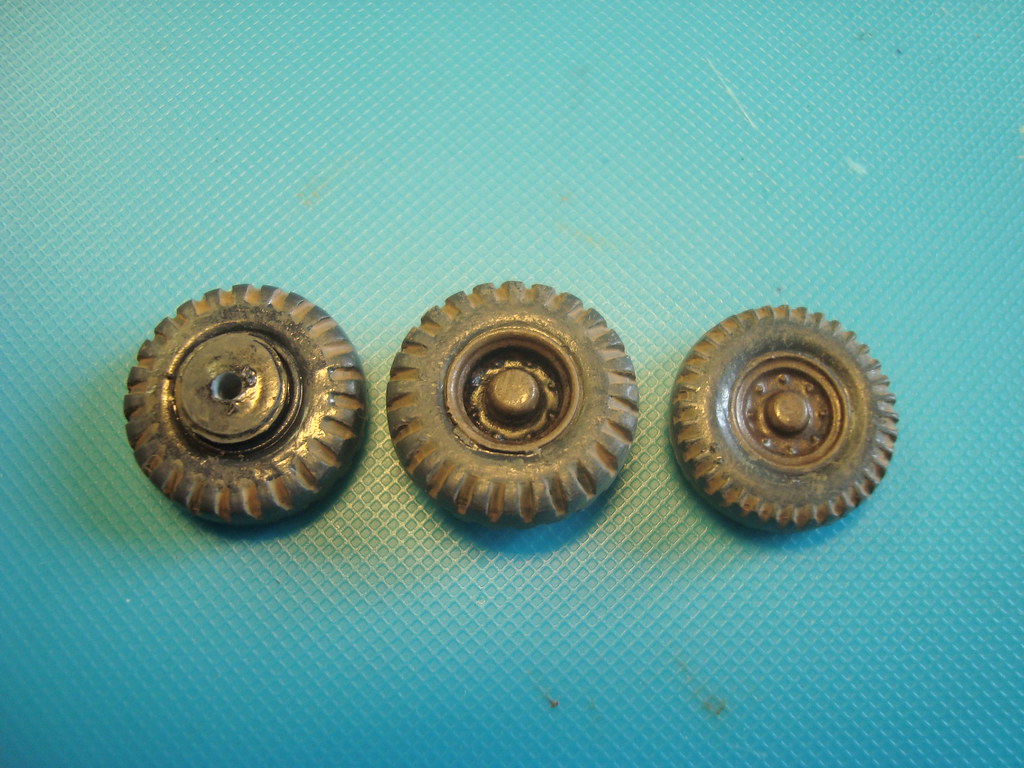
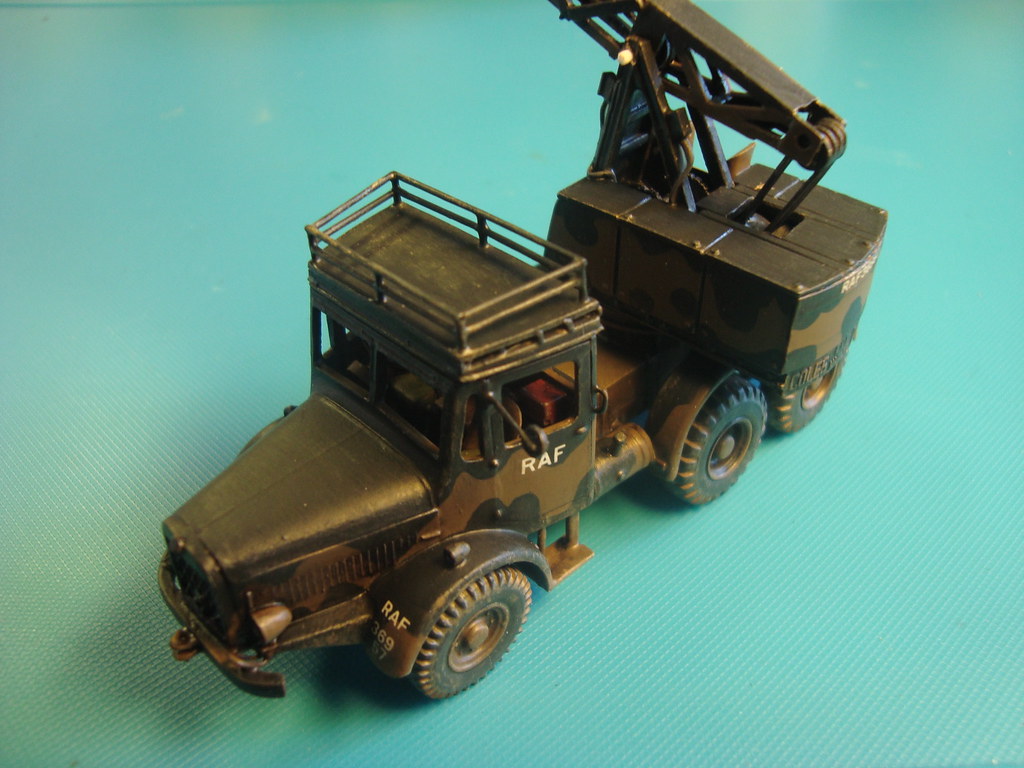
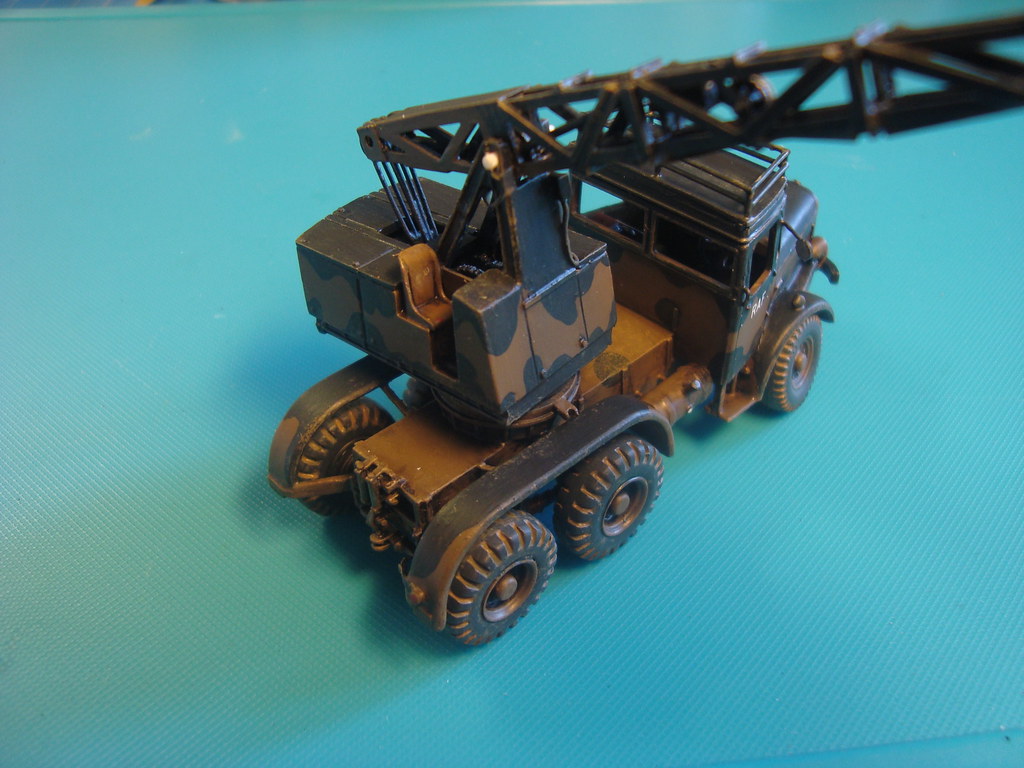
For aesthetic reasons or for historical accurateness, Fred?

") Supporting Member (Bronze)
Supporting Member (Bronze)

