Work in Progress

Hat Peninsular War Britsh Inf.

Posted by davbenbak1 on 18 Apr 2016, 15:27

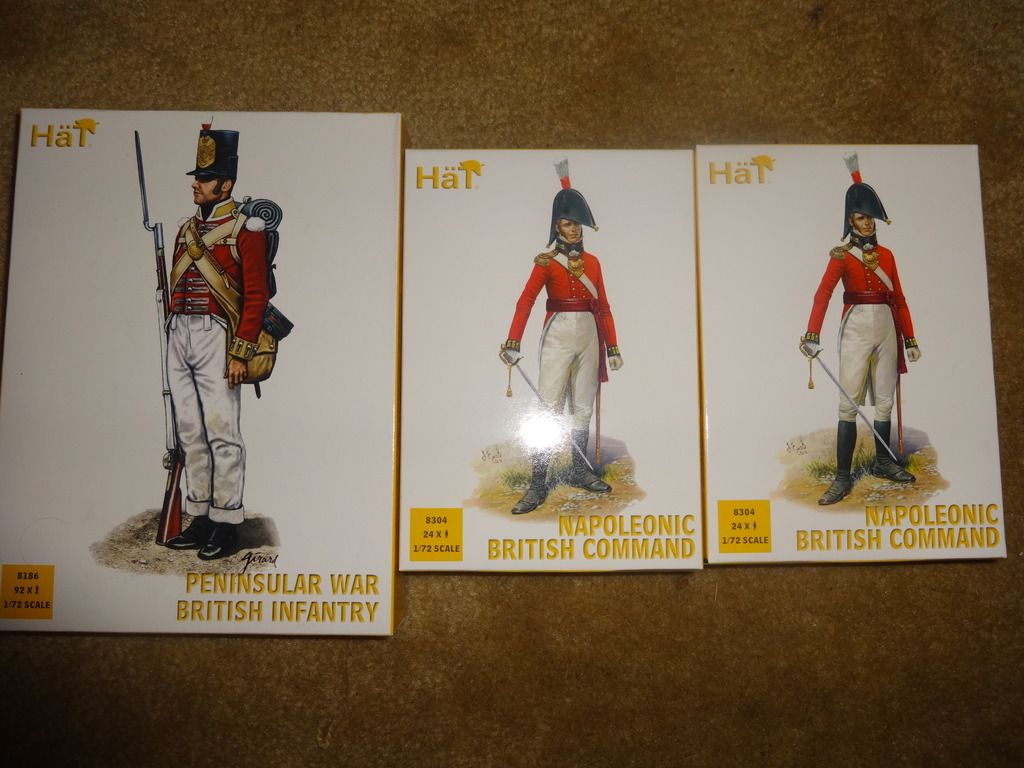
For my next project I am going to make two battalions of British infantry combining these boxes.

Image

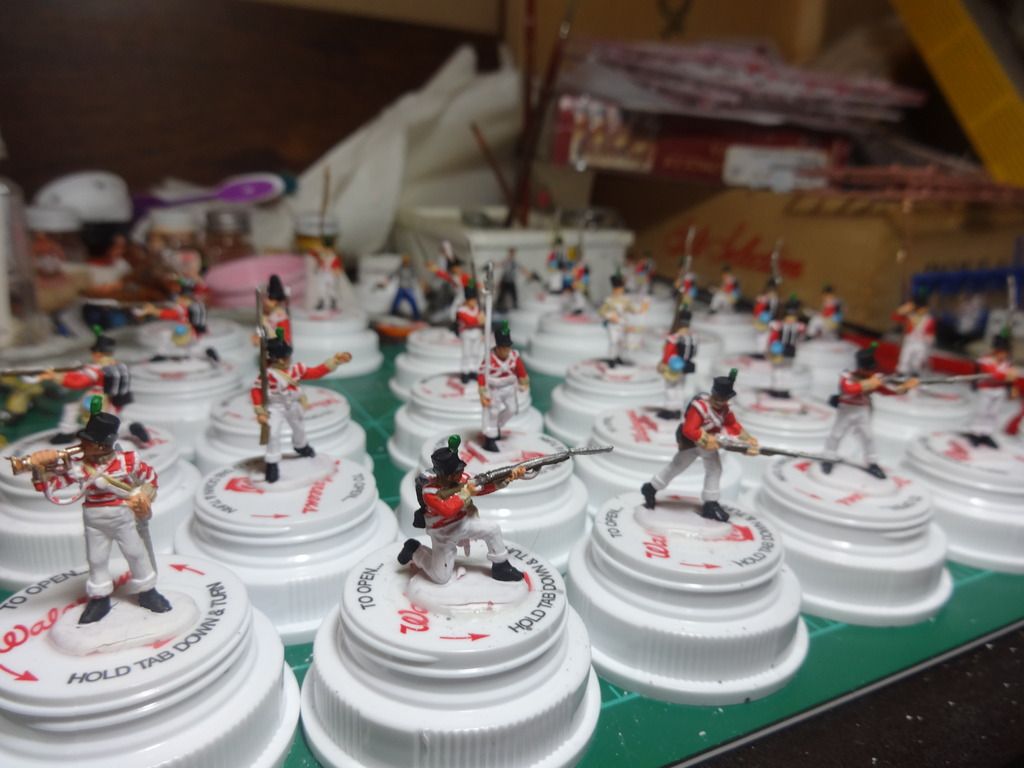
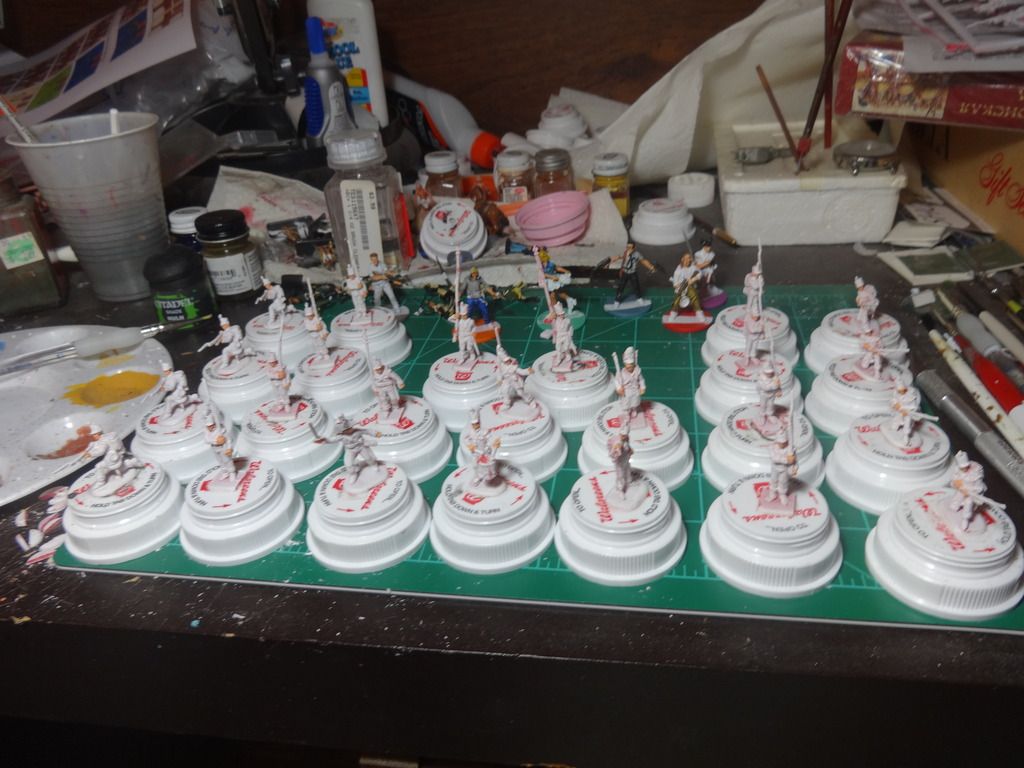
There are a good number of flankers in this box (warning: the box art does not match the contents in this respect) so I will start off with the 52nd Light infantry since they all had swallow wings on their jackets. Button counters will note that I did not do any head swaps and use those with the bugle imprint on the shako that Hat was kind enough to include. Primed and ready to go. I will mount them on three 2X2 wooden bases with two rows of four on each base for a total of 24 per battalion. I had to trim the bases to get them to fit but I like the visual comparison with my French which I mount three deep.
Image

Hopefully these two units won't take as long as my last WIP, four months!
davbenbak1  United States of America
 
Posts: 332
Member since:
13 Nov 2014, 15:53


Posted by Peter on 18 Apr 2016, 15:58

Great project! Looking forward to the next update! :thumbup:

PS: Only three months and 29 days left! :mrgreen:
User avatar
Peter  Belgium

Moderator Moderator
 
Posts: 22510
Member since:
25 Mar 2008, 18:51

Posted by davbenbak1 on 25 Apr 2016, 00:05

Making great progress on the first unit. All basic colors blocked in. All that's left is to wash and highlight. This is a great set and I'm sure a good painter could coax a lot of detail out of these figures. I highly recommend these for anyone wanting to paint British infantry from the peninsular campaign.

Image

Not sure whether a black or brown wash will work best. Will post test samples of each.
davbenbak1  United States of America
 
Posts: 332
Member since:
13 Nov 2014, 15:53

Posted by Peter on 25 Apr 2016, 06:58

I would use a sepia wash for the white parts. That's how I did my AWI British soldiers.

viewtopic.php?f=2&t=6436&hilit=revell+AWI+British+Infantry

They look nice so far! :thumbup:

Only three months and 23 days left! :-D
User avatar
Peter  Belgium

Moderator Moderator
 
Posts: 22510
Member since:
25 Mar 2008, 18:51

Posted by davbenbak1 on 25 Apr 2016, 16:06

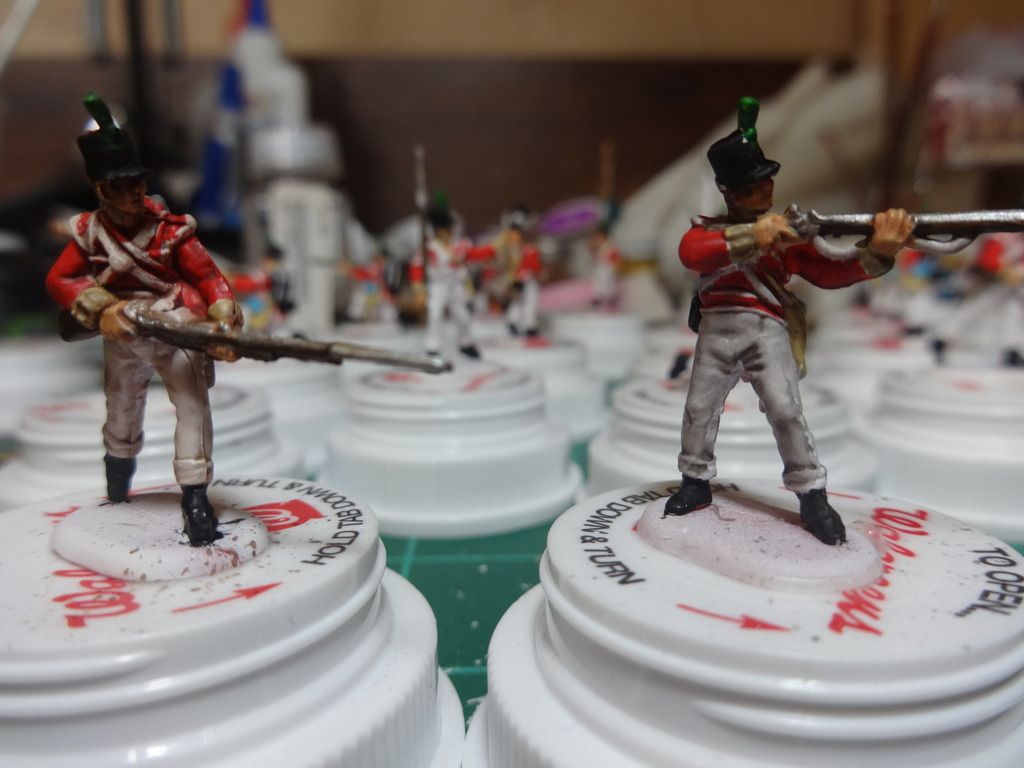
Here's my test run with the one of the left in a brown wash and the one on the right a black wash.

Image

Peter recommends sepia which to my understanding is brown stain. I do like the way brown interacts with the red, flesh and tan colors, so I'll use it for the rest of the unit and then go back and highlight the white areas if they look too dirty.
davbenbak1  United States of America
 
Posts: 332
Member since:
13 Nov 2014, 15:53

Posted by Peter on 25 Apr 2016, 17:37

Sepia is indeed some kind of light brow wash. My experience is that for white you can only use two colors of washes. Sepia or grey because they have to be soft in my eyes.

As you say the brown goes very good with the red jackets! :thumbup:
User avatar
Peter  Belgium

Moderator Moderator
 
Posts: 22510
Member since:
25 Mar 2008, 18:51

Help keep the forum online!
or become a supporting member

Posted by davbenbak1 on 27 Apr 2016, 18:32

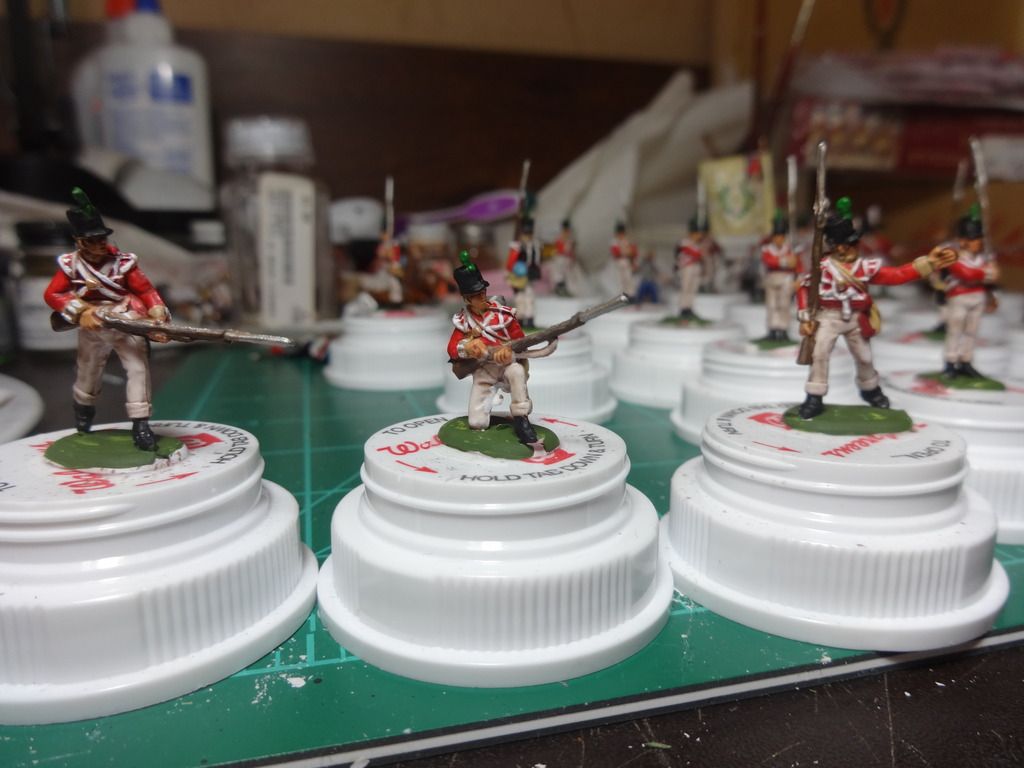
Finished with the first of the two units I have planned from this set. Really pleased with the results. Here are three of the better ones:

Image

Of course Mr. Fumble Fingers made his usual appearance most notably and unfortunately on some of the command figures. I will post pics of the entire unit in the gallery once I get them based and flocked.
davbenbak1  United States of America
 
Posts: 332
Member since:
13 Nov 2014, 15:53

Posted by Peter on 27 Apr 2016, 18:49

They look great! :thumbup:
User avatar
Peter  Belgium

Moderator Moderator
 
Posts: 22510
Member since:
25 Mar 2008, 18:51

Posted by vellek on 27 Apr 2016, 19:43

If I may offer a suggestion: it looks like there are mold lines on the kneeling and advancing figures. Those can be tricky because any wash will collect there and accentuate the problem. I've found that with the rubbery HaT plastic it's easier to get a clean cut after they're primed and the plastic is more rigid.

Aside from that, these are fine looking Brits. I like how you got the flanker "wings" so sharp.

Cheers,
Kurt
User avatar
vellek  United States of America
Supporting Member (Silver) Supporting Member (Silver)
 
Posts: 1437
Member since:
20 Jan 2011, 19:31

Posted by Beano Boy on 27 Apr 2016, 22:02

They all look fit and in fine fiddle to give the French a darn good thrashing.
You have applied a stylish paint brush too.Well done.BB
Beano Boy  England
Supporting Member (Gold) Supporting Member (Gold)
 
Posts: 8086
Member since:
03 Sep 2013, 14:45

Posted by davbenbak1 on 28 Apr 2016, 13:59

I do find the mold lines on the rubbery HAT figures very hard to remove and often risk losing some of the great detail that is on the figure once I start trimming. Even with a sharp X-Acto blade there still seems to be some stubble left. Guilty confession: I spent very little time cleaning these guys up. Maybe it won't be as noticeable when they are mounted "en masse" on the gaming table.

Can anyone recommend a good technique for cleaning up the mold lines for these?
davbenbak1  United States of America
 
Posts: 332
Member since:
13 Nov 2014, 15:53

Posted by sberry on 28 Apr 2016, 14:04

I am using a hot needle (heated in a flame) for removing mould lines. Works quite well, for me its faster and easier than using a kife.
BTW, very good paintjob!
User avatar
sberry  Germany
 
Posts: 934
Member since:
12 Mar 2010, 20:37

Posted by davbenbak1 on 29 Apr 2016, 17:23

Thanks for all the helpful comments and tips. I used a safety pin heated over a candle on the next batch and it turned out great. I was even able to tease some extra details out between the straps and equipment. On to the next unit, the 92nd foot with blue facing.
davbenbak1  United States of America
 
Posts: 332
Member since:
13 Nov 2014, 15:53

Posted by davbenbak1 on 19 May 2016, 15:04

Here's the latest unit painted as 97th regiment.

Image

While I was able to improve on removing mold lines using a hot needle, it was hard to get the lines around the faces without destroying their features. While I have sung the praises of these figures I ran into some difficulties this time. The arm that attaches to the officer in the command set seems slightly bigger or off scale. The faces of the command set are not as detailed as the box set. The drummer was a little uncooperative this time as I painted, then assembled the figure instead of the other way around. A little less crisp on the details on this unit. The initial fun has fallen way to assembly line painting in order to finish all the units I will need for a Vimerio scenario.
davbenbak1  United States of America
 
Posts: 332
Member since:
13 Nov 2014, 15:53

Posted by Peter on 19 May 2016, 15:23

They look great Dave! :thumbup:
User avatar
Peter  Belgium

Moderator Moderator
 
Posts: 22510
Member since:
25 Mar 2008, 18:51

Posted by vellek on 19 May 2016, 15:35

Good stuff. Let's see some more pics!
User avatar
vellek  United States of America
Supporting Member (Silver) Supporting Member (Silver)
 
Posts: 1437
Member since:
20 Jan 2011, 19:31

Help keep the forum online!
or become a supporting member

Posted by davbenbak on 29 Aug 2016, 16:37

After three month's away from the painting table I'll be back with the Ehmar British Peninsular set. A great set that sadly lacks flank companies and flag bearers. I'll be working in some Hat figures to cover the the shortage and will post some comparisons soon so you can evaluate them side by side.
davbenbak  United States of America
 
Posts: 60
Member since:
15 Jun 2011, 14:30

Posted by davbenbak1 on 27 Jan 2017, 19:22

After finishing and posting pics of the Ehmar set in a separate thread and another three month away I am back to working on another regiment for Wellington's forces. Will post pics soon.
davbenbak1  United States of America
 
Posts: 332
Member since:
13 Nov 2014, 15:53

Posted by davbenbak1 on 05 Feb 2017, 17:10

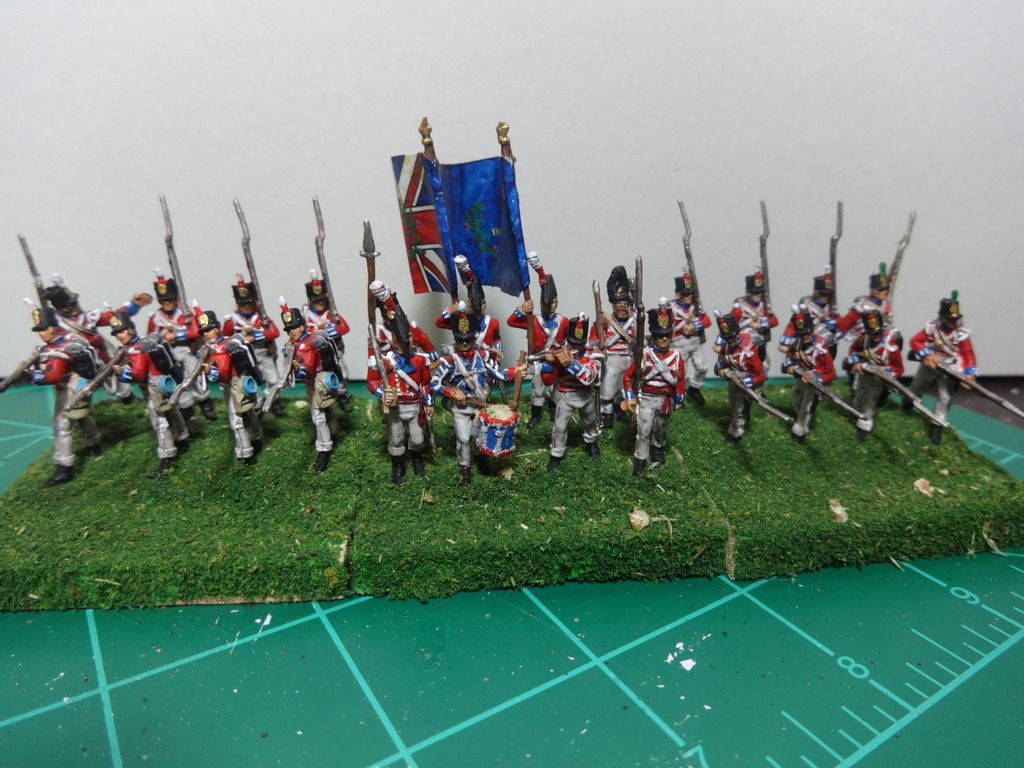
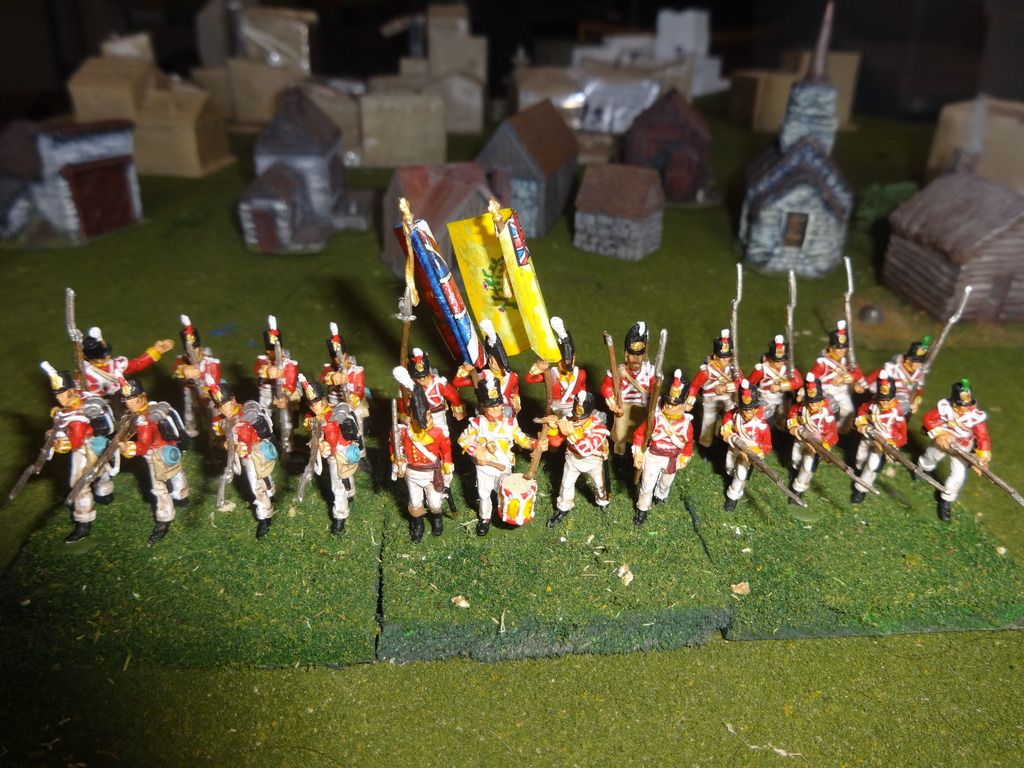
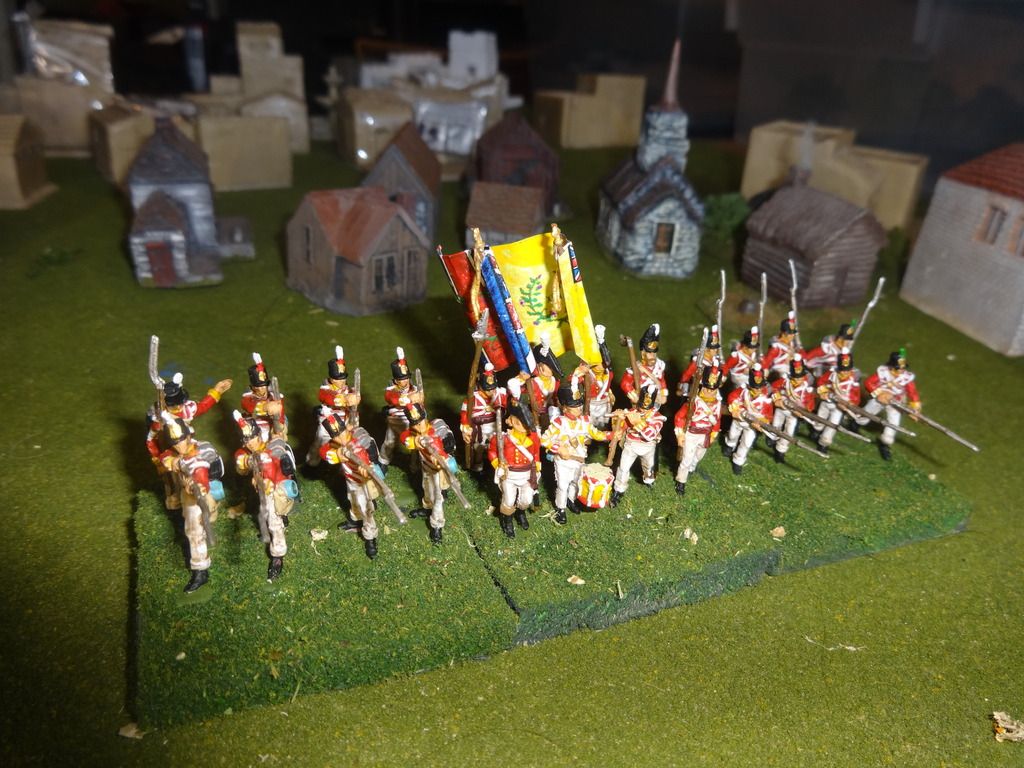
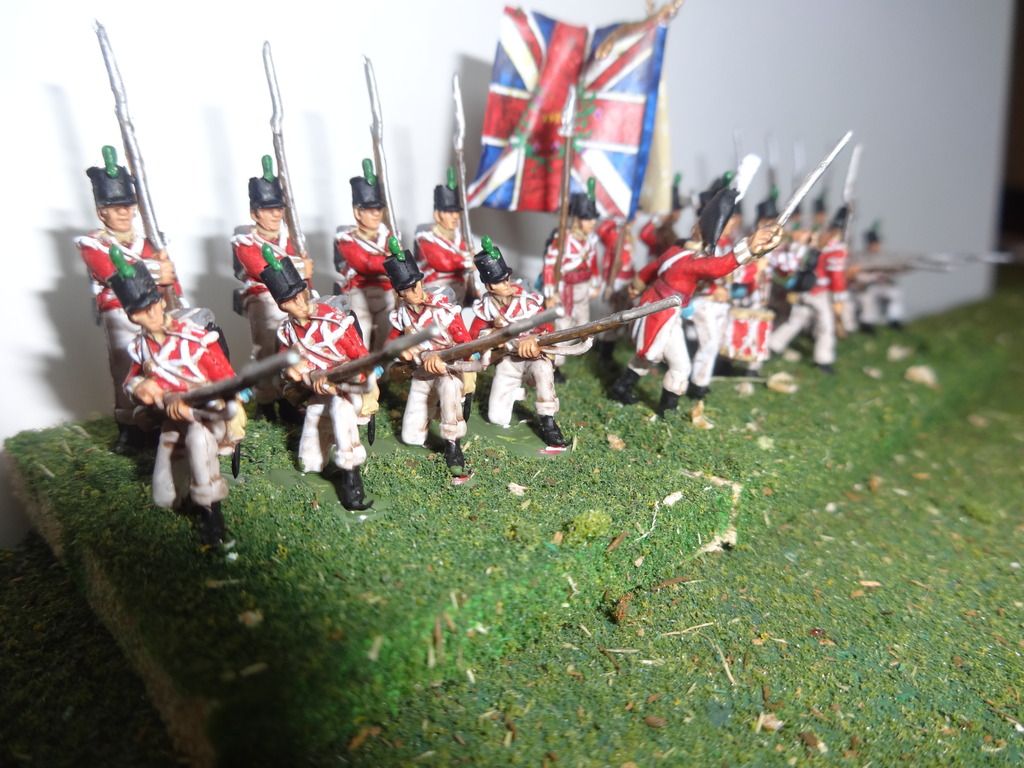
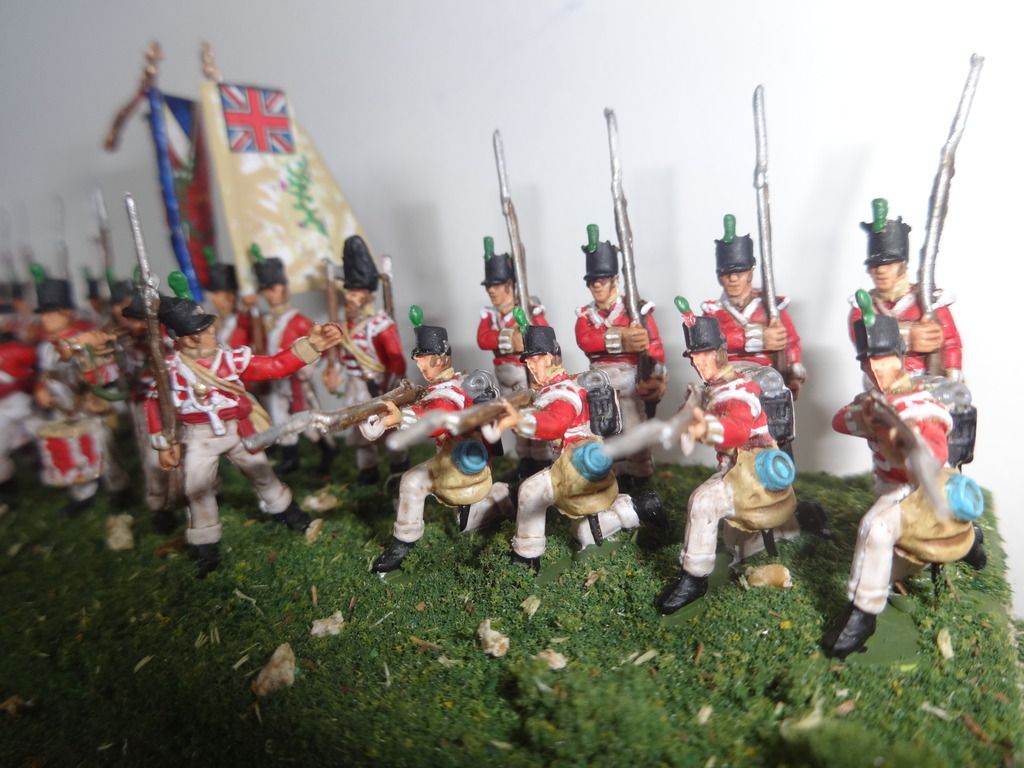
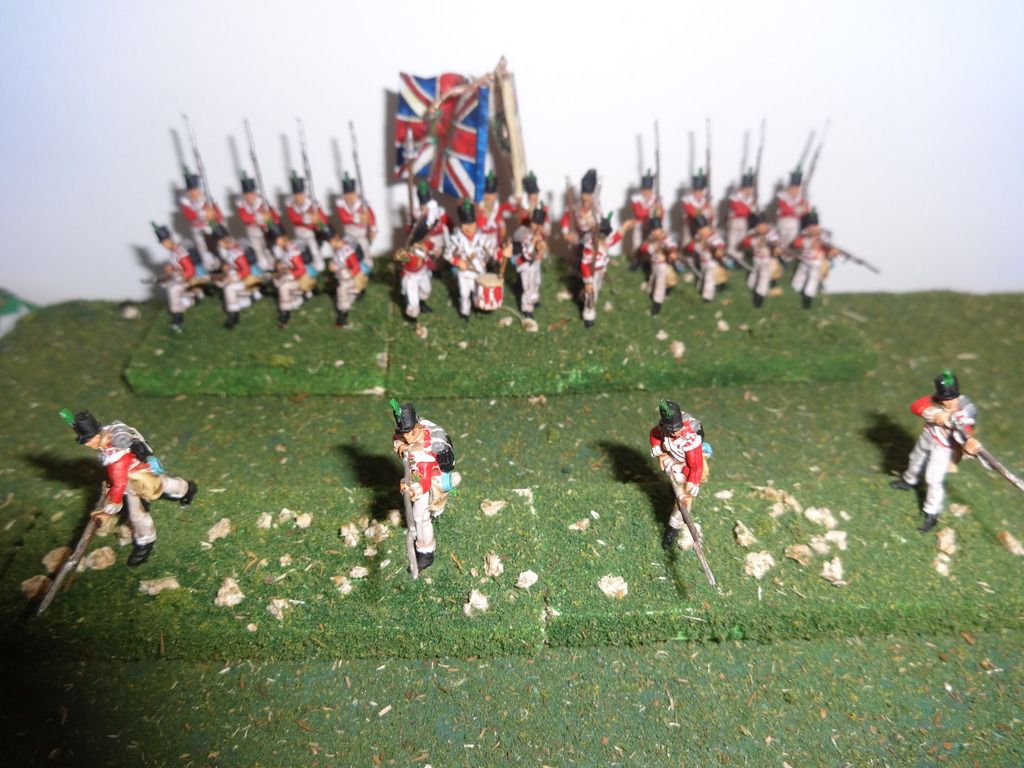
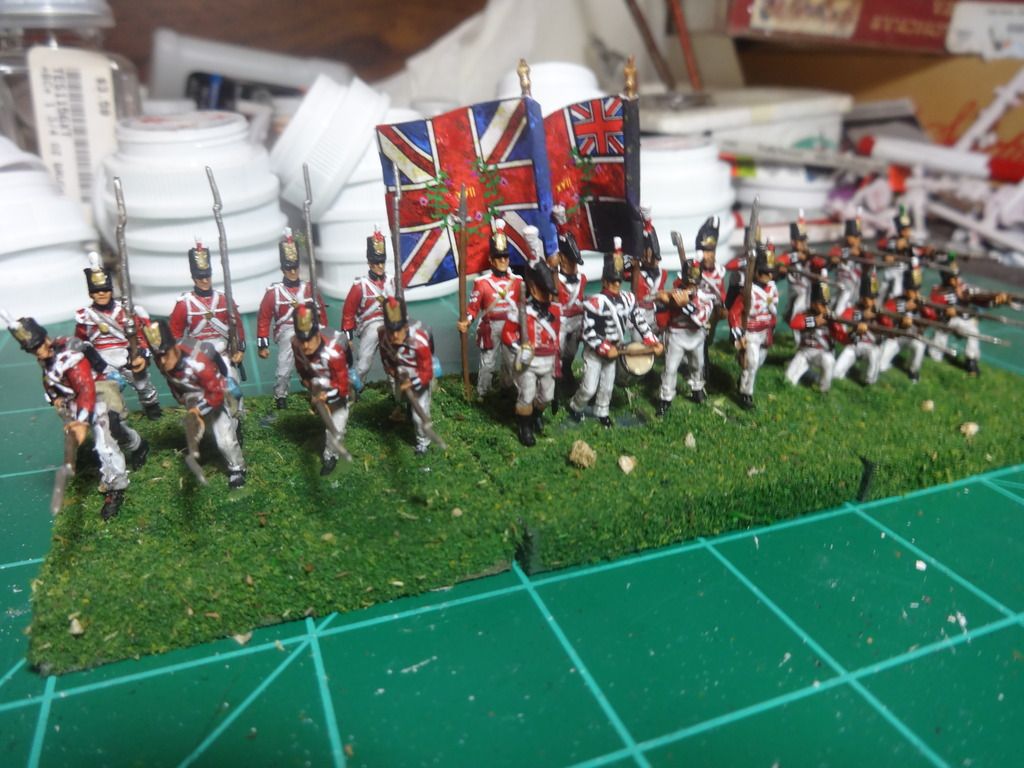
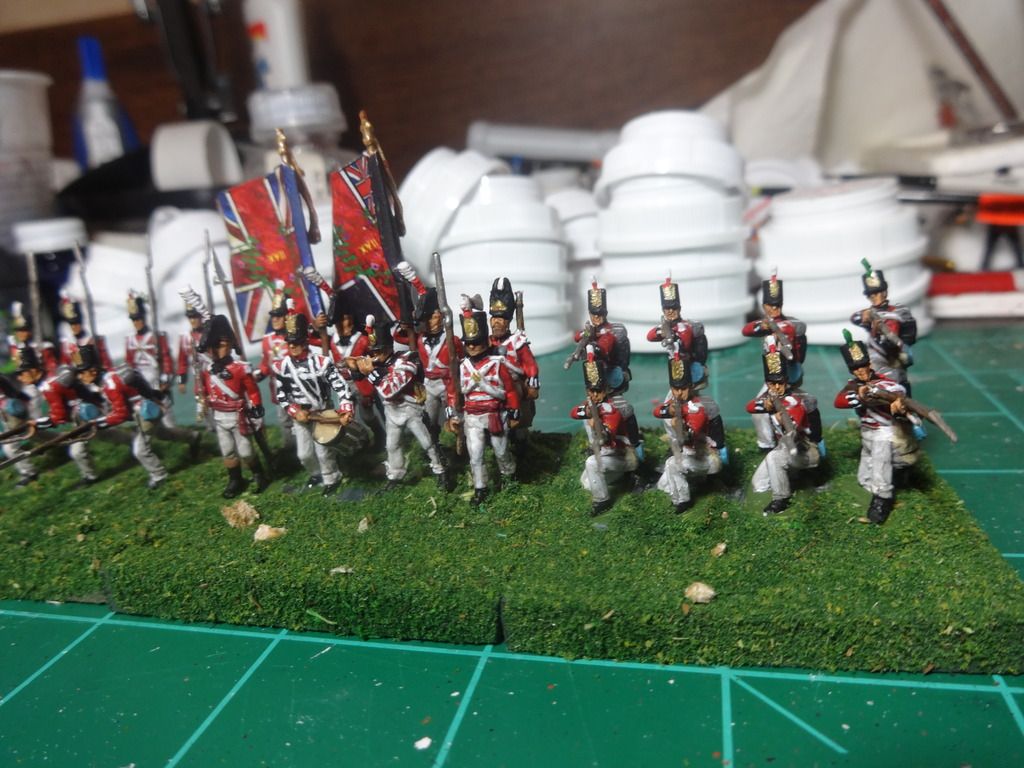
Ok here is the latest unit to complete this WIP of Anstruther's and Fane's foot regiments on Vimiero Hill:
The 9th Foot
Image
Image
And to recap:
The 52nd Foot
Image
Image
Image
The 50th Foot
Image
Image
The 97th Foot
Image
Keen observers will note that missing is the 43rd Foot and both Rifle battalions. They will have to wait while until I have finished painting some French units. On the bright side that just mean a NEW WIP!
davbenbak1  United States of America
 
Posts: 332
Member since:
13 Nov 2014, 15:53

Posted by Mário on 06 Feb 2017, 21:06

I have been following this thread because I’m interested in the Peninsular War. Youe figures are great, keep posting them please. It's interesting to see that you are contemplating to recreate the battles of the first Napoleonic invasion of Portugal. Usually people just goes for the third invasion, the Bussaco and Linhas de Torres battles and then the victorious campaign across Spain and France. Just two precisions:
It is Vimeiro, not Vimiero (that means nothing in Portuguese) and the Duke of Wellington was only Sir Wellesley at the time of the Vimeiro and Roliça victories.
A good night
Mário  Portugal
 
Posts: 231
Member since:
02 Mar 2012, 14:14

Next page

Return to Work in Progress