Thank you BB and Felix.
Beano Boy wrote:Expanding Foam! A mould filled up with expanding foam.
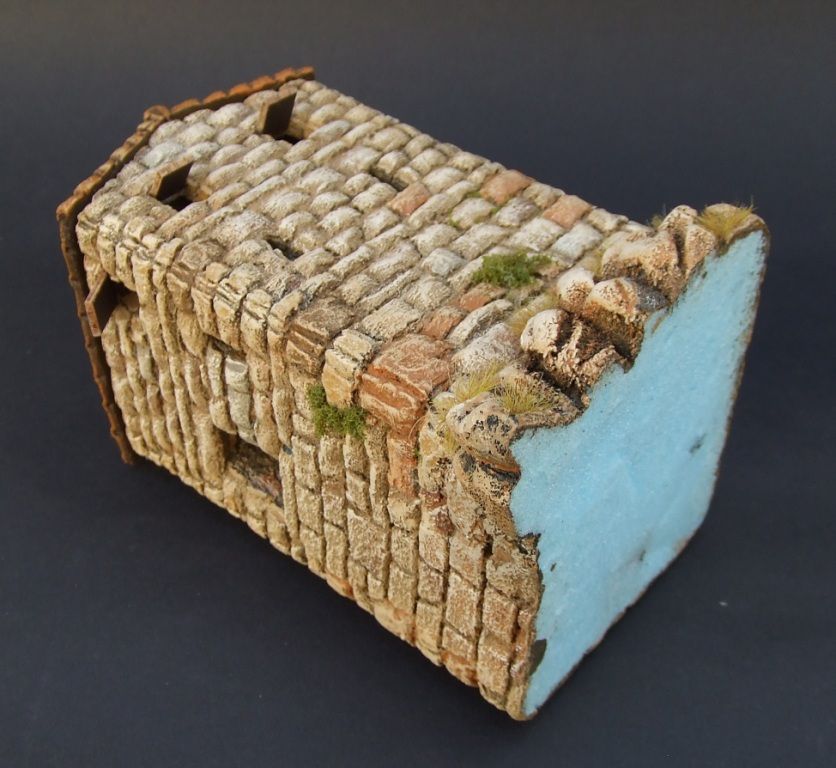
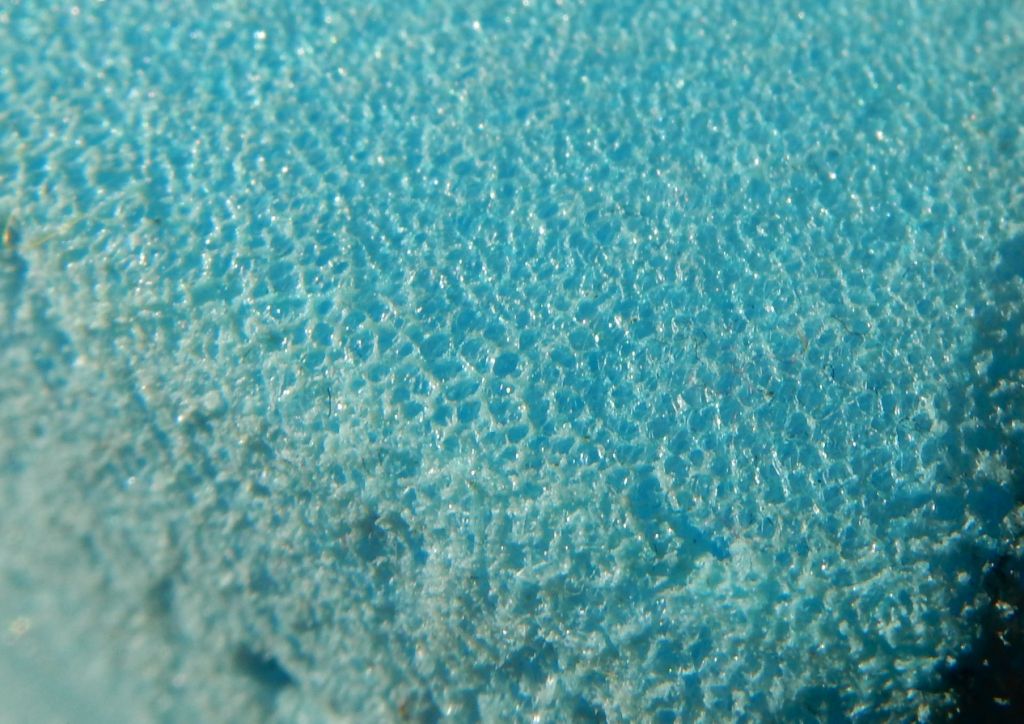
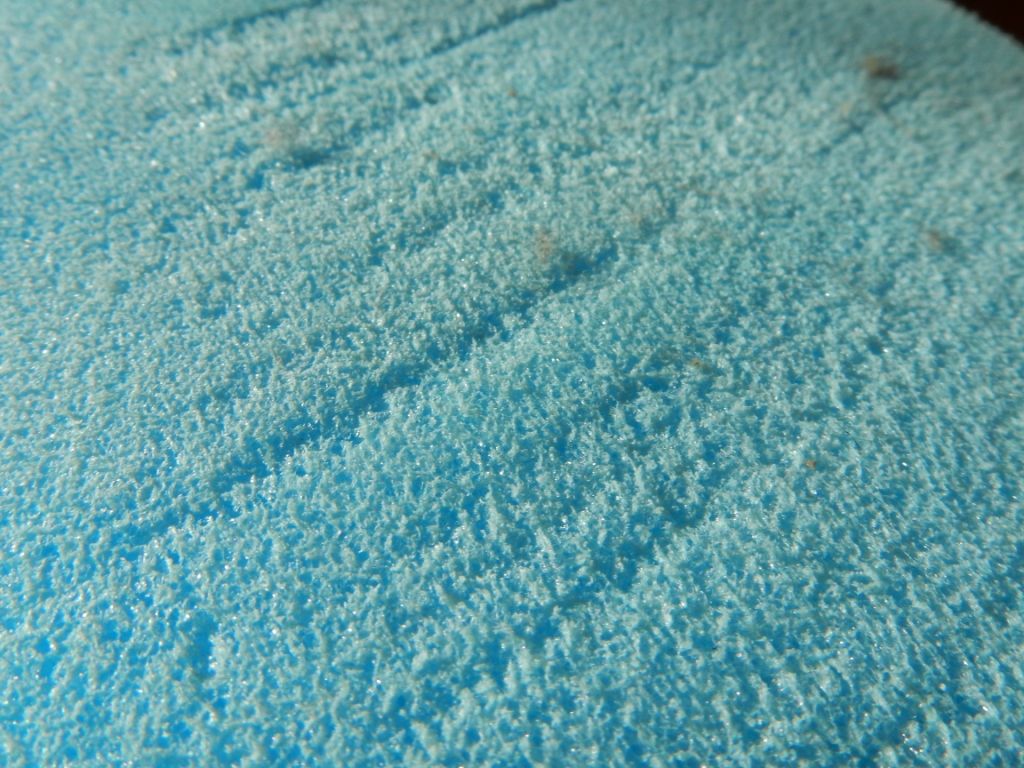
A very refreshing idea: I suppose you have isolation foam to fill up space between double brick walls in mind. If this would work succesfull, it must already been used a lot in our hobby, since traders still sell heavy, expensive and massive resin houses. But I will try it anyway and ask my chemicals provider here in town about alternative materials. Thanks for the suggestion BB!
Beano Boy wrote:Are you planning to do anything at FIGZ,this year?
Sure, different ideas, I will share these soon in the Figz 2017 thread.
Félix wrote: I will try to show pictures of my progress and will keep asking you for my doubts, which I hope you do not mind.
If you start your own thread I will try to follow it step by step and try to answer your specefic questions there too.
Back to ancient ship building.
Two weeks ago I ended up with making a partly reefed sail:
I was not satisfied with the result:
Ancient ceramics show merchant ships with reefed sails fastened to the yard:

Look at the two long corner tips hanging all the way down:

I don't understand how this is possible: these ships had square sails. How can the tips be soo long?
A real size replica shows much shorter tips:

This ship of course is in a harbour so this must be fully reefed.
But full sail almost looks like fully reefed at the ancient ceramics:

In real life practice it looks like this:

Another ship even has the sail puffed up ABOVE the top yard:

At full sea that looks like this:

Modern reconstructions show those long tips again. The surface of the sail is made very small so it can sail safely without pulling over in very strong winds.

Professional model makers tried to copy this partly reefed sail. But most of them do not get that specific ancient effect with the very long pointed tips.


And if they do, there is no wind in the sails, so no motion in it, no energy. Its a partly reefed dead sail.

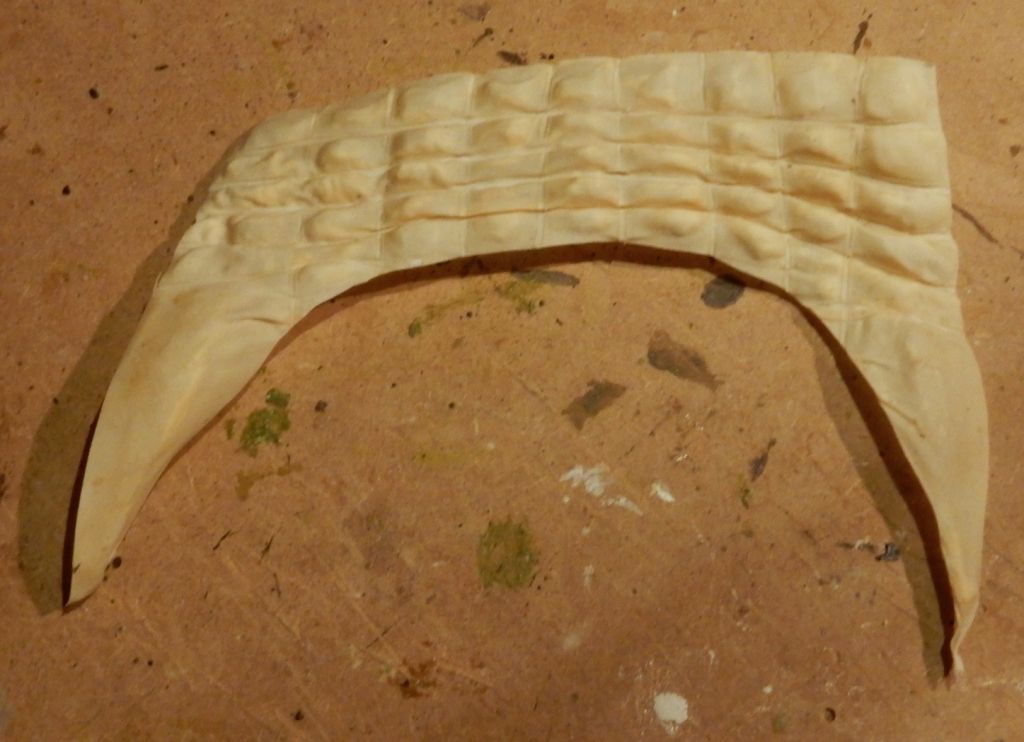
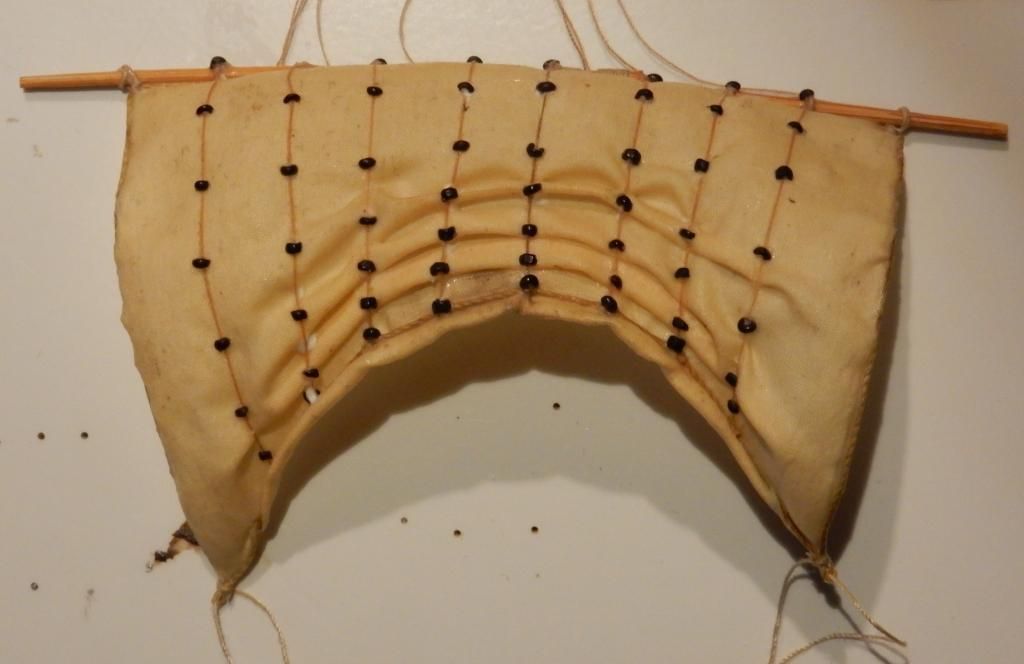
So I went looking for a way to get wind in the reefed sails. I made a sail with a trapezoide shape so I had some extra lengt for the long tips:
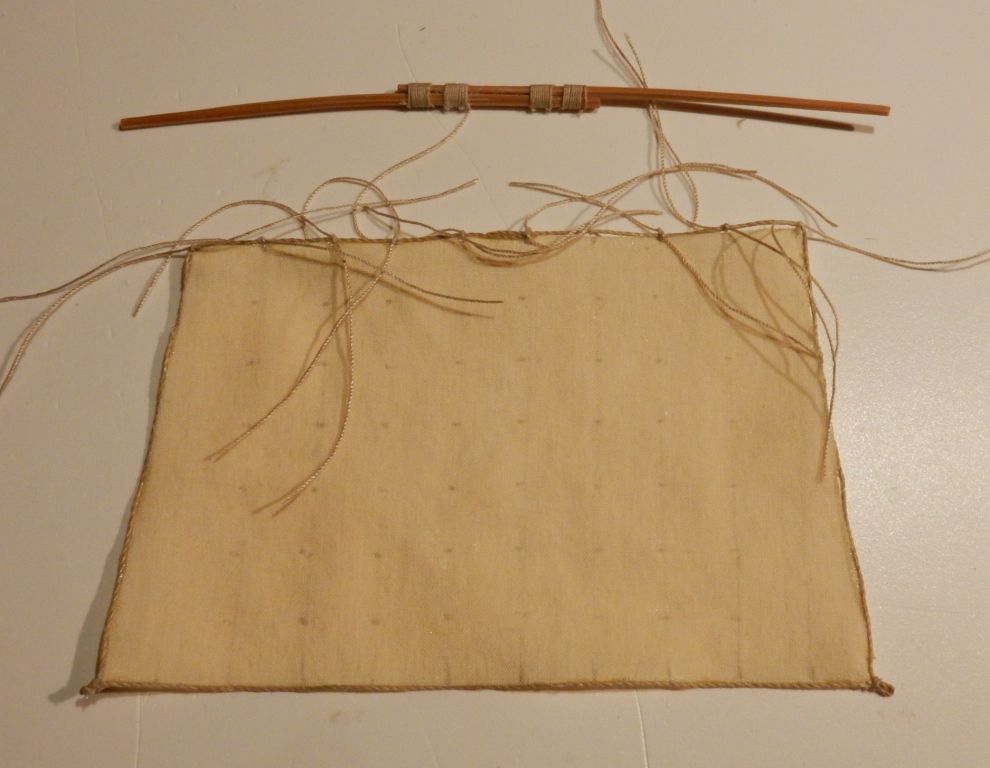
With needle and wire I recreated the system for the reefing lines, soaked it in white glue&water, and reefed it into its ultimate sail tip position:
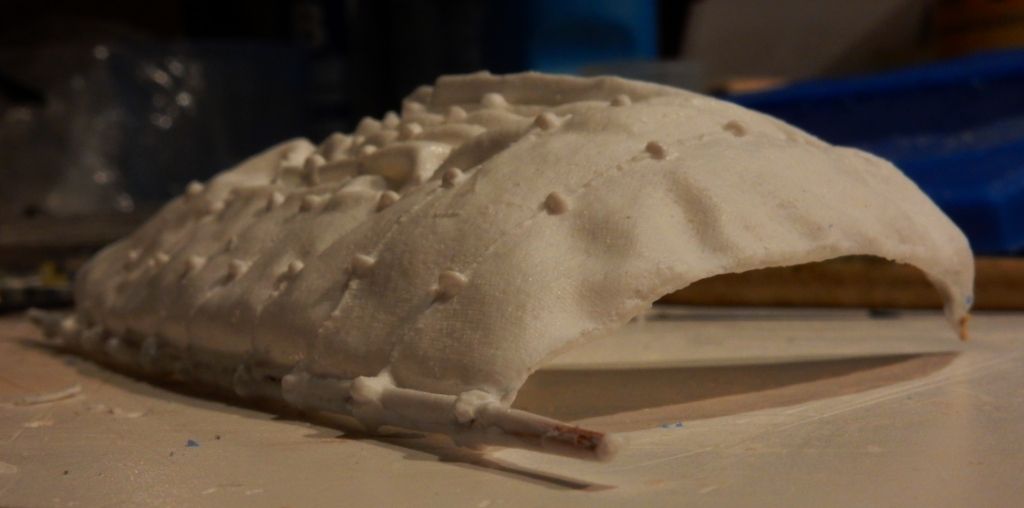
To get the sail puffed up by the wind I came up with the idea to hang the sail upside down, put a plastic bag filled up with sugar in it and let it dry over a night until the white glue stiffened the fabric of the sail. A problem of the supporting foam mold getting glued to the fabric did not appear now since plastic foil does not stick to white glue.
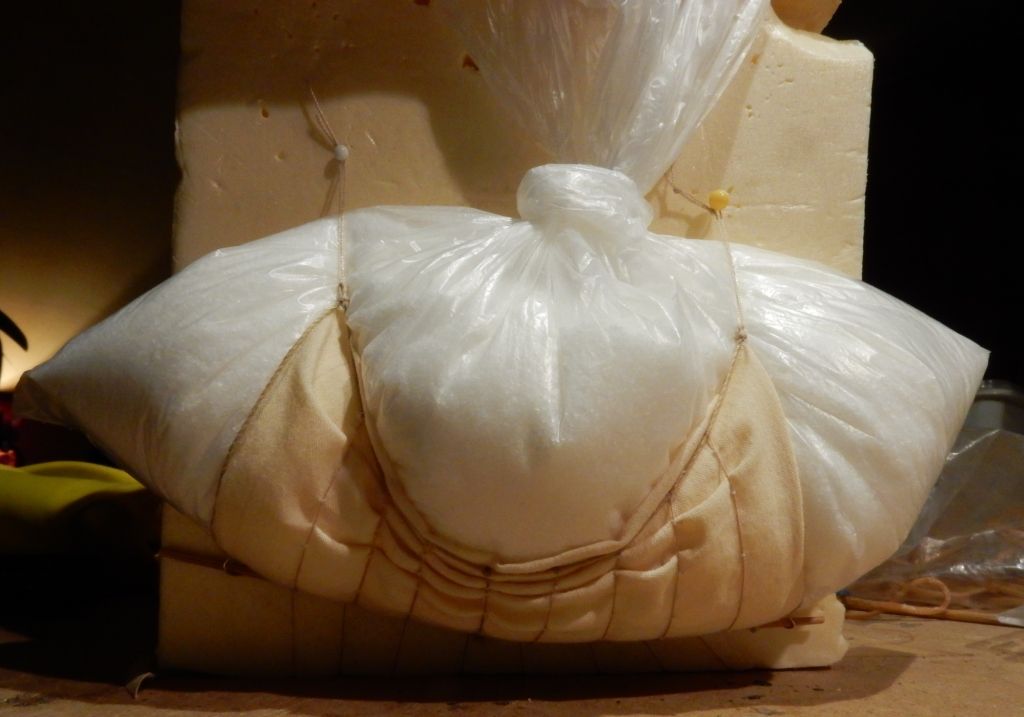
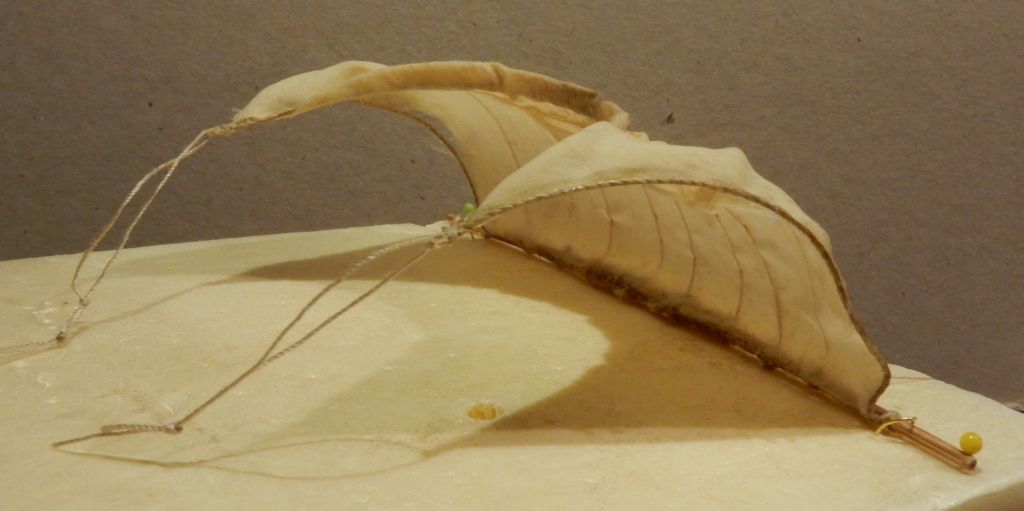
Next morning the wind was permenently in the sail:

My collection of glass beads:
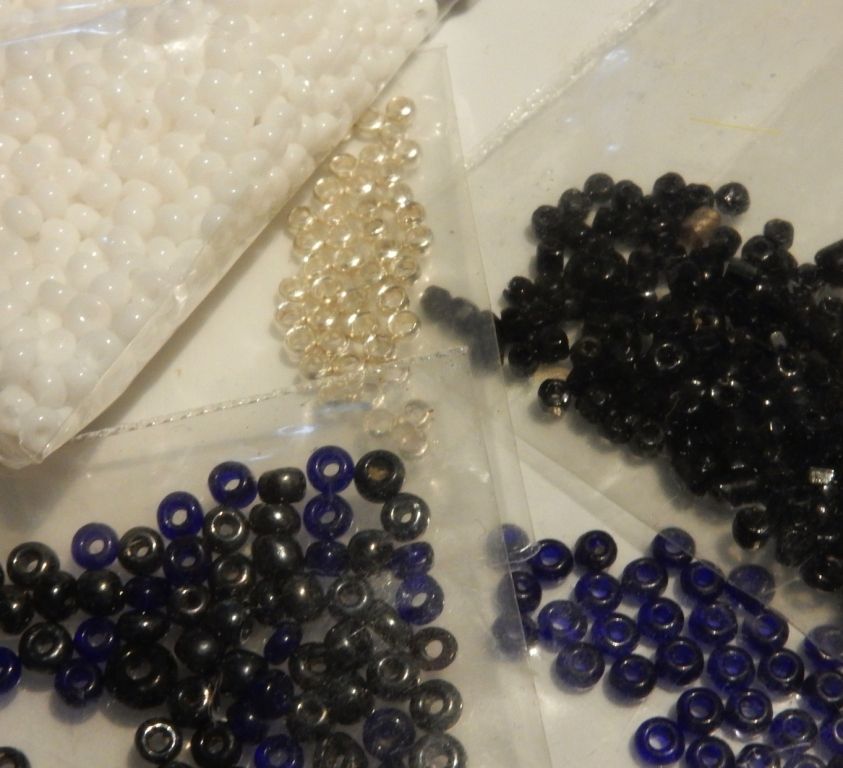
Cut them in halve as wooden or lead reefline rings:
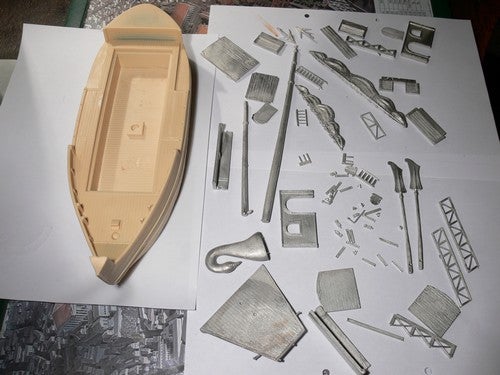
Sail, yard, rings and lines must all be casted together to safe a lot of work for the reproductions.
Temporary clay mold:
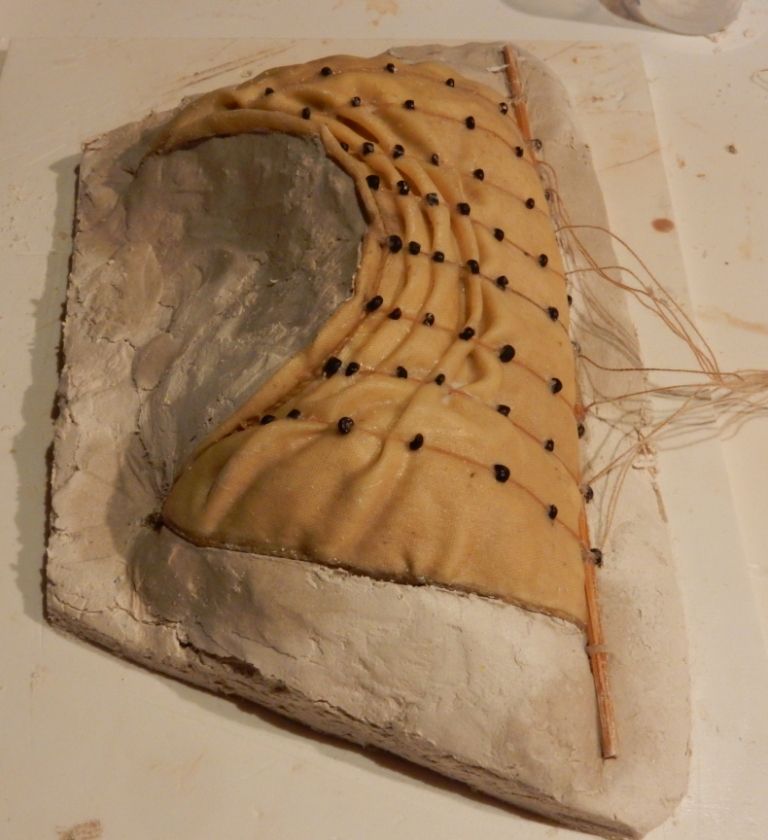
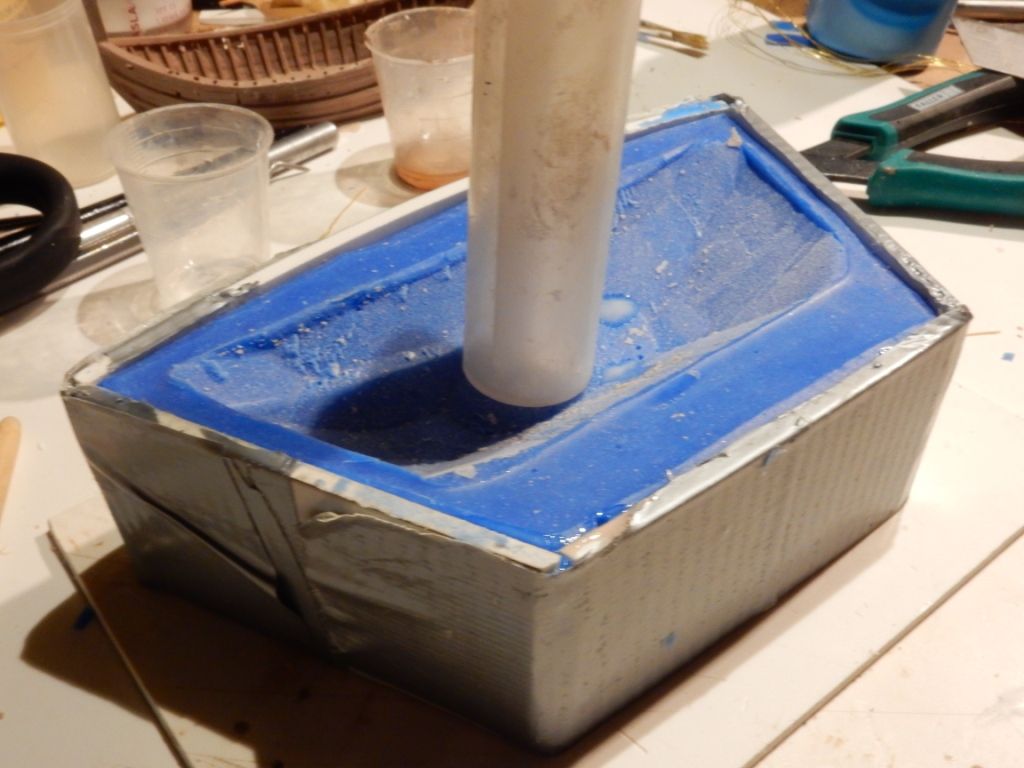
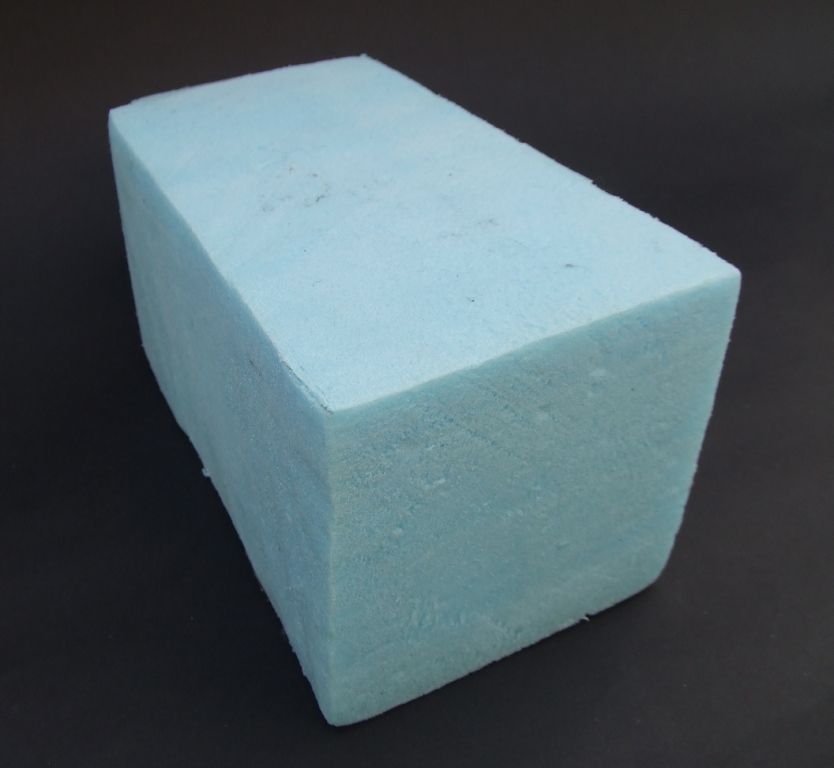
Supporting walls and foam fill ups so safe rubber:
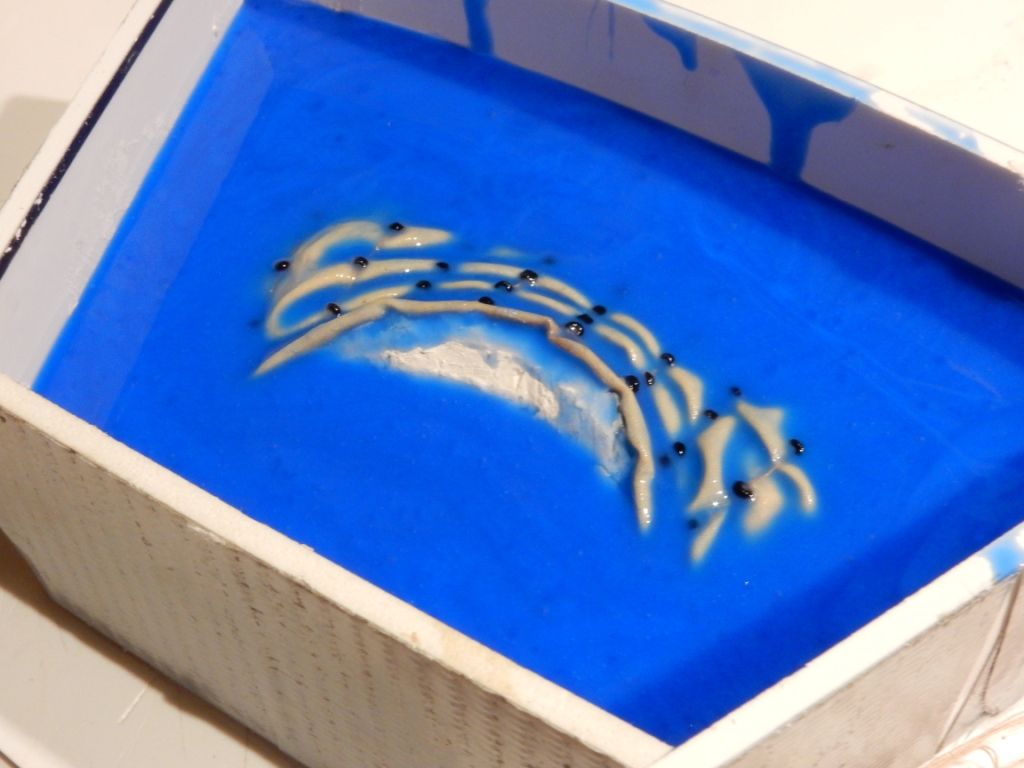
Brushing some silicone rubber into the foldings of the sail to avoid air bubbles:
Casting with a limited amount of rubber:
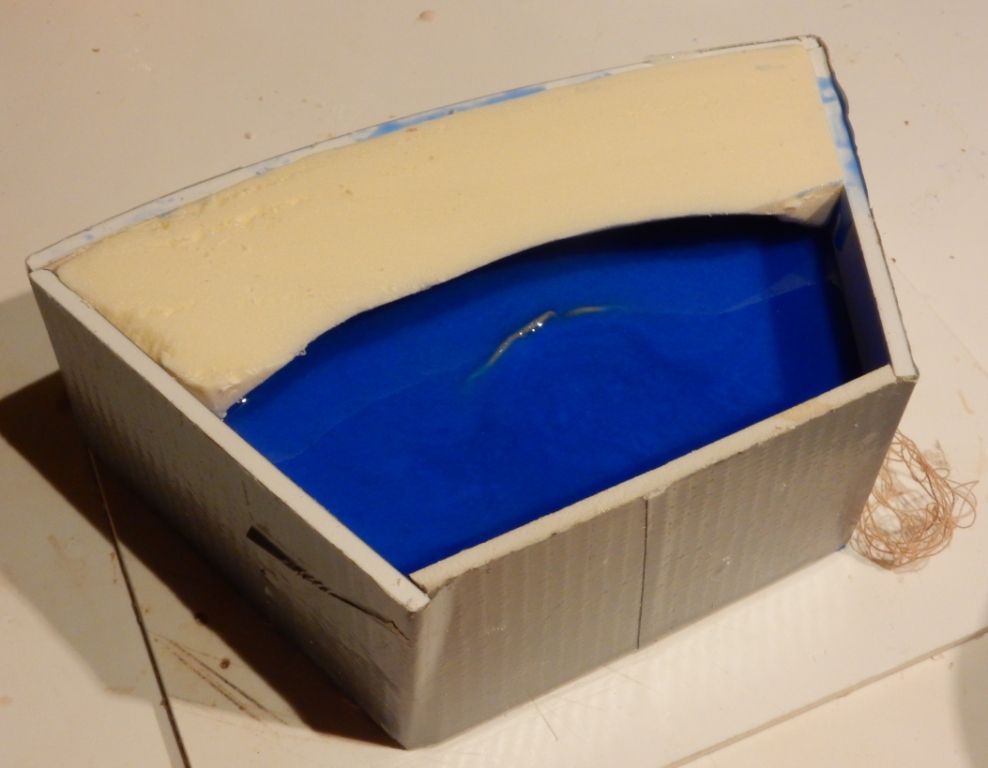
Pressing the first supporting foam piece down raises the rubber surface level:
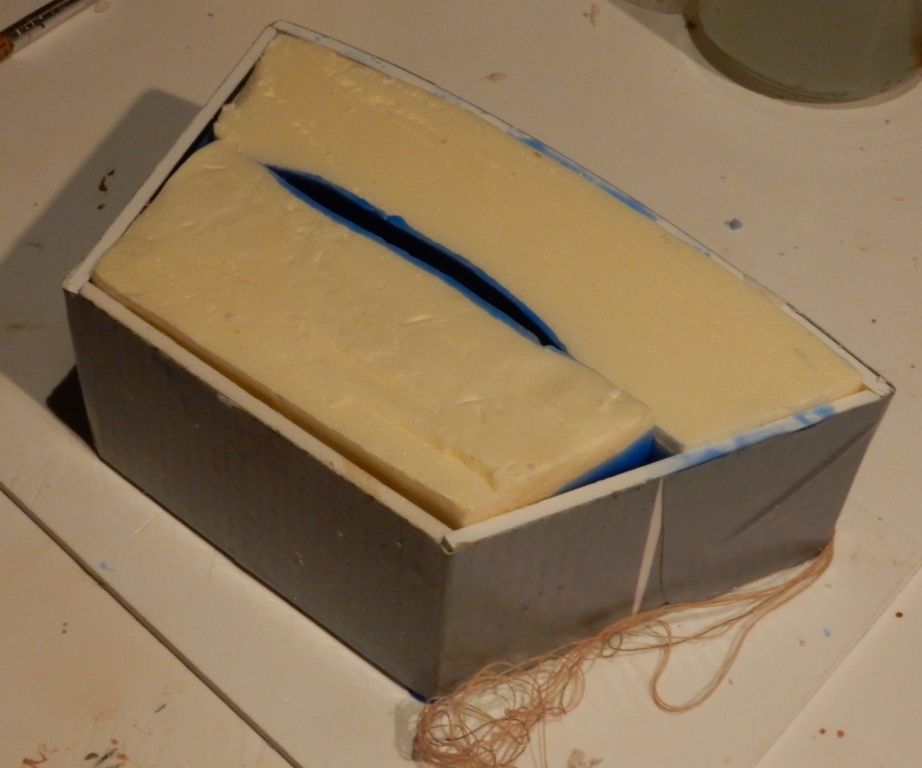
Pressing the second supporting foam piece down raises the rubber surface level to the maximum height of the supporting walls:
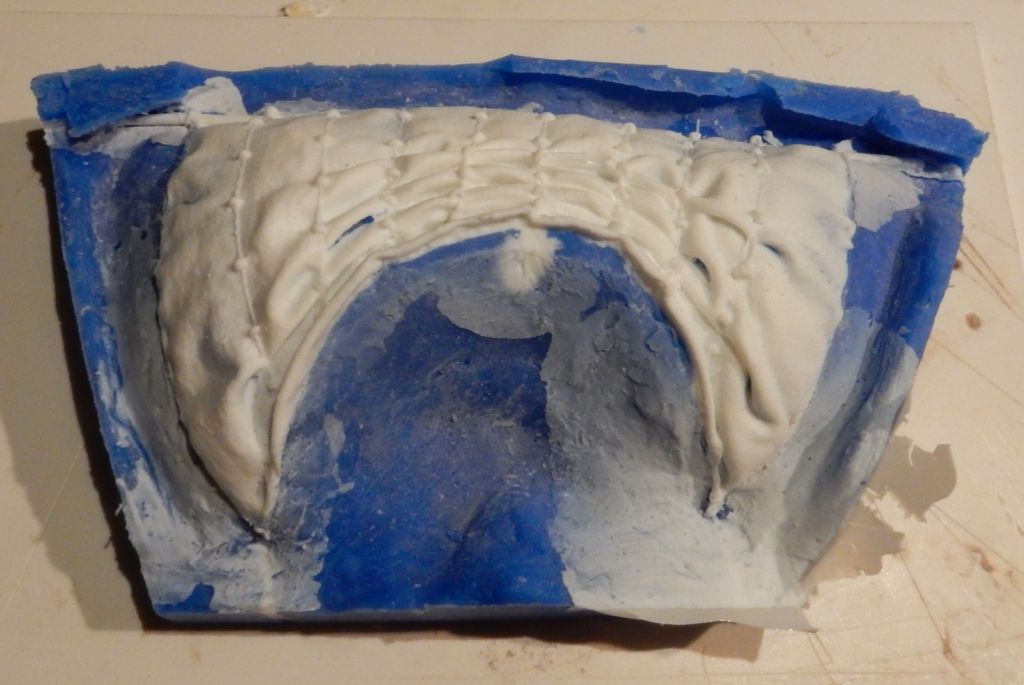
Six hours later one halve of the mold has hardened:
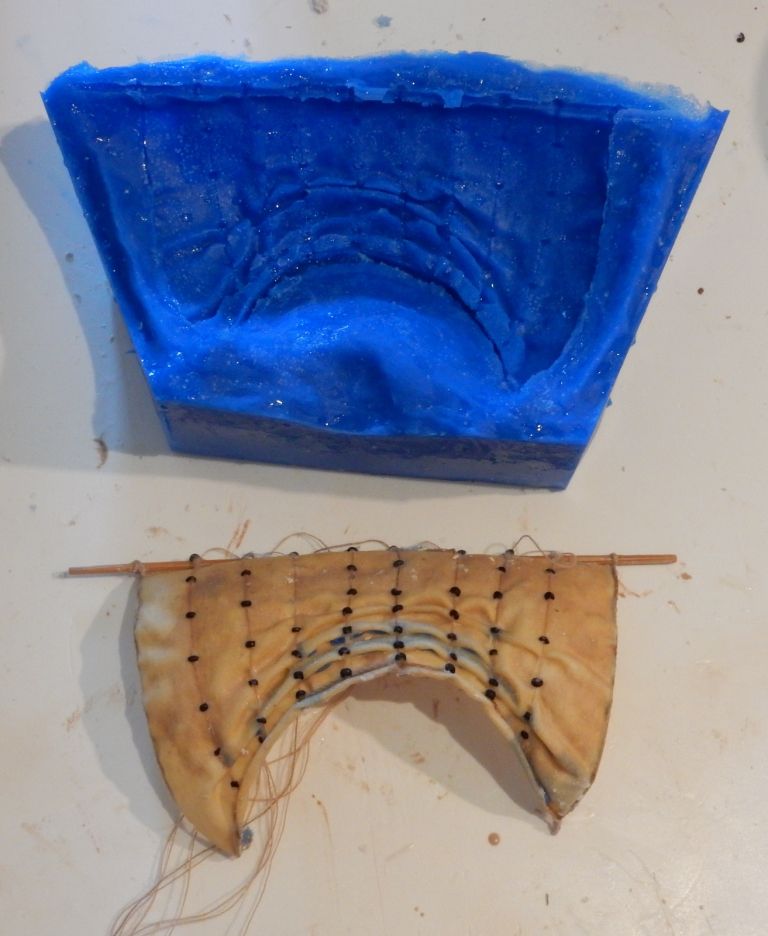
The sail comes out almost intact, lost just some rings that have to be re-attached. But now there is a big problem that I was aware of before starting: the sail does not fit into the first mold anymore because the fabric foldings create very complicated undercuttings.
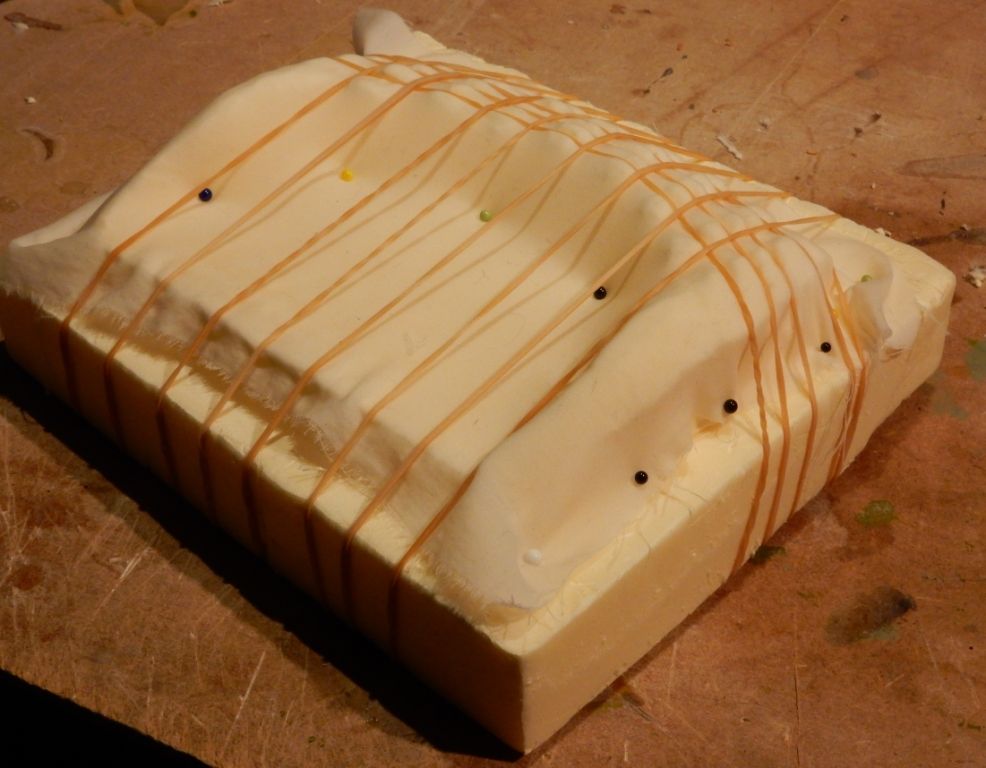
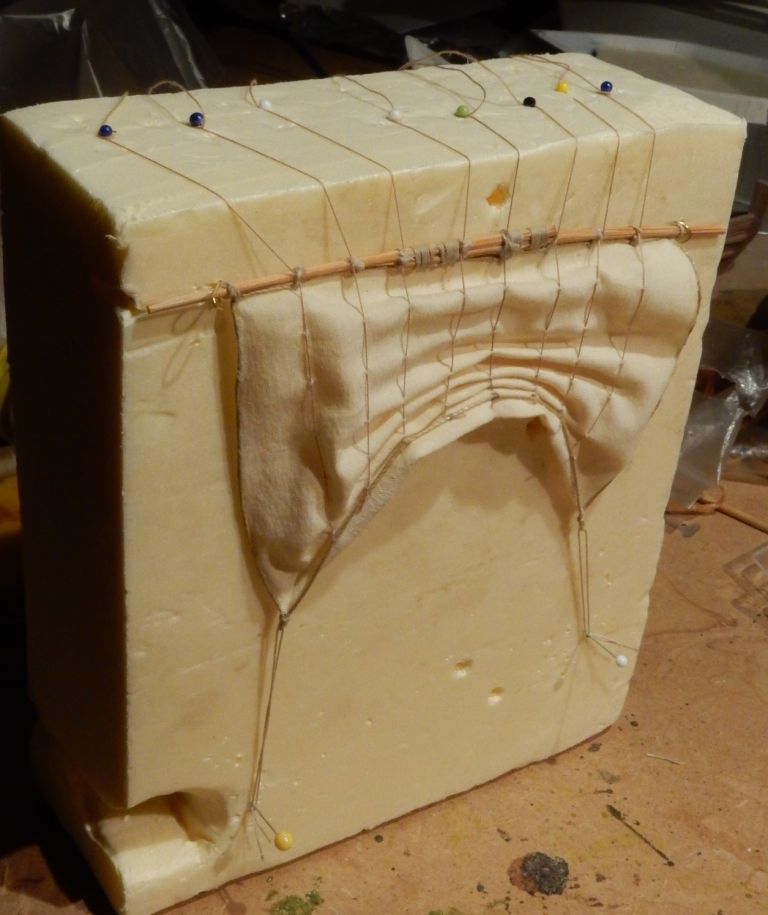
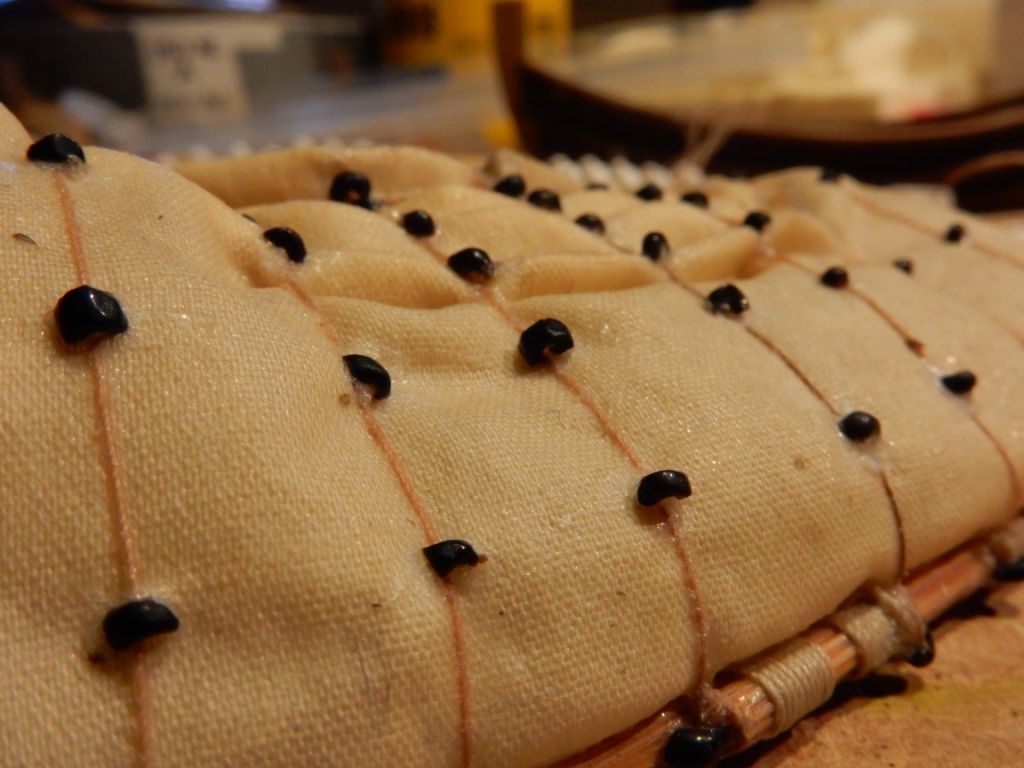
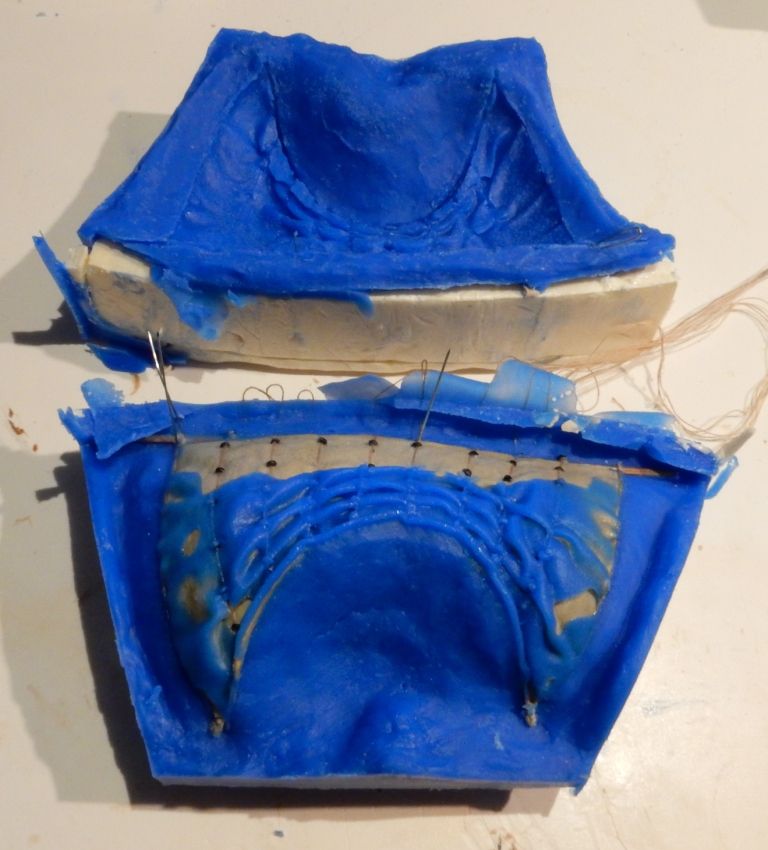
So instead of placing the sail into the undercutting spaces in the mold, I have to lay it on top of it. Because it pops up at all edges and corners now, I have to fasten it to the mold with pins. Notice the small wires I want to conserve for the master ship model.
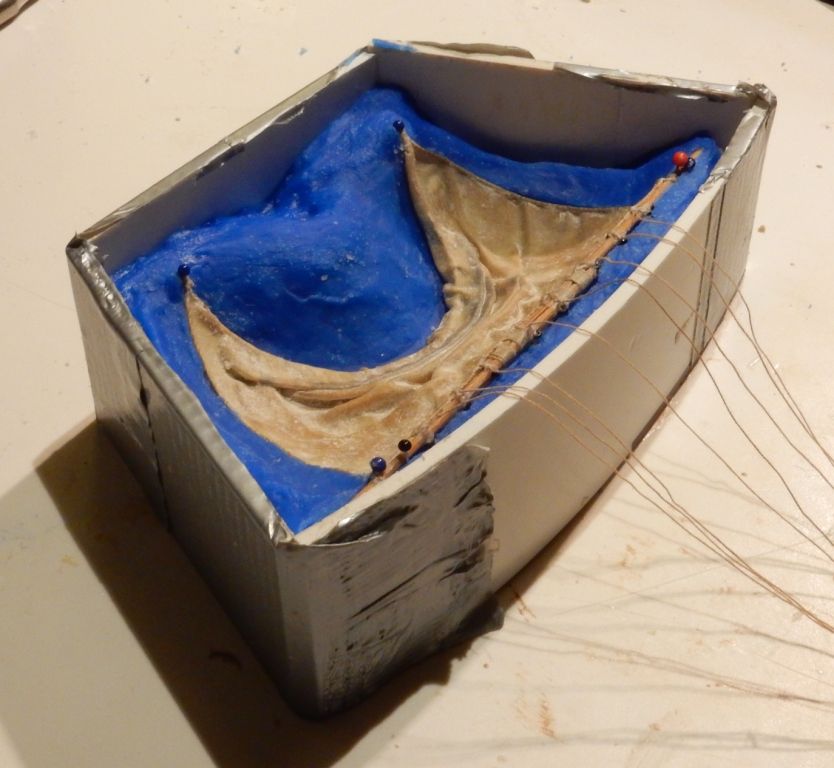
The balls on the pins create a problem in the second mold so I replace them by metal wire clips:
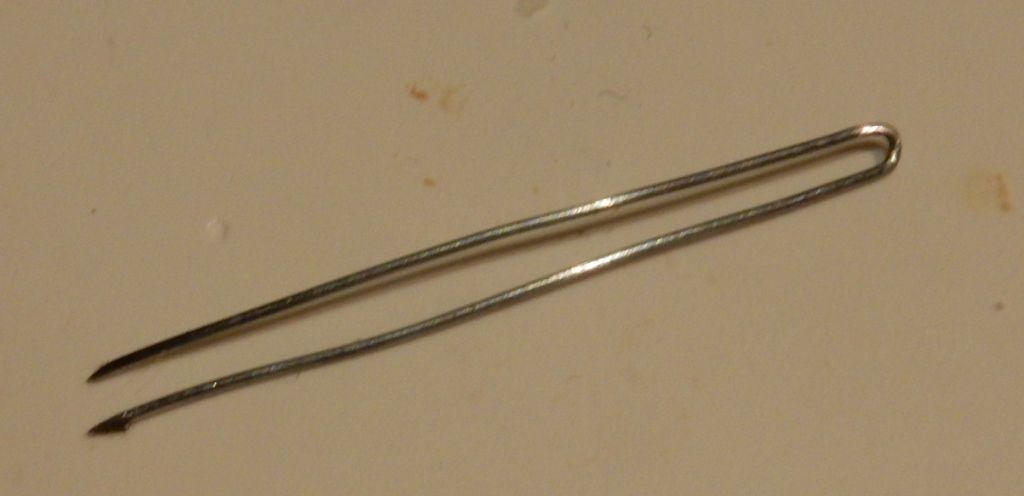
These will be captured in the shape of the mold too but will look like a piece of line or rope:
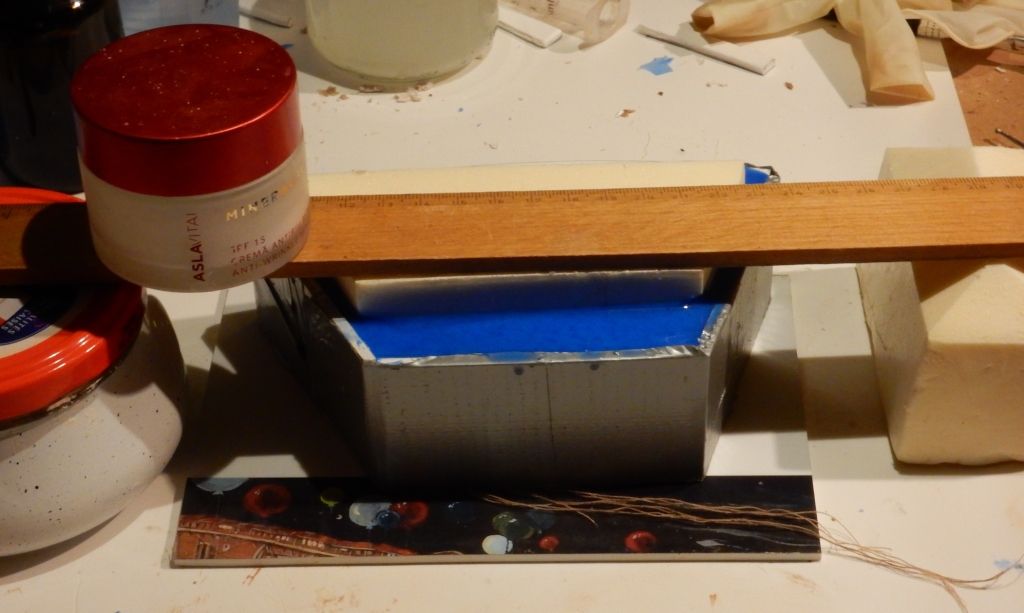
Casting the second mold shell, adding a foam piece and press it down with a construction to reach the exact level. Otherwise the foam will float upwards out of the liquid rubber:
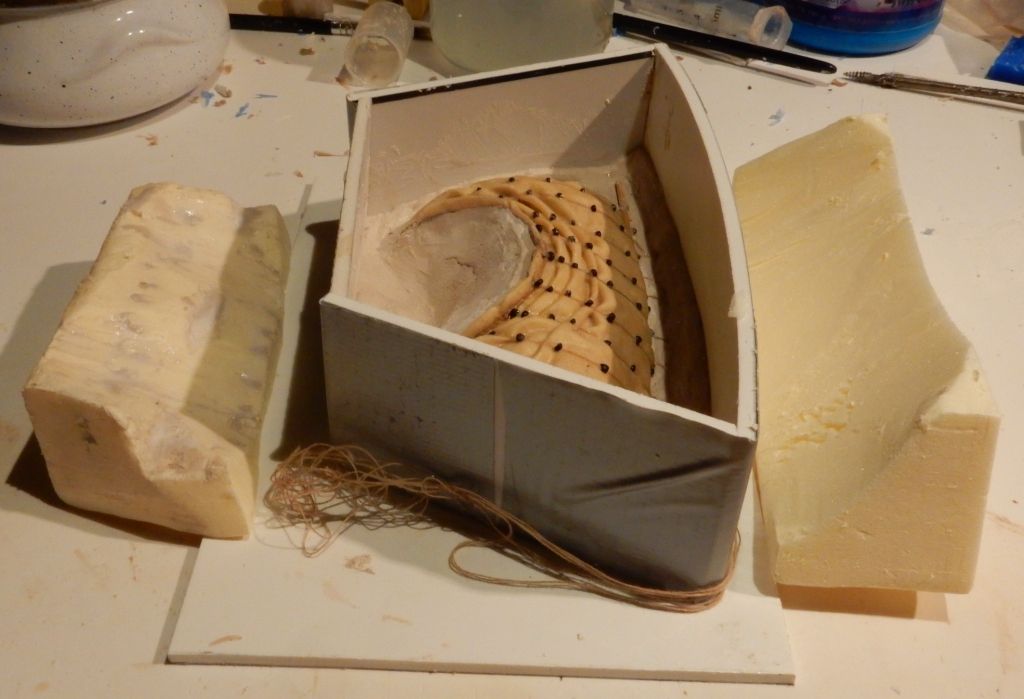
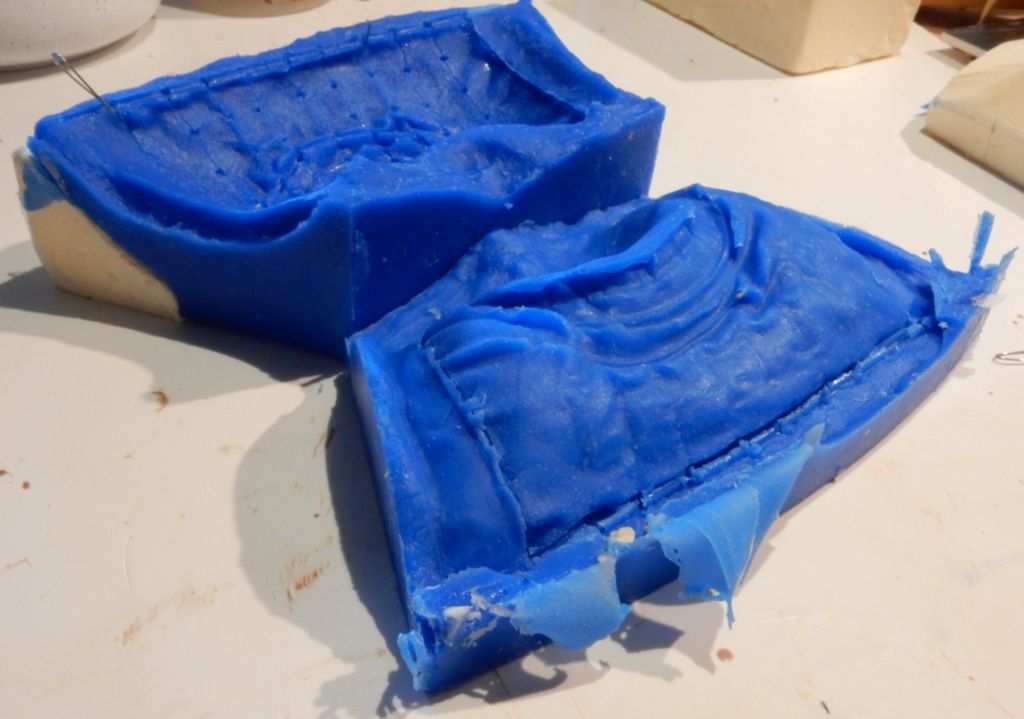
Six hours later I have two halves. The new one has crept around and behind the sail:
After removing lots of this flash I have two almost perfect halves, except that the casts of the sail will be extra heavy and thick in the central, valved area:
Both halves are treated with talcum powder to prevent the casted surface from air bubbles:
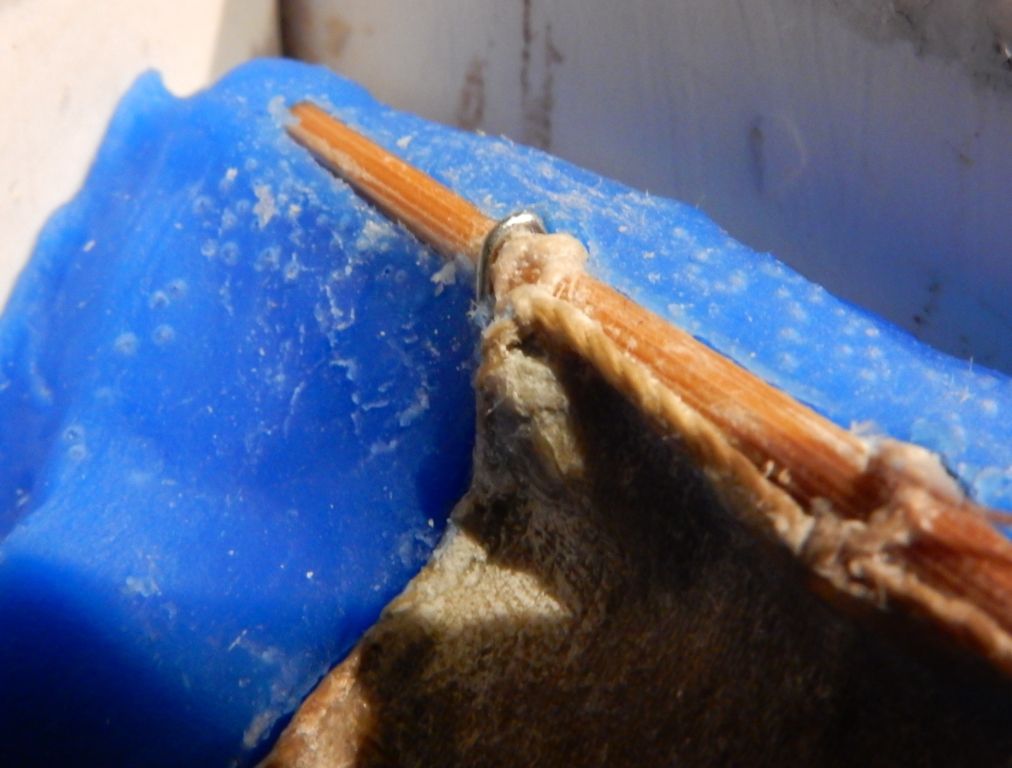
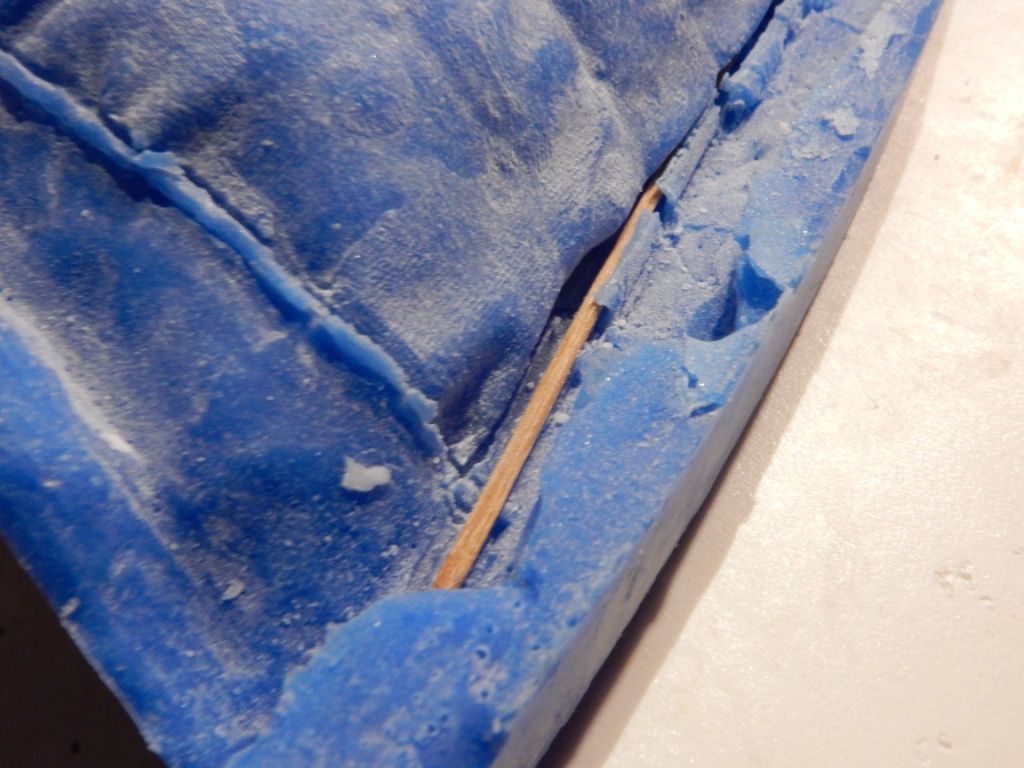
There will be tension, even force, on both ends of the yard once the sail gets fastened to the ship by wires. For this reason the yard is strengtened by a very thin piece of bamboo:
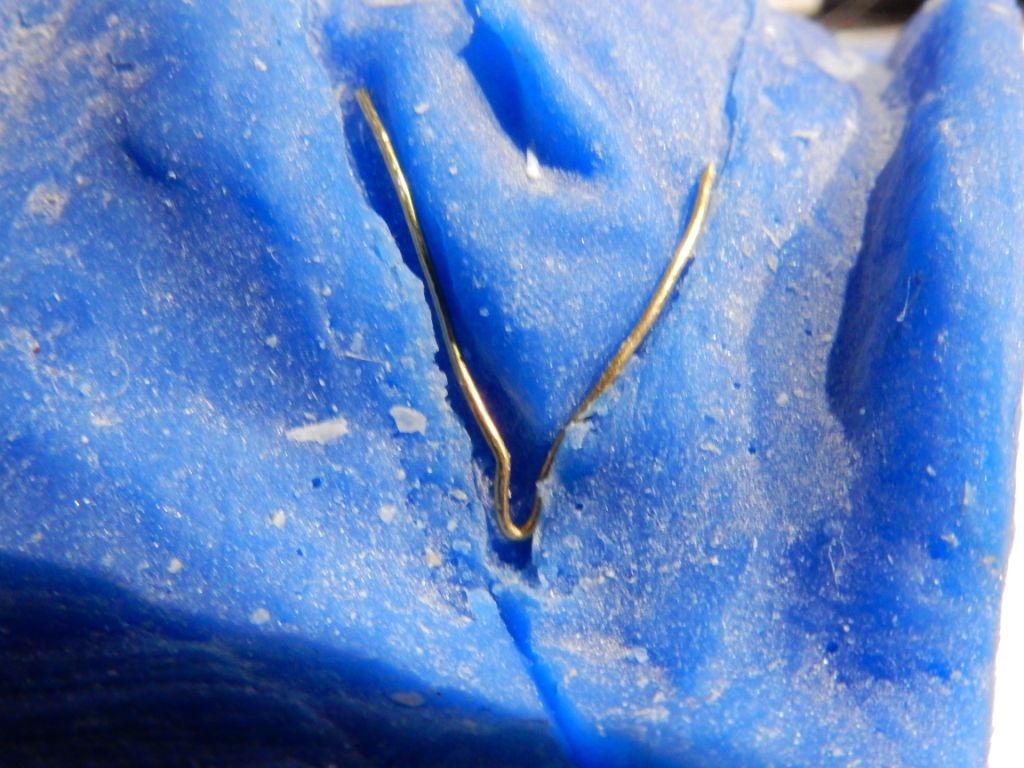
To attach wire to the sail tips, brass wire loops are inserted:
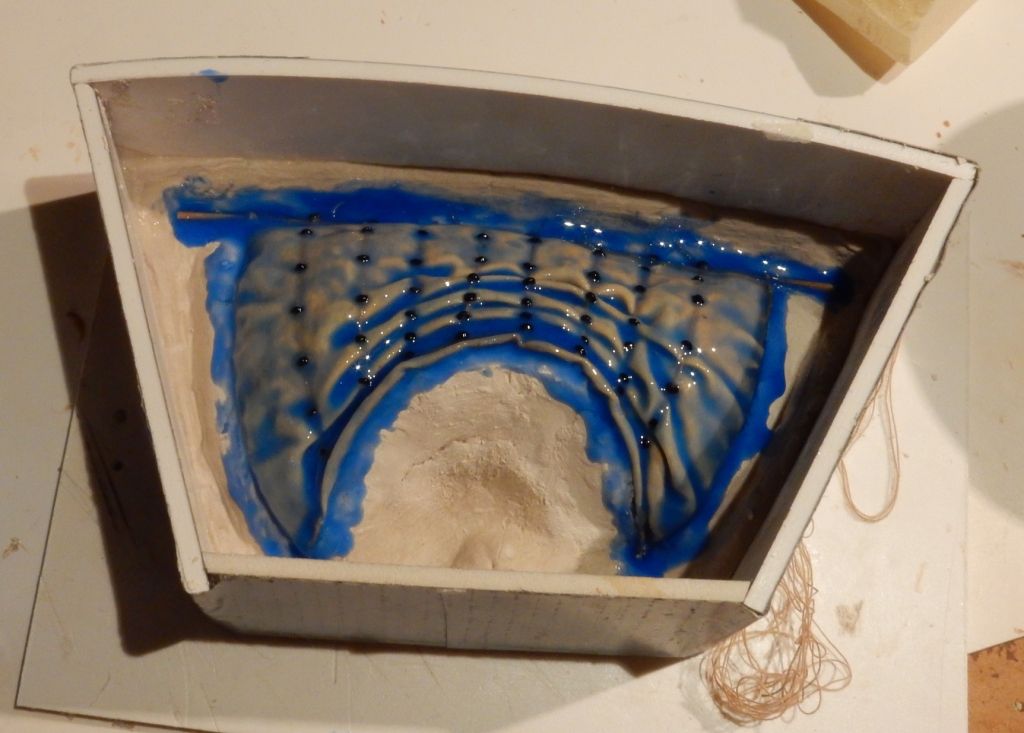
Syringing the resin into the lowest point of the bottom mold shell. The air escapes trough ventilation ducts at all corners of the sail:
The first cast came out pretty well: what looks like blue holes in the sail are actually small pieces of the silicone rubber mold that got stuck into the resin and were teared off during removing it from the mold:
The most difficult area to cast is the yard because its highest up and farest away from the injection hole. I cut another six airducts to make it more easy for the resin to leak into the yard area:
After some trimming the metal loops get visible:

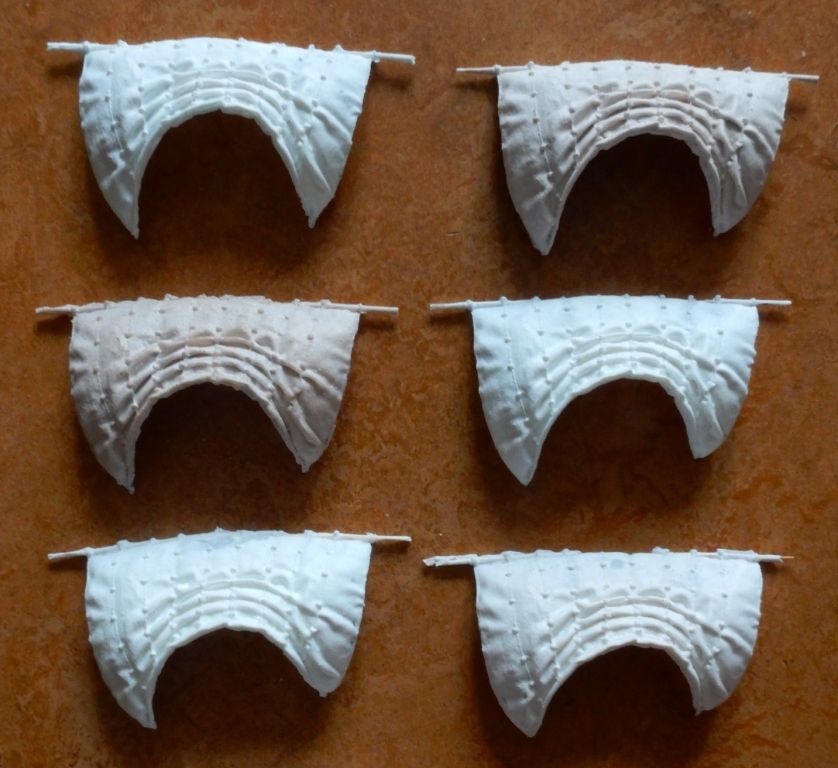
I casted 8 copies of which 2 are almost perfect and 4 others have to be pimped up and repaired before using them:


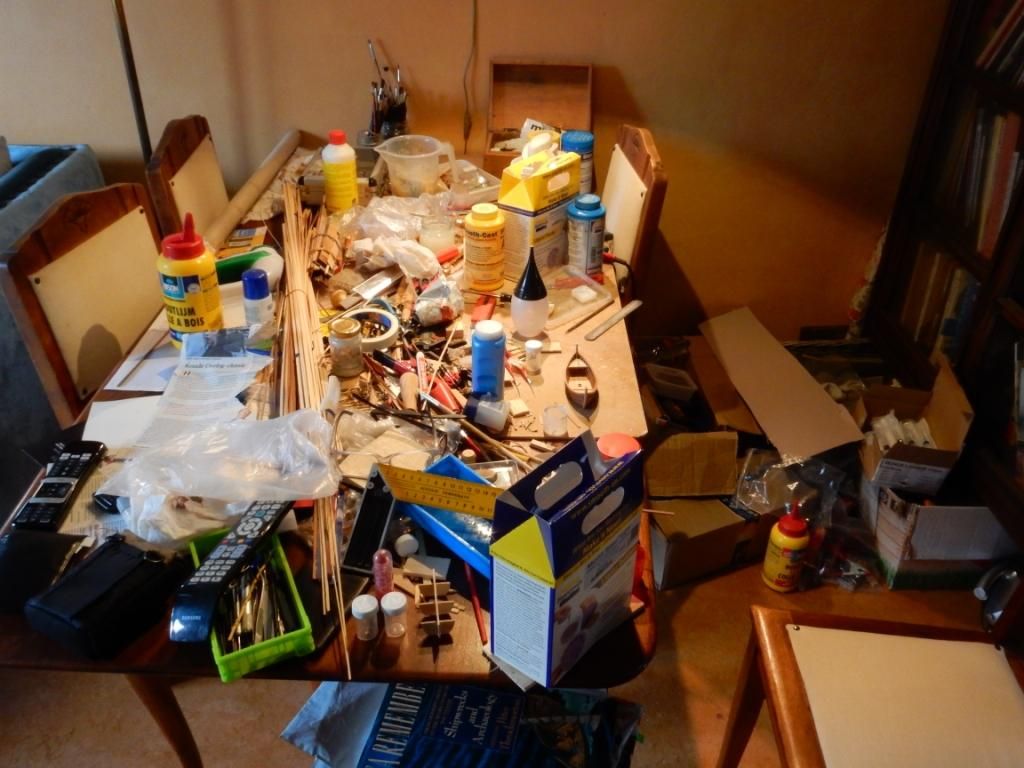


 Supporting Business


")


 You are much better than me in using the internet I think. Aer Moldova was unknown to me though I already knew some of their ship models from internet pictures.


 Moderator


") Supporting Member (Bronze)
Supporting Member (Bronze)