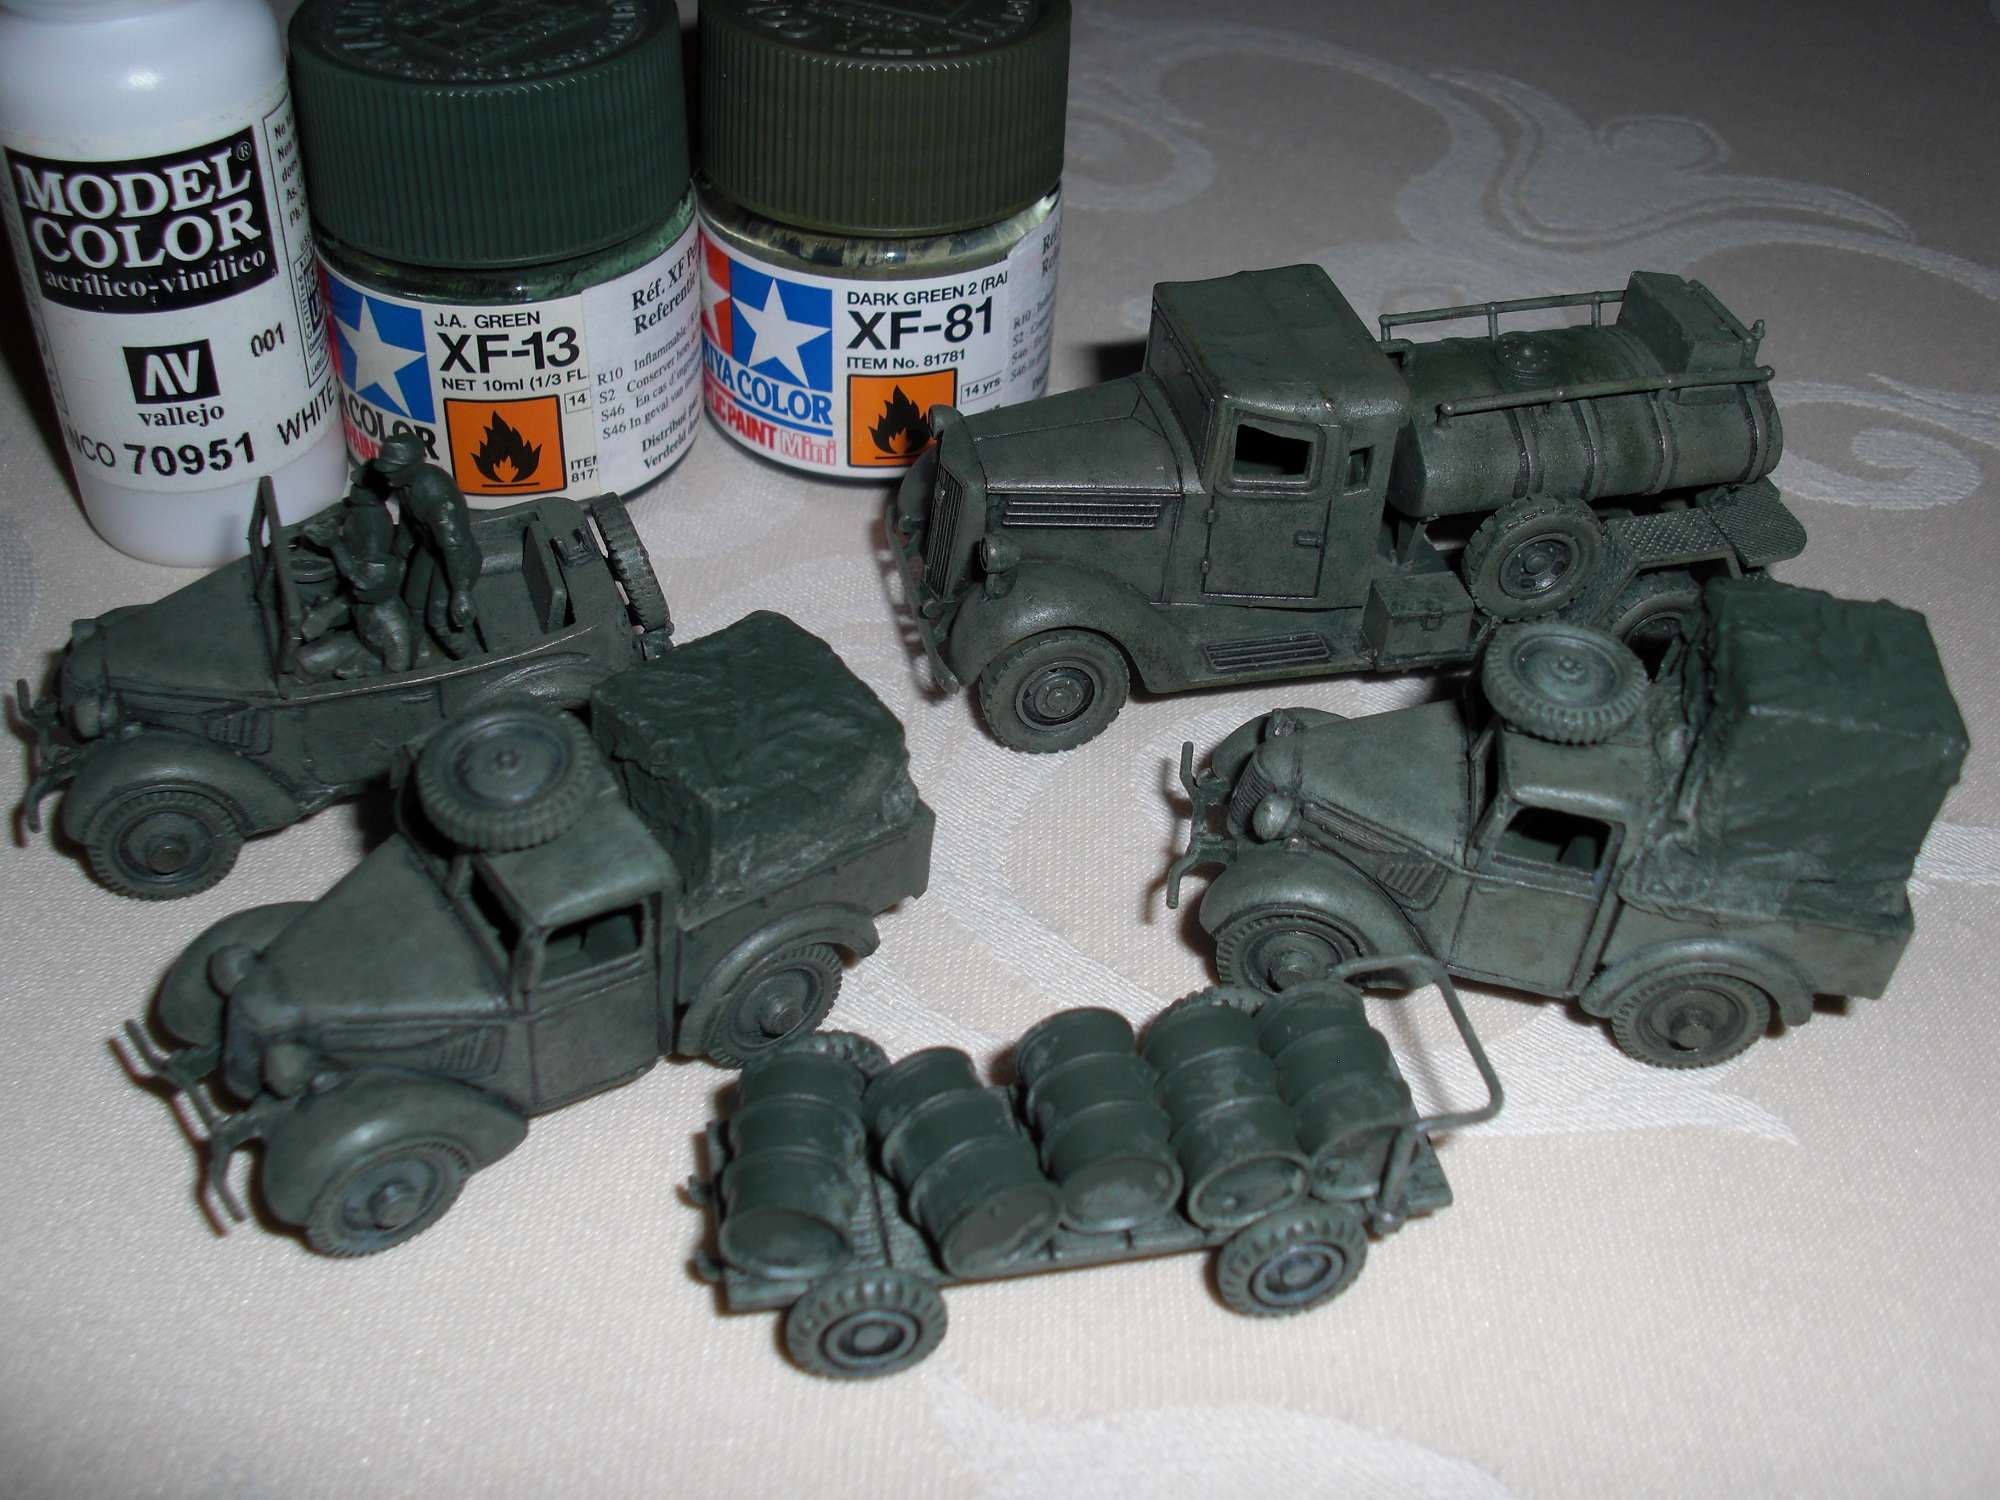
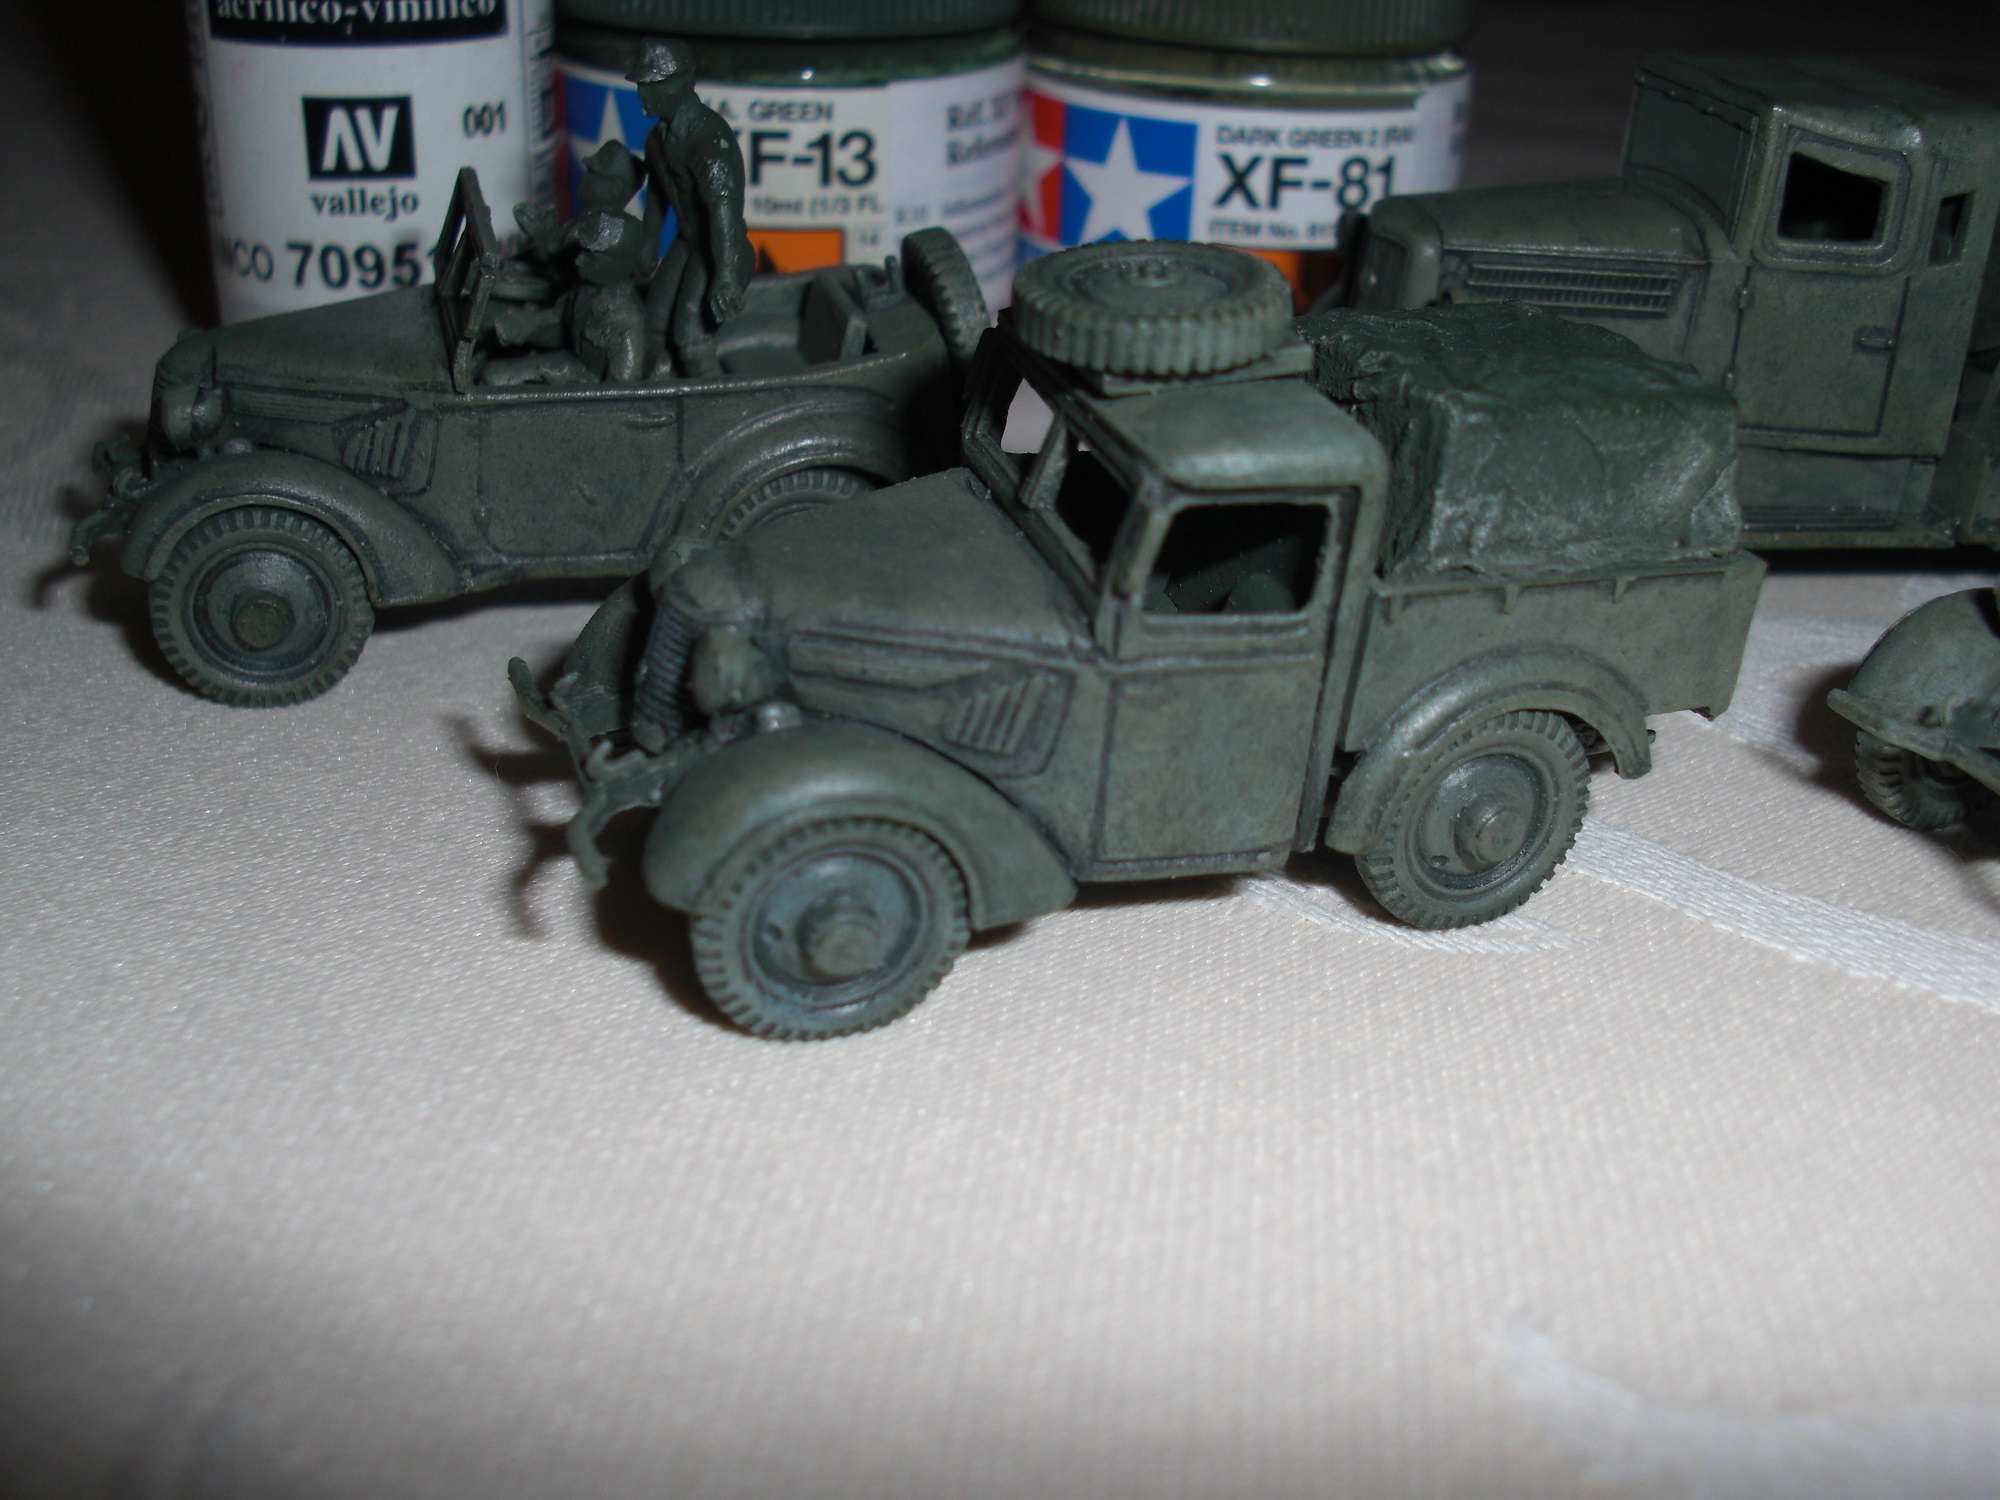
ADM wrote:Thank you Peter, you could use those cars to bring your girlfriend to the restaurant during this period of history !
Don't know if my wife would agree with that!

ADM wrote:Thank you Peter, you could use those cars to bring your girlfriend to the restaurant during this period of history !


 Moderator
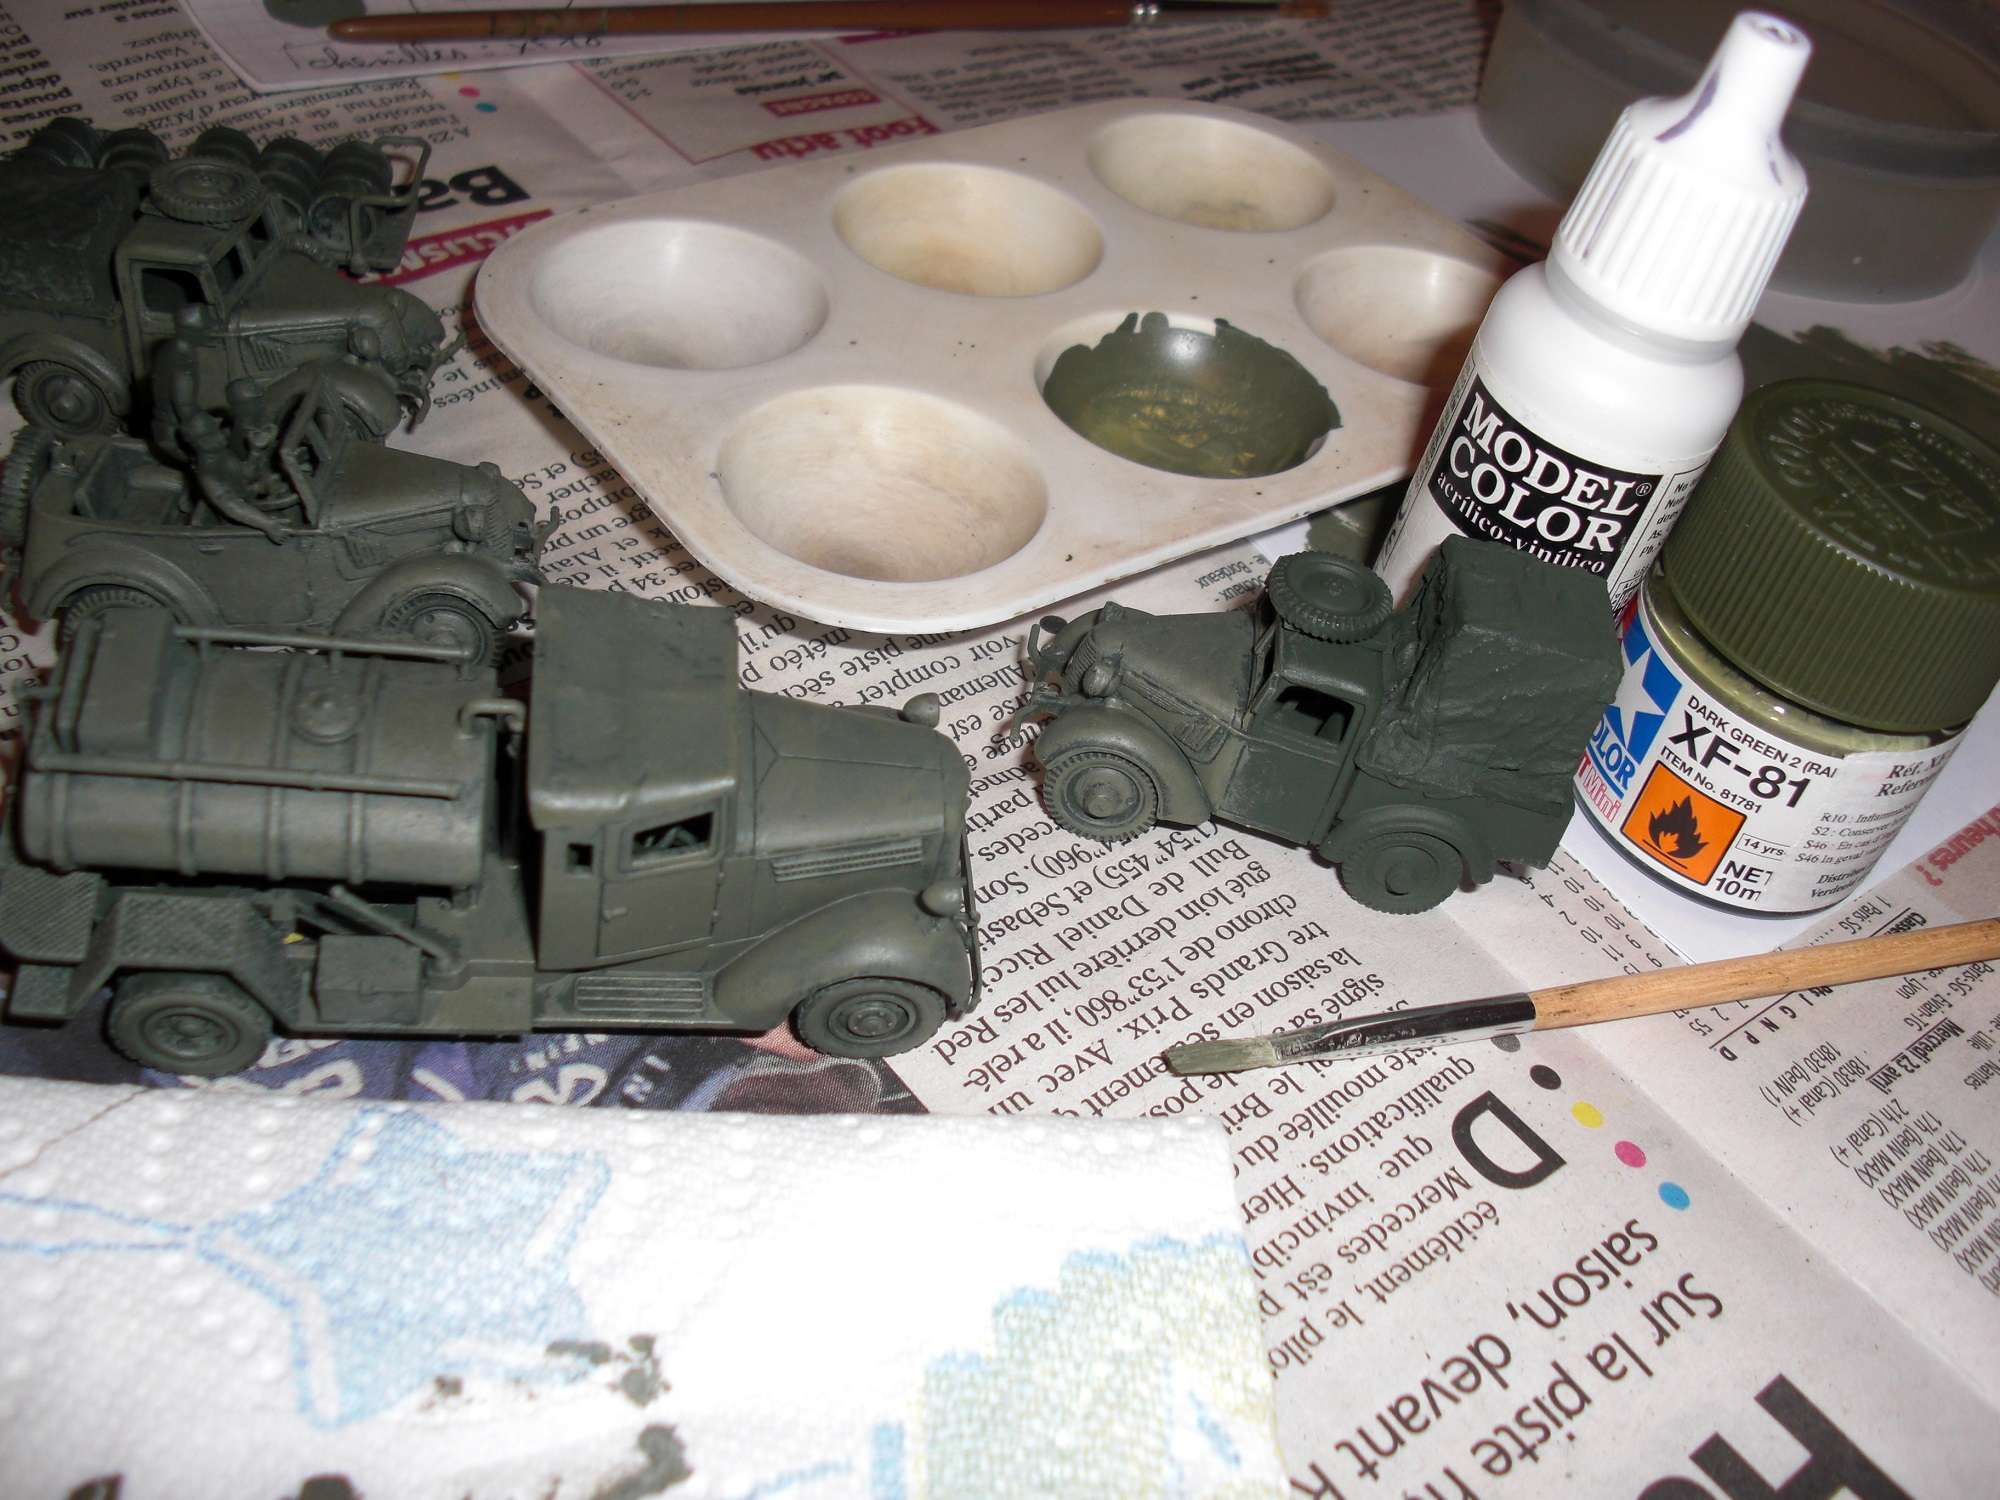


") Supporting Member (Gold)
Supporting Member (Gold)
Supporting Member (Gold)
Supporting Member (Gold)