
I have been asked several times about the construction techniques employed by me in making buildings etc . Many thanks to Wolfgang Meyer and his Croeburn 1813 site for the door ideas amongst others.
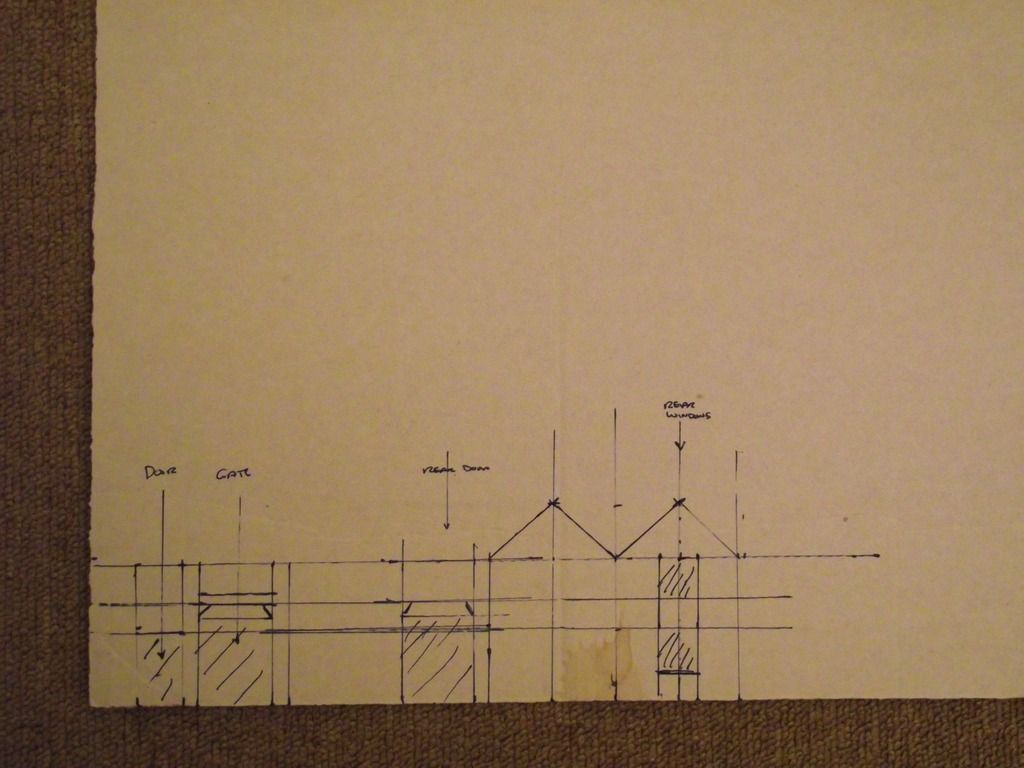
Sharp eyed modellers may well spot the reverse side mistake on the plan pictures. This was corrected so that this model worked out ok!
Materials required
Cardboard
Balsa wood, various thicknesses
Model windows, eg Wills window packs to need
Decorators caulk
Model tiles eg Wills tiles, rounded/pantile to suit
Glue ( contact, Evostick etc)
Thin copper wire, ie bare earth wire from electric cable
Sellotape or equivalent
Paint/sand for stone effects if required
Tools required
Modelling knife
Pair of pliers
Thin piece of wire/ needle
The first thing to ascertain is scale and design.
There are literally dozens of sites with lovely pictures of buildings. You may want to recreate a specific building or period in which case a little research will be required.
A 1/72 scale for instance is self explanatory and may be exactly what you are looking for. However, I feel that the look of the thing is the main thing rather than keeping exactly to scale. The choice is yours! Nevertheless, do not forget that doors and windows will have to look right with your favourite troops visiting so some dimensions are almost a given.
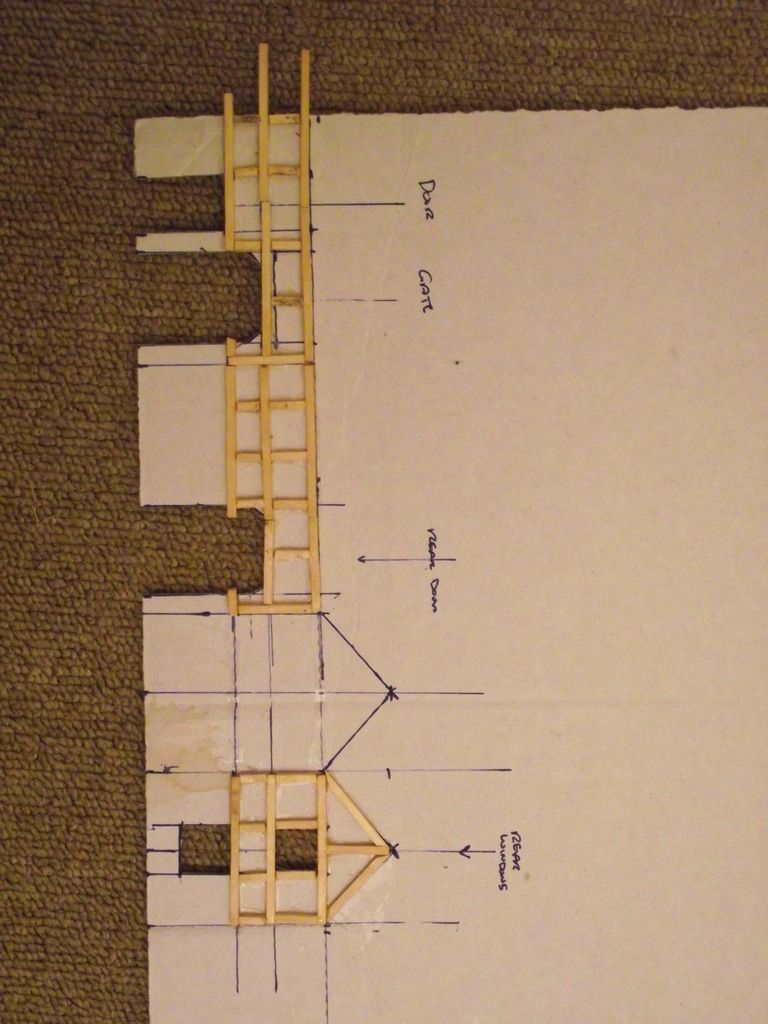
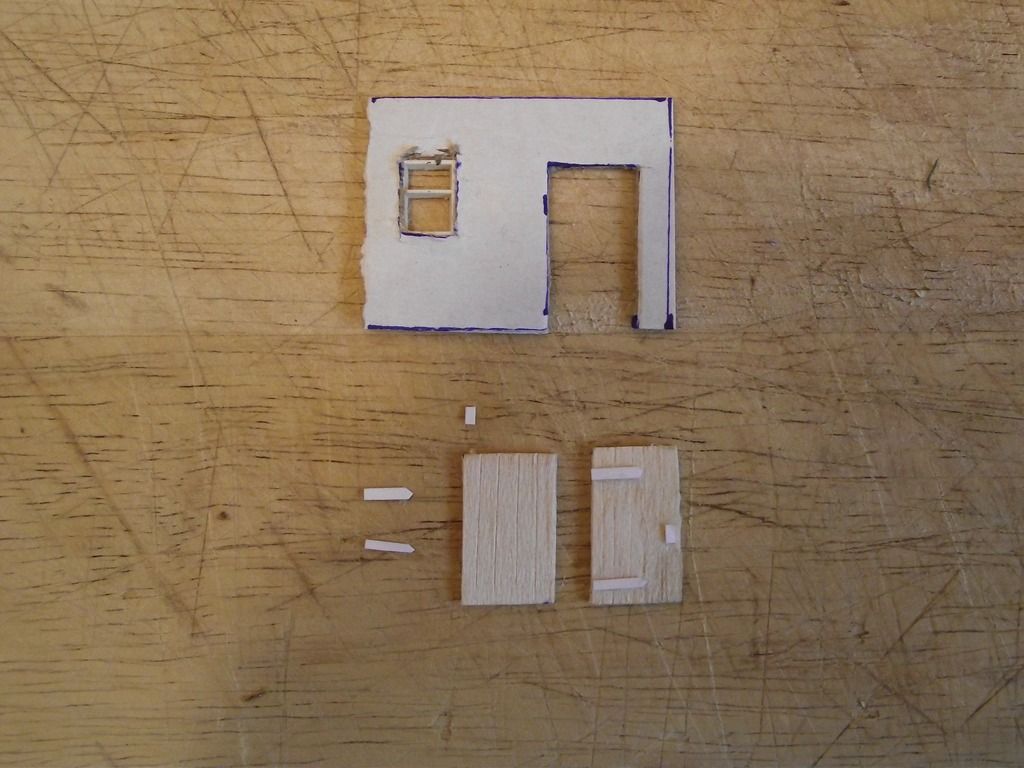
The first job is to measure out the wall dimensions and then using a pencil mark in the windows and doors. These can then be cut out with the modelling knife. If building a timbered building the timbers can be glued in place at this stage and finished off when assembled.
Windows can then be glued on. You can make your own but using plastic ones is easier. The clear plastic that they are packed with makes a good glass if you want glazed windows.
If you want to make your own, then chop straight balsa or match sticks to size and glue. Use the roofing clear packaging to glaze and then glue the inner frames once painted onto the glaze .
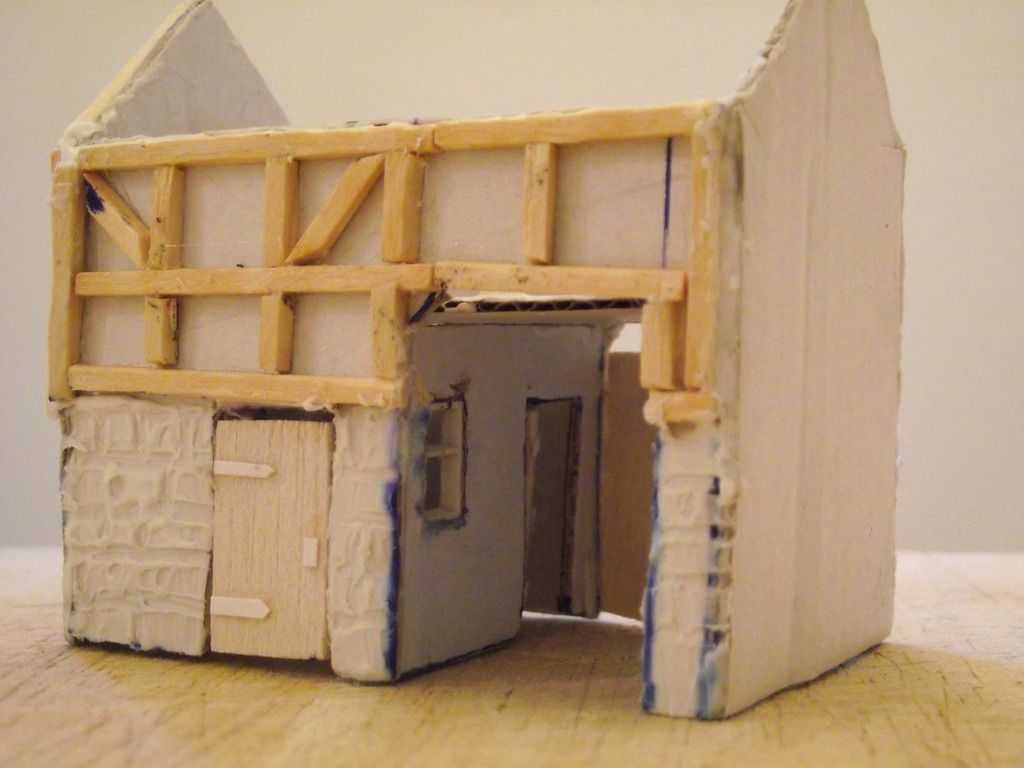
Then the walls can be glued and positioned to form the building. Once dry it is a good idea to put in a floor in which will add strength to the structure. This can also be used to position troops inside the building if you wish later.
If it is possible to see across your building through the windows then a tip is to put a wall in as in a real house you would not be able to see across.
If you wish to have a stone finish then a paint and sand mix is very effective when spread over the building. Use an old brush as it will be destroyed.
If however you want a brick effect then decorators caulk is also very effective.
Apply to one wall at a time and allow to dry before doing the next wall. Simply paste on a thin layer of caulk on the wall around the windows. Using a thin piece of wire, mark out the lines of bricks horizontally first. Then fill in the verticals remembering that each course will be offset against the next to form a strong bond.
When all brick work is completed and dry any fine details can be added. The drain pipes are made from twisted copper wire, glued in place.
The doors are made from cut to size balsa or a ready made alternate. If hand made, cut out the hinges and locks from card and glue into position. A handy tip once dry is to gently carve lines vertically in the balsa to represent planks. Glue open or closed
For the roof select the tiling required and measure to fit. Once cut, use the adhesive tape to keep the halves together whilst the glue drys. If you only glue the ridge then the roof can be removed for troops. The chimneys can be scratch built from balsa and caulked or pre purchased.
If you are looking for a thatched effect then cut two pieces of card to size and glue. Cut a soft sisal sweeping brush into strips and glue to the roof.
Paint to requirements and weather if appropriate.
These techniques can be used for most structures.


 Moderator
