
- - Photoshop CS3
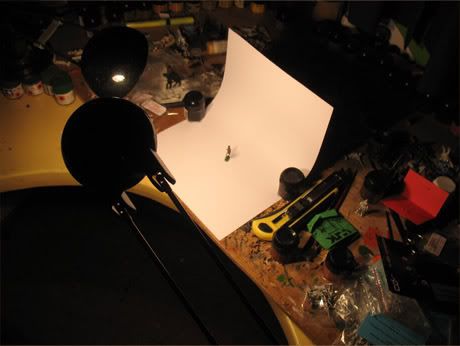
- Two desktop lamps
- A sheet of paper
- And of course a camera with macro function..
I'll be working in Photoshop CS3 and in the RGB mode. I don't know how it's done in older Photoshops or photo editing software.
Step 1
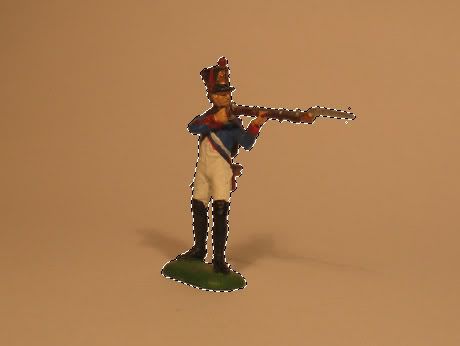
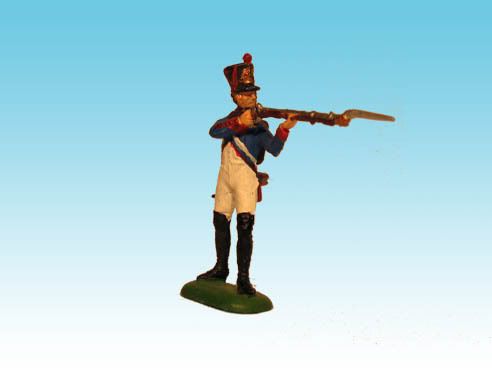
I start with an A4 sheet of paper, leaning to an object like this. Put the figure in the center.
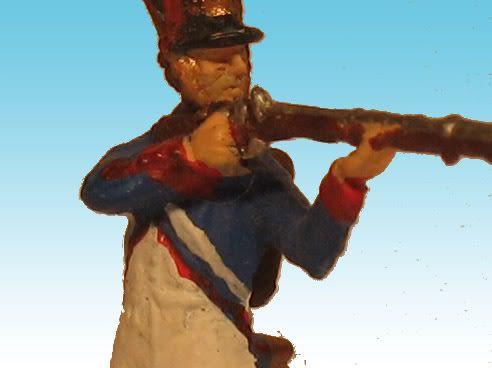
Step 2
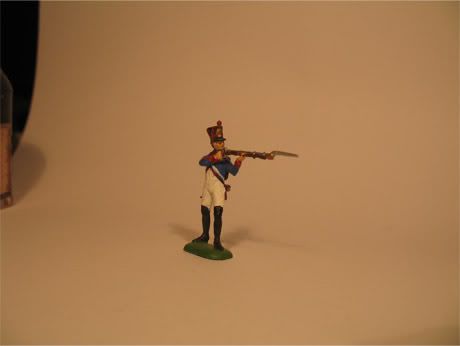
The 'raw' picture I made
Step 3
Open Photoshop.
Step 4
Open the picture in Photoshop
Step 5
Select the Magic Wand Tool (or press W).
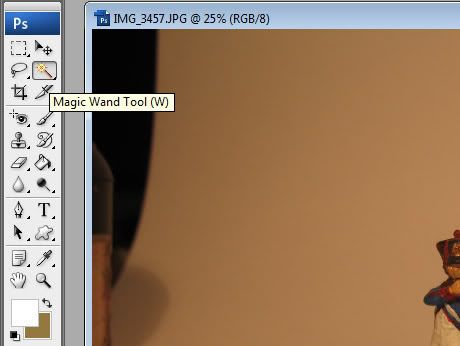
Make sure Add To Selection is on!

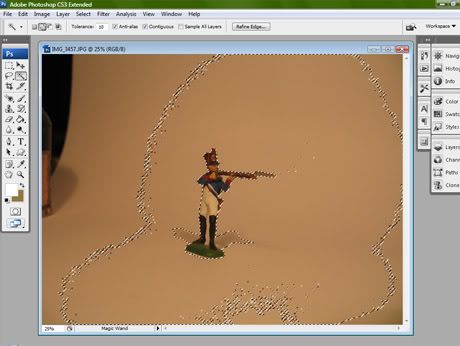
Step 6
Click on the white area's and it get's selected. Make sure all of the background is selected! Zoom in to 100% to see if you missed a few bits.
Step 7
Right-click on the selection and click Select Inverse. This means that all the selected areas become deselected, and vice versa, shortly said only the figure is now selected and the background not.
Step 8
Create a new document in a size you want. I chose for a width of 492 pixels and a height of 368 pixels. Do NOT close the other document with the selection!
Step 9
Make sure the new document has a background, it doesn't matter in which color.
Step 10
Now put the Foreground Color to white. Click on the upper left field and the Color Picker opens. Set the color to #FFFFFF and click OK.
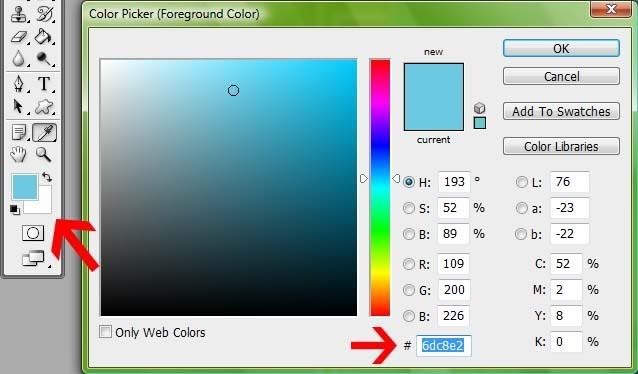
Set the Background Color to a light blue. Click on the lower right field and set it to #6DC8E2 and click OK. (In the picture it's just the other way round, so the blue has to be white and the white blue!)
Step 11
Now we add the blue/white background to the picture. Double click on the Layer you're working in (in the Layers panel as in the picture!).
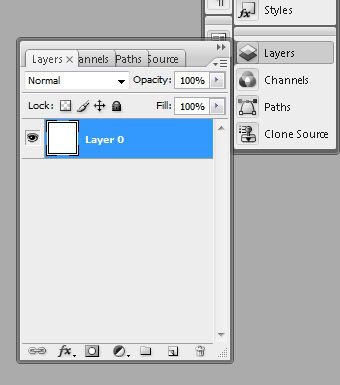
This will open the Layer Style screen.
Click on Gradient Overlay.
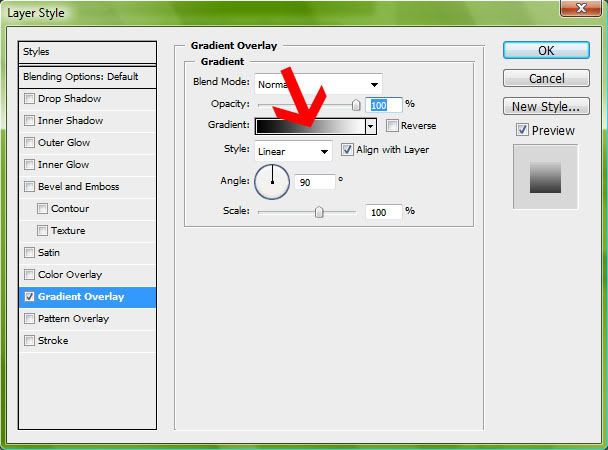
Click on the field behind the text Gradient and the screen Gradient Editor opens.
Click on the first field (where the arrow is pointed at) and click OK.
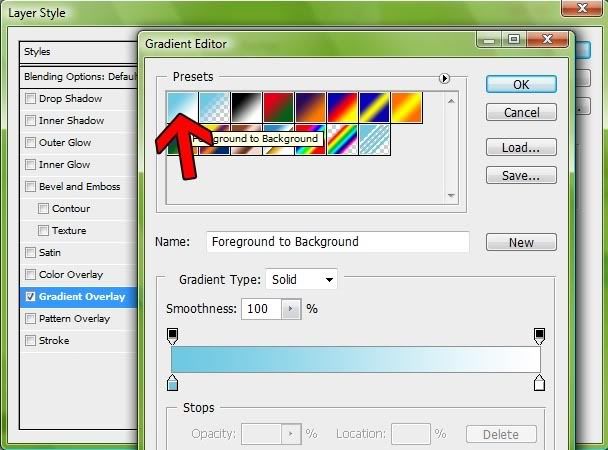
Then again click OK. You have a blue/white background!
Step 12
Now we're going to put the selection of your figure in the blue/white background.
Select the Move Tool (or press V). Now drag the selection into the document. When you drag the selection into the other document you may notice that your cursor changes into a '+'.
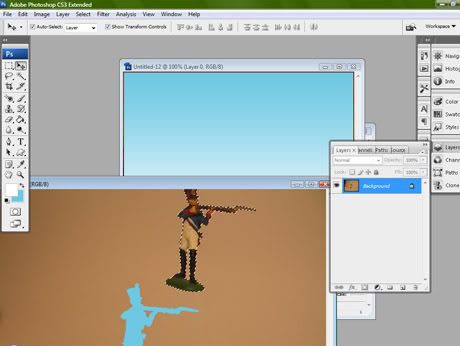
The result:
But wait, that's not what we wanted, we want to have the entire figure visible! We need to make it smaller so it fits.
Press CTRL+T to open the Free Transform. Click on the icon between the two percentages to maintain the aspect ratio.
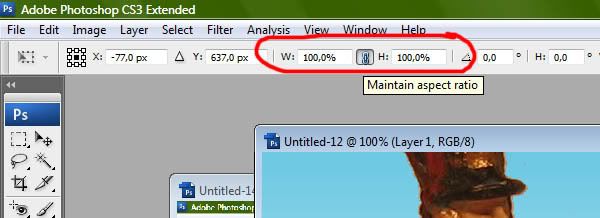
Put it to a percentage so the figure fits. I chose for 28%. Now drag the figure in the center of the screen.
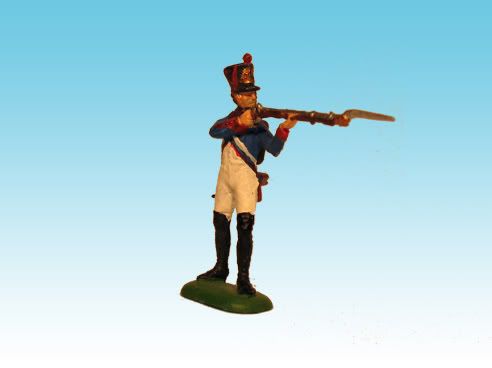
Now you've got something like this.
Step 13
You can call it a day or you go one step further. If you want to have the true colors of your figure you can add Auto Color by simply pressing CTRL+SHIFT+B.
That was all. It may look like it's a hell of a job, but it's ony a few minutes work.


 Forum Admin


